
How to Remove Scuffs from Leather Shoes at Home
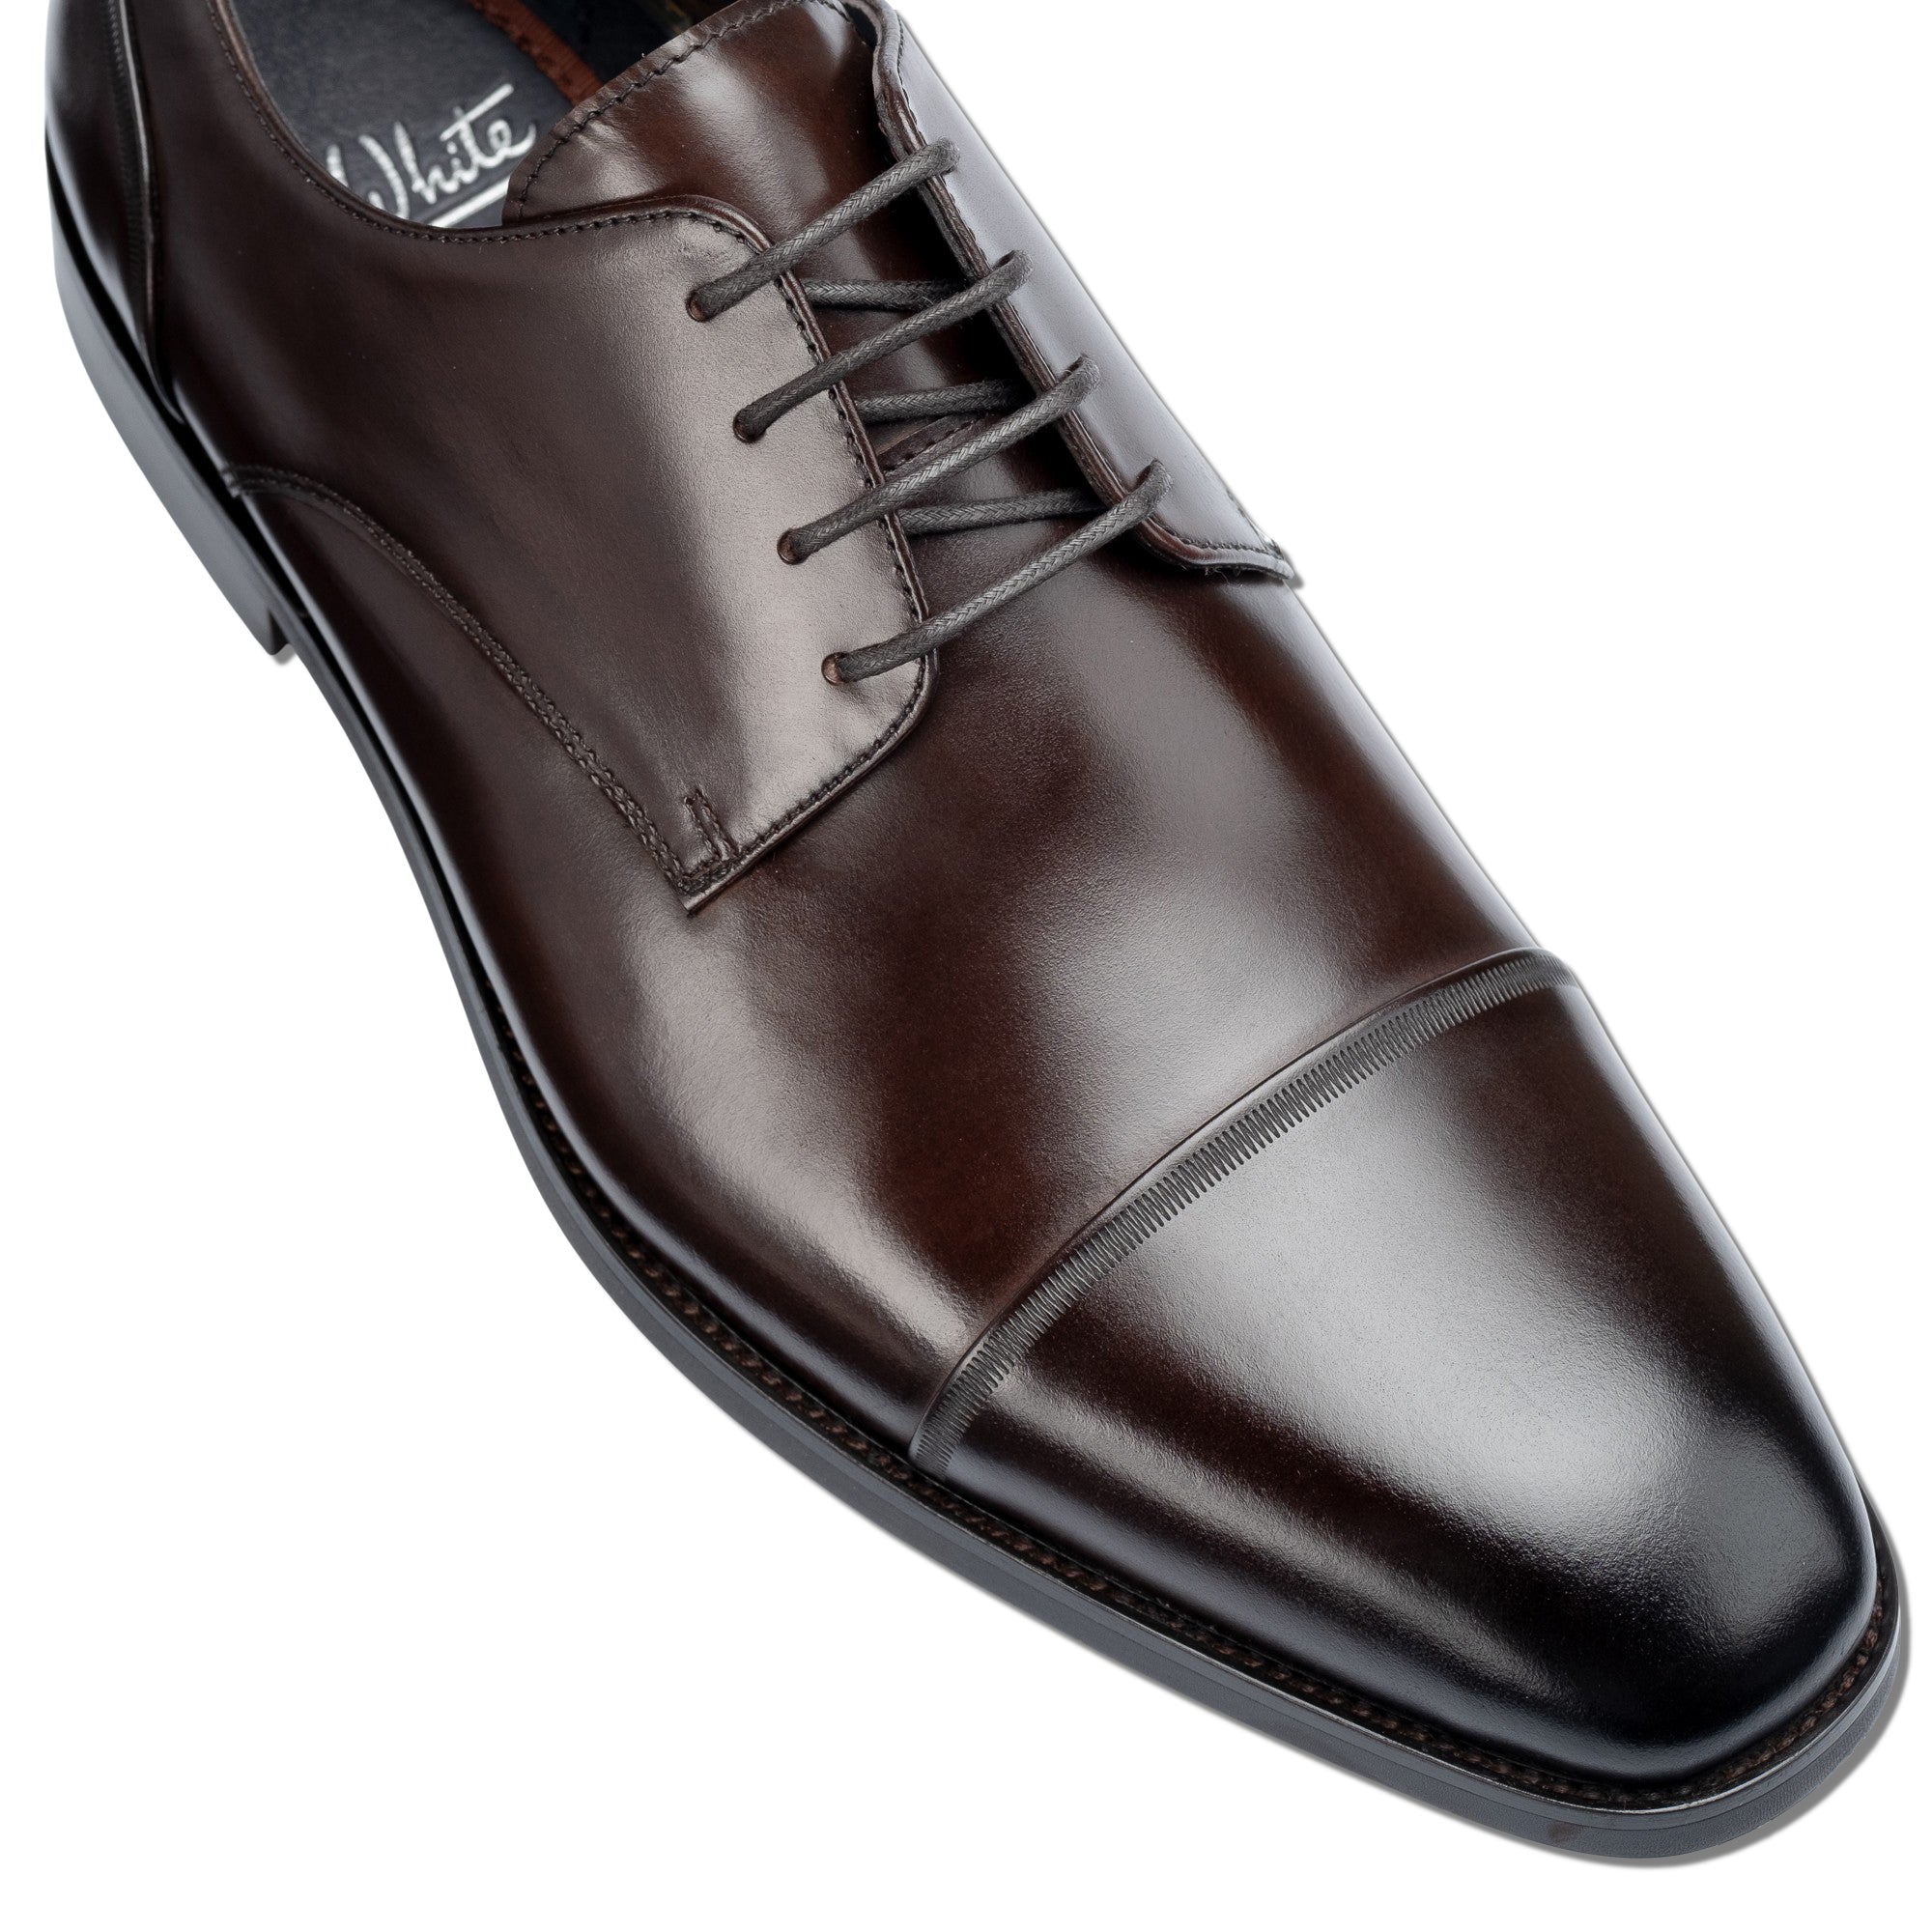
A scuff on leather footwear is surface damage where friction has displaced or removed the finish layer, leaving a dull or marked patch. Most scuffs — from light contact marks to moderate grazes — can be corrected at home with the right method. The key is diagnosing the severity before reaching for any product.
In This Guide
- What Causes Scuffs on Leather Shoes — and Why Does Severity Vary?
- How Do You Assess the Severity of a Leather Scuff Before Treatment?
- What Do You Need in a Leather Scuff Repair Kit?
- How Do You Remove Light Scuffs from Leather Shoes Step by Step?
- How Do You Fix Deeper Scuffs and Grazes on Leather Footwear?
- What's the Difference Between Cream Polish and Wax Polish for Scuff Repair?
- How Do You Prevent Scuffs on Leather Shoes?
- When Should You Take Scuffed Leather Shoes to a Professional?
- Related Guides
- TL;DR
- Frequently Asked Questions
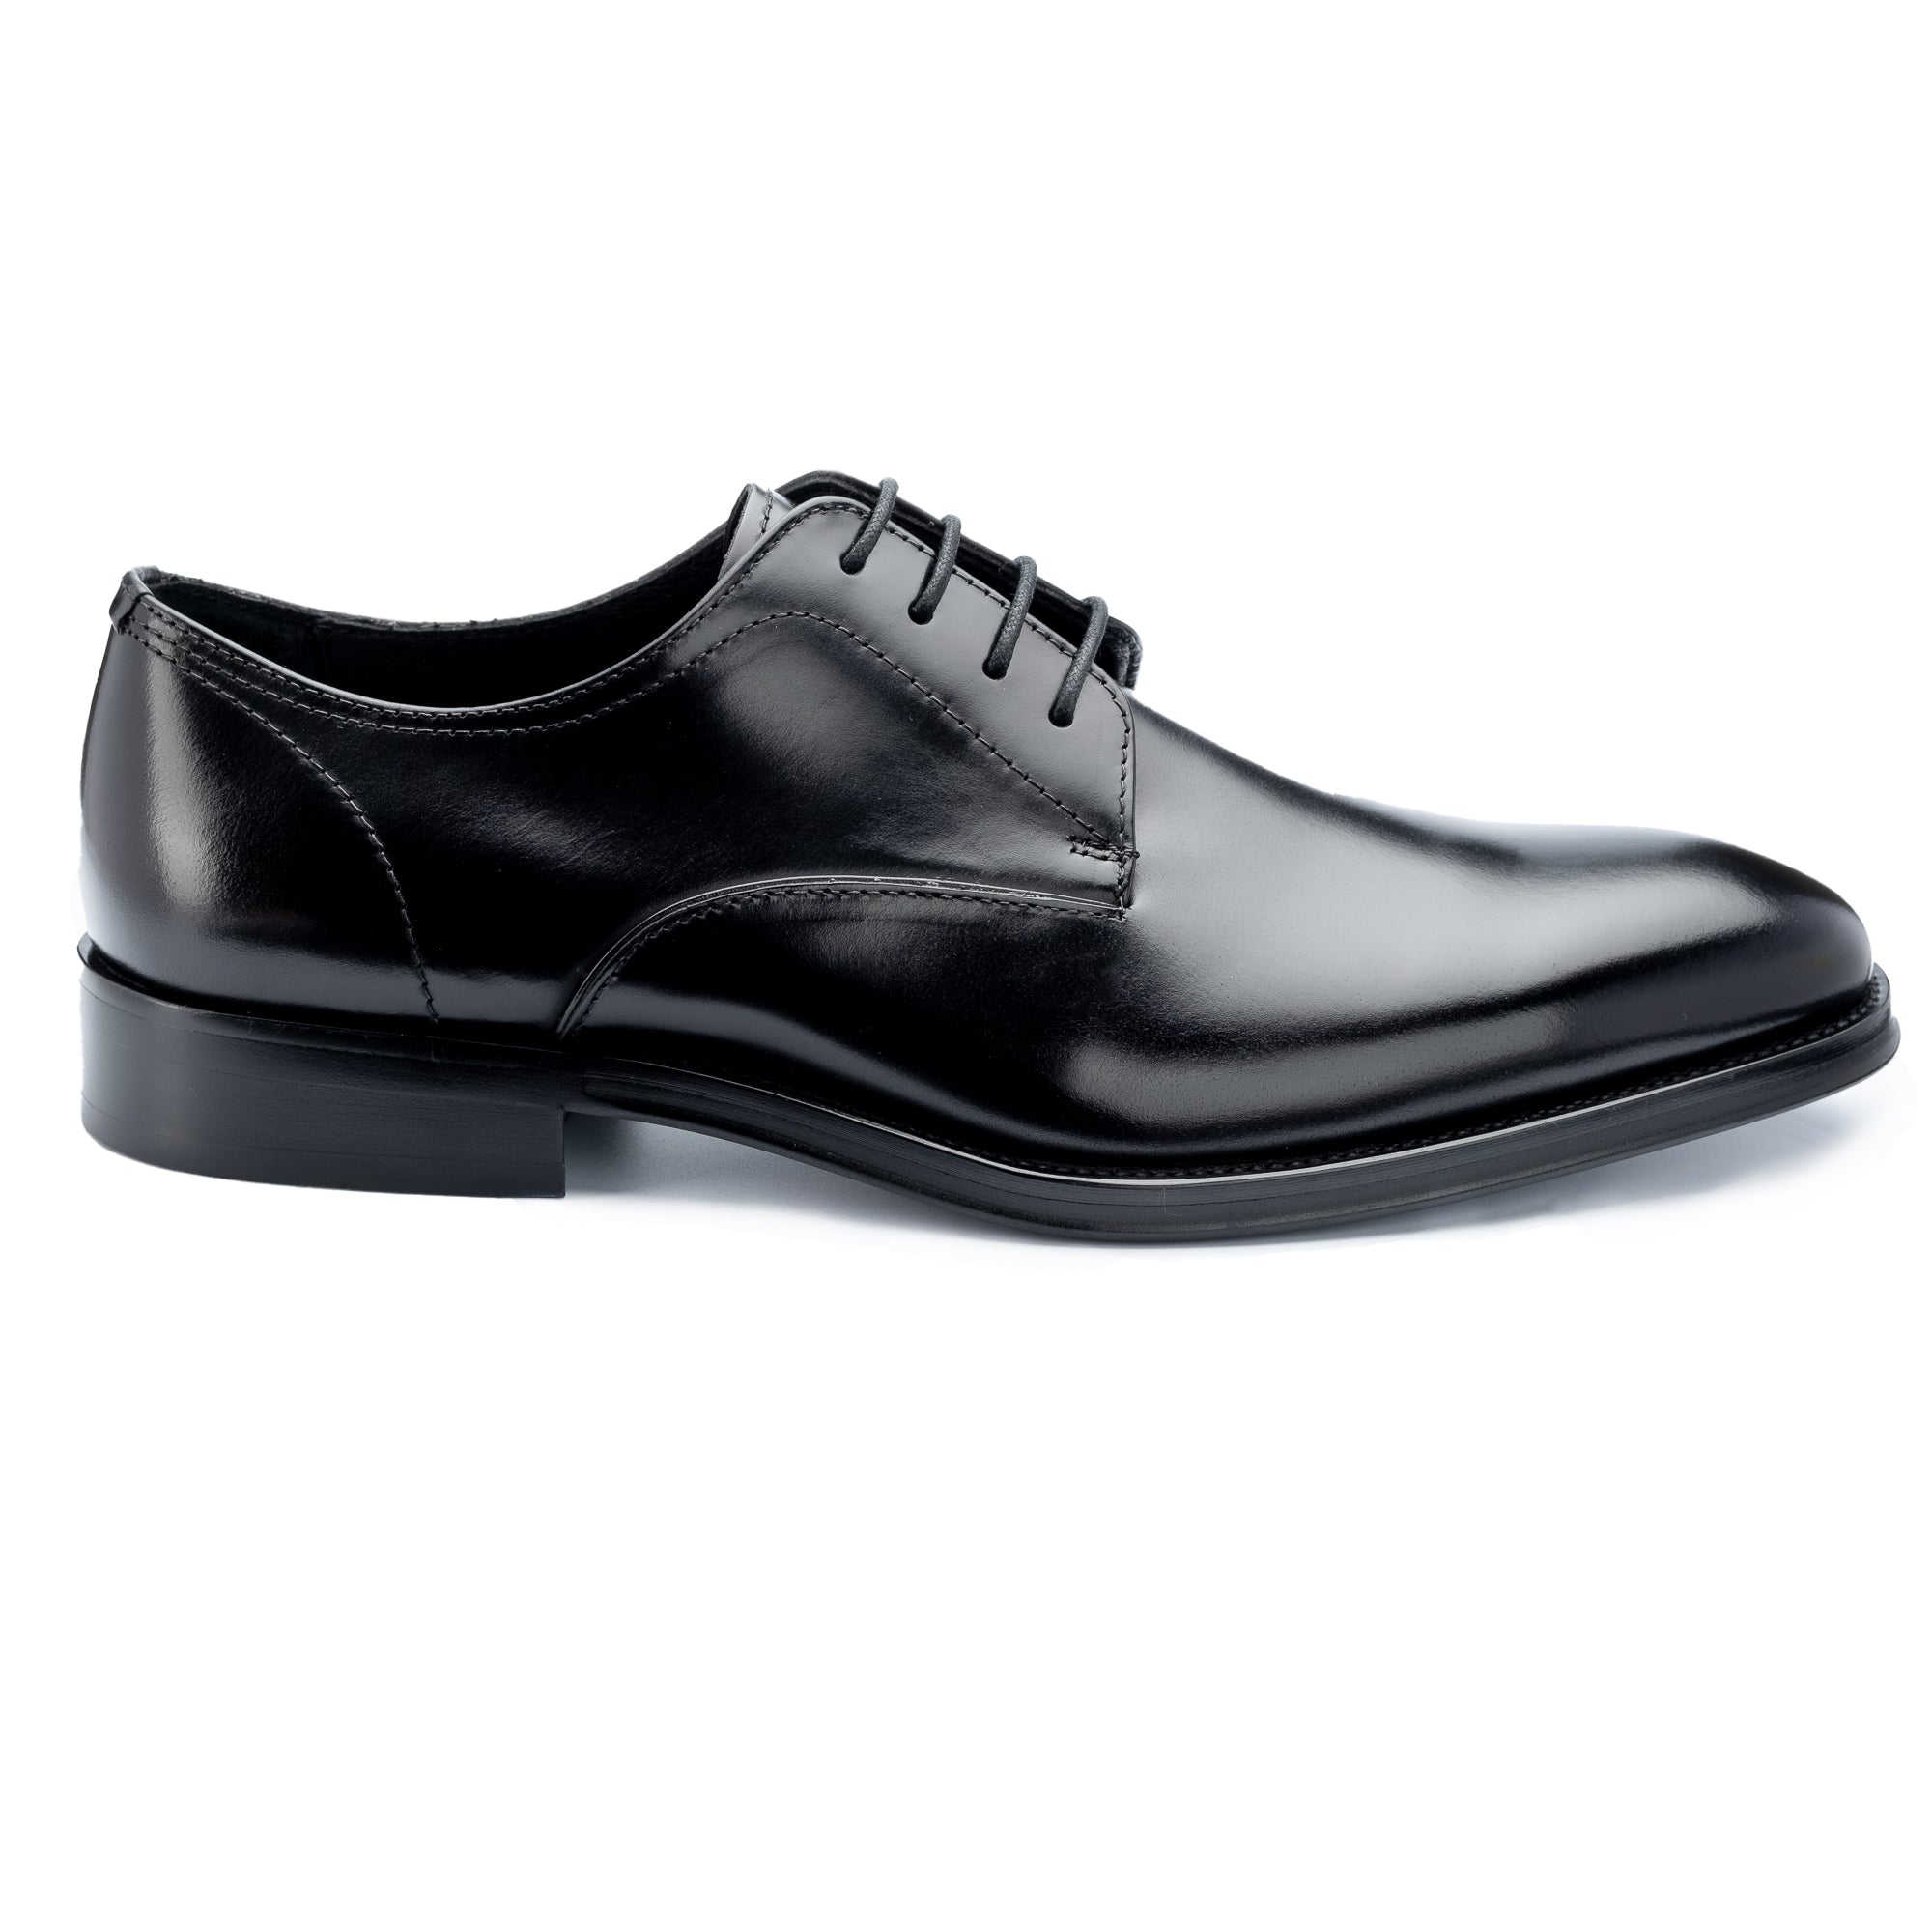
A scuff appears without warning. A kerb caught at the wrong angle, a luggage wheel in a crowded concourse, a careless clip on a staircase edge. Within seconds, a well-maintained pair of leather shoes bears a mark that wasn't there before. The good news: leather is resilient, and most scuffs are eminently repairable — provided you know what you're dealing with and work in the correct sequence.
This guide walks through assessment, treatment, and prevention — from a hairline mark on a dress Oxford to a deeper graze on a leather boot. The principles apply across all smooth leather footwear.
What Causes Scuffs on Leather Shoes — and Why Does Severity Vary?
A scuff is surface damage caused by friction or impact that displaces the leather's finish — the outermost protective layer applied during the finishing process. It differs from a scratch, which may penetrate the grain itself, and from a cut or gouge, which removes material entirely.
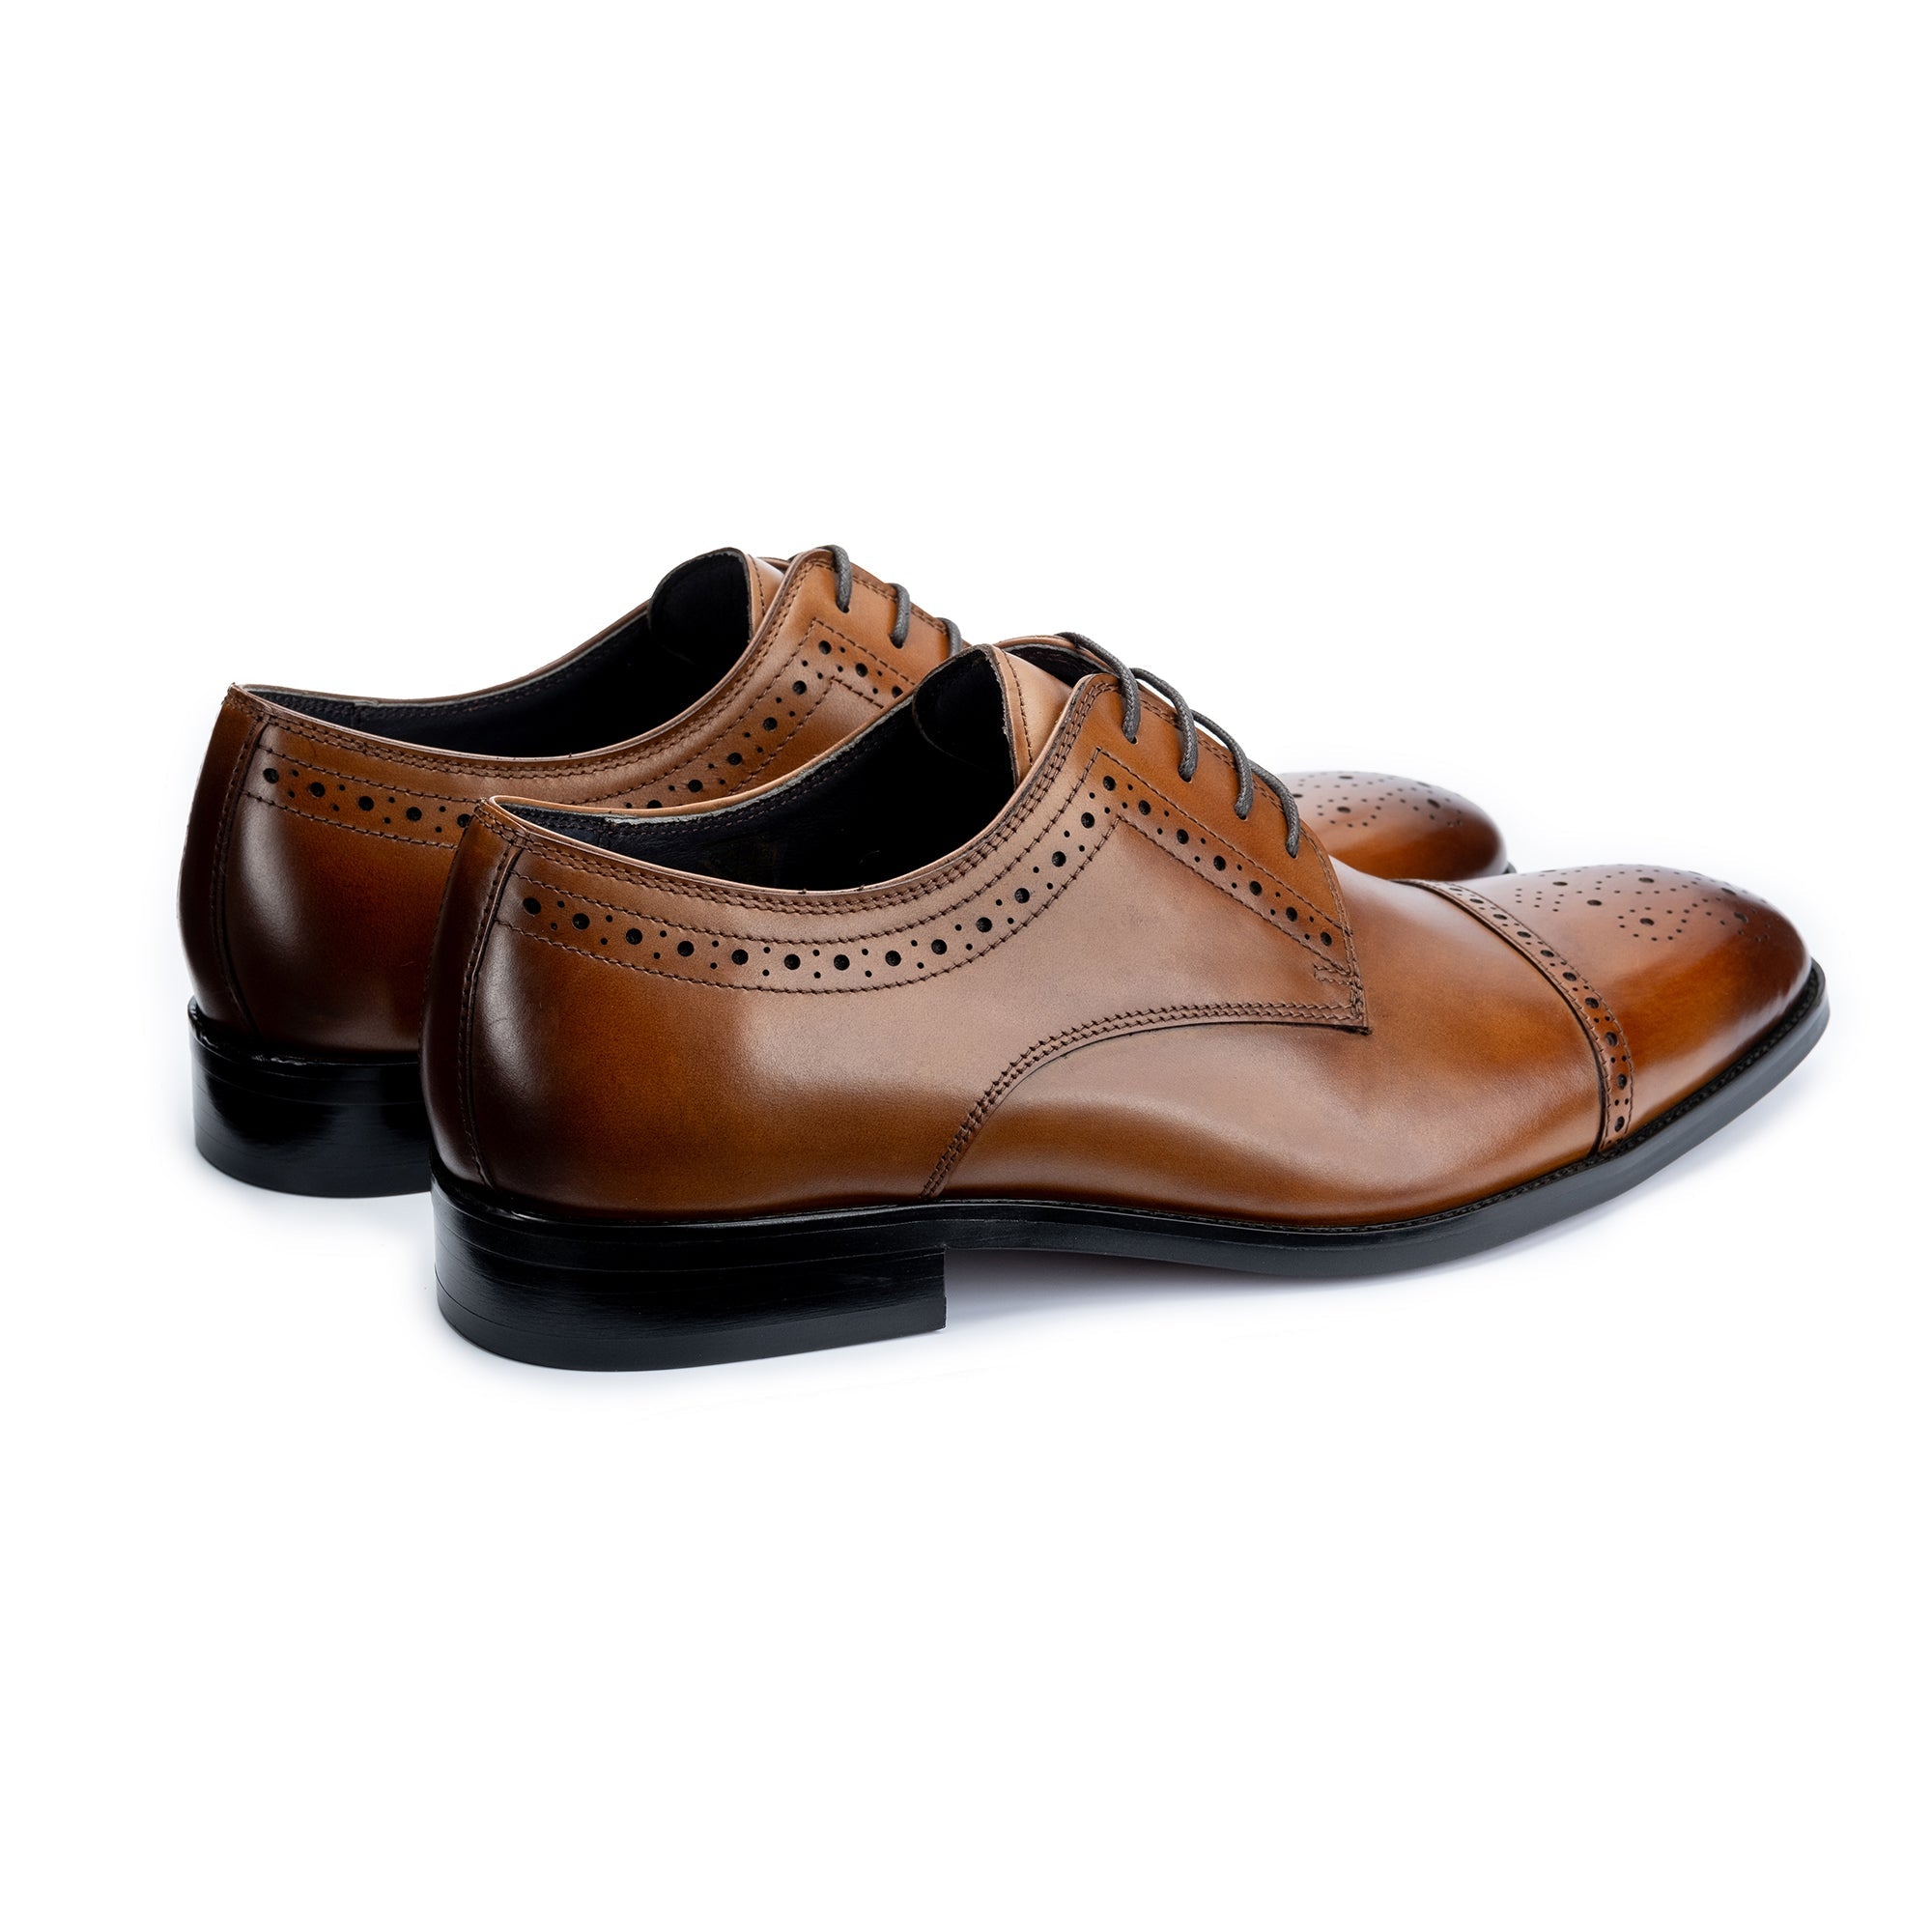
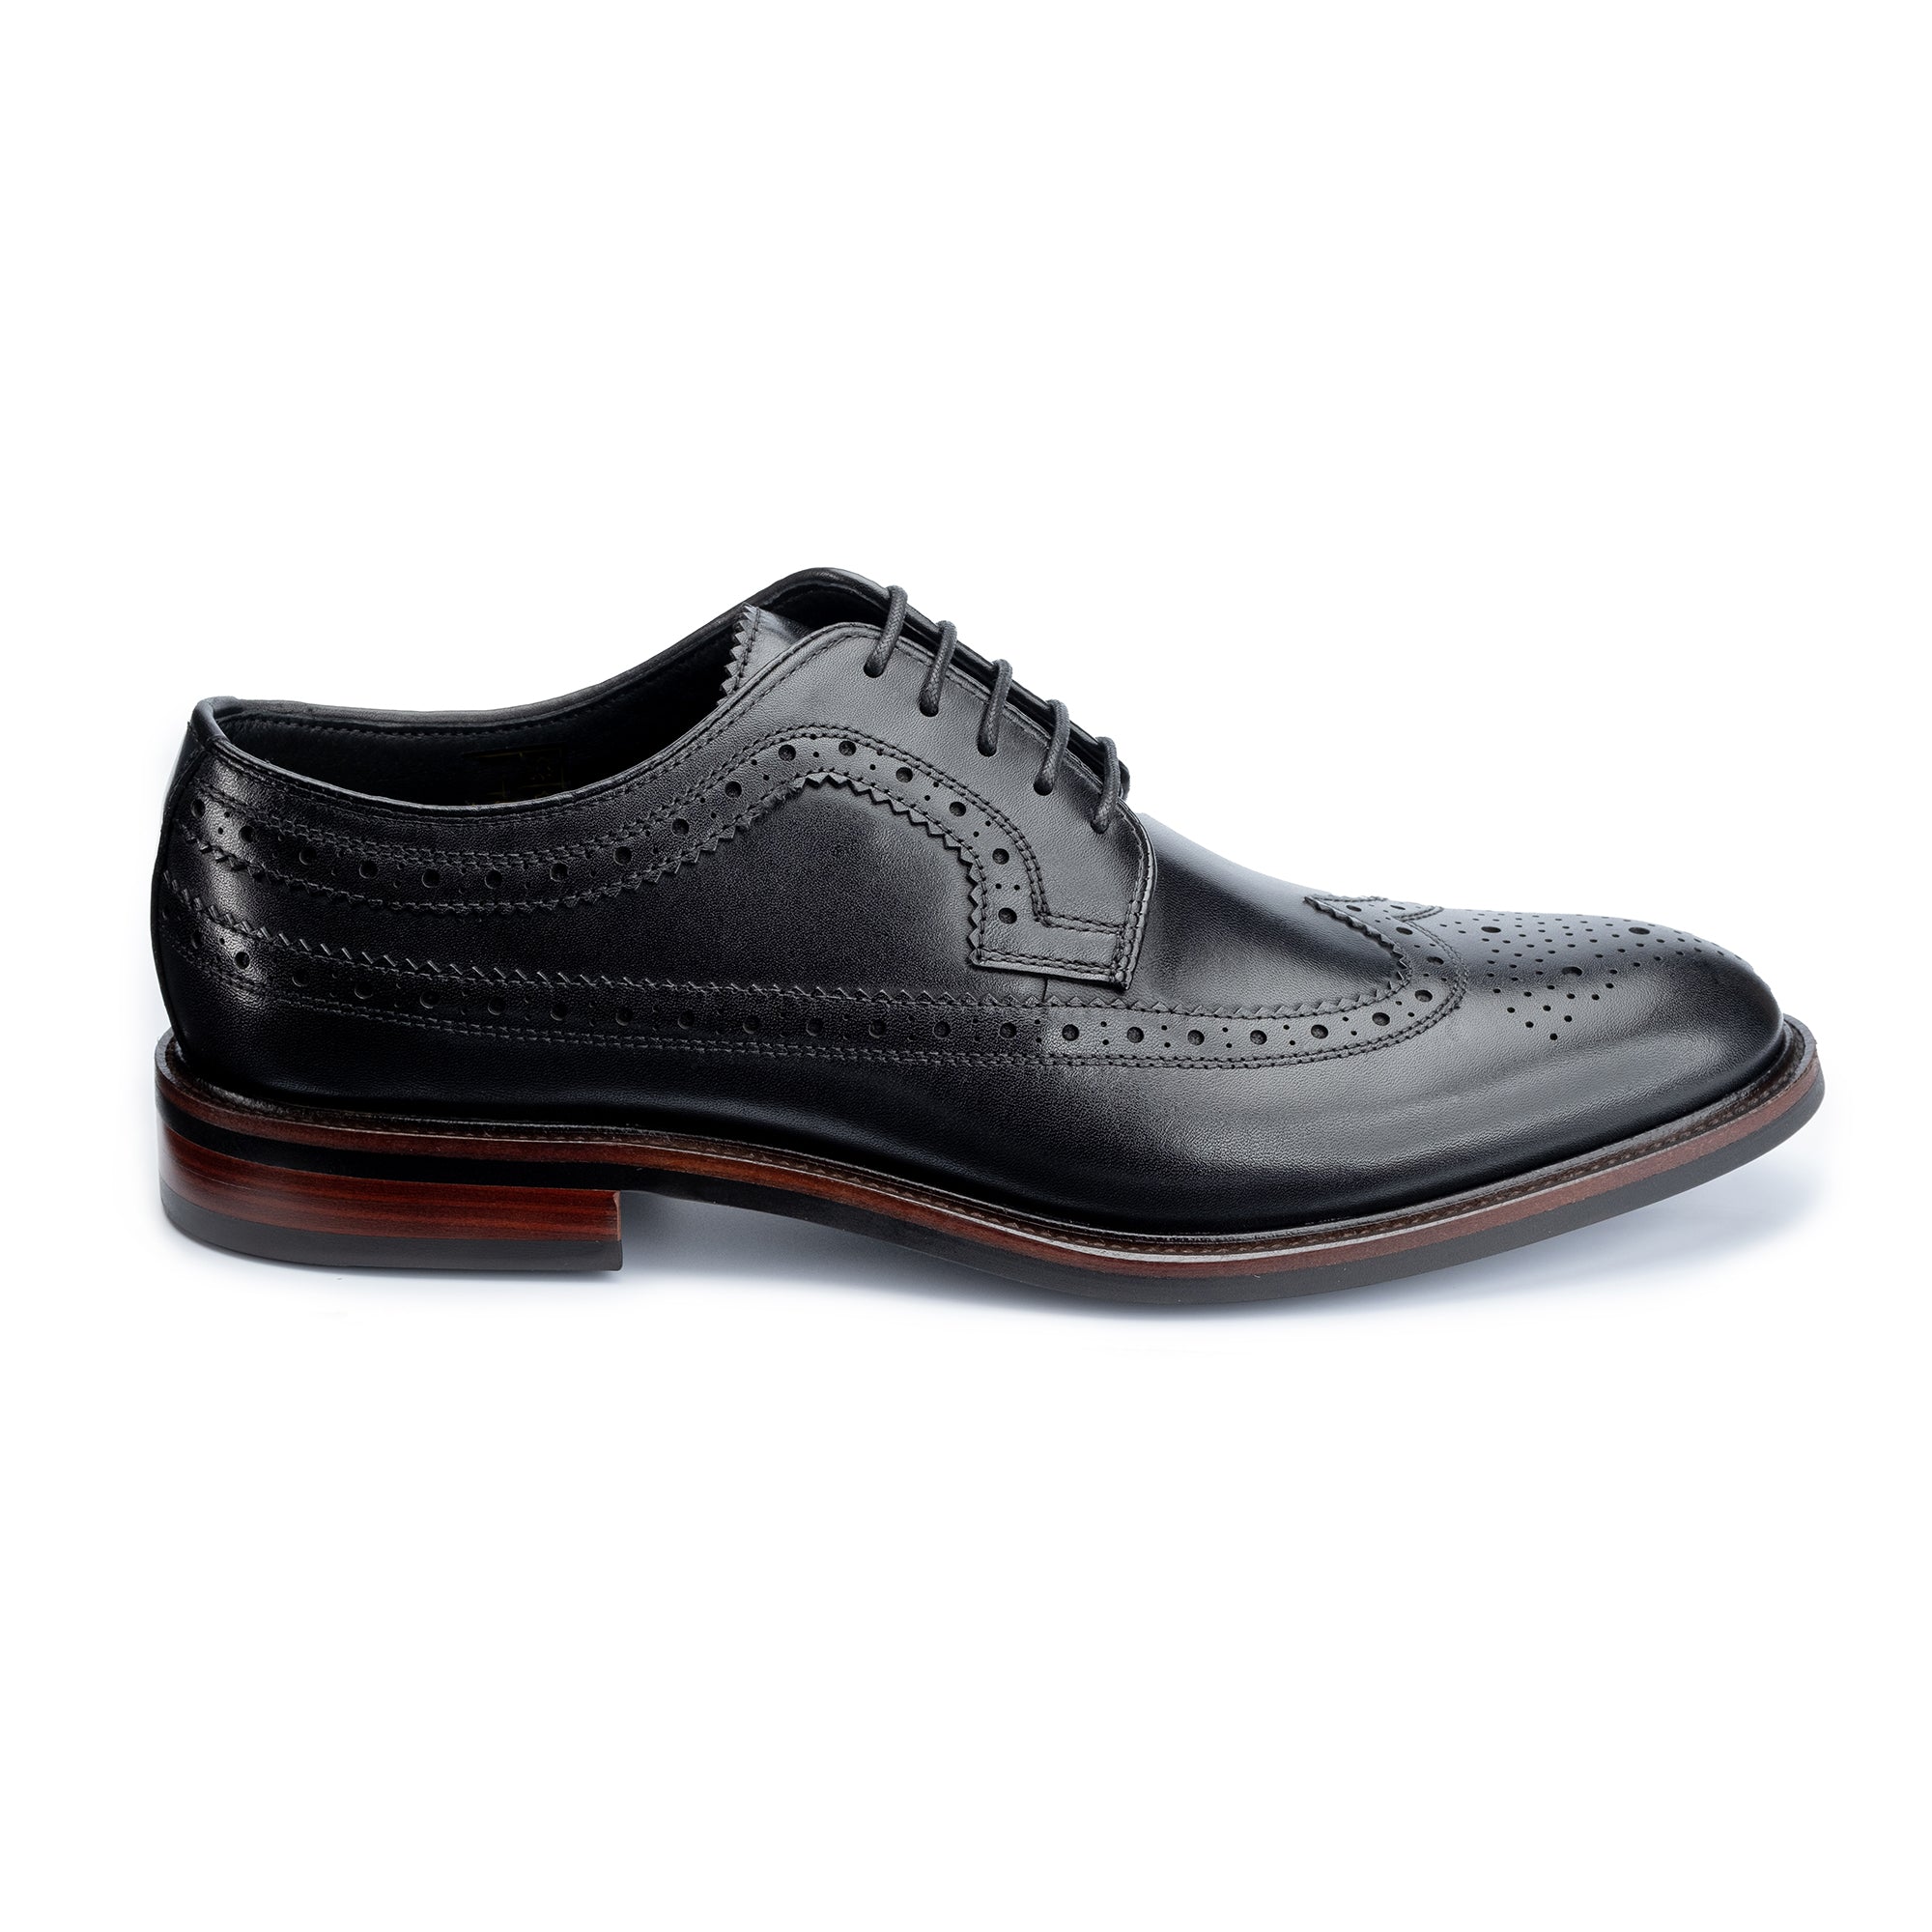
Full-grain leather, the material used in quality footwear, has a tight, natural grain structure that resists penetration. When a scuff occurs, the finish above the grain is typically what's damaged — the leather beneath is often untouched. This is why most scuffs are cosmetic rather than structural, and why they respond so well to targeted treatment.
Understanding the depth of the damage before you start is the single most important step — applying the wrong product to the wrong severity level can make the situation harder to correct.
How Do You Assess the Severity of a Leather Scuff Before Treatment?
Assessment takes under a minute and prevents costly mistakes. Work in good natural light and examine the damaged area from multiple angles.
- Grade 1 — Light scuff: The finish appears dull or whitened, but the grain is visible and intact beneath. No material removed. Responds to buffing alone or buffing with cream polish.
- Grade 2 — Moderate scuff: The finish has been removed in patches; the natural leather colour is exposed. Grain still visible. Requires cleaning, conditioning, and colour restoration.
- Grade 3 — Deep graze: Finish and part of the grain have been abraded. The surface feels rough. Benefits from leather filler before conditioning and colouring.
- Grade 4 — Cut or gouge: Material has been removed; the leather surface is broken. Professional repair is advisable at this stage.
What Do You Need in a Leather Scuff Repair Kit?
Effective scuff correction doesn't require a vast toolkit, but the right products matter. The Leather Conservation Centre advises using pH-neutral, leather-specific products throughout — household alternatives such as petroleum jelly, olive oil, or toothpaste disrupt the leather's finish and interfere with subsequent polish adhesion.
- Clean, lint-free cloths — cotton flannel is ideal
- A soft-bristled shoe brush
- A dedicated leather cleaner or saddle soap
- A leather conditioner or cream
- Colour-matched cream polish — this is the single most critical product; colour mismatch is the most common repair error
- Wax polish to seal and unify the finish
- Leather filler or renovating cream for Grade 2–3 scuffs
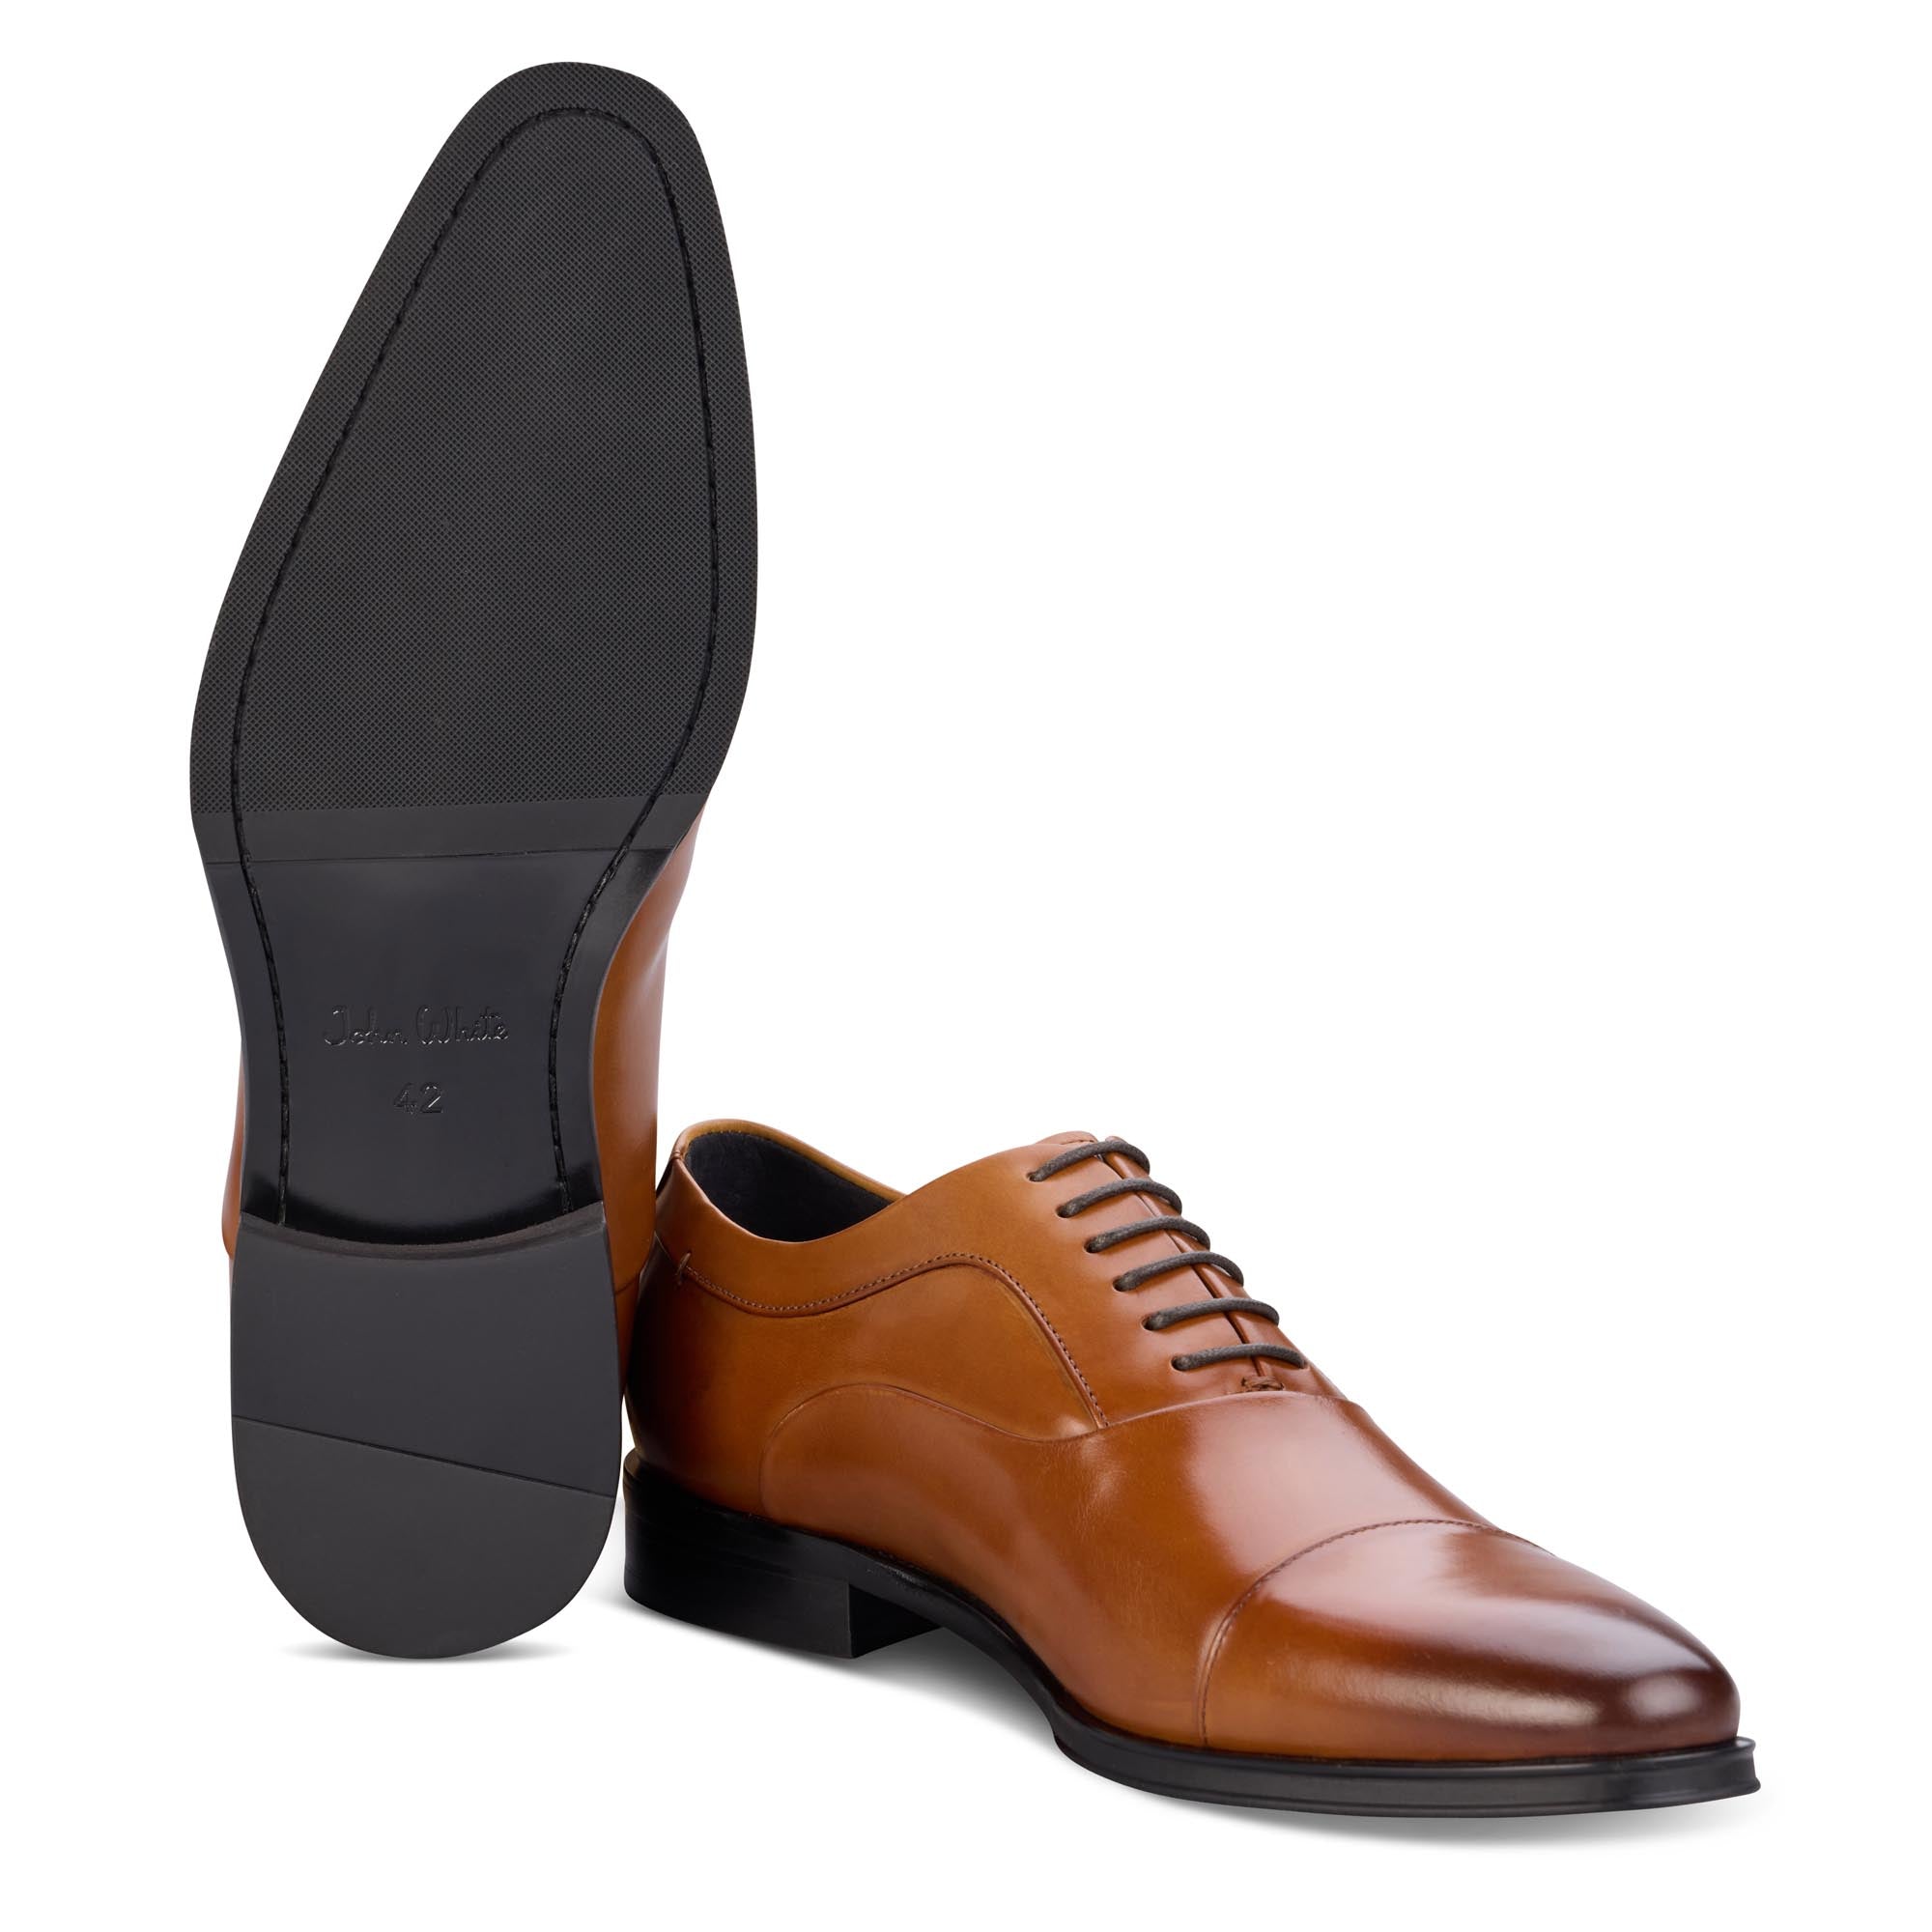
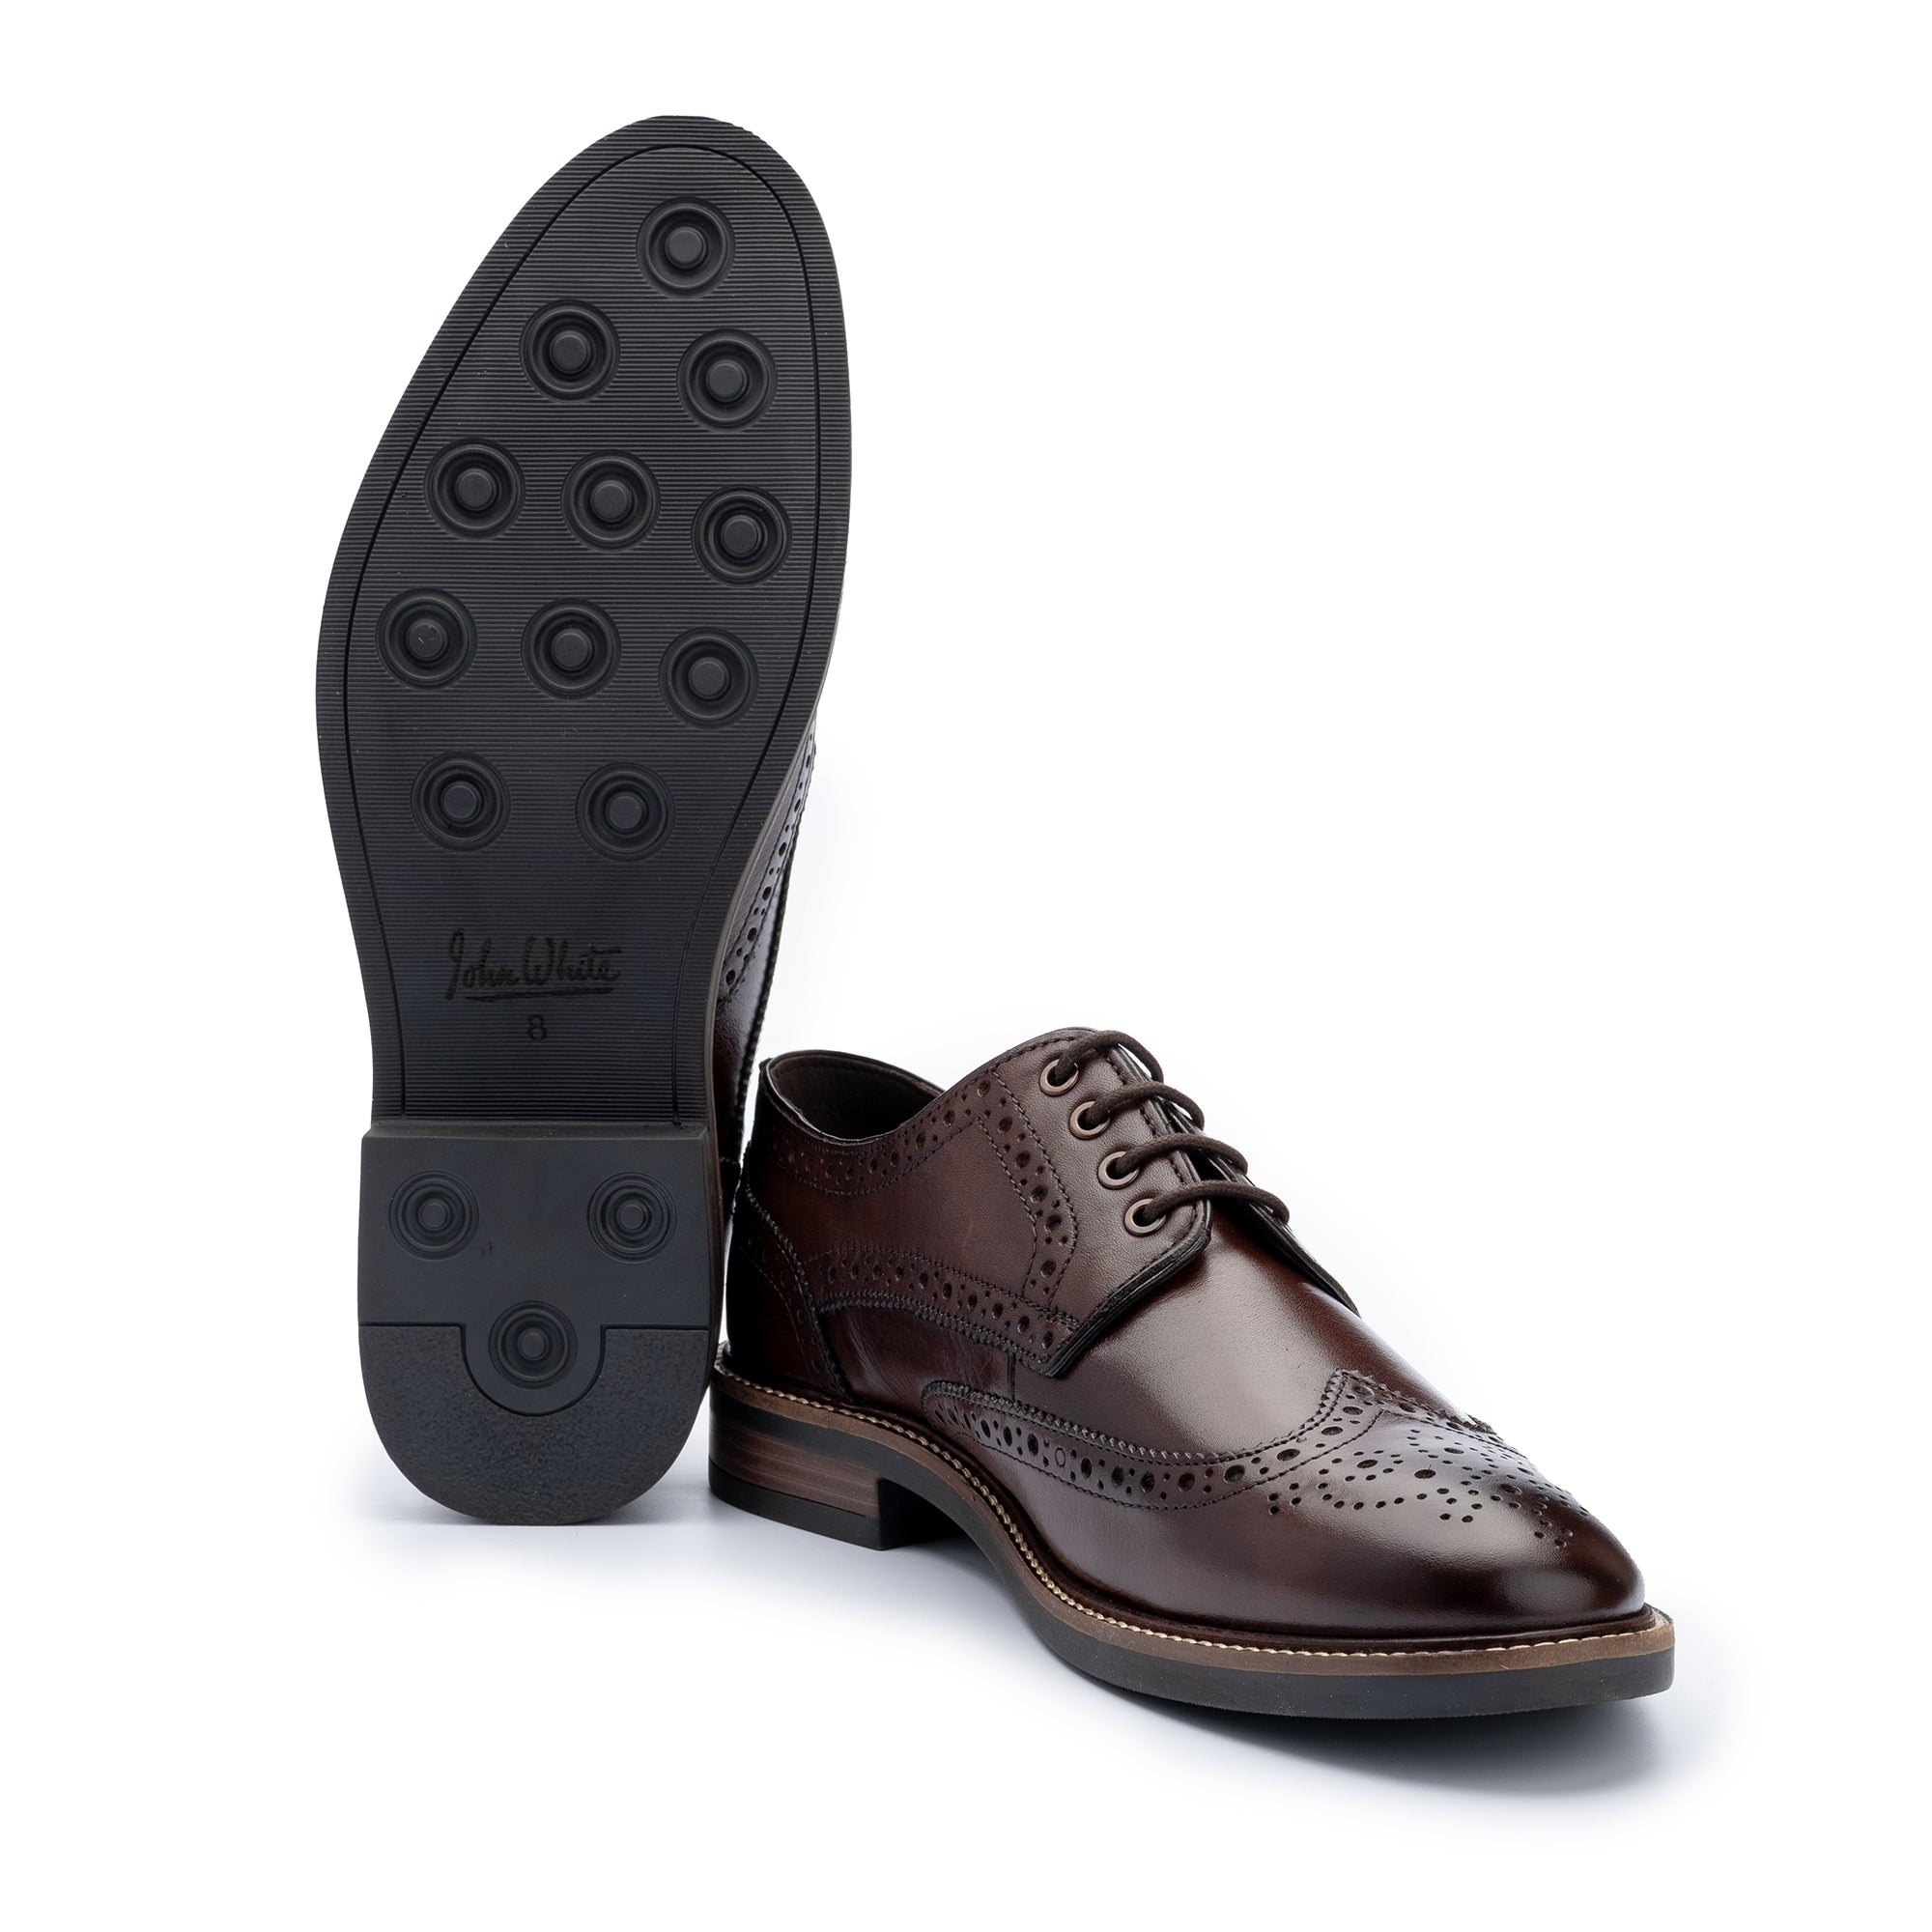
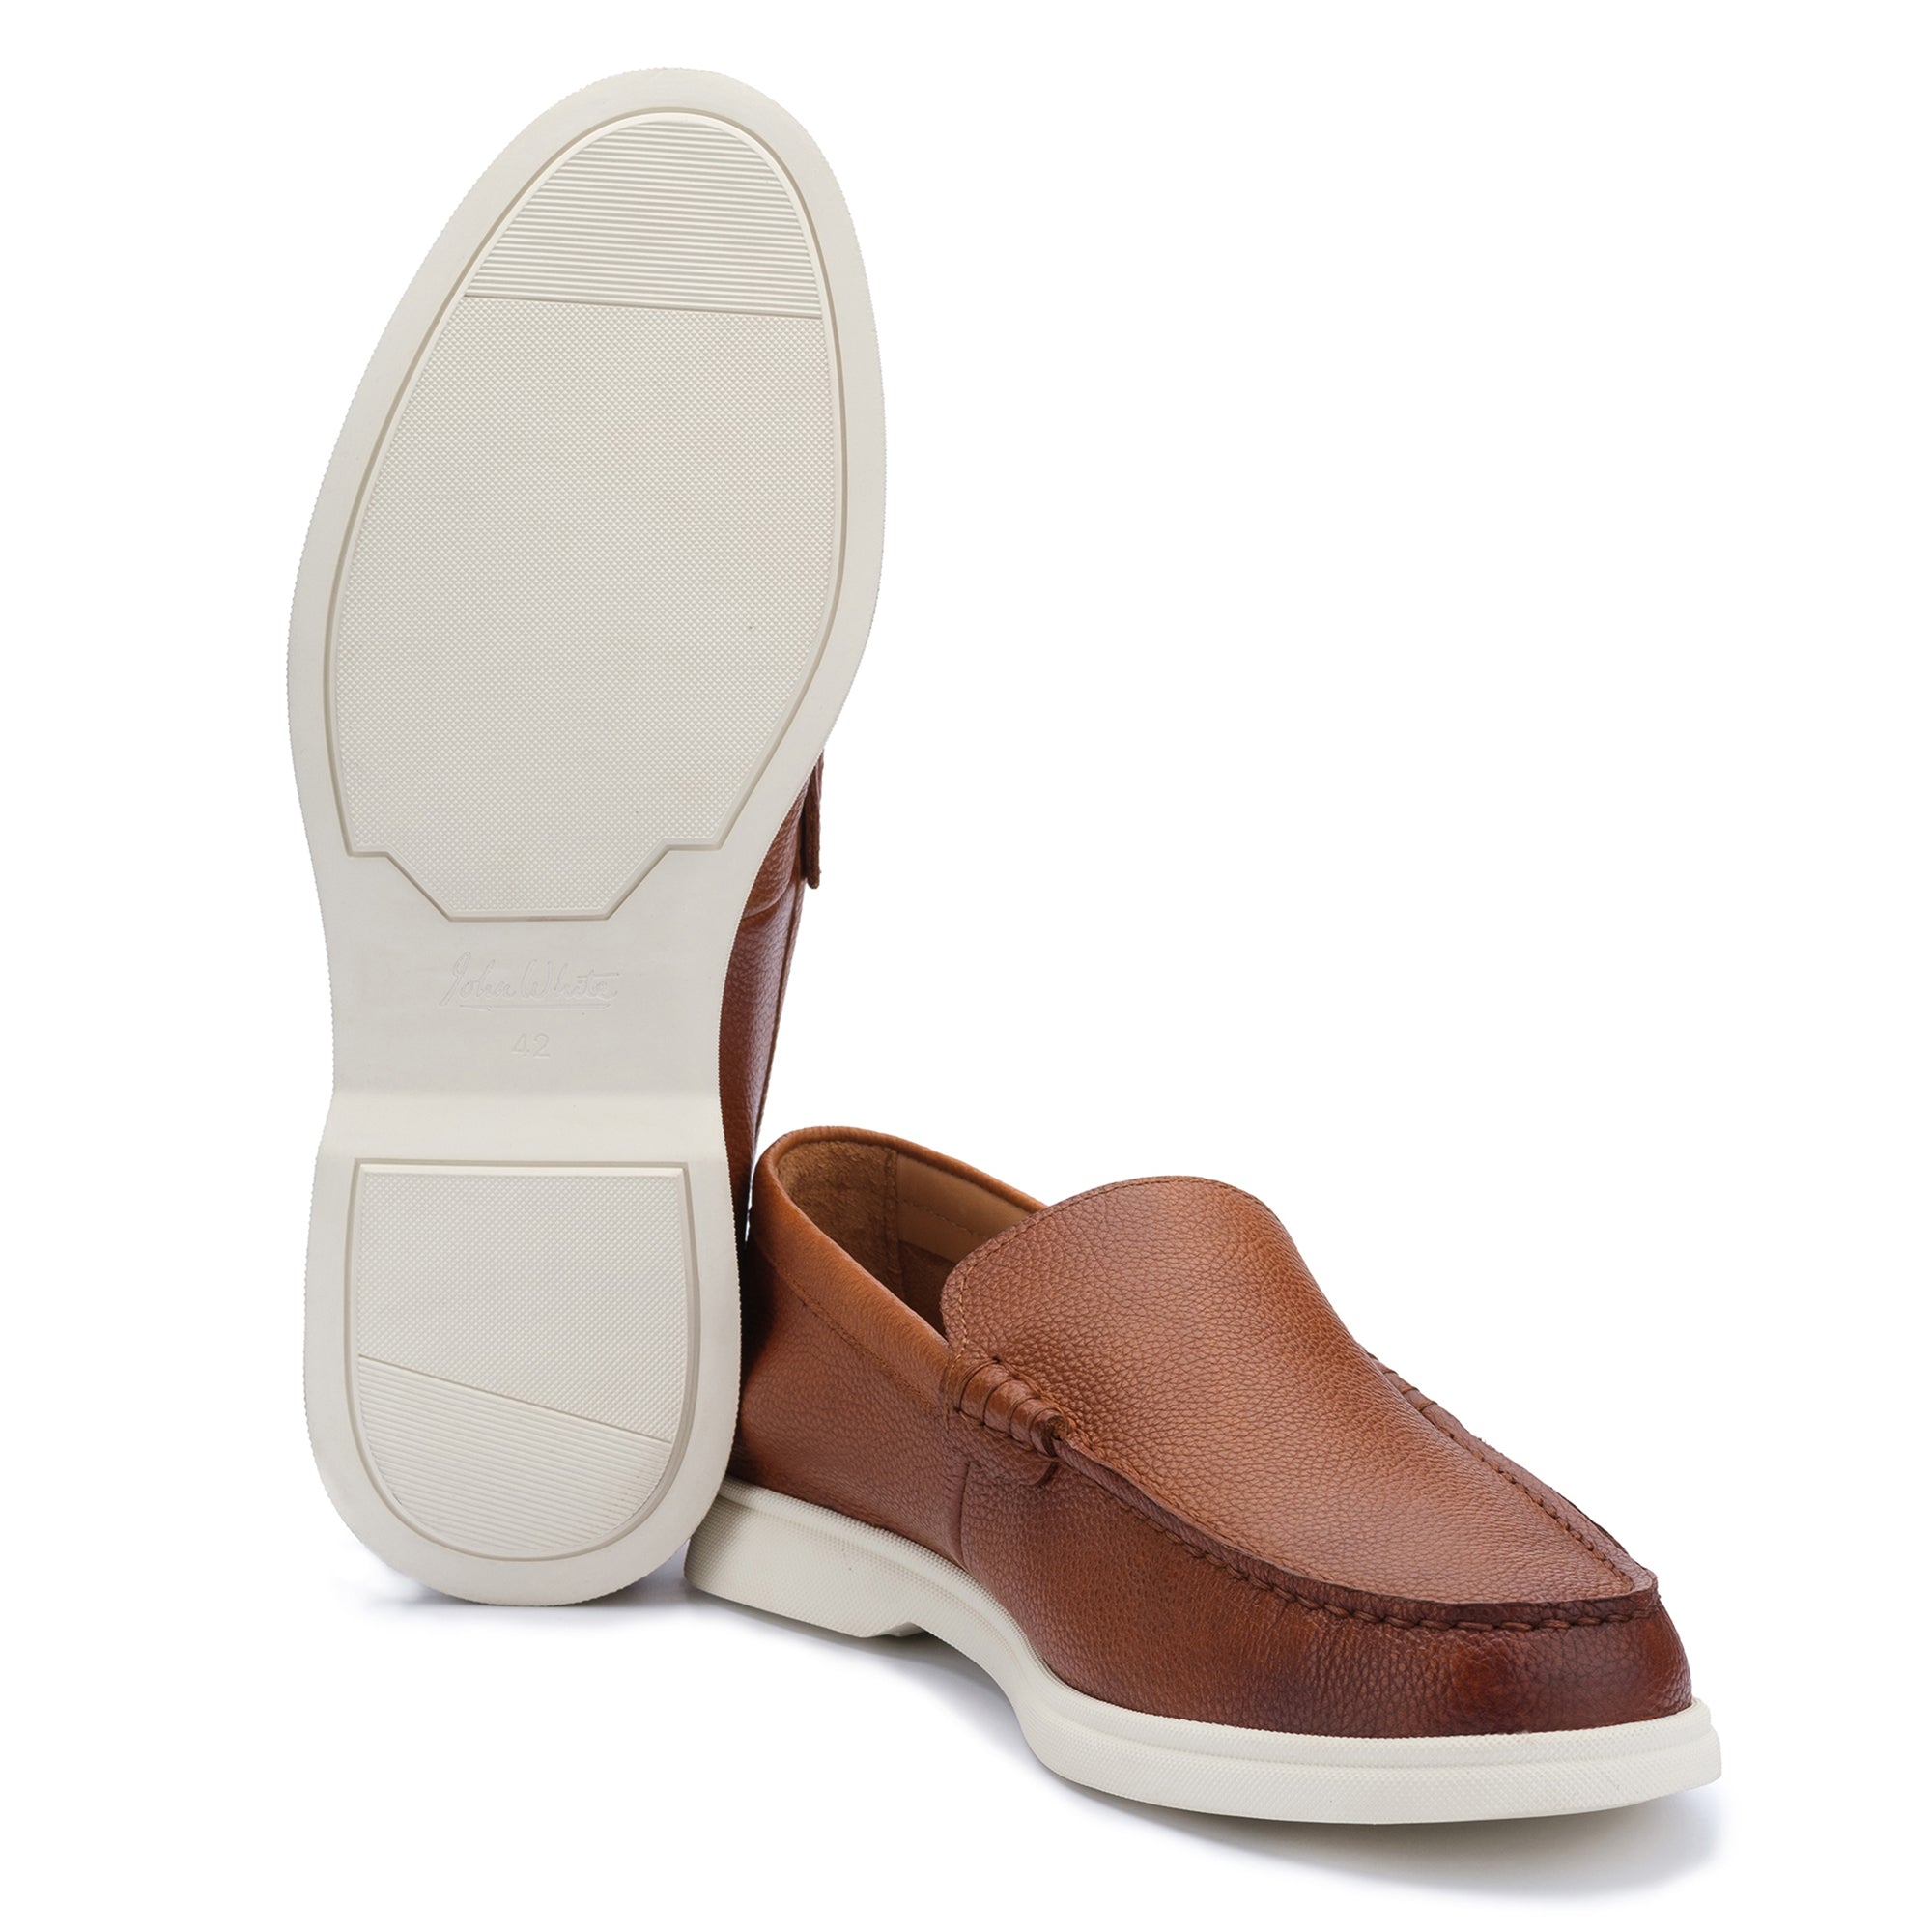
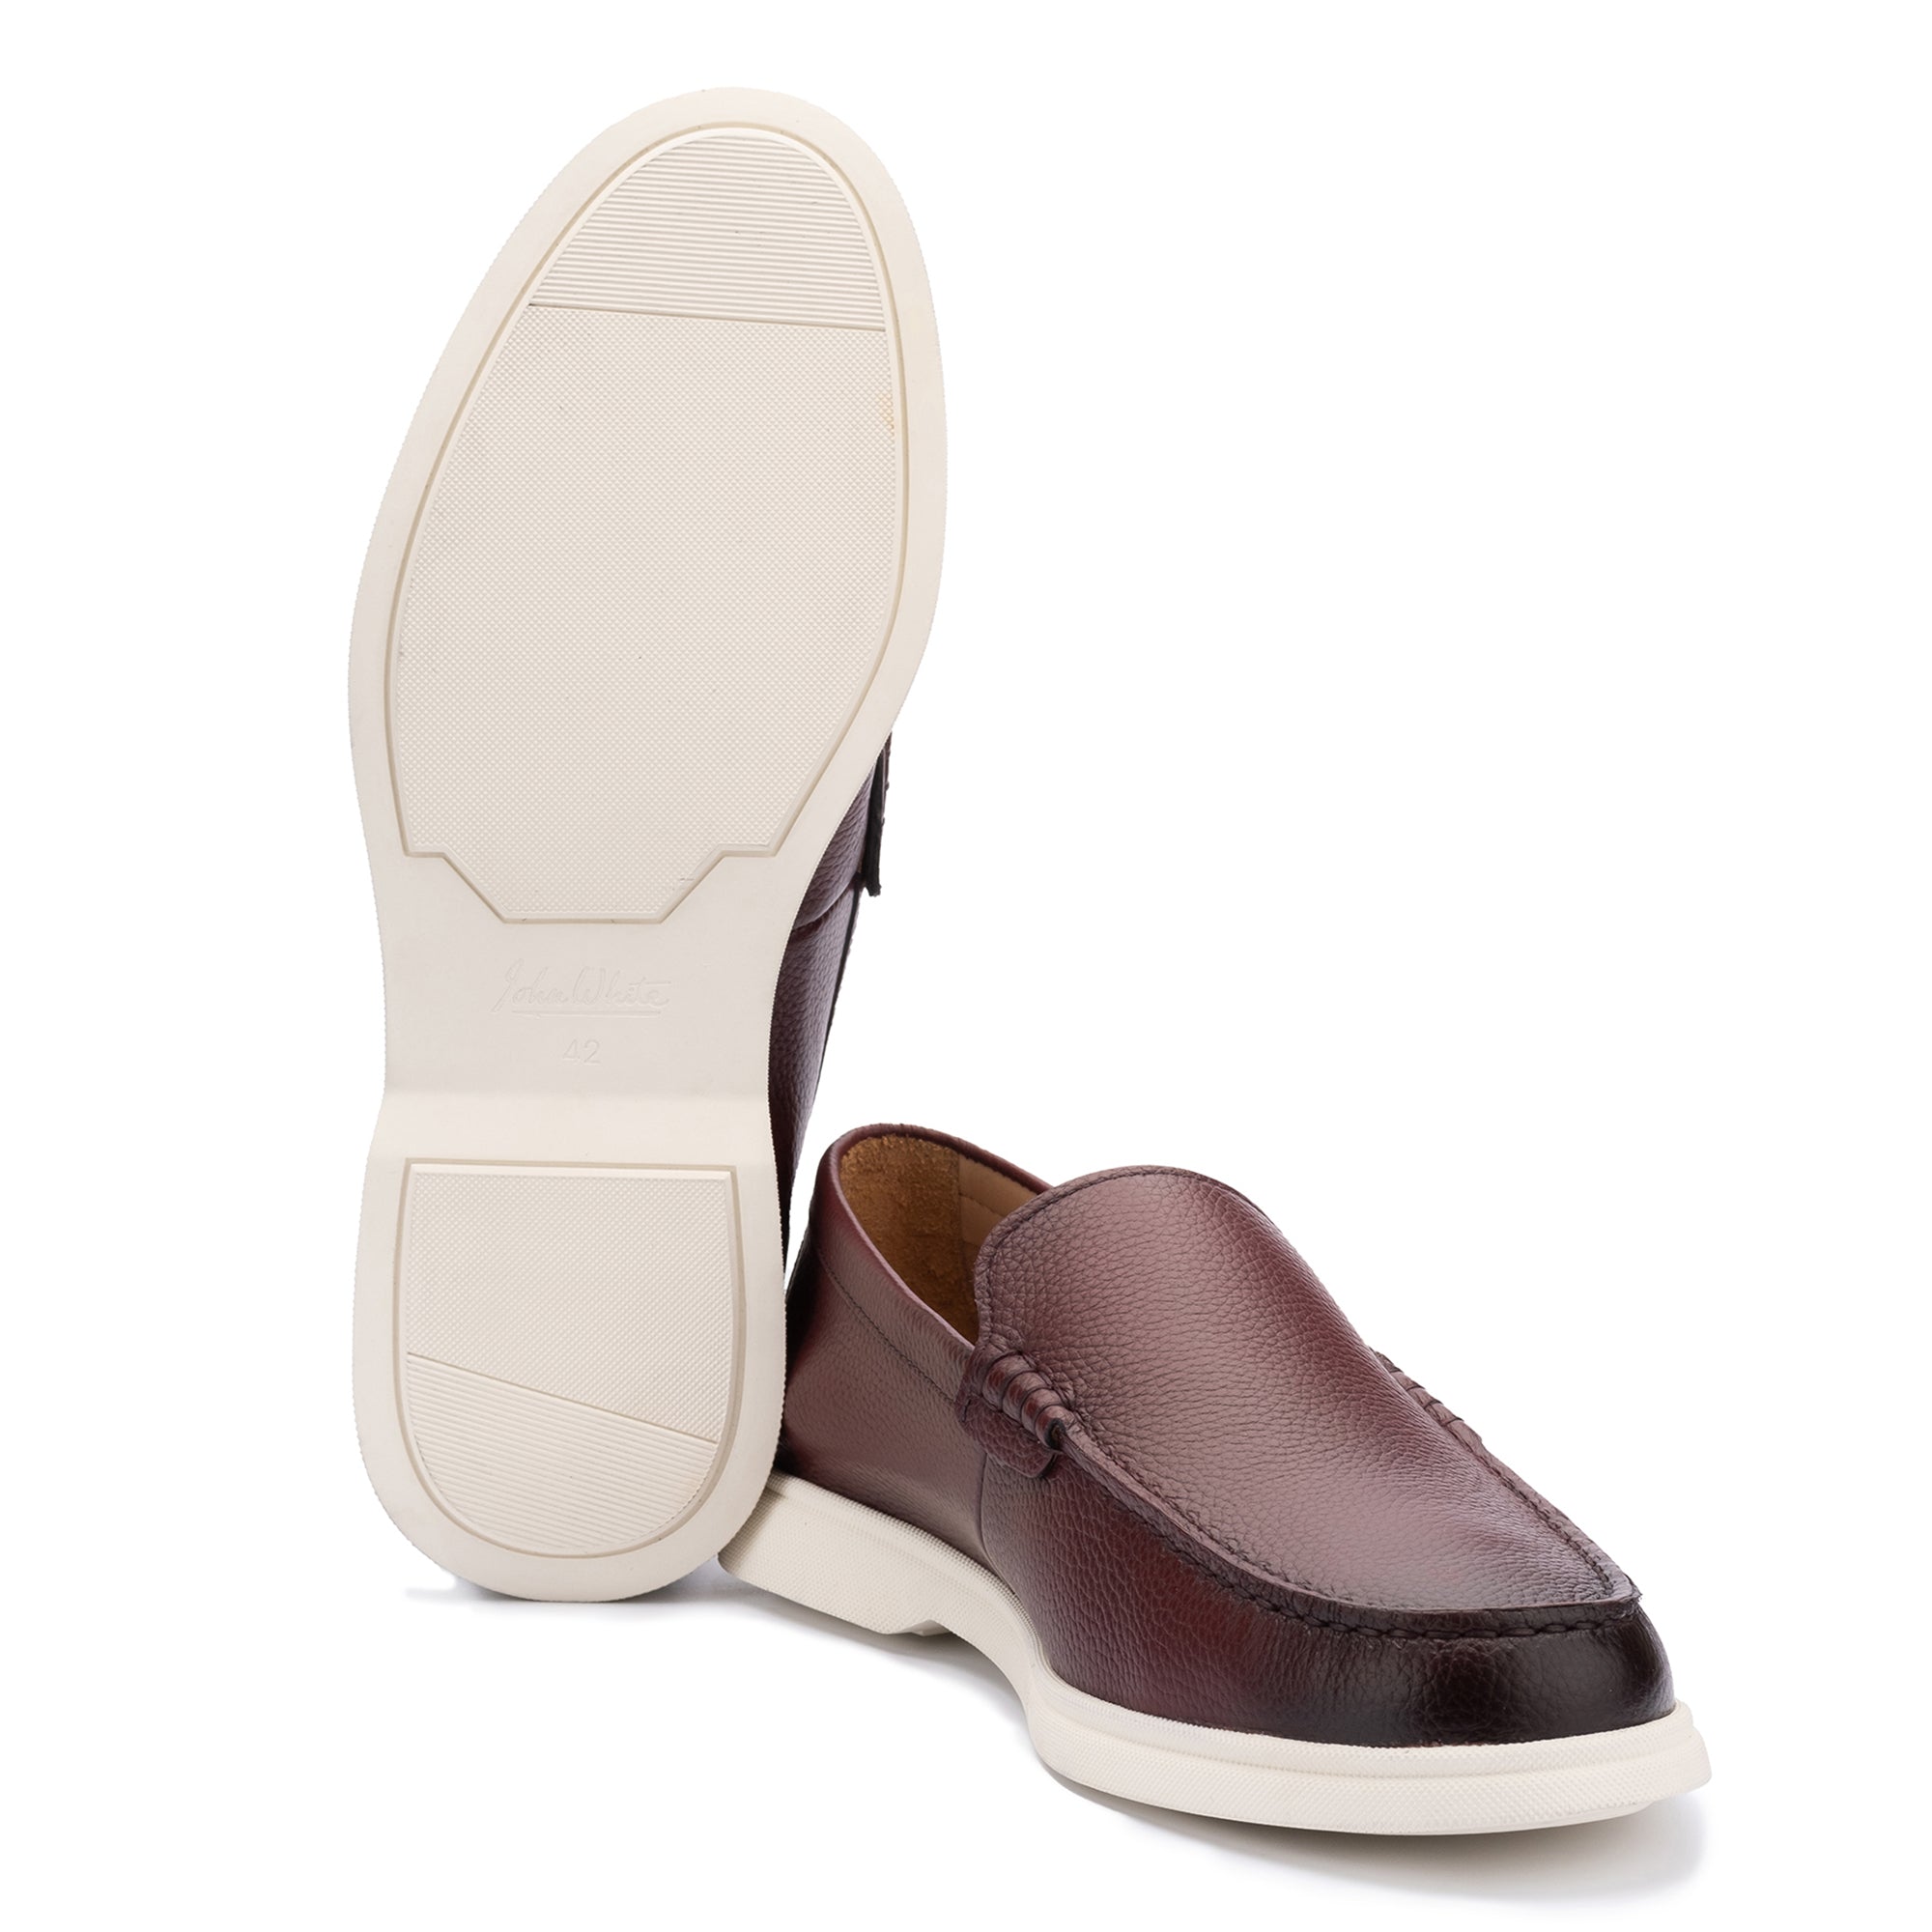
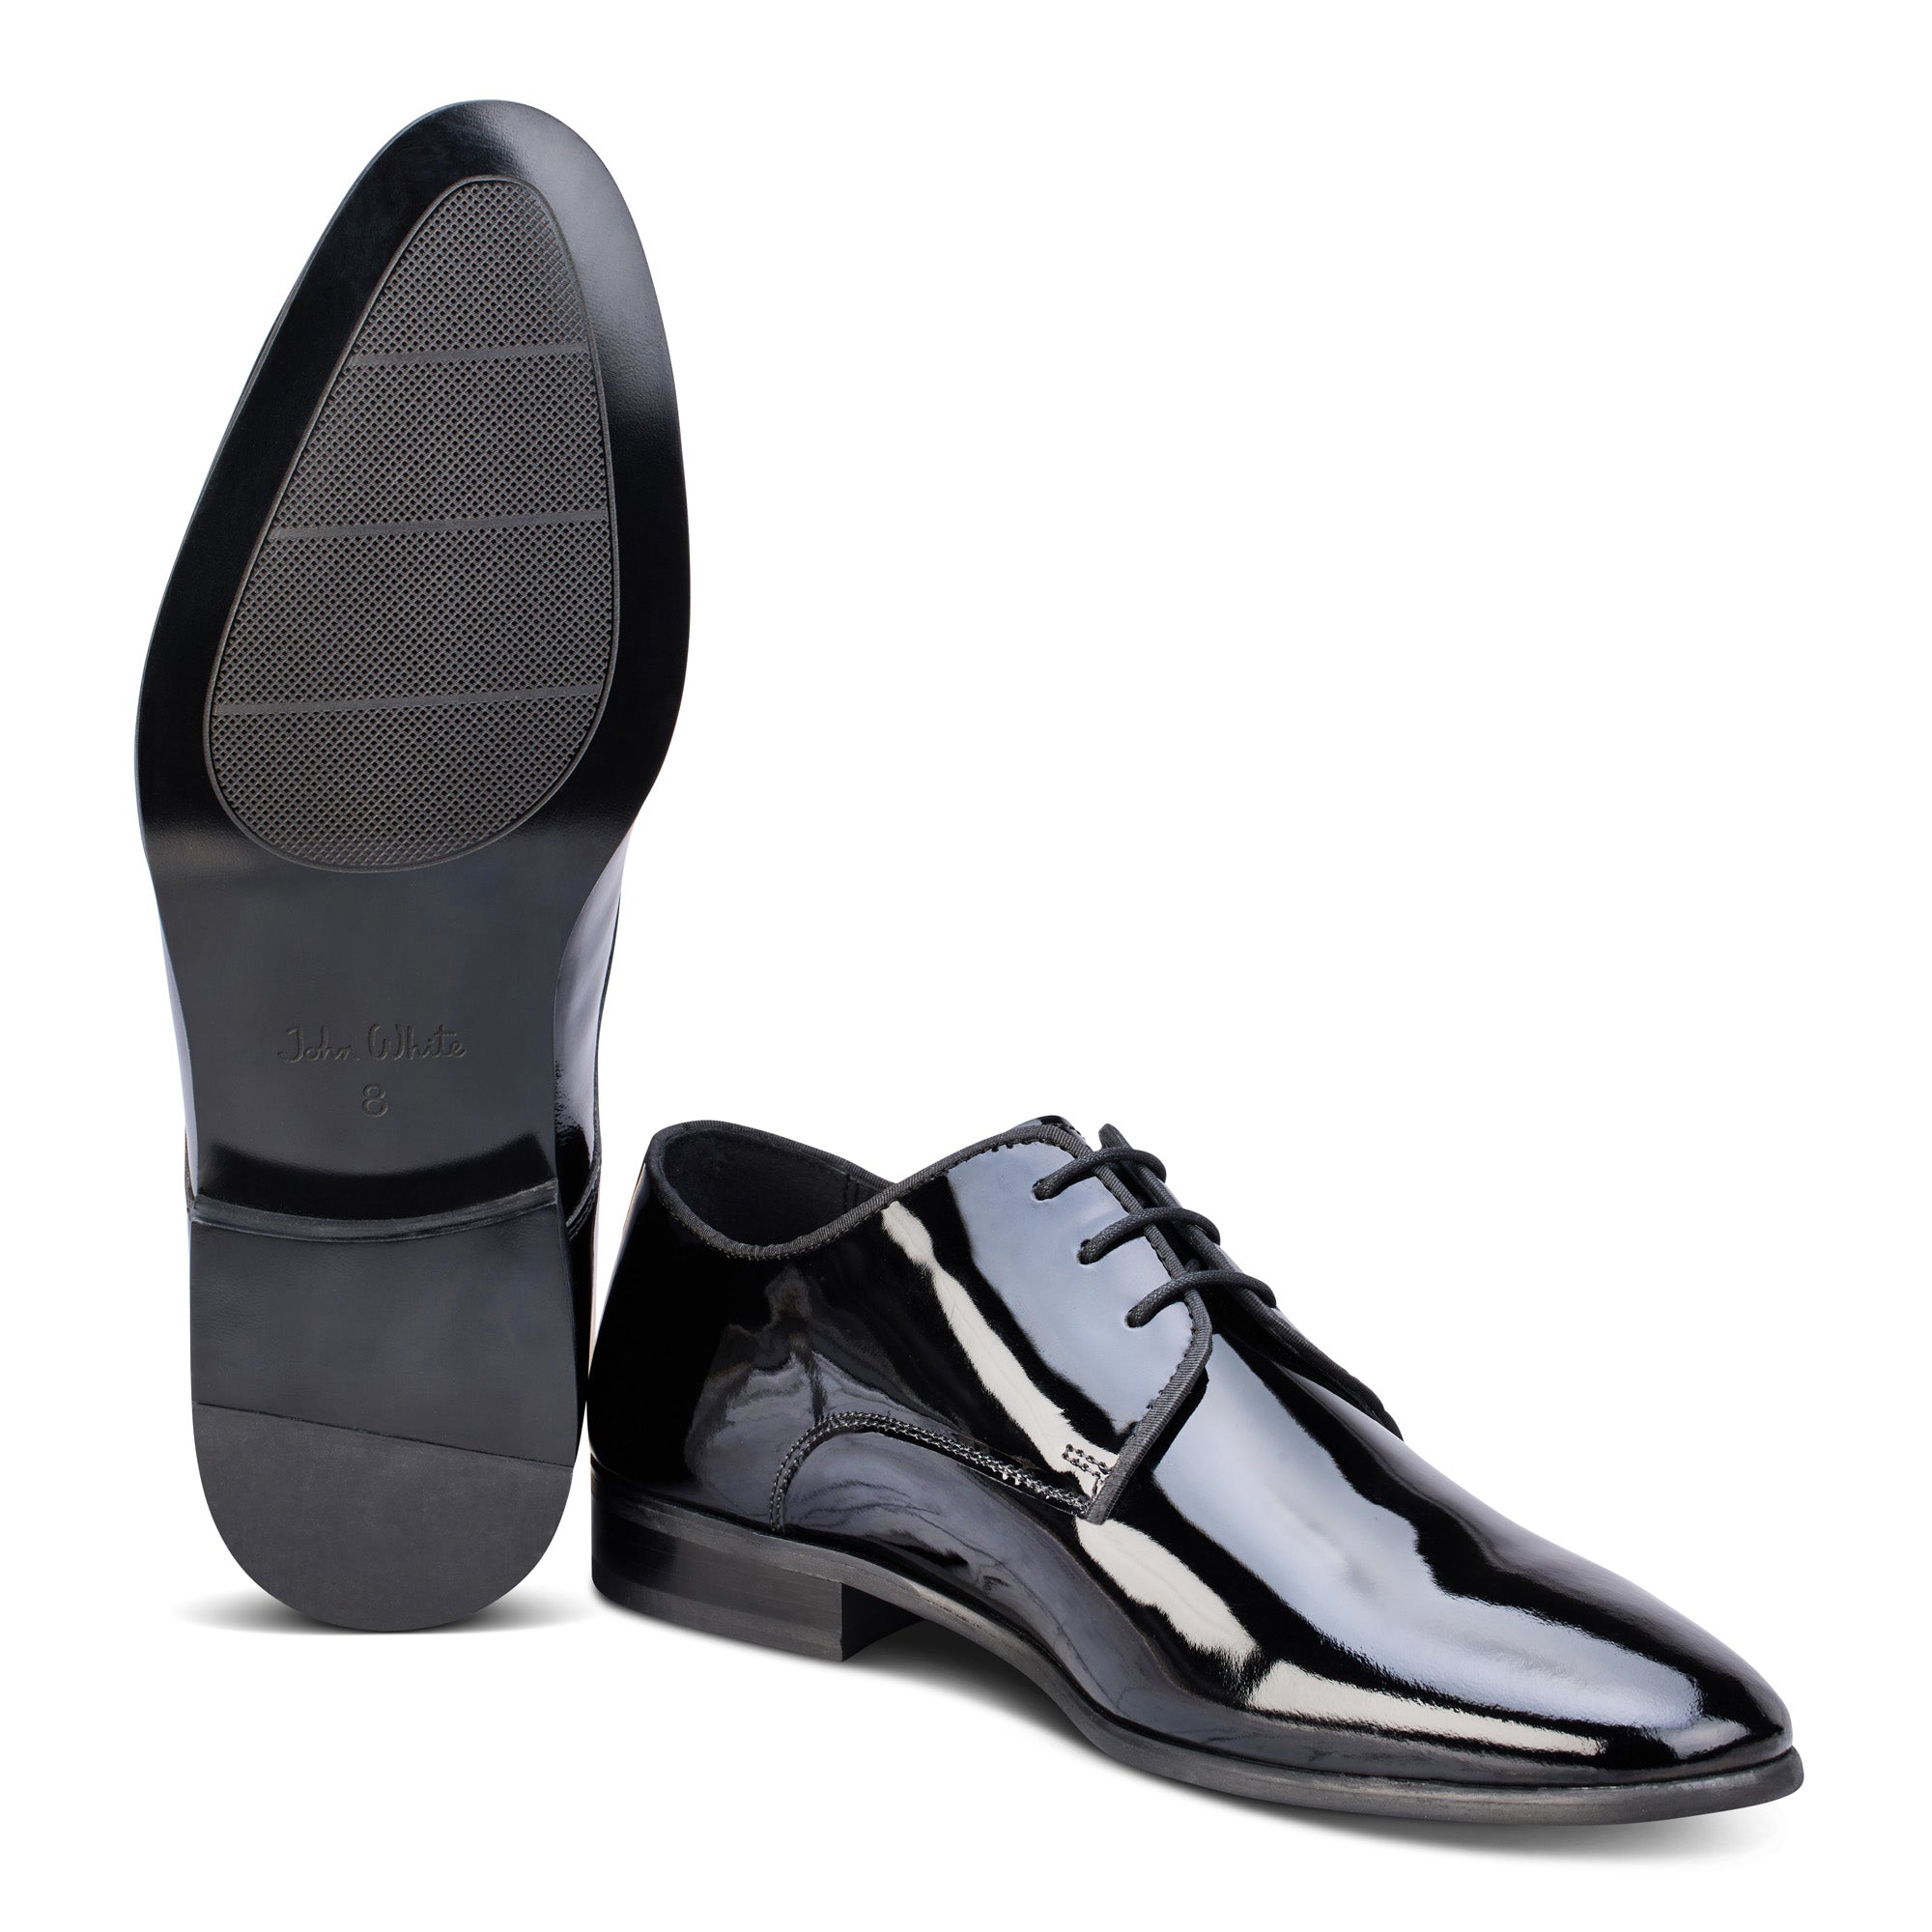
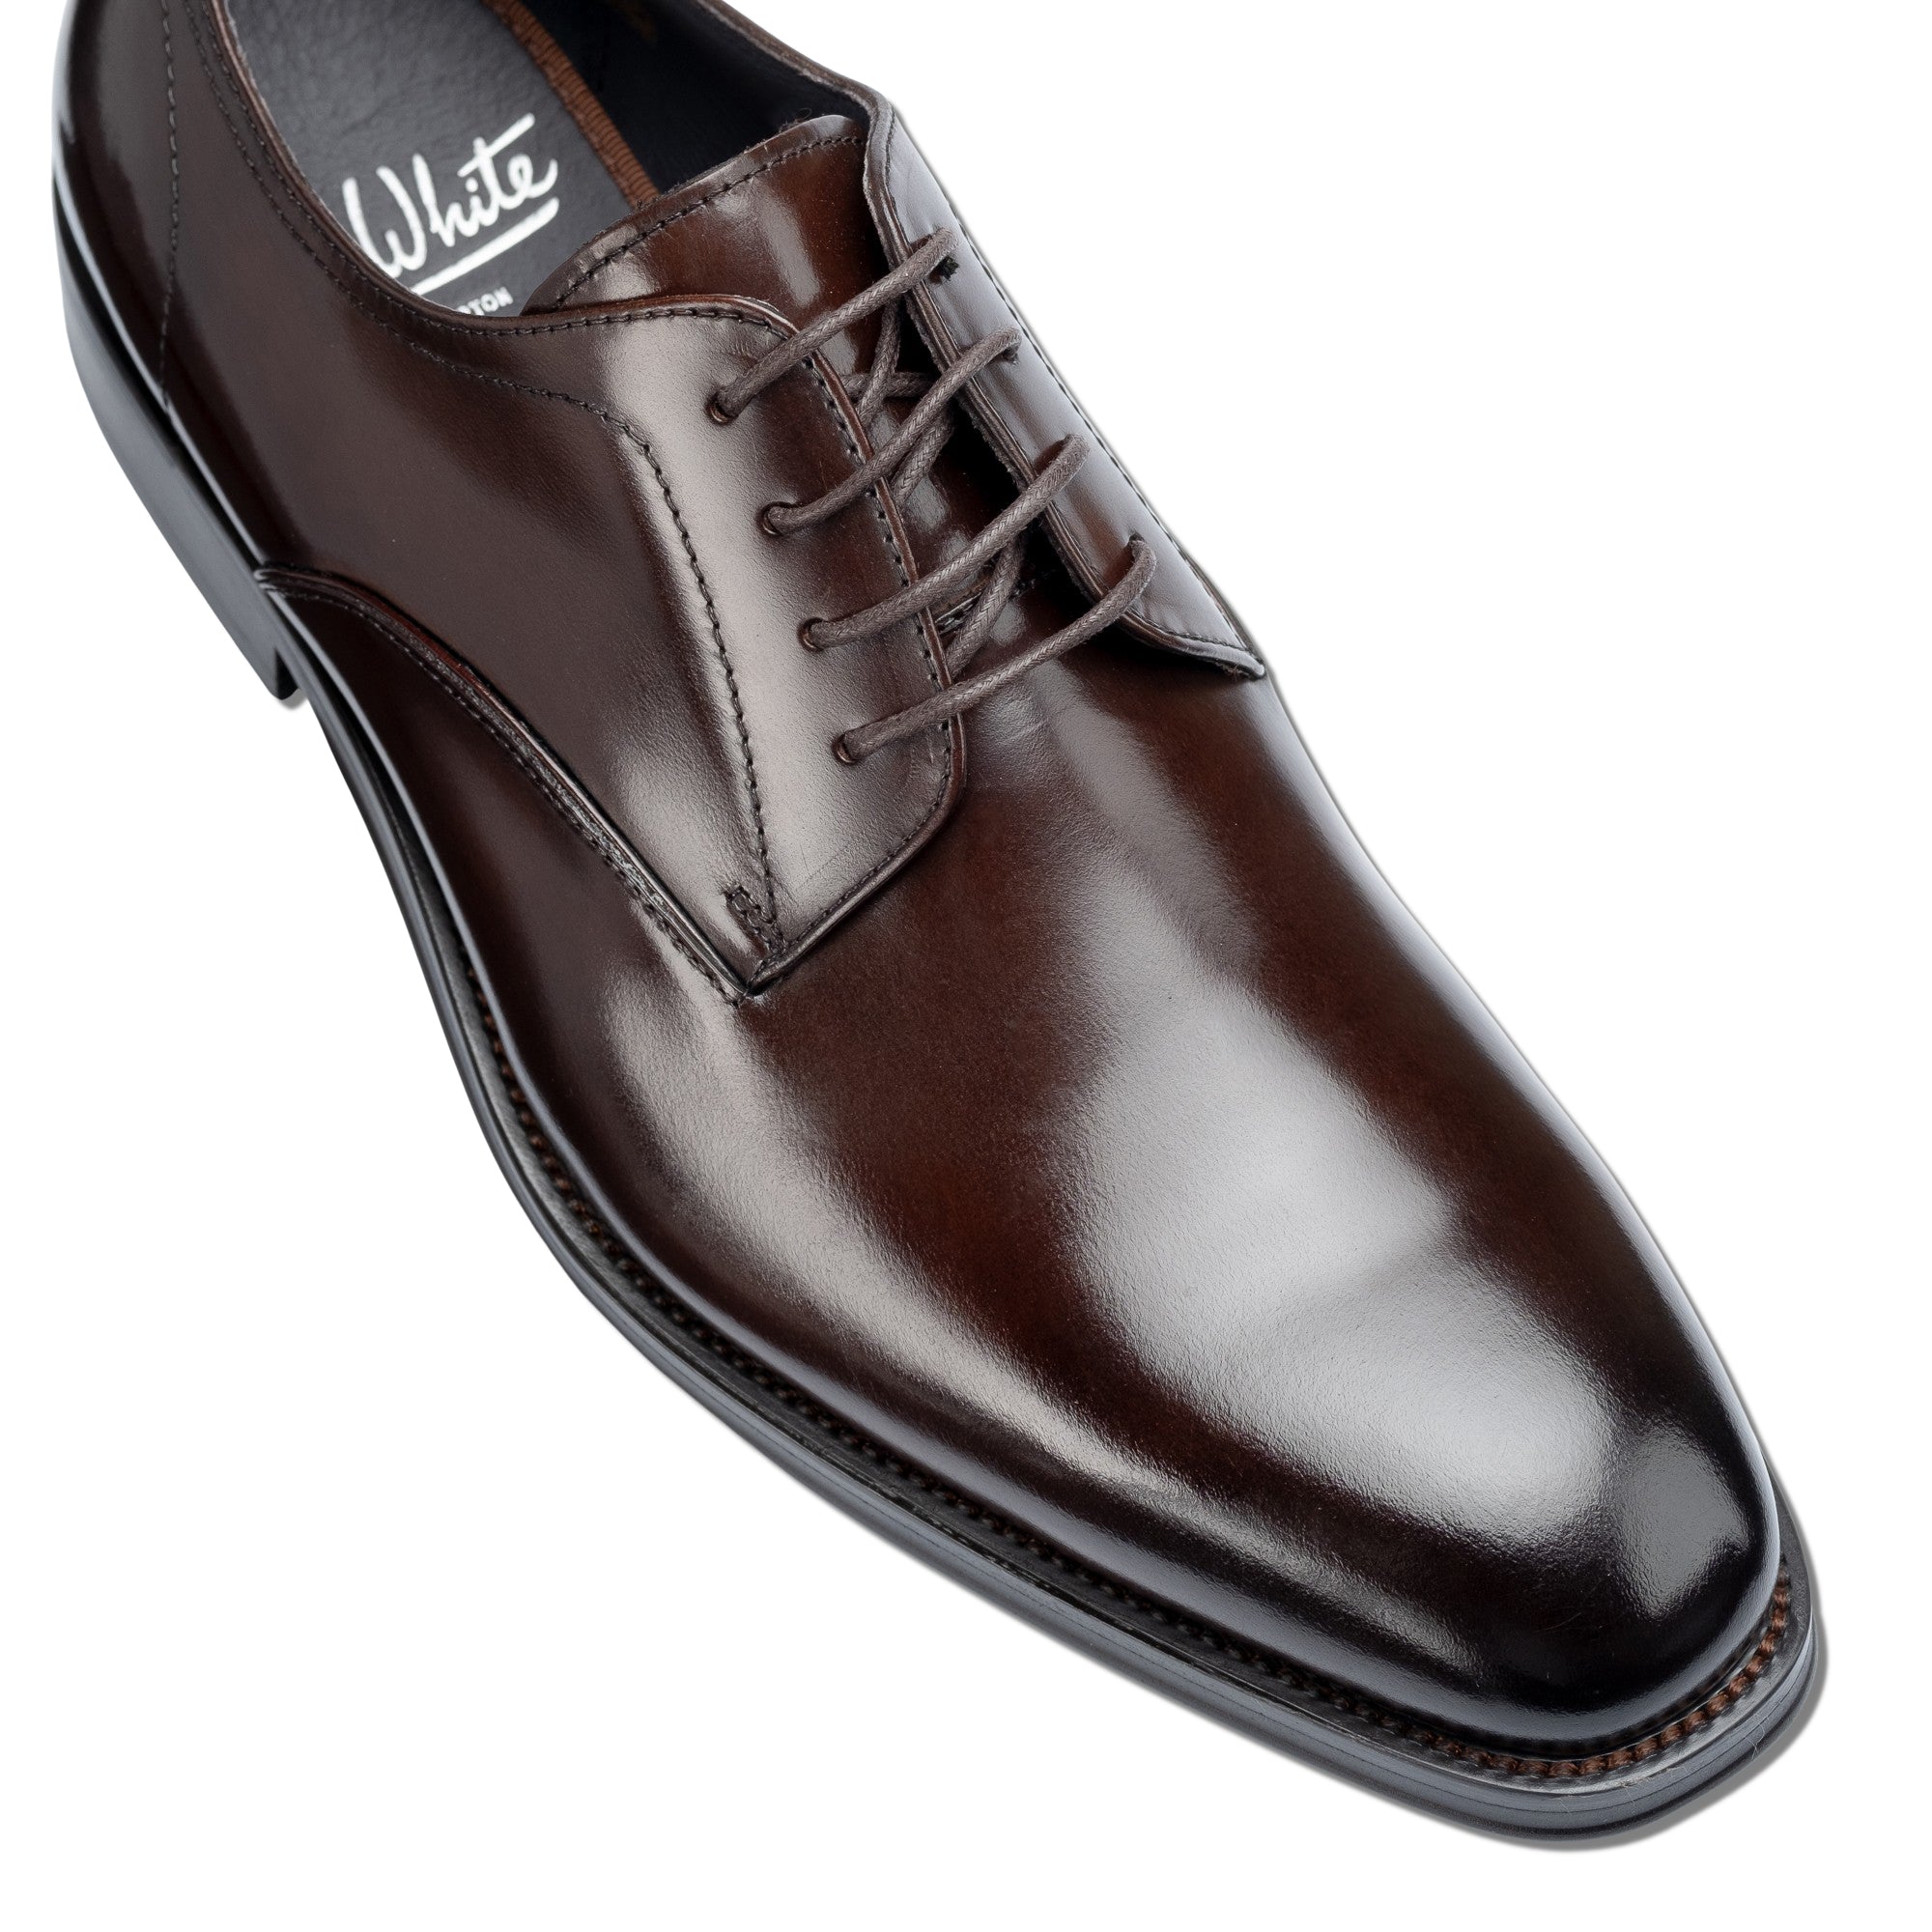
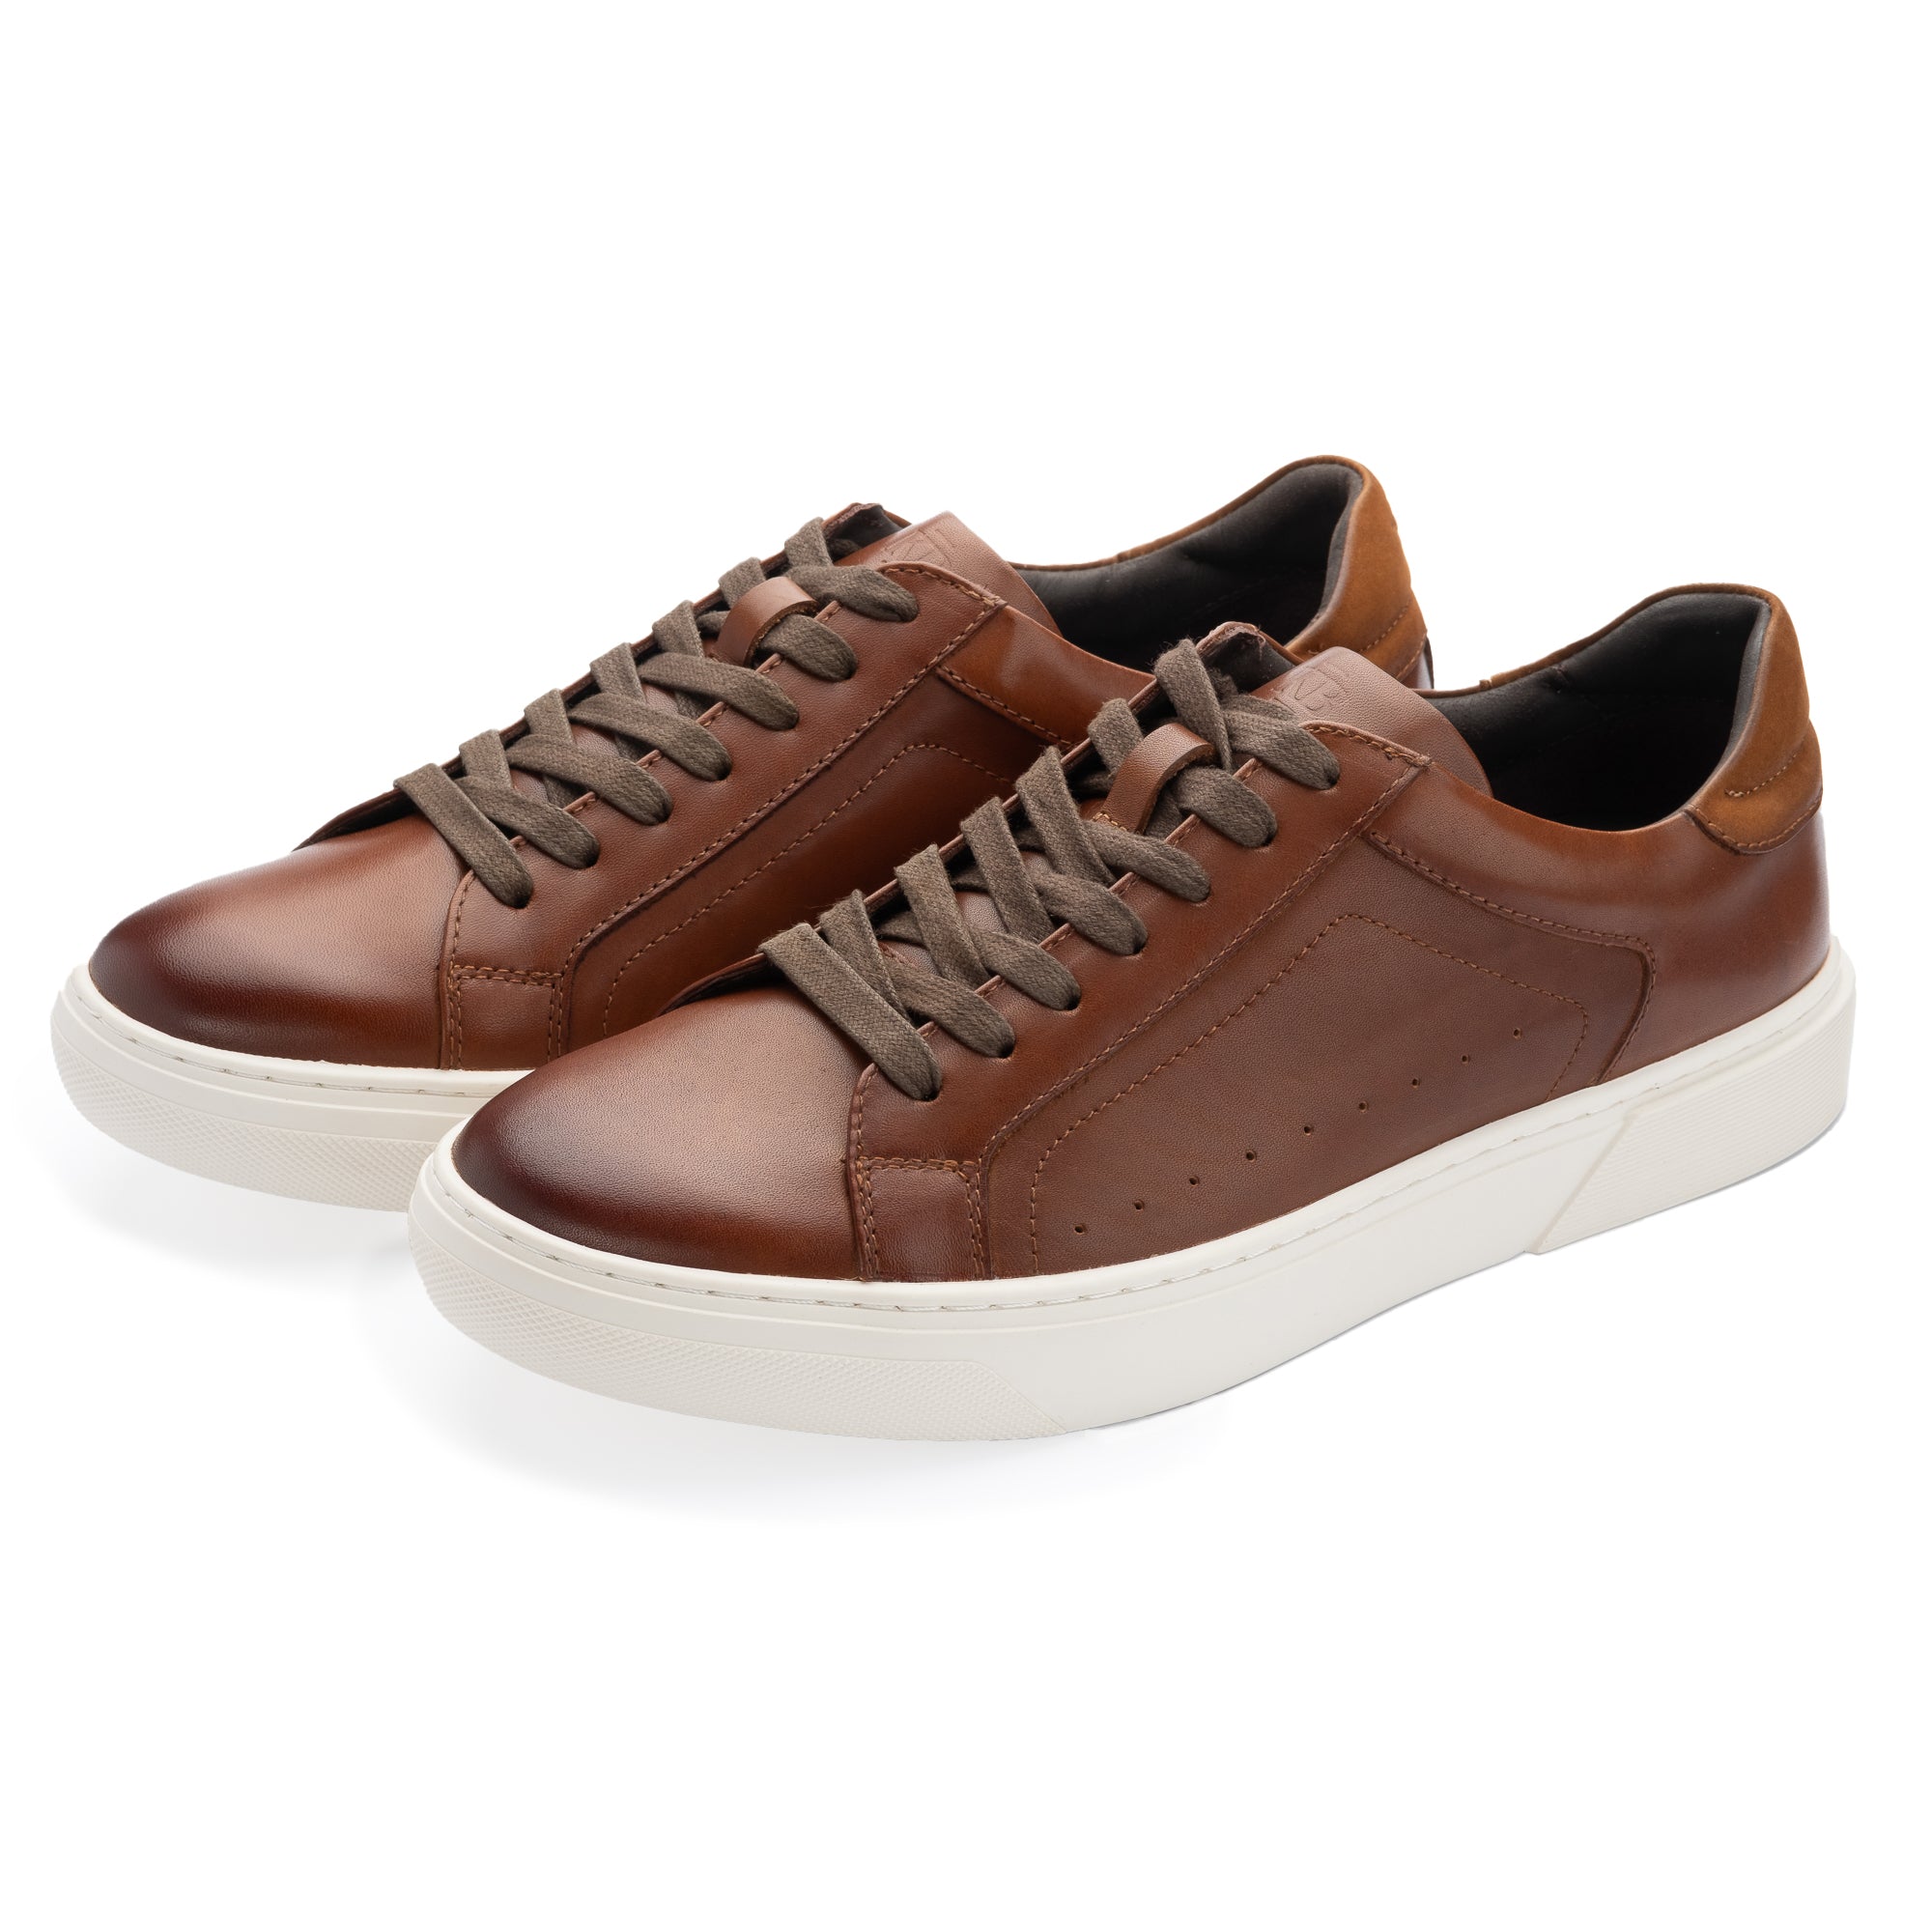
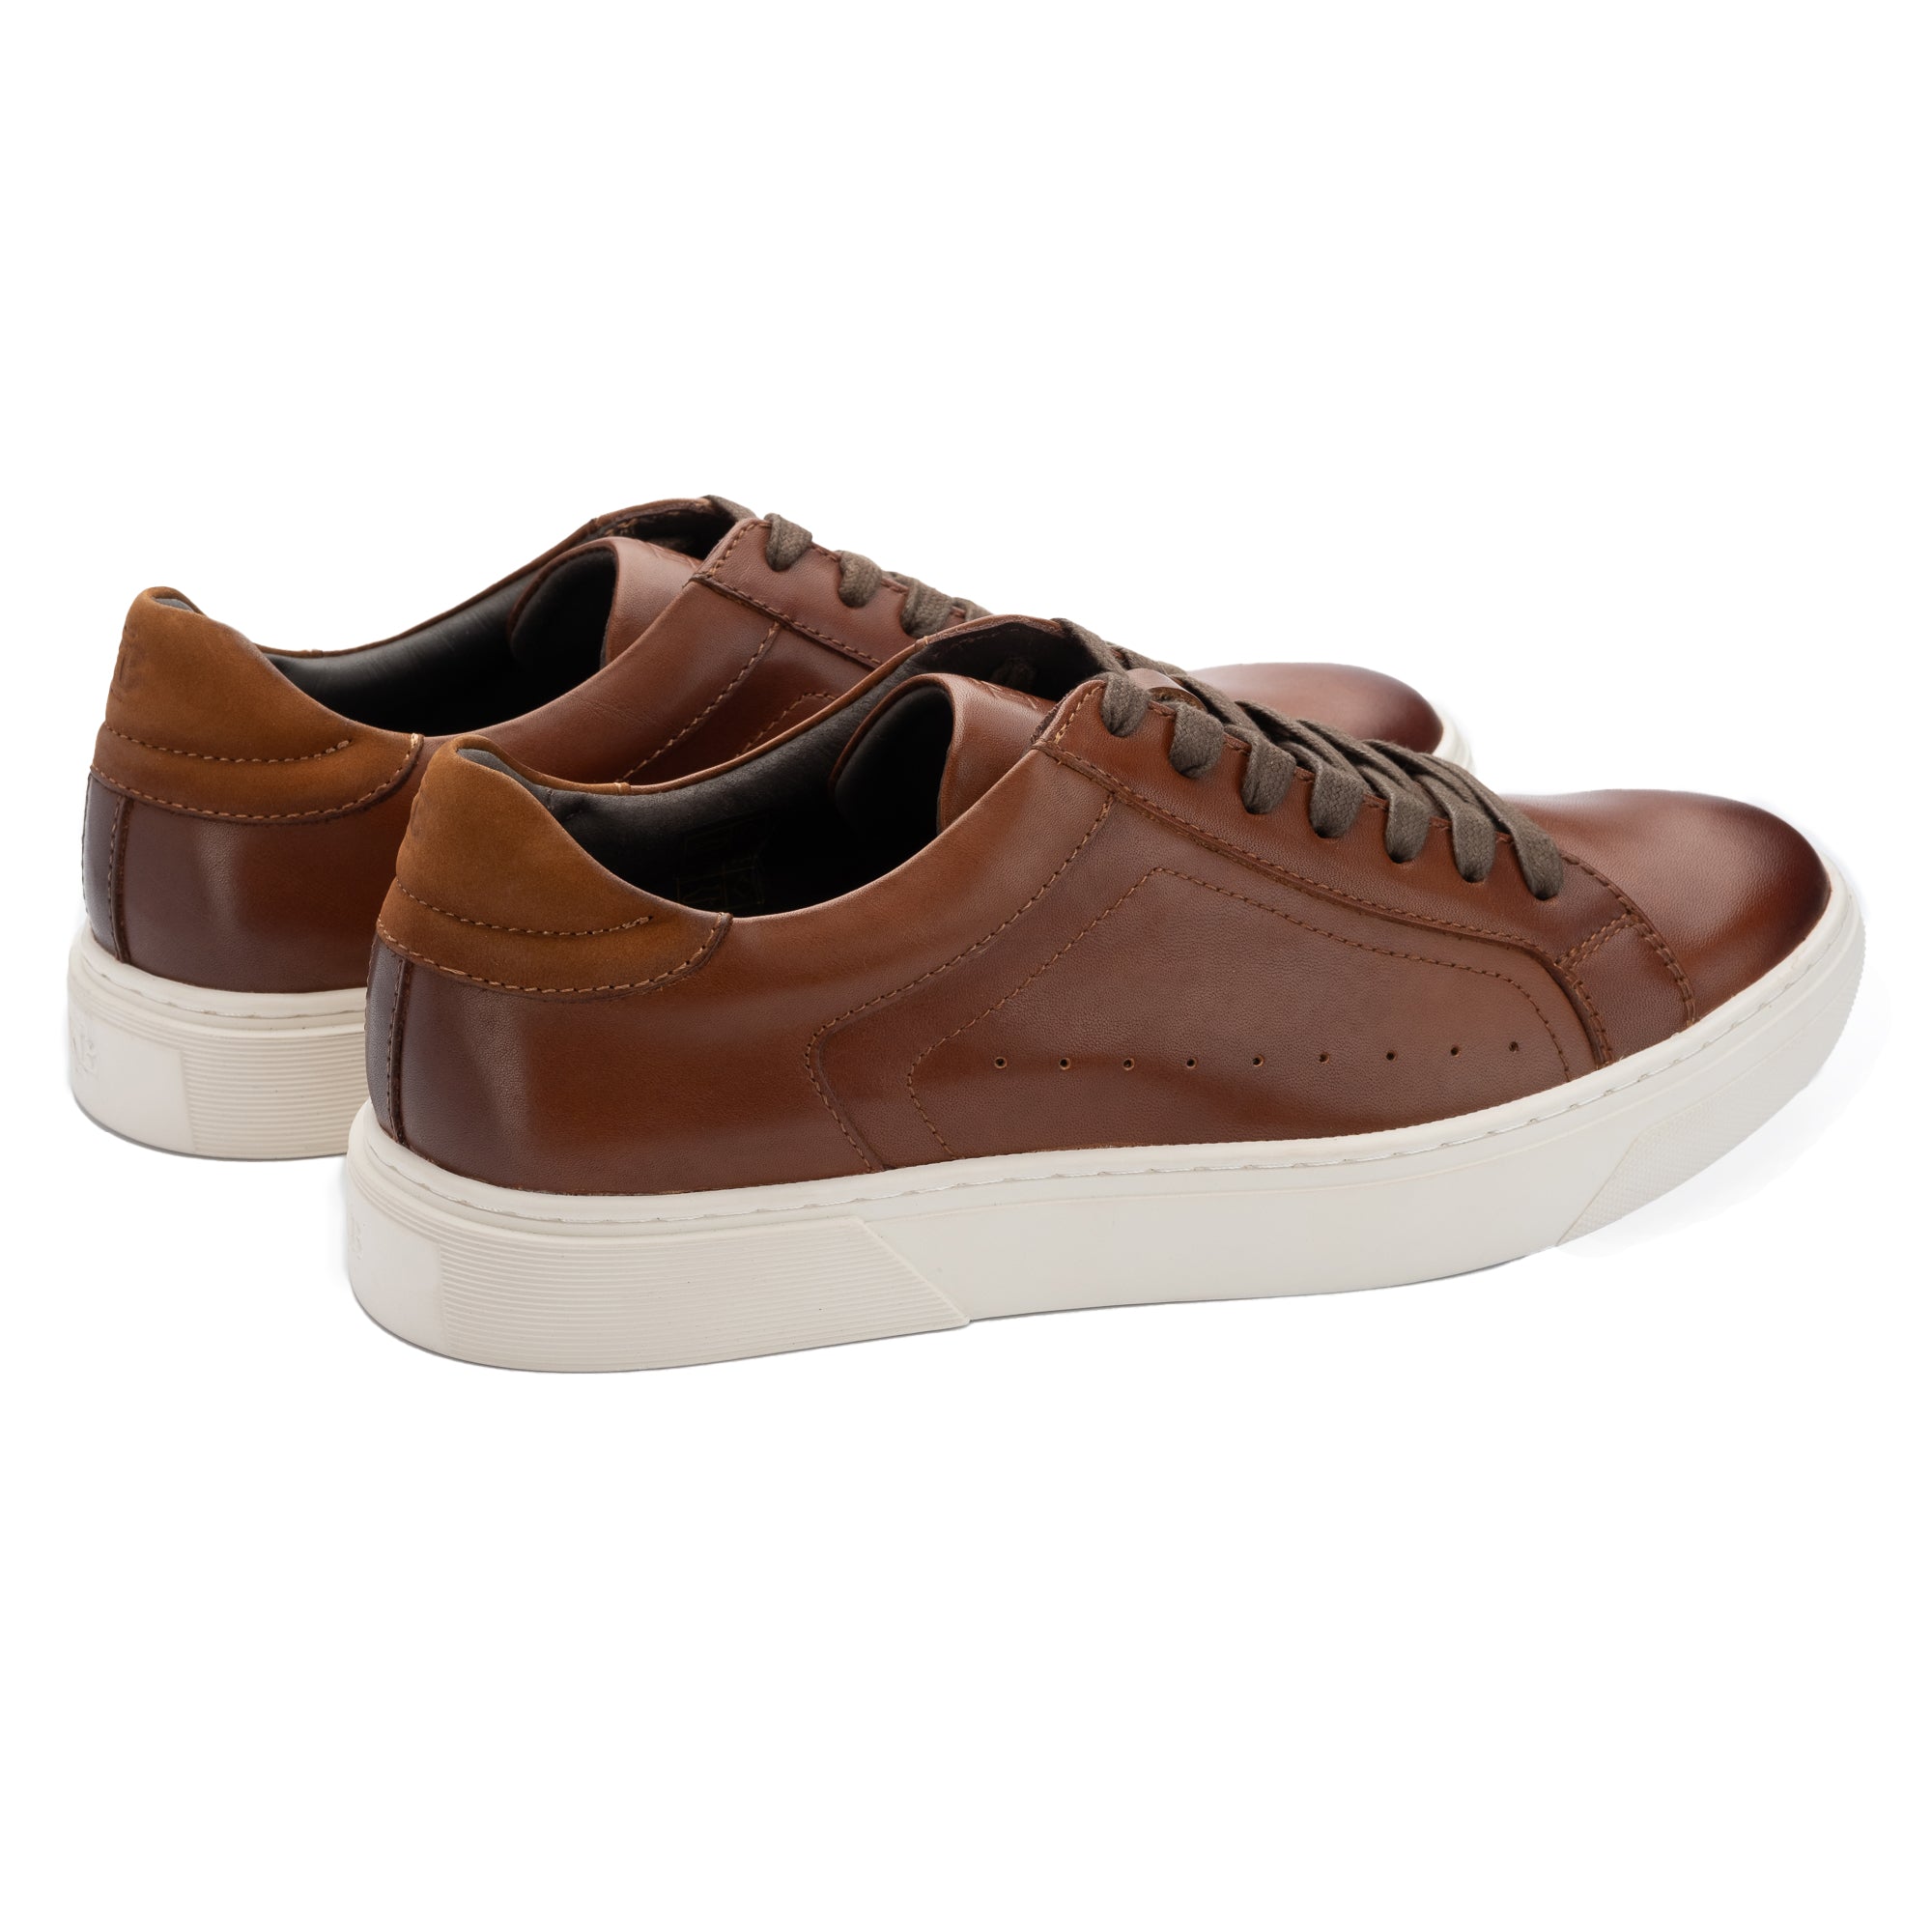
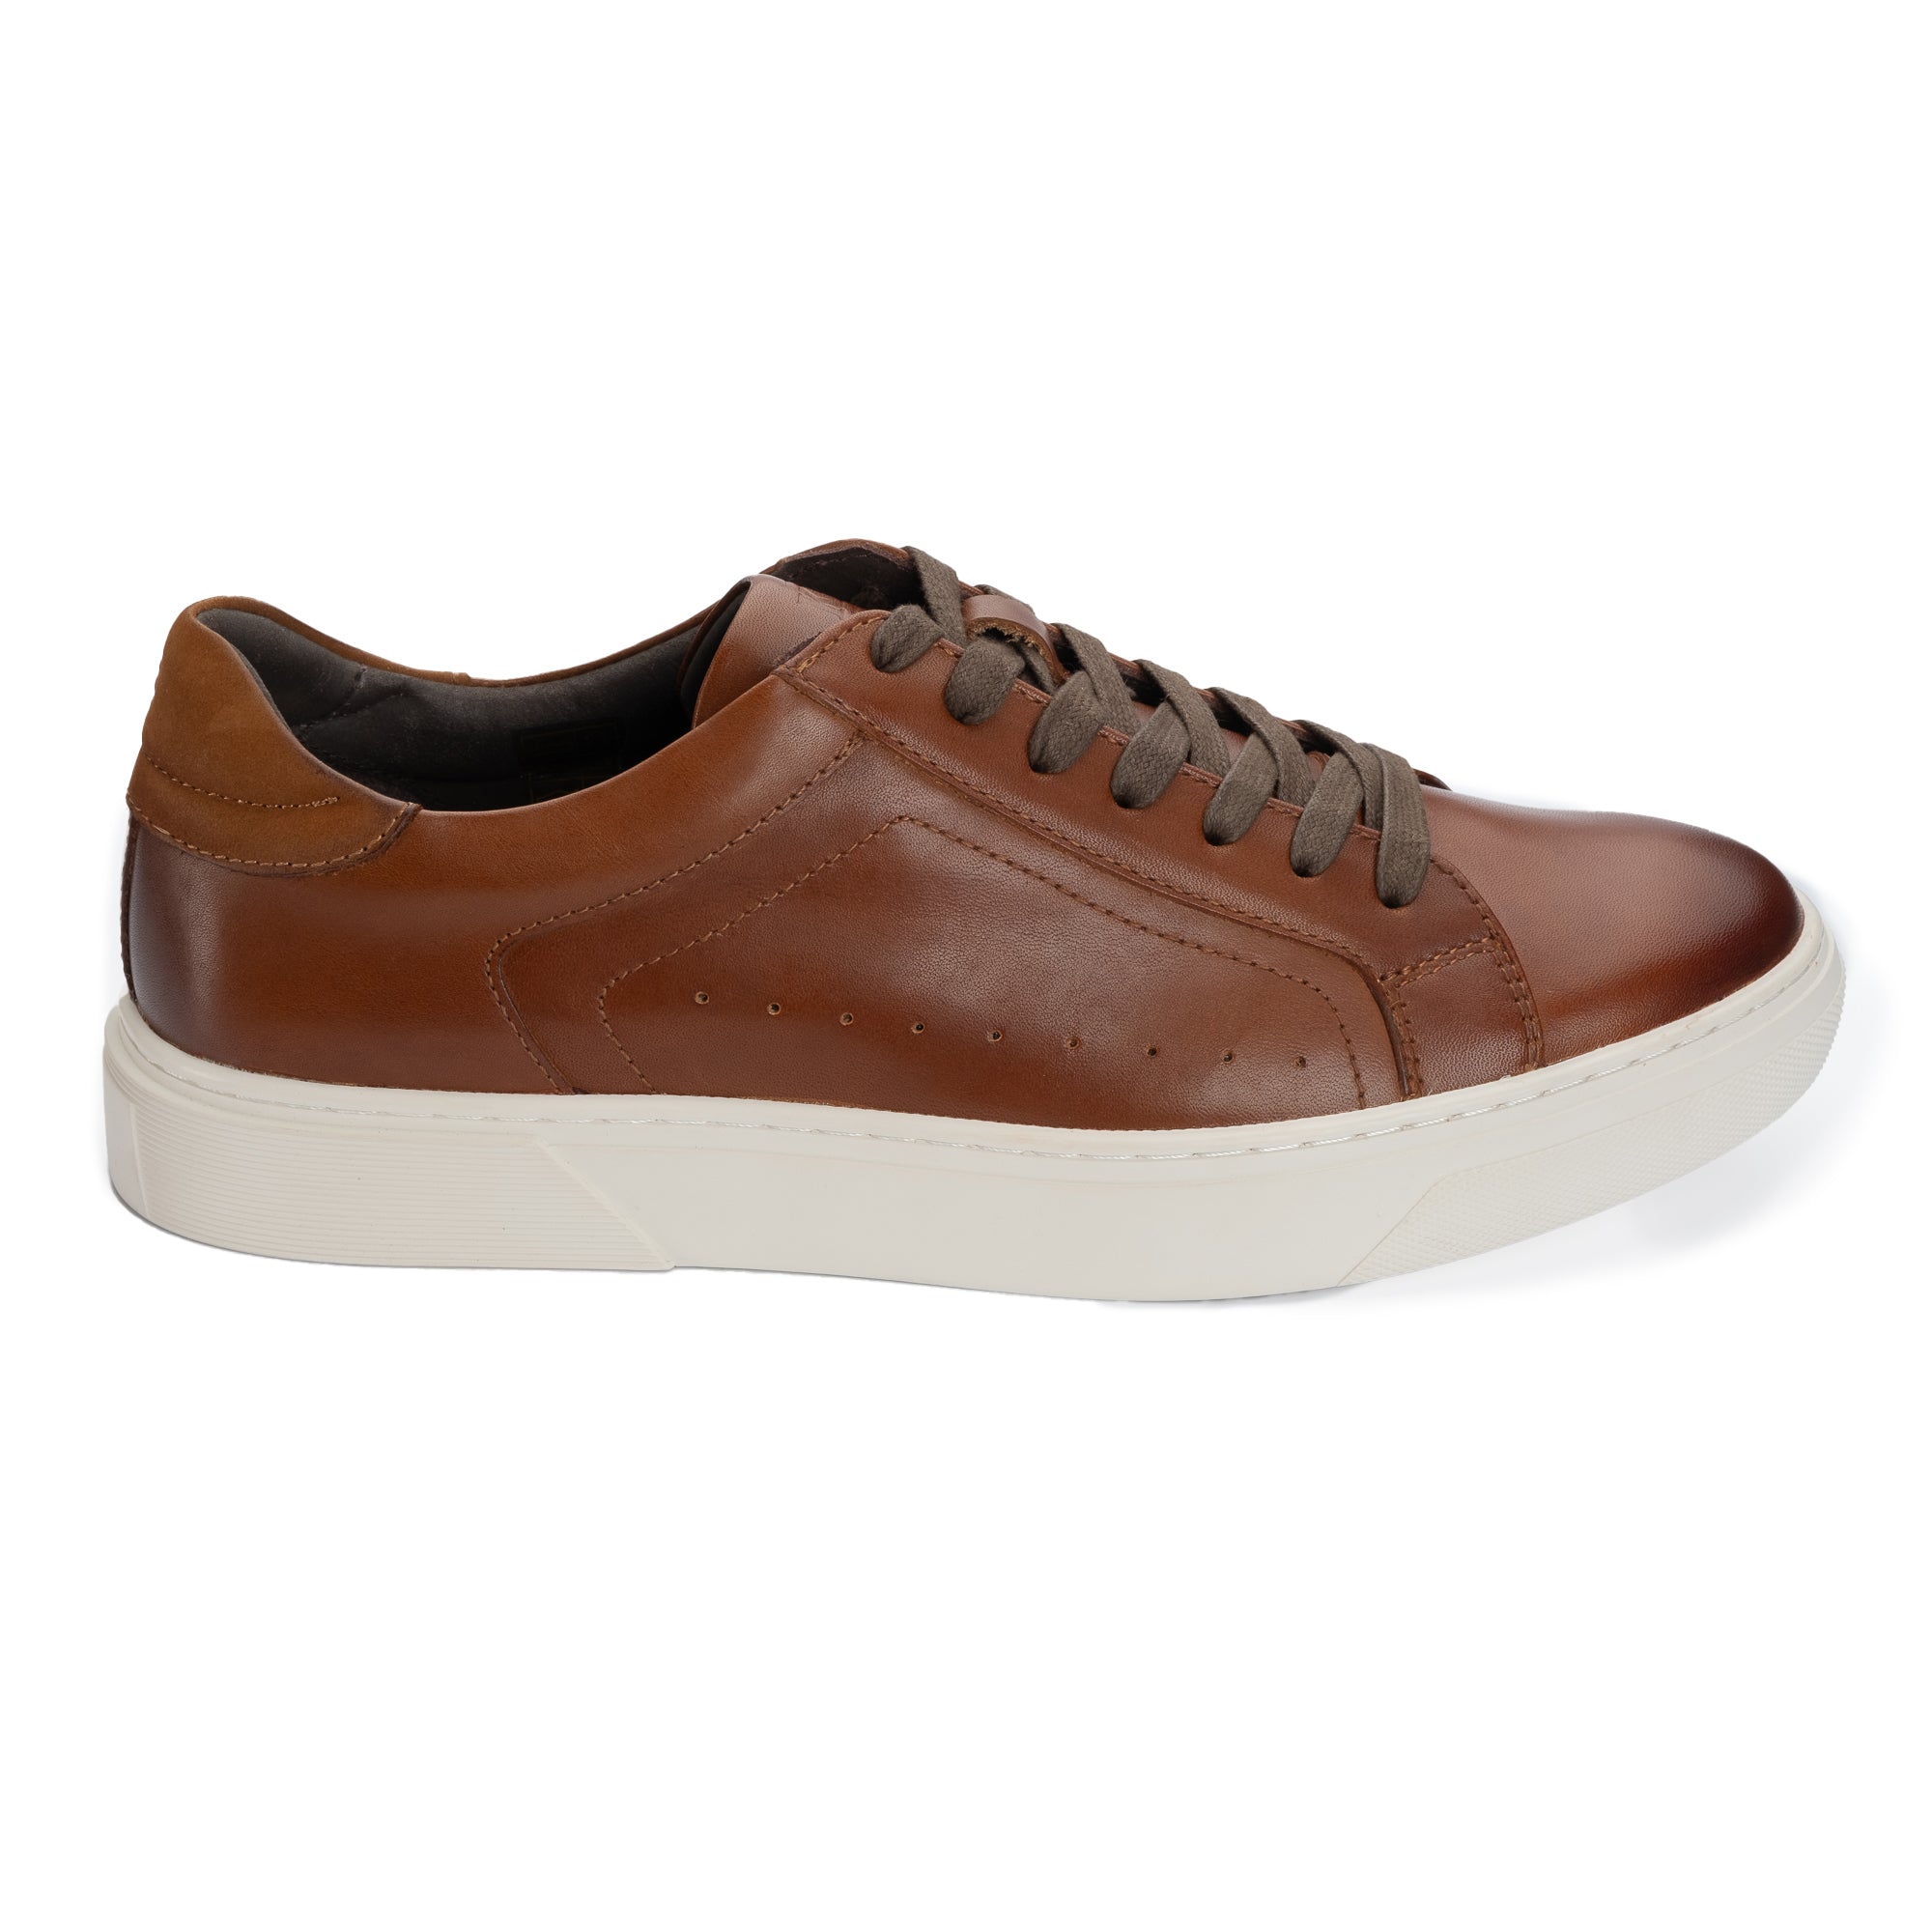
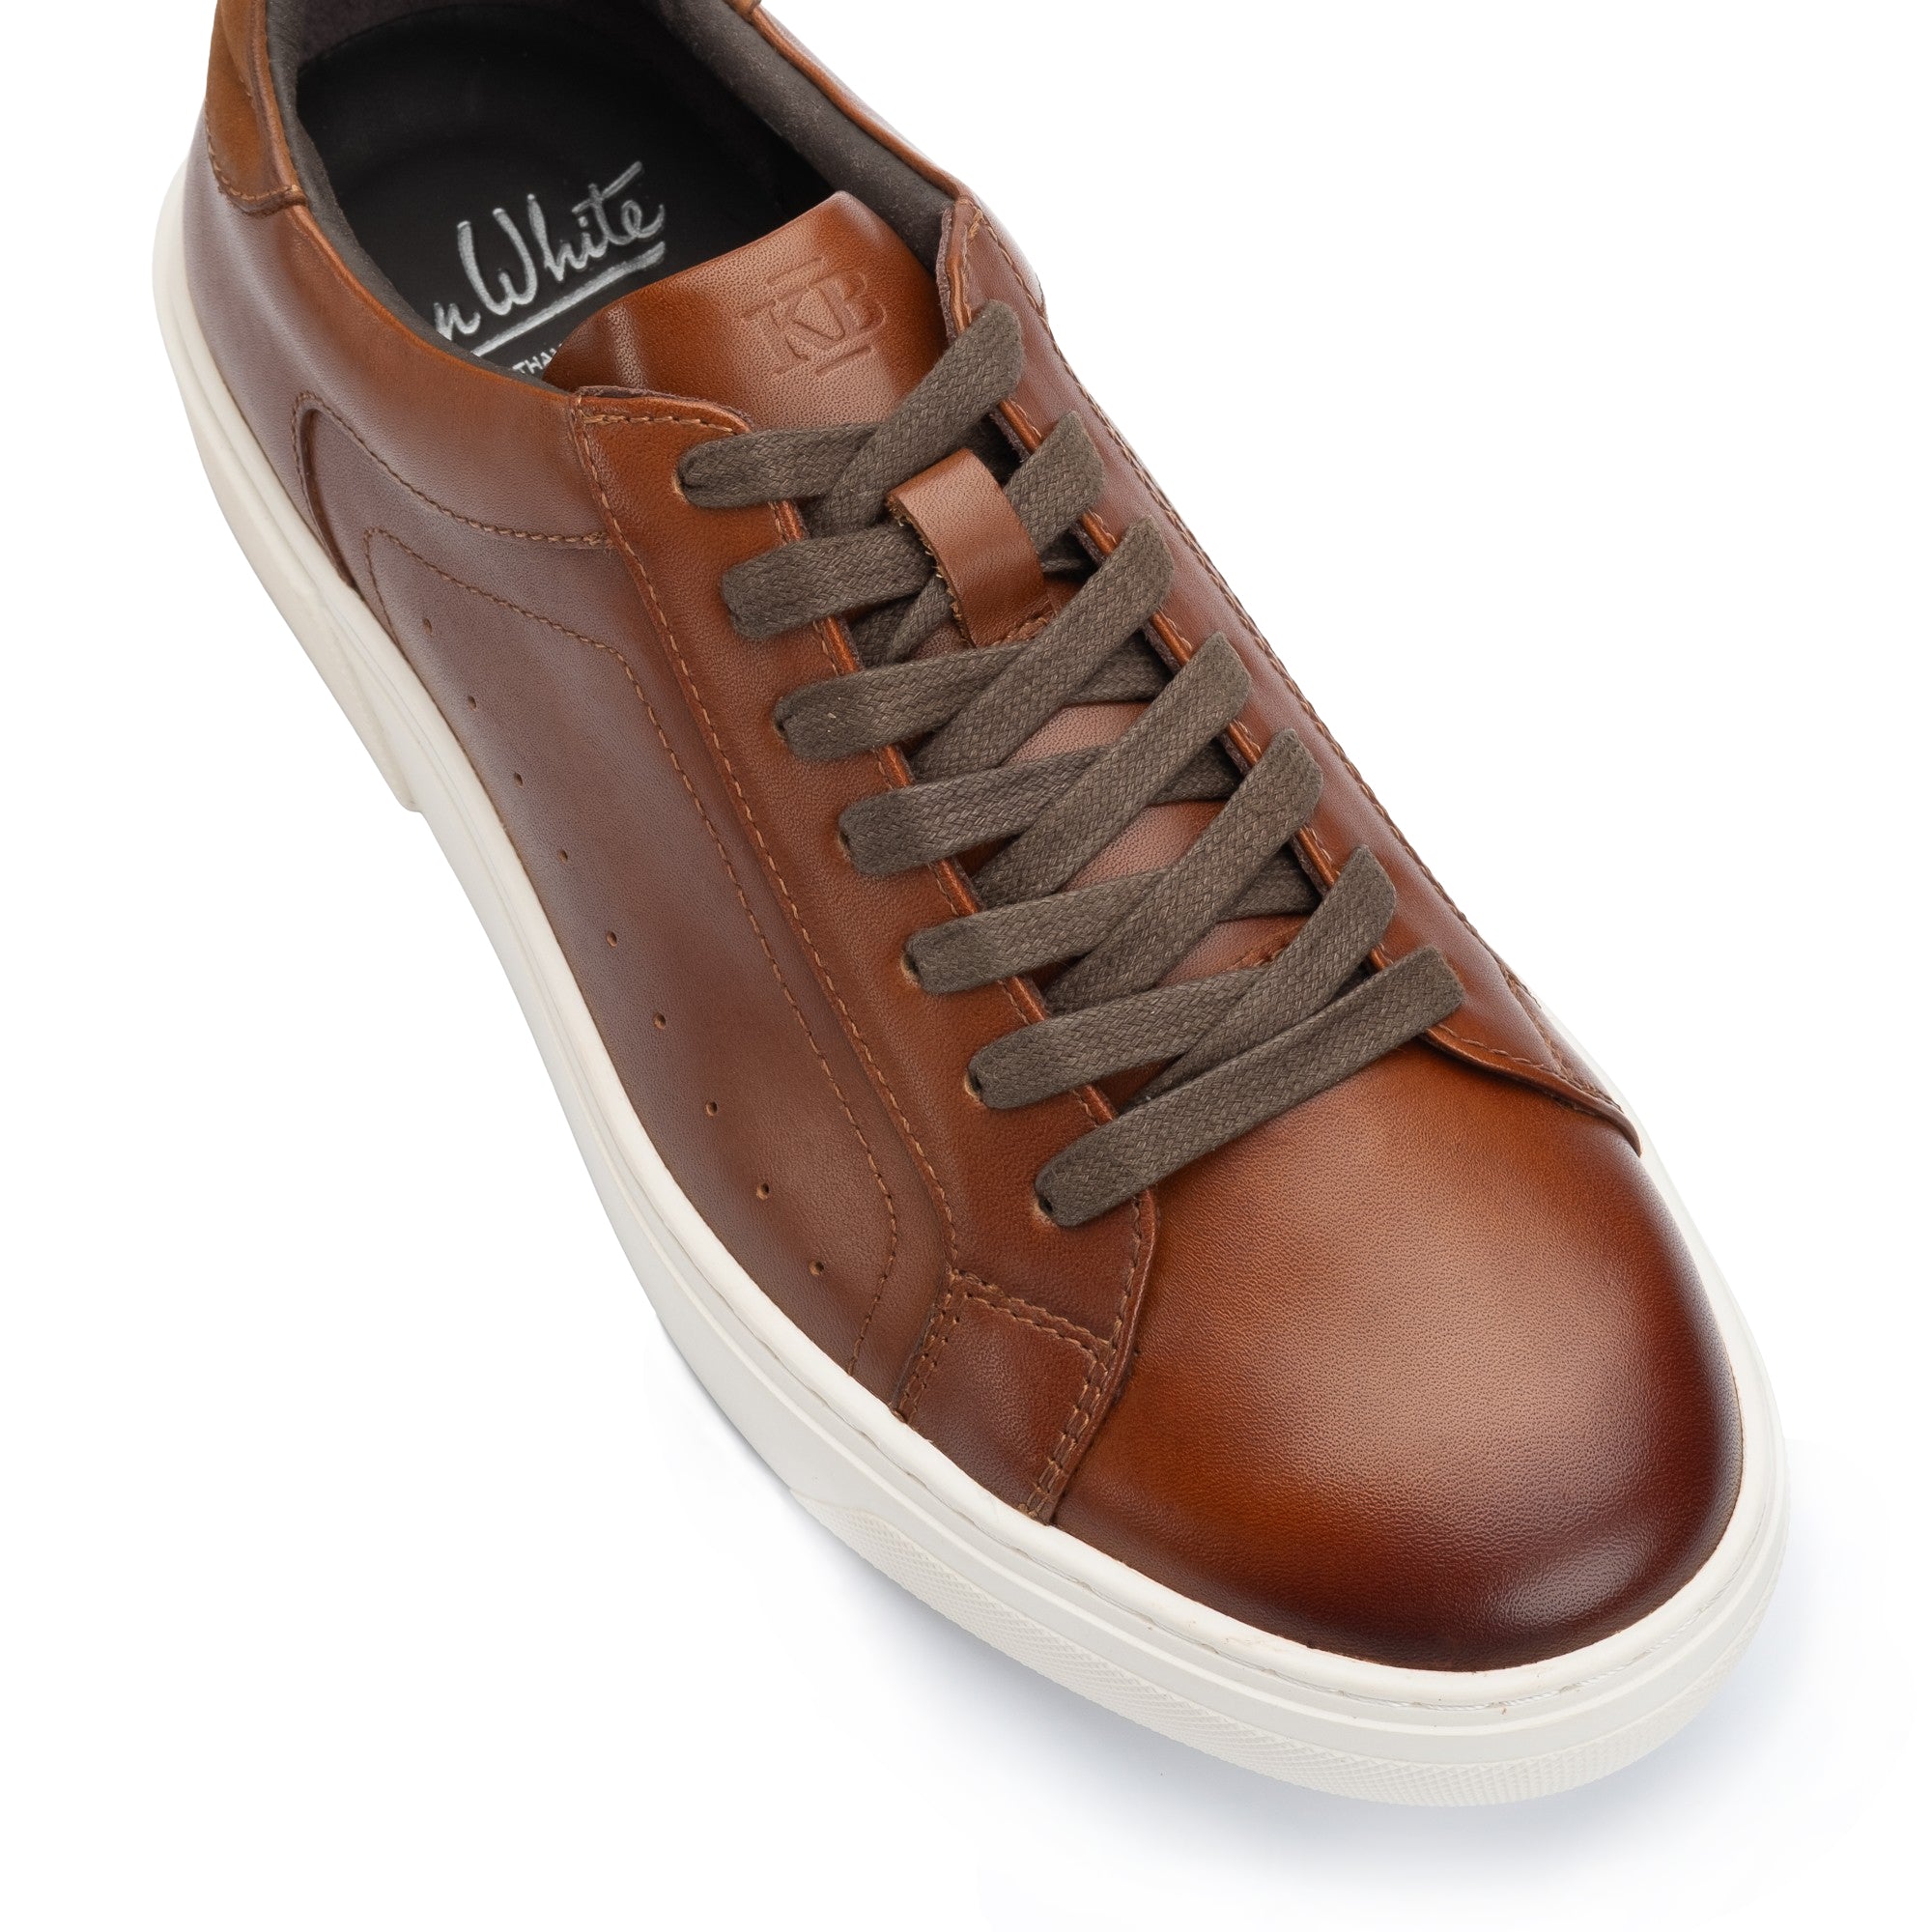
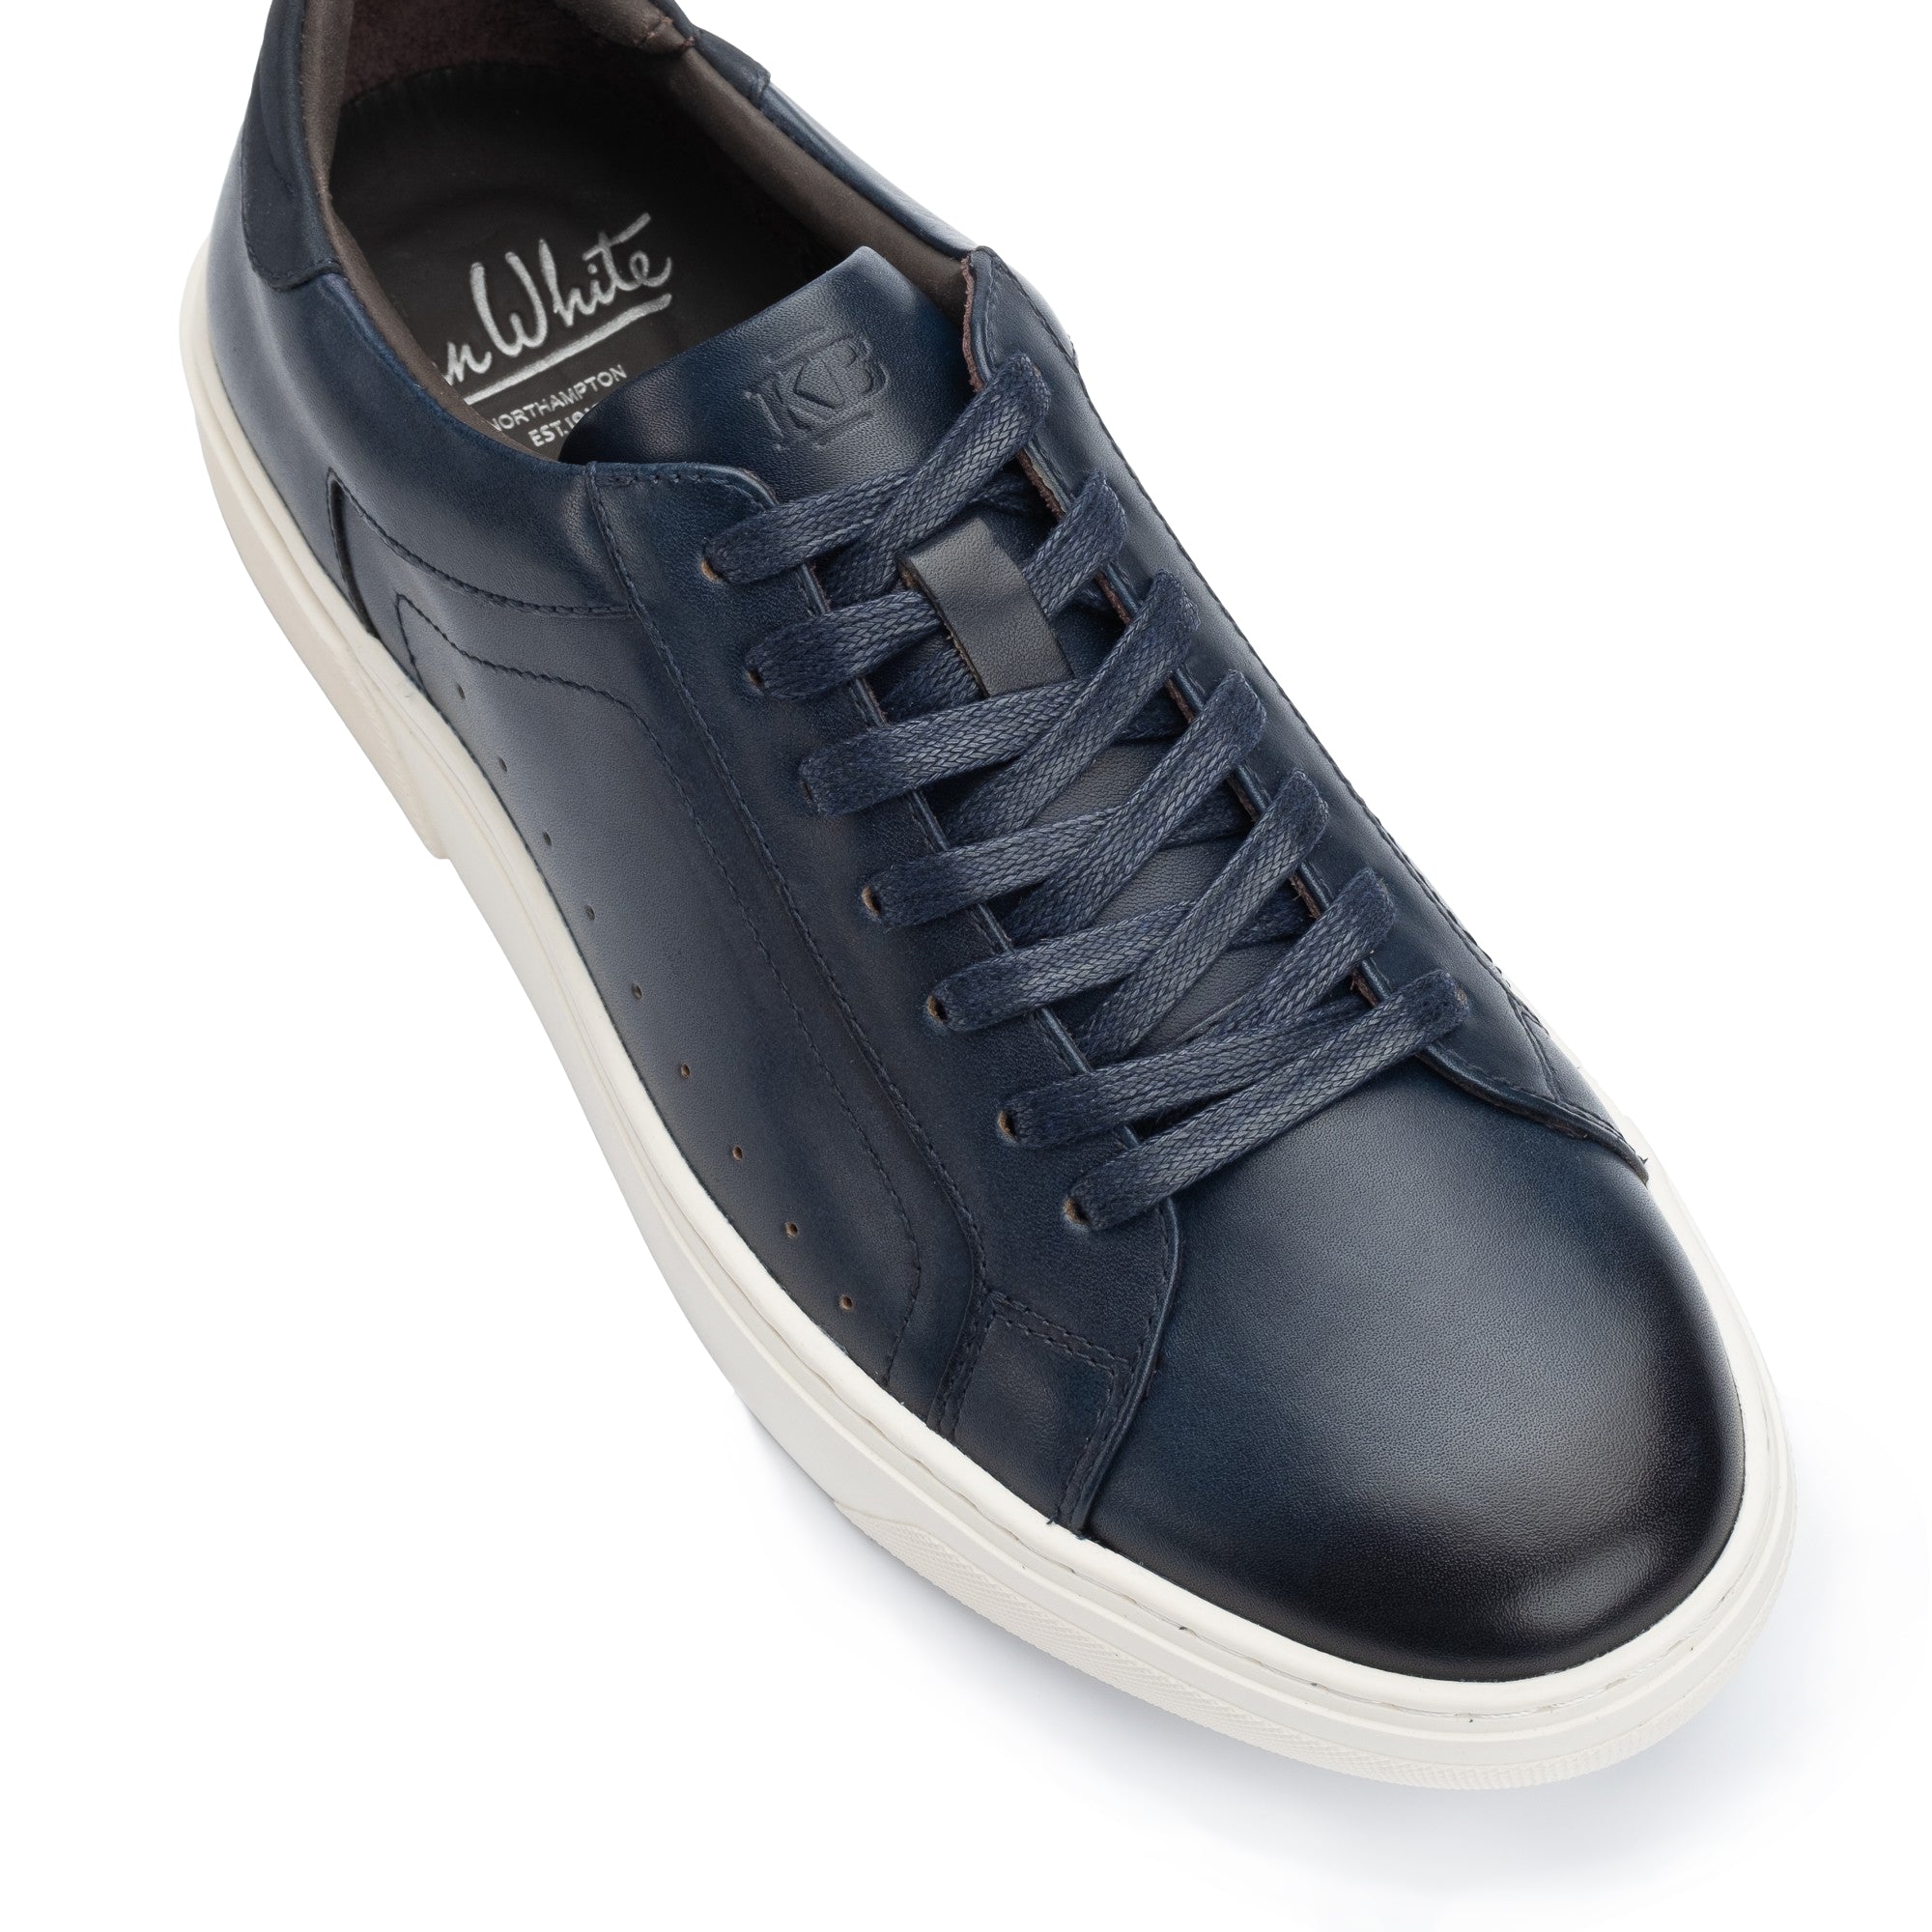
Our Premium Wax Polish is formulated to restore colour and lay a protective surface layer that reduces the impact of future contact marks. Browse the full footwear range at John White Shoes.
How Do You Remove Light Scuffs from Leather Shoes Step by Step?
Grade 1 scuffs — the most common type — often require nothing more than a cloth, some friction, and the correct polish sequence. According to the Society of Master Shoe Repairers, the majority of everyday scuffs on quality leather footwear are surface-level and respond fully to home treatment without the need for specialist products or professional intervention.
- Clean the shoe first. Remove dirt and surface debris with a barely damp cloth. Applying product to a dirty surface works the grit deeper into the finish.
- Dampen a clean cloth slightly and rub the scuffed area in small circular motions. The light friction generates minimal heat that helps re-seat the displaced finish — for many Grade 1 scuffs, this alone is sufficient.
- Allow the leather to dry completely before applying any product. Polish applied to damp leather traps moisture and can cause blooming — a white surface haze.
- Apply a small amount of matching cream polish to the scuffed area using a cloth or applicator brush. Work in circular strokes, blending outward at the edges.
- Allow to dry for five minutes, then buff to a shine with a clean dry cloth or brush.
- Finish with wax polish over the entire shoe to unify the sheen and protect the repair.
For light scuffs, the sequence — clean, dry, condition, colour, seal — matters more than any individual product in the kit.
How Do You Fix Deeper Scuffs and Grazes on Leather Footwear?
Grade 2 and Grade 3 scuffs require more considered treatment. The finish — and potentially part of the grain — has been removed, so the aim is to restore surface texture and colour before polishing.
- Clean and dry the shoe as above.
- Apply leather conditioner to the damaged area and allow it to absorb for ten minutes. This restores flexibility to the leather fibres around the scuff and prevents cracking during the repair process.
- For Grade 3 scuffs: Apply a leather filler to the abraded patch using a cotton bud or small spatula. Allow it to dry fully — typically 20–30 minutes — then level lightly with ultra-fine (400+ grit) sandpaper. Wipe clean before proceeding.
- Apply matching colour cream polish in thin layers, allowing each coat to dry before applying the next. Multiple thin coats bond better and look more natural than a single heavy application.
- Once colour is restored, apply wax polish over the entire shoe to unify the finish and prevent the repaired area from standing out.
- Buff and allow to cure for at least one hour before wearing.
Colour matching is the hardest element of this process. The Leather Conservation Centre recommends testing any colour product on a discreet area — the inner heel counter or welt edge — before applying to a visible surface. Leather darkens when conditioned, so factor this into your colour selection.
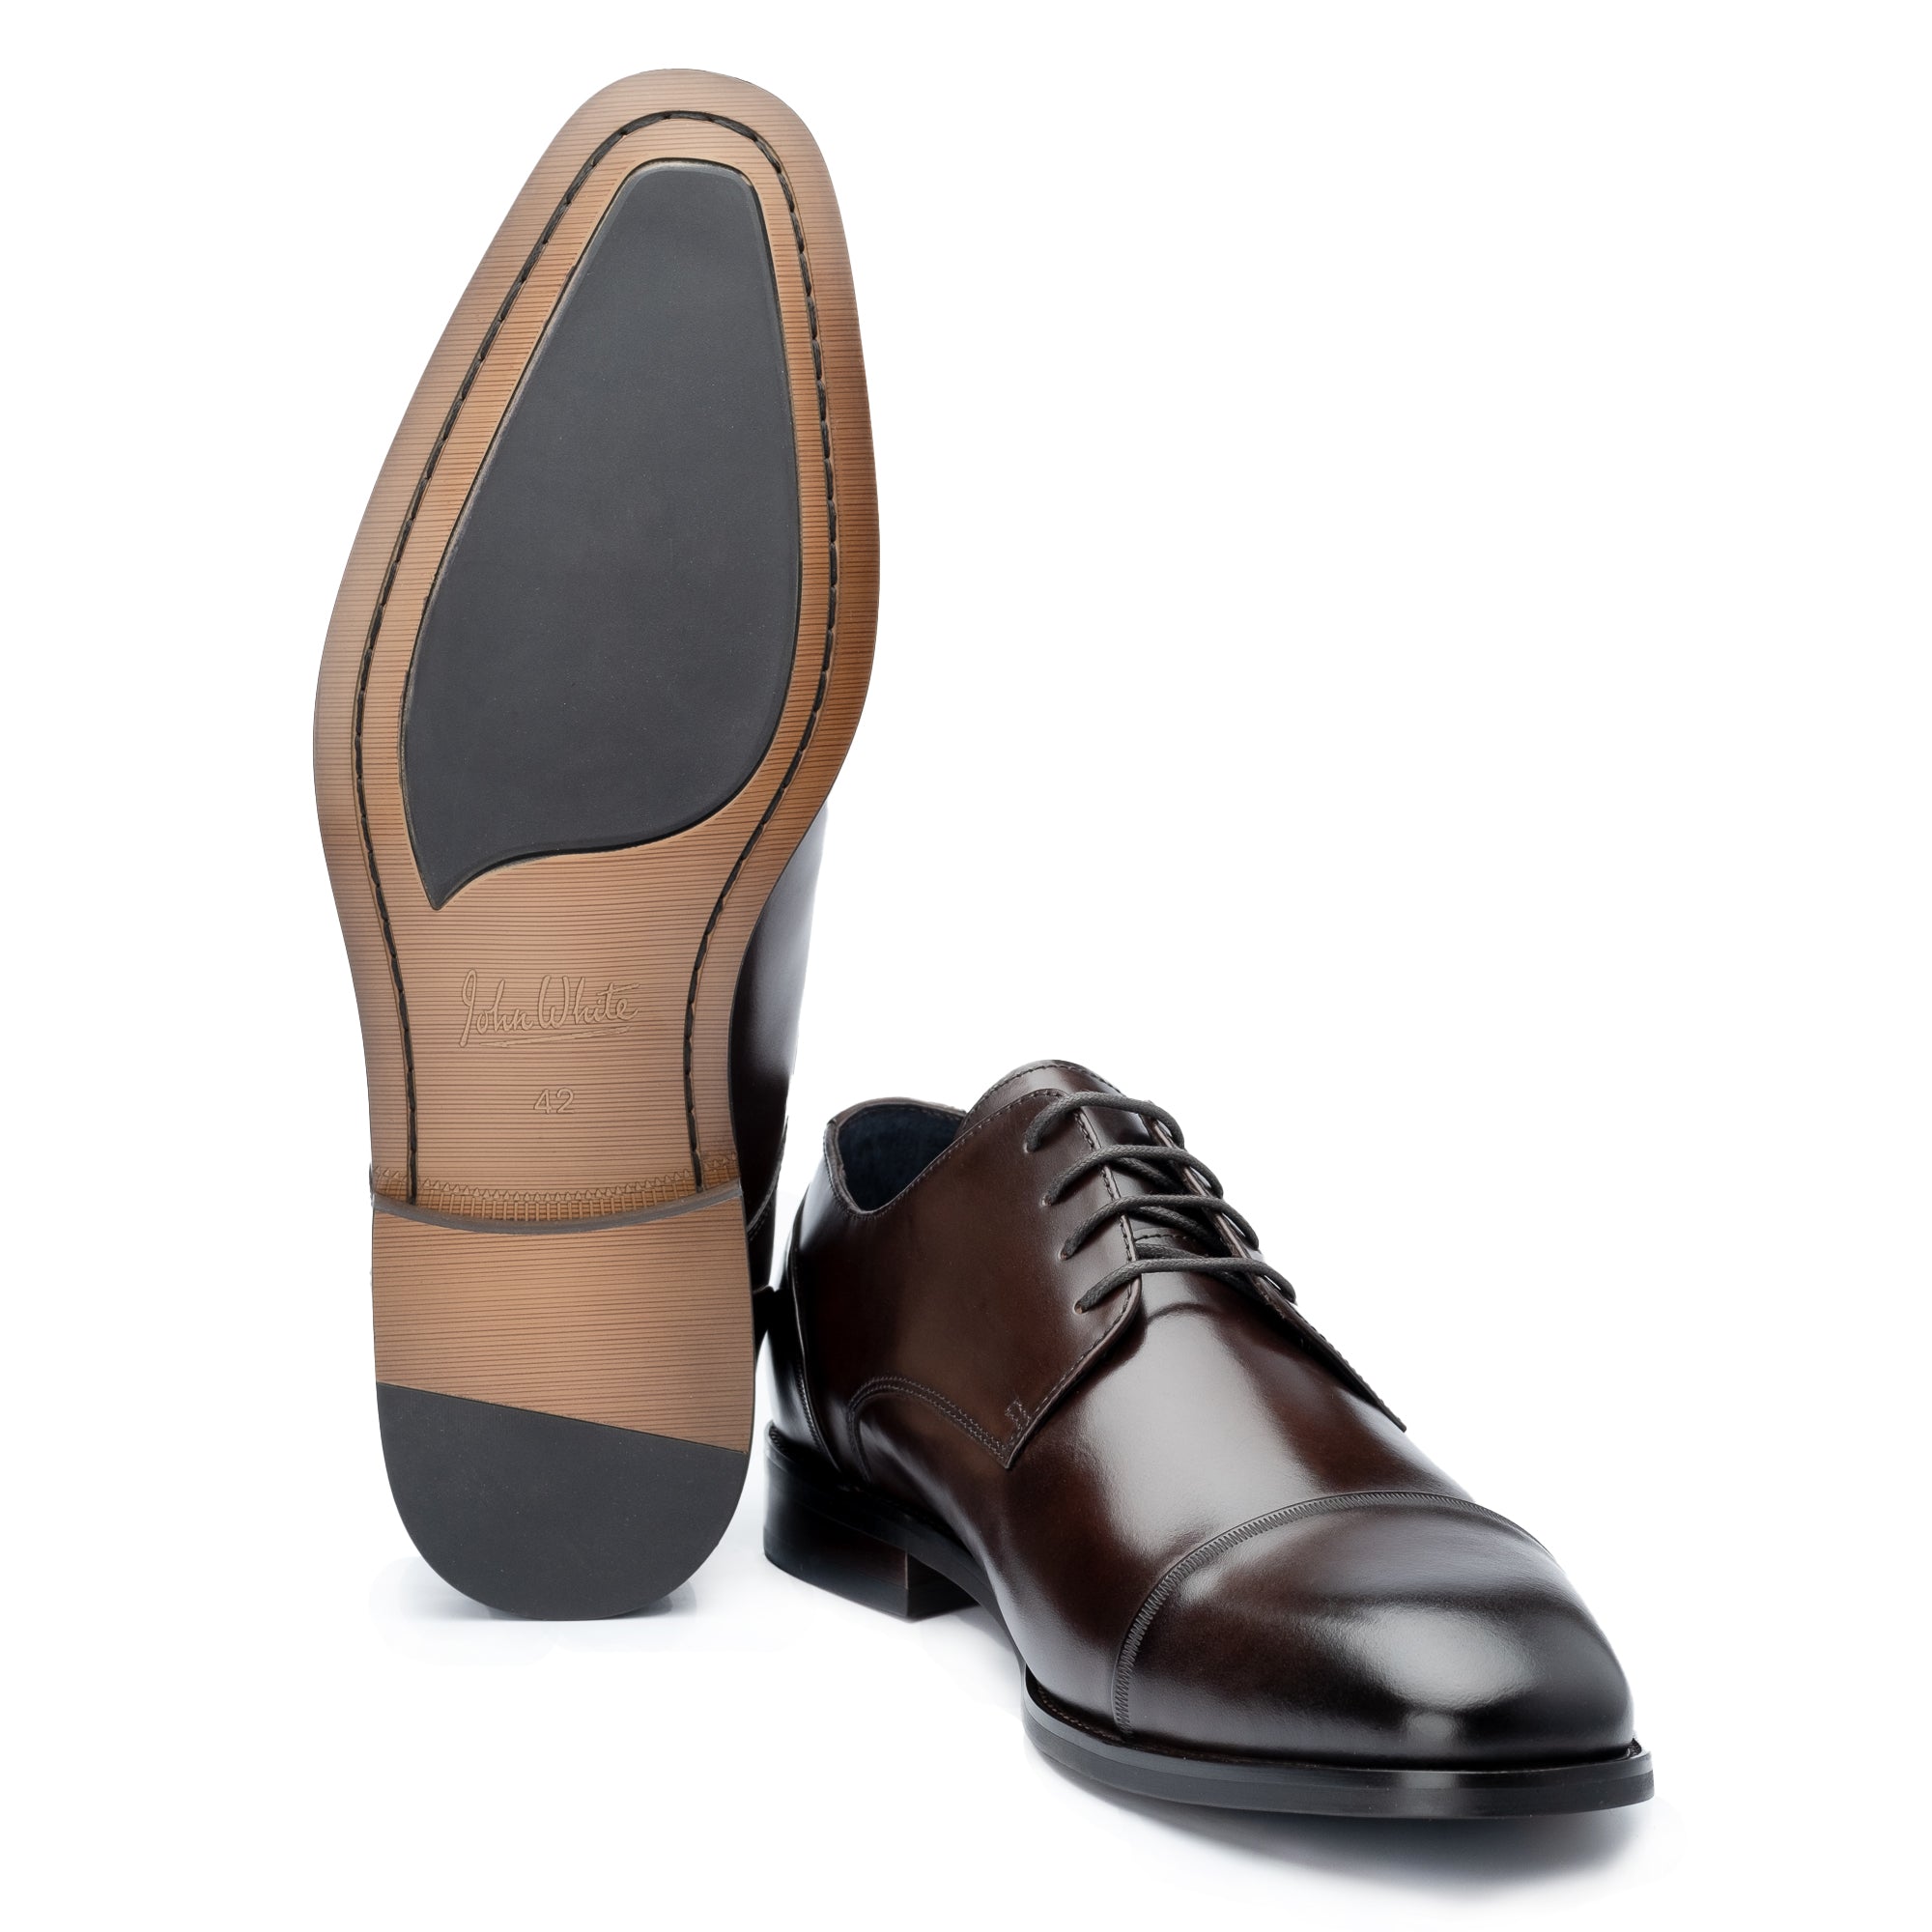
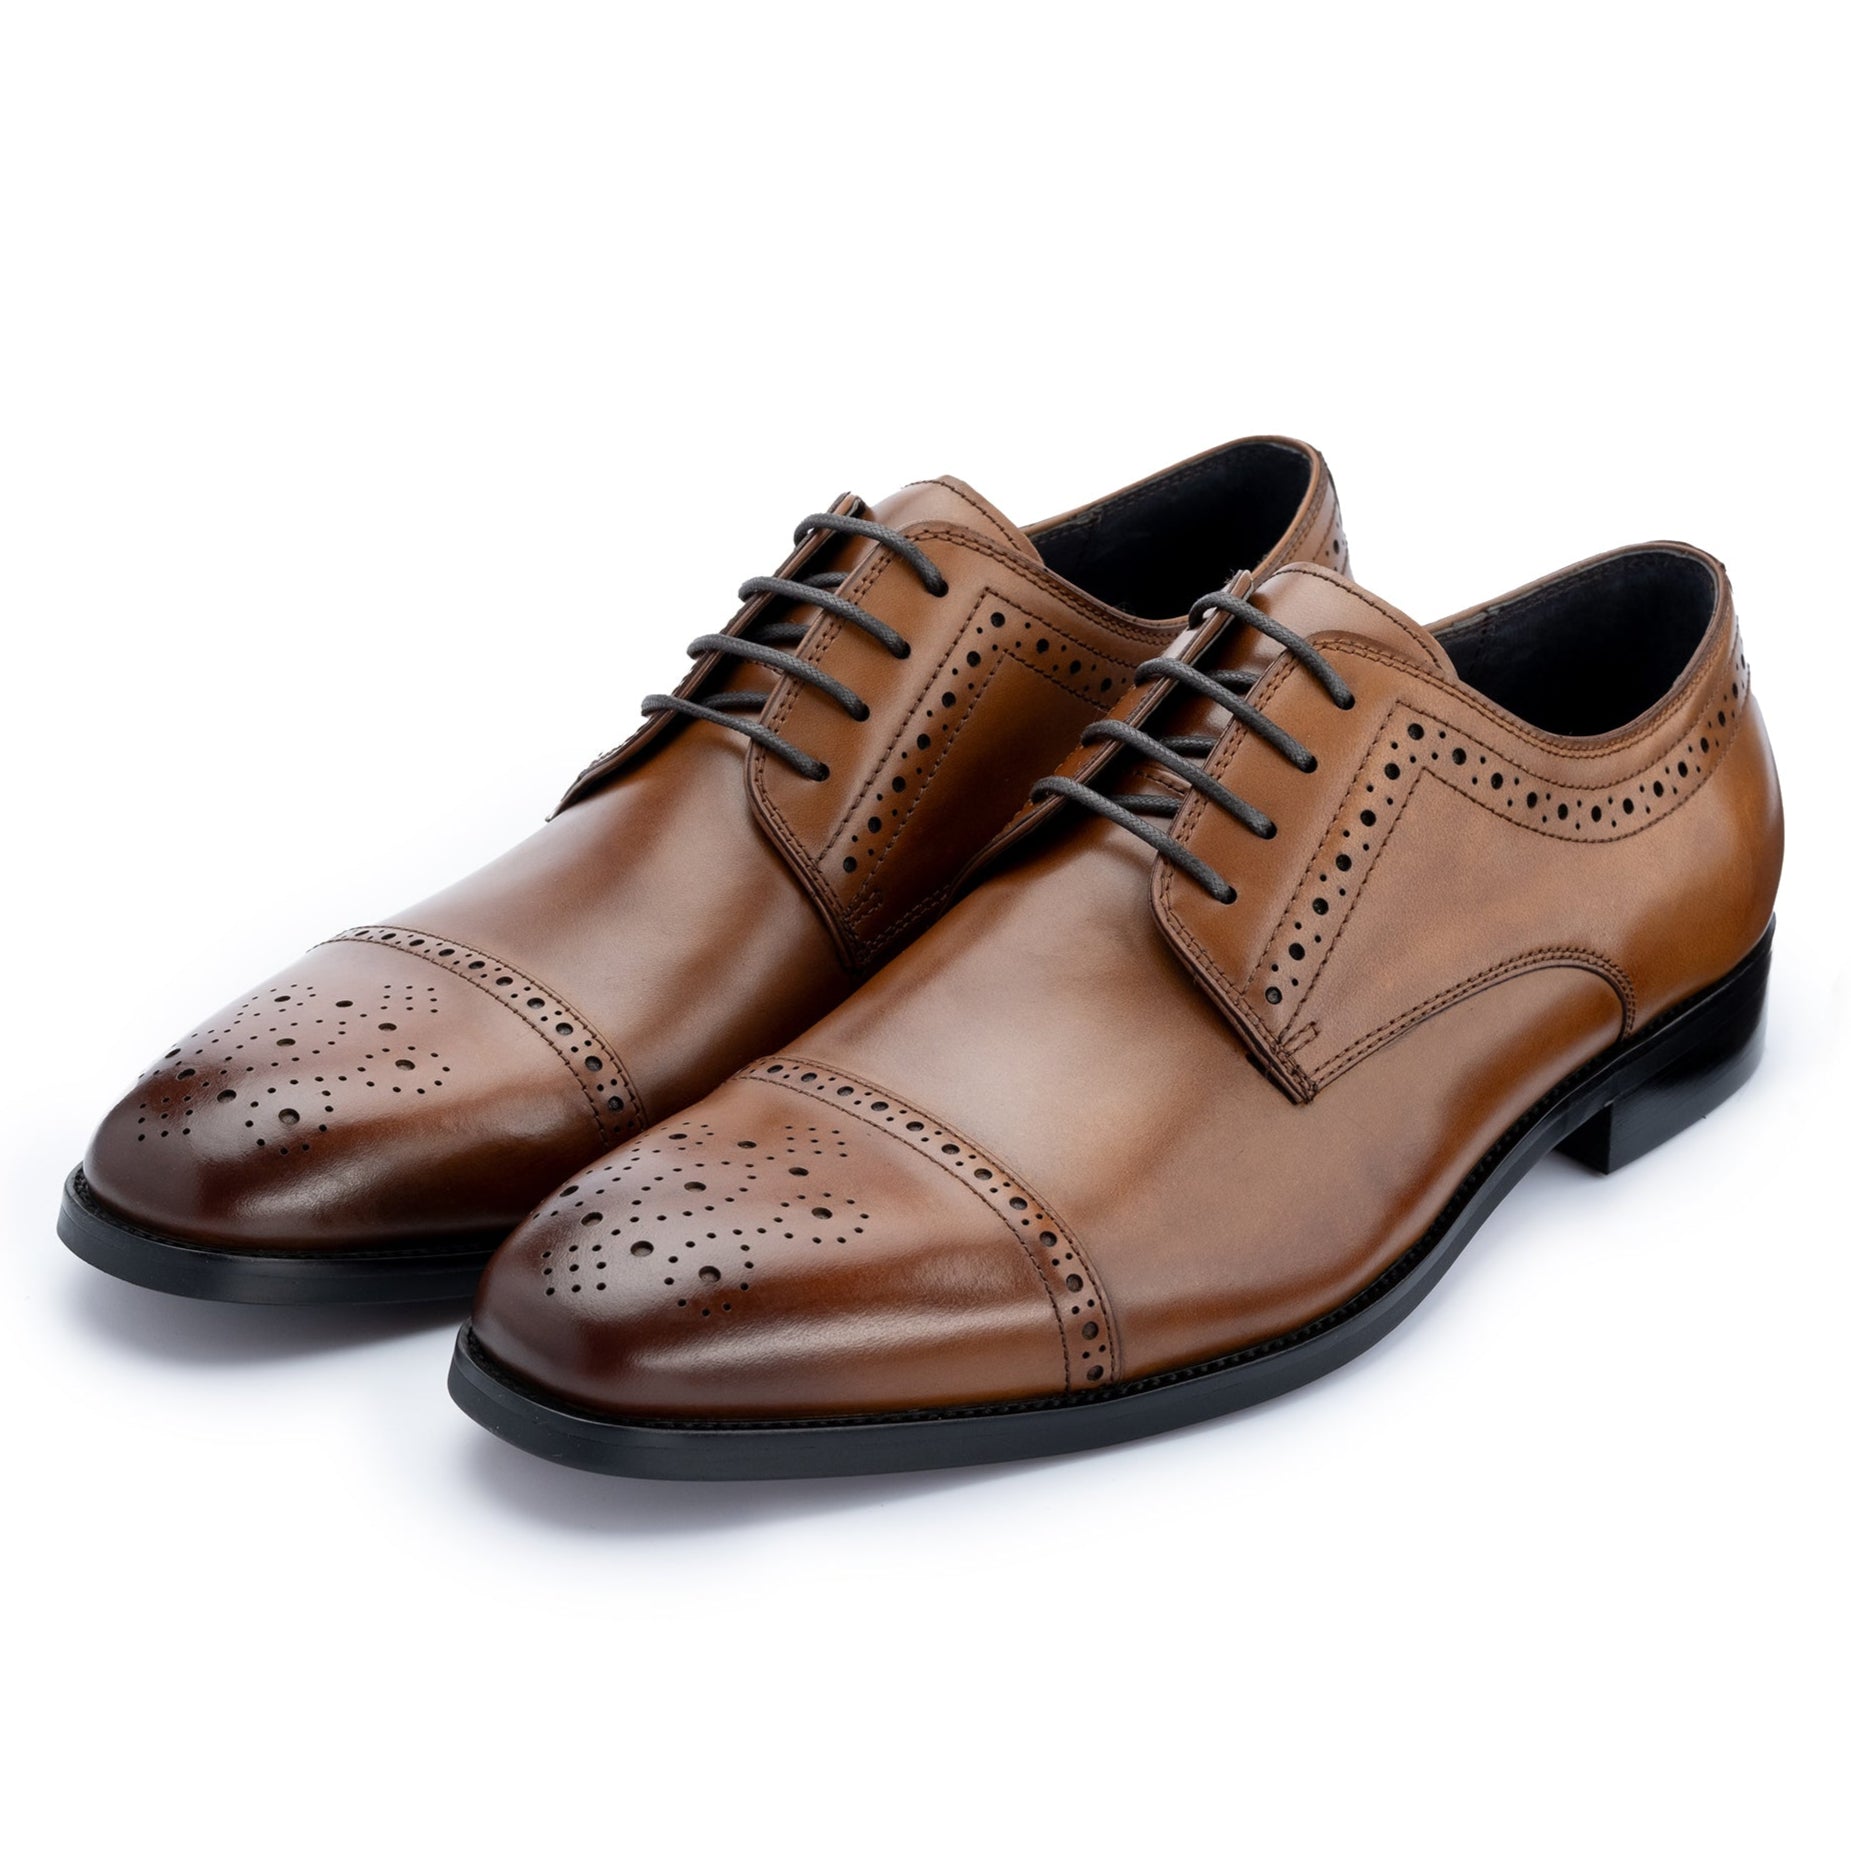
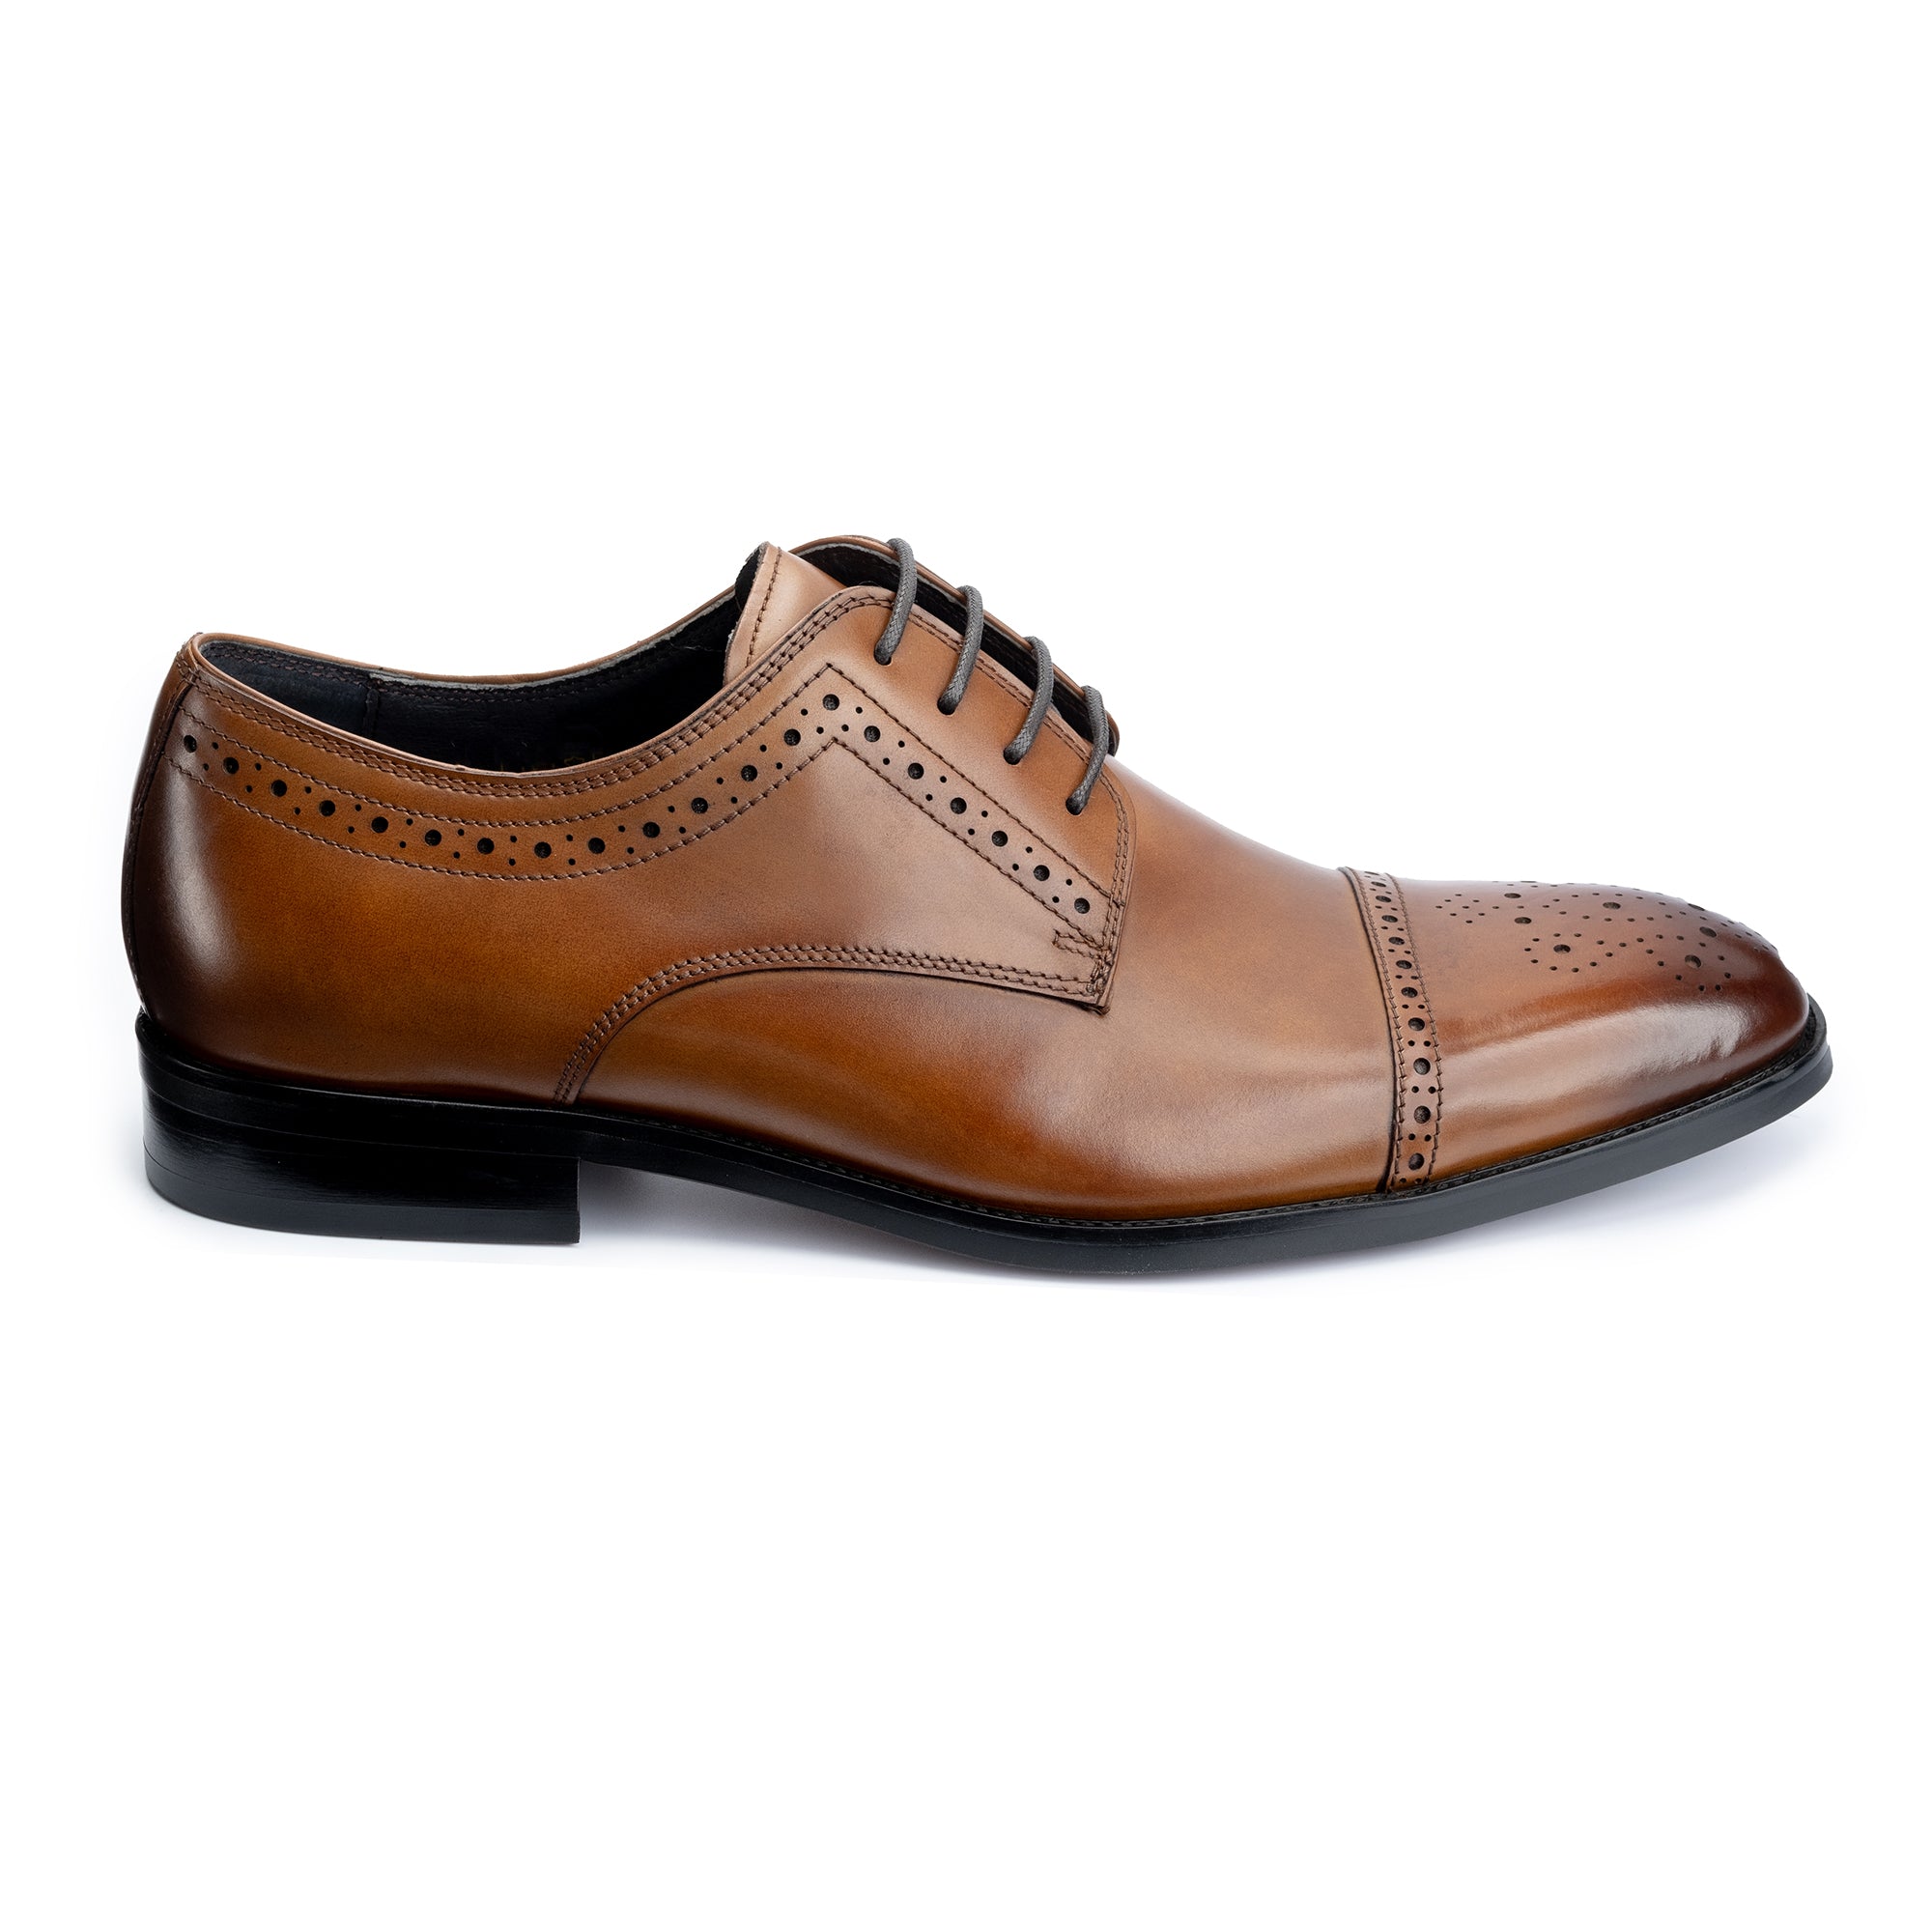
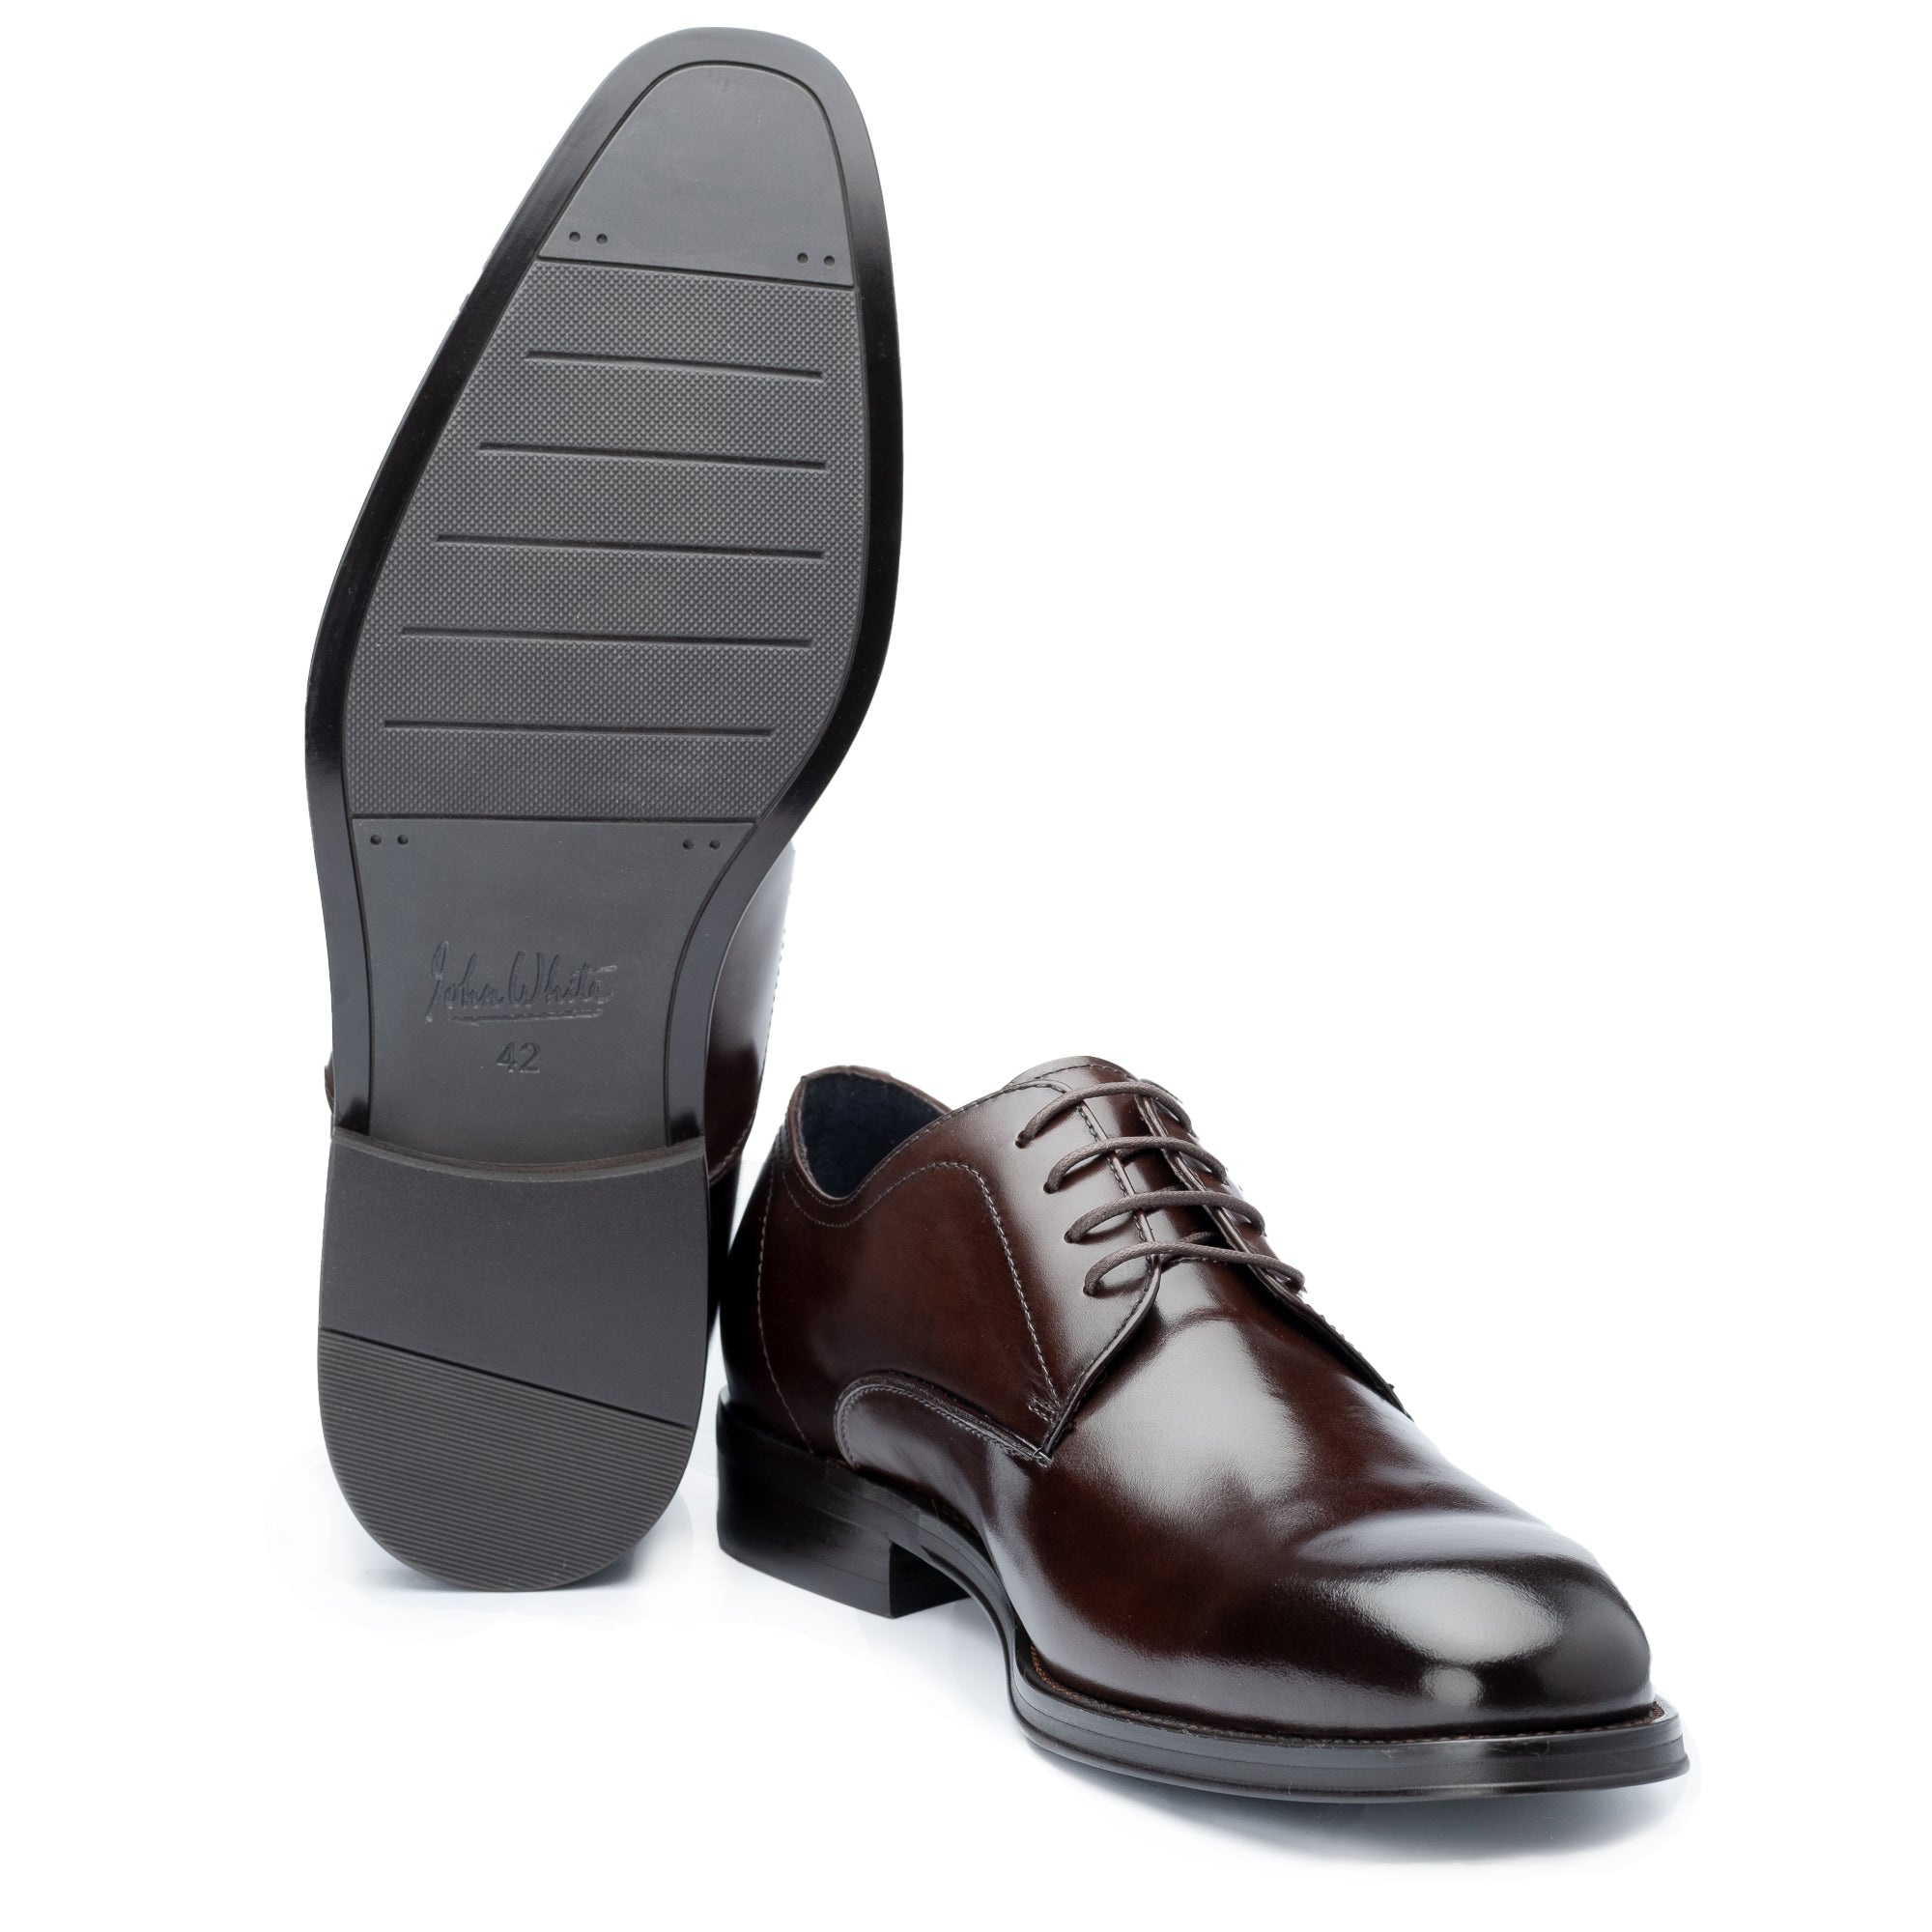
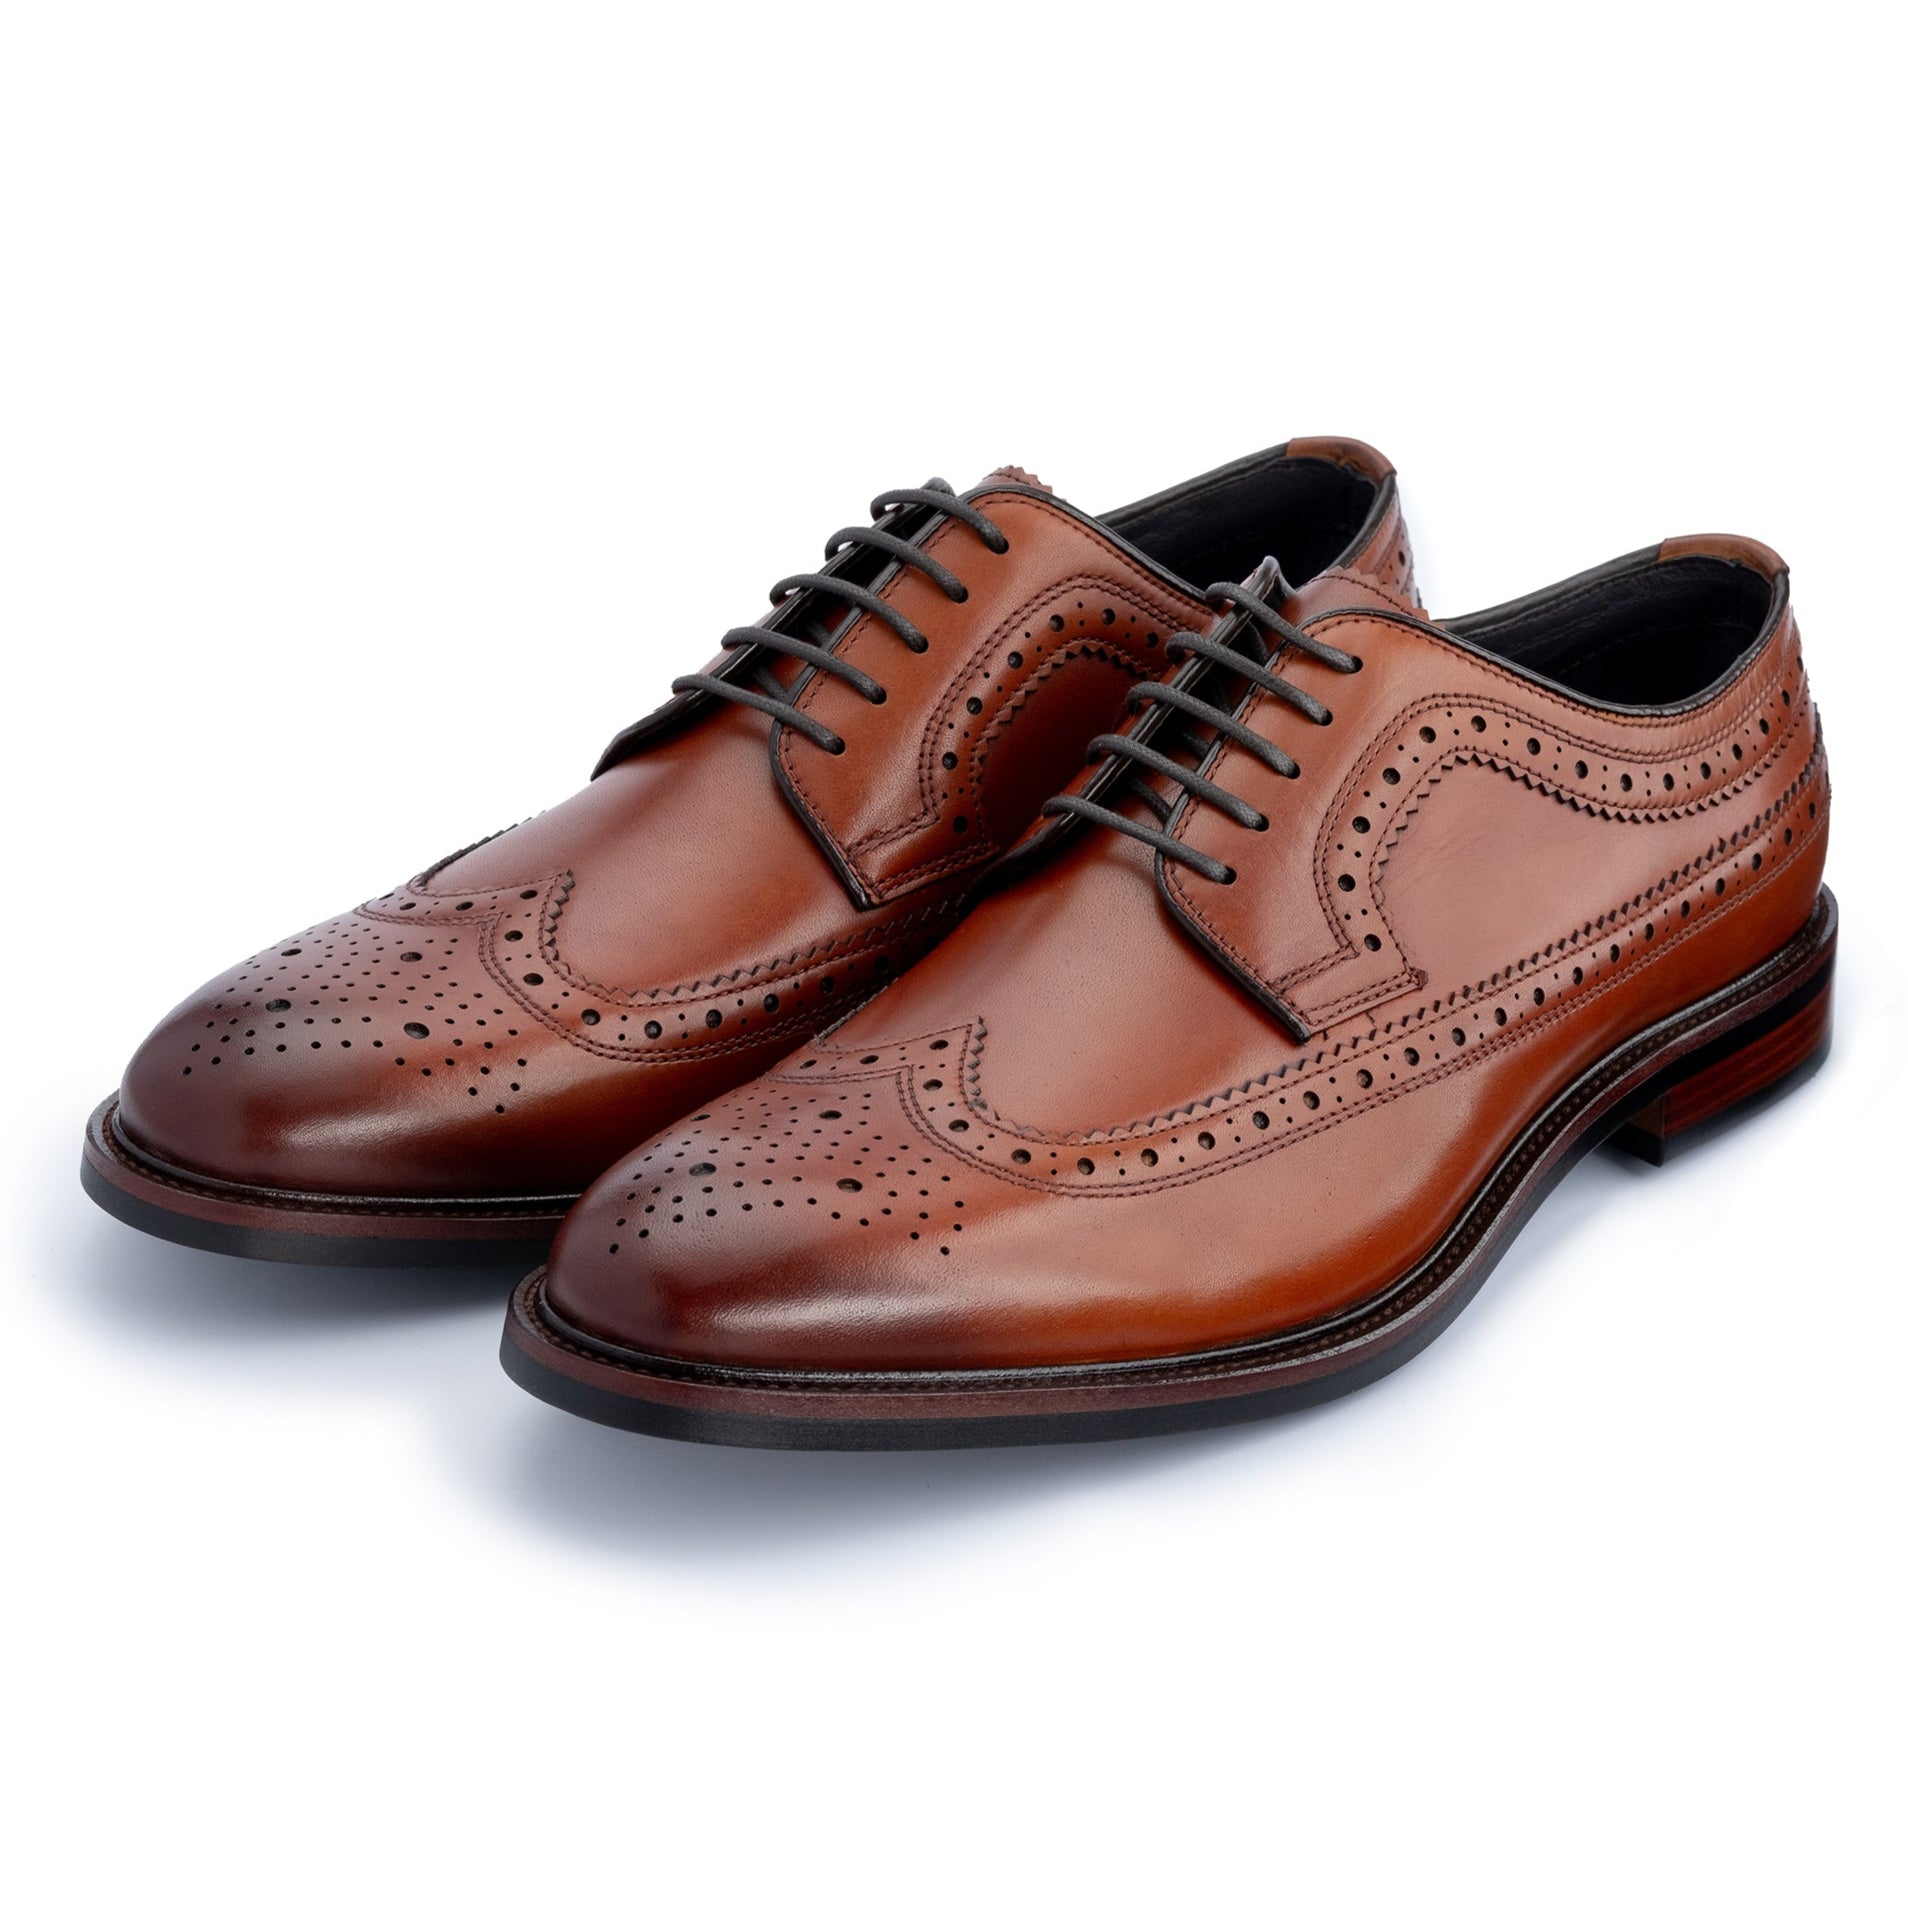
Many heritage footwear brands, including John White Shoes, ensure their curated selections feature leathers chosen for their long-term maintenance characteristics — leathers that respond well to conditioning, accept polish evenly, and hold colour reliably over years of wear.
What's the Difference Between Cream Polish and Wax Polish for Scuff Repair?
Both play a role in scuff correction, but they serve distinct purposes and should be applied in sequence, not interchangeably.
| Property | Cream Polish | Wax Polish |
|---|---|---|
| Primary function | Colour restoration and conditioning | Surface protection and shine |
| How it works | Absorbed into the leather surface | Sits on top as a protective layer |
| Best for scuffs | Restoring lost colour — first layer of repair | Sealing the repair and unifying sheen |
| Recommended frequency | Every 4–6 weeks, or after cleaning | Every 8–12 weeks, or after cream polish |
| Finish achieved | Subtle, natural sheen | High gloss possible with sustained buffing |
As professional cobblers consistently advise: cream restores, wax protects. Wax applied directly to a scuff without conditioning first seals the damage in rather than correcting it — a common mistake that makes the repair harder to address later.
Applying cream polish before wax polish isn't optional — it's the foundation of any lasting scuff repair on leather footwear.
How Do You Prevent Scuffs on Leather Shoes?
Prevention is more efficient than correction. A few consistent habits reduce the frequency and severity of scuffs significantly.
- Polish regularly. A well-polished shoe has a surface layer that absorbs minor contact marks before they reach the leather itself. The Leather Conservation Centre recommends conditioning leather every 6–8 weeks to maintain suppleness and surface resilience.
- Use shoe trees. Cedar shoe trees maintain shape and prevent creasing at stress points — creased leather is more vulnerable to scuffing at the fold. Our guide to maximising shoe life with shoe trees covers the full benefit.
- Rotate your footwear. Wearing the same pair daily accelerates wear at high-contact zones. As we cover in our piece on why rotating your shoes matters, alternating between pairs extends the serviceable life of each.
- Address scuffs promptly. A light scuff left untreated dries out as the unprotected leather loses moisture. Treating it within 24–48 hours is always easier than correcting one that's been worn through another few days.
When Should You Take Scuffed Leather Shoes to a Professional?
Not every scuff is a home repair. Knowing when to hand over to a cobbler saves leather and prevents well-intentioned attempts from creating harder problems to reverse.
- The damage has broken through to the leather's inner fibres (Grade 4)
- The colour cannot be reliably matched — particularly with two-tone or unusual leathers
- The scuff covers a large area that would require significant filler and colour work
- Previous DIY attempts have left residue, uneven colour, or a build-up that's altered the leather's texture
Cobblers registered with the Society of Master Shoe Repairers operate to a professional standard and can restore significant leather damage when the fibres remain structurally sound. For well-made footwear worth preserving, professional repair is an investment.
Related Guides
- Leather Shoe Care: The Definitive Guide — our comprehensive guide
- The Complete Guide to Leather Shoe Care — the full picture on keeping leather in condition throughout the year
- The Essential Valet Box: An Authoritative Guide to Your Shoe Care Arsenal — building the right care kit from scratch
- The Annual Ritual: A Complete Maintenance Checklist for Your Leather Shoe Collection — systematic care structured across the seasons
TL;DR
Most leather scuffs fall into one of three treatable grades — surface finish displacement, grain exposure, and deep abrasion — each requiring a progressively more involved repair. The correct sequence for any home repair is clean, dry, condition, fill (if needed), colour match in thin coats, then seal with wax. Regular conditioning, shoe trees, and prompt treatment are the most effective preventative measures. Grade 4 damage — cuts or broken fibres — is best referred to a professional cobbler registered with the Society of Master Shoe Repairers.
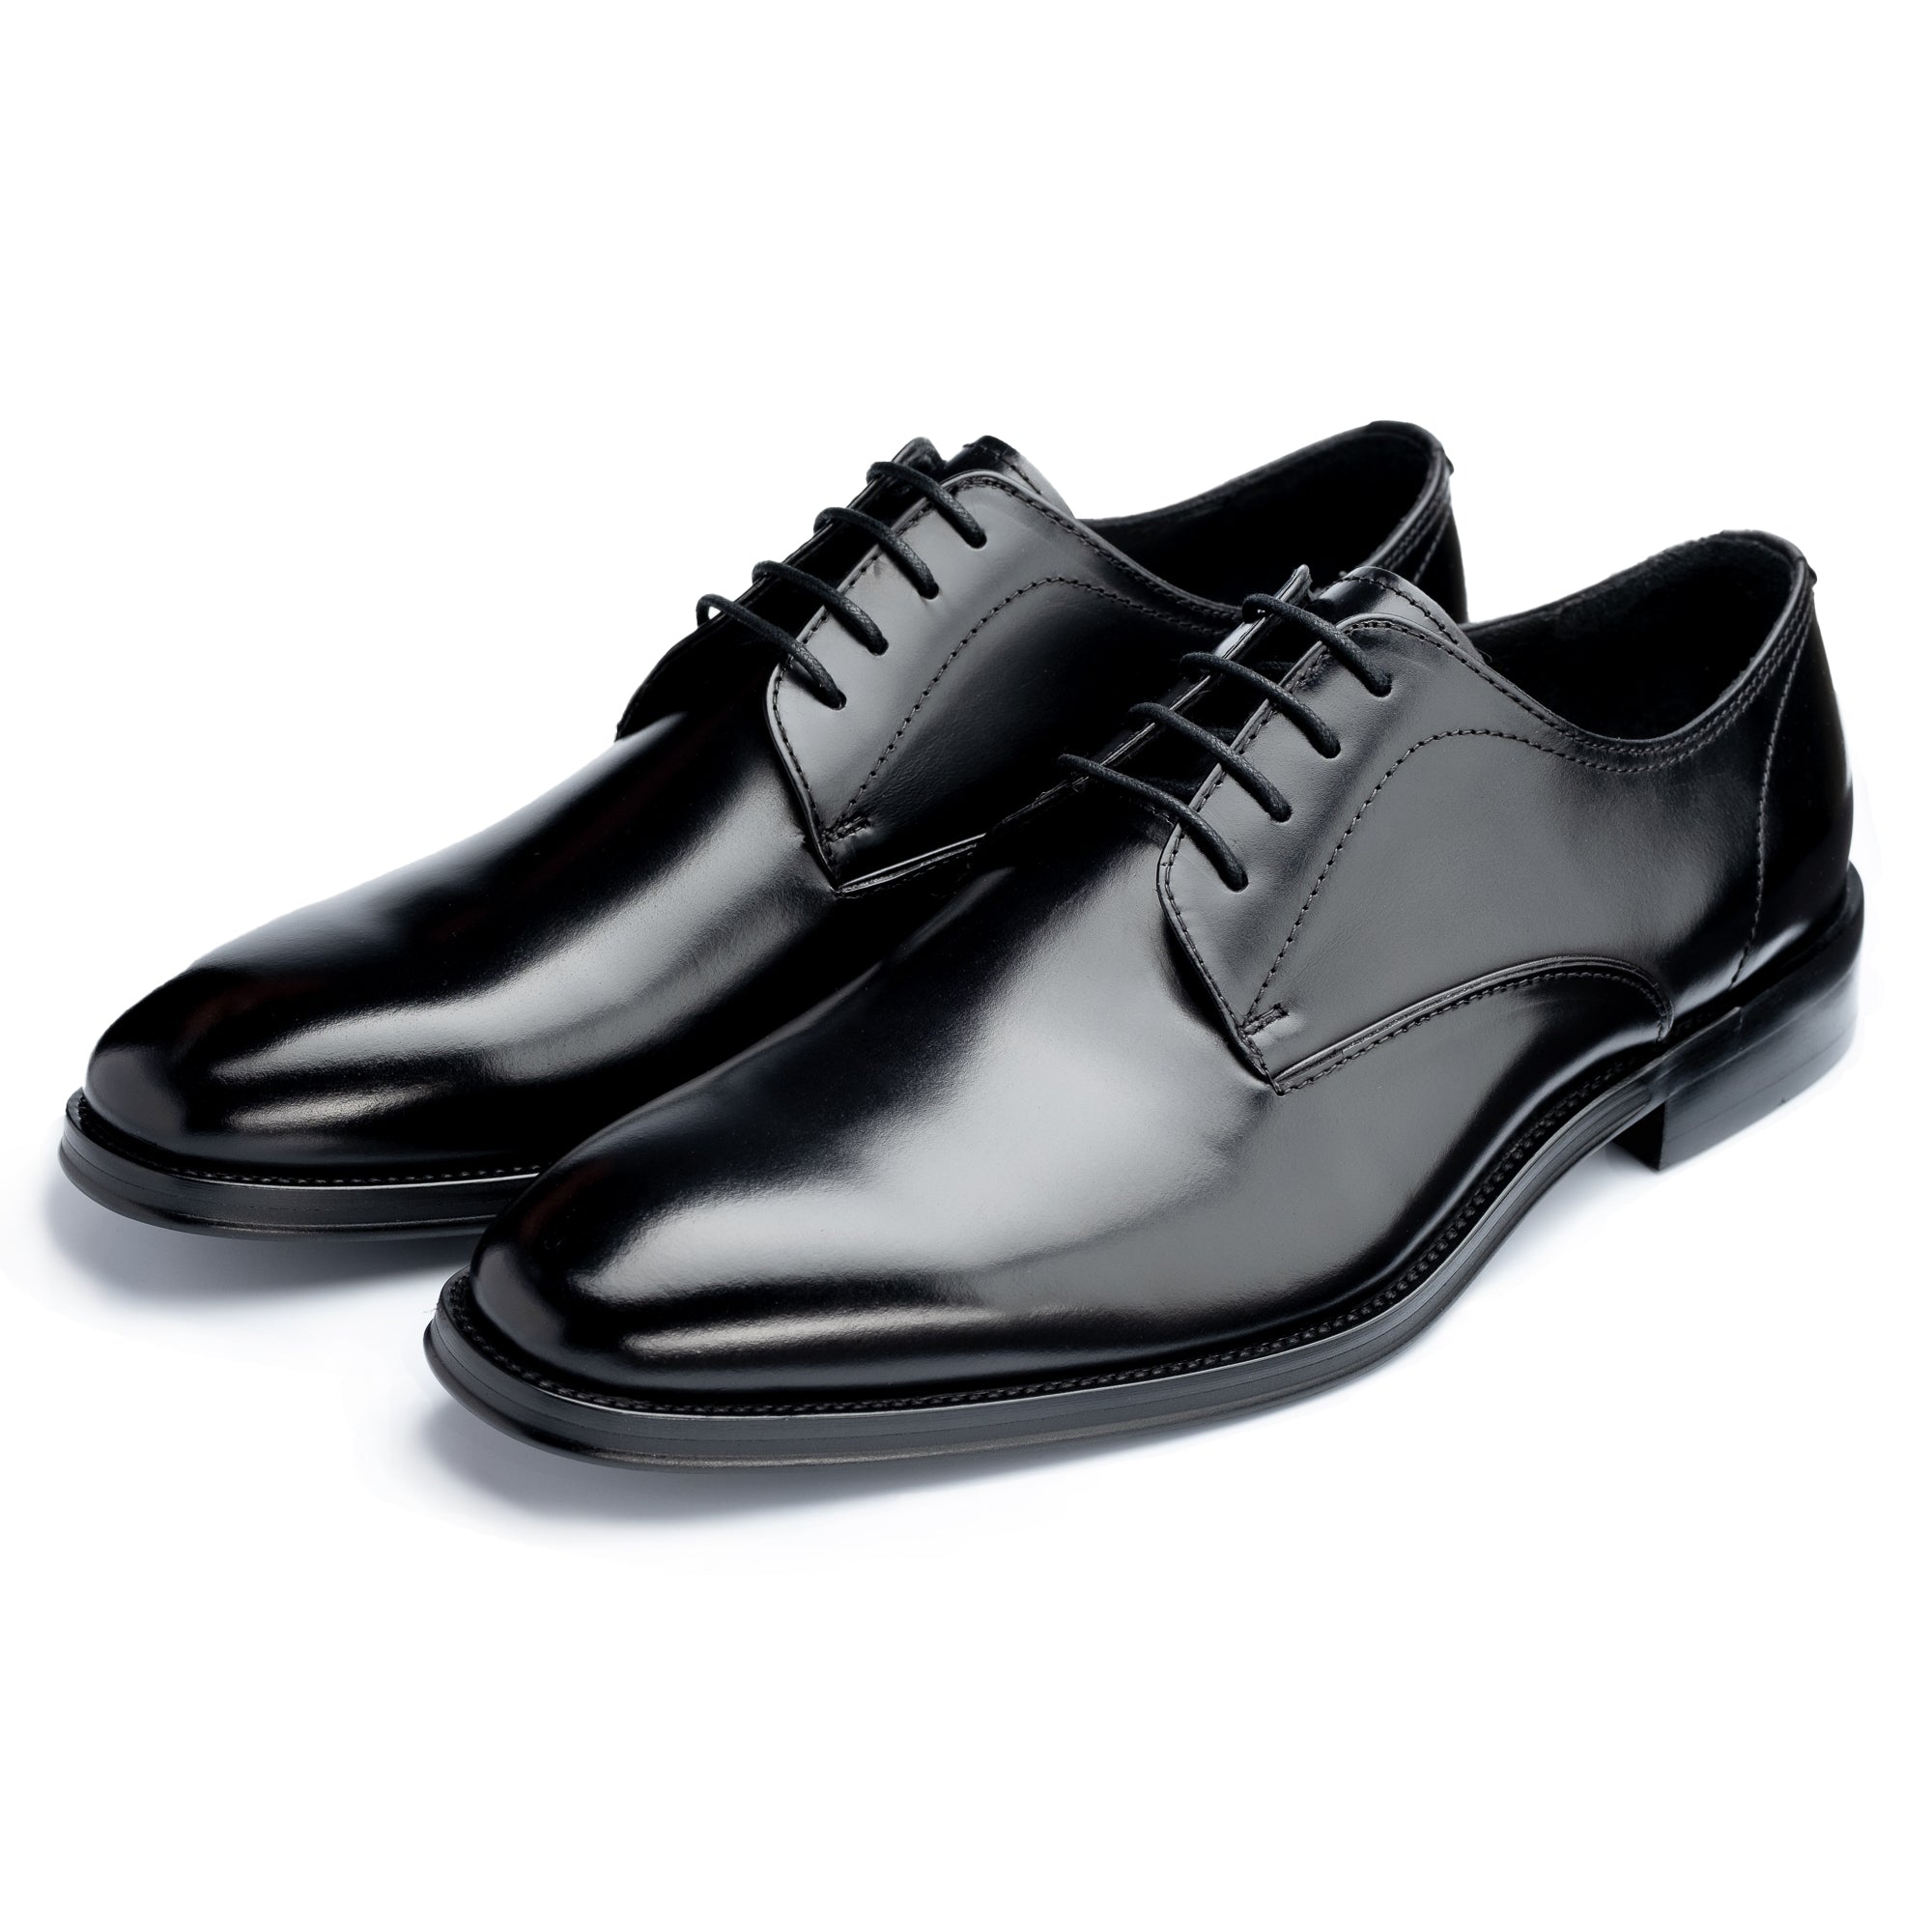
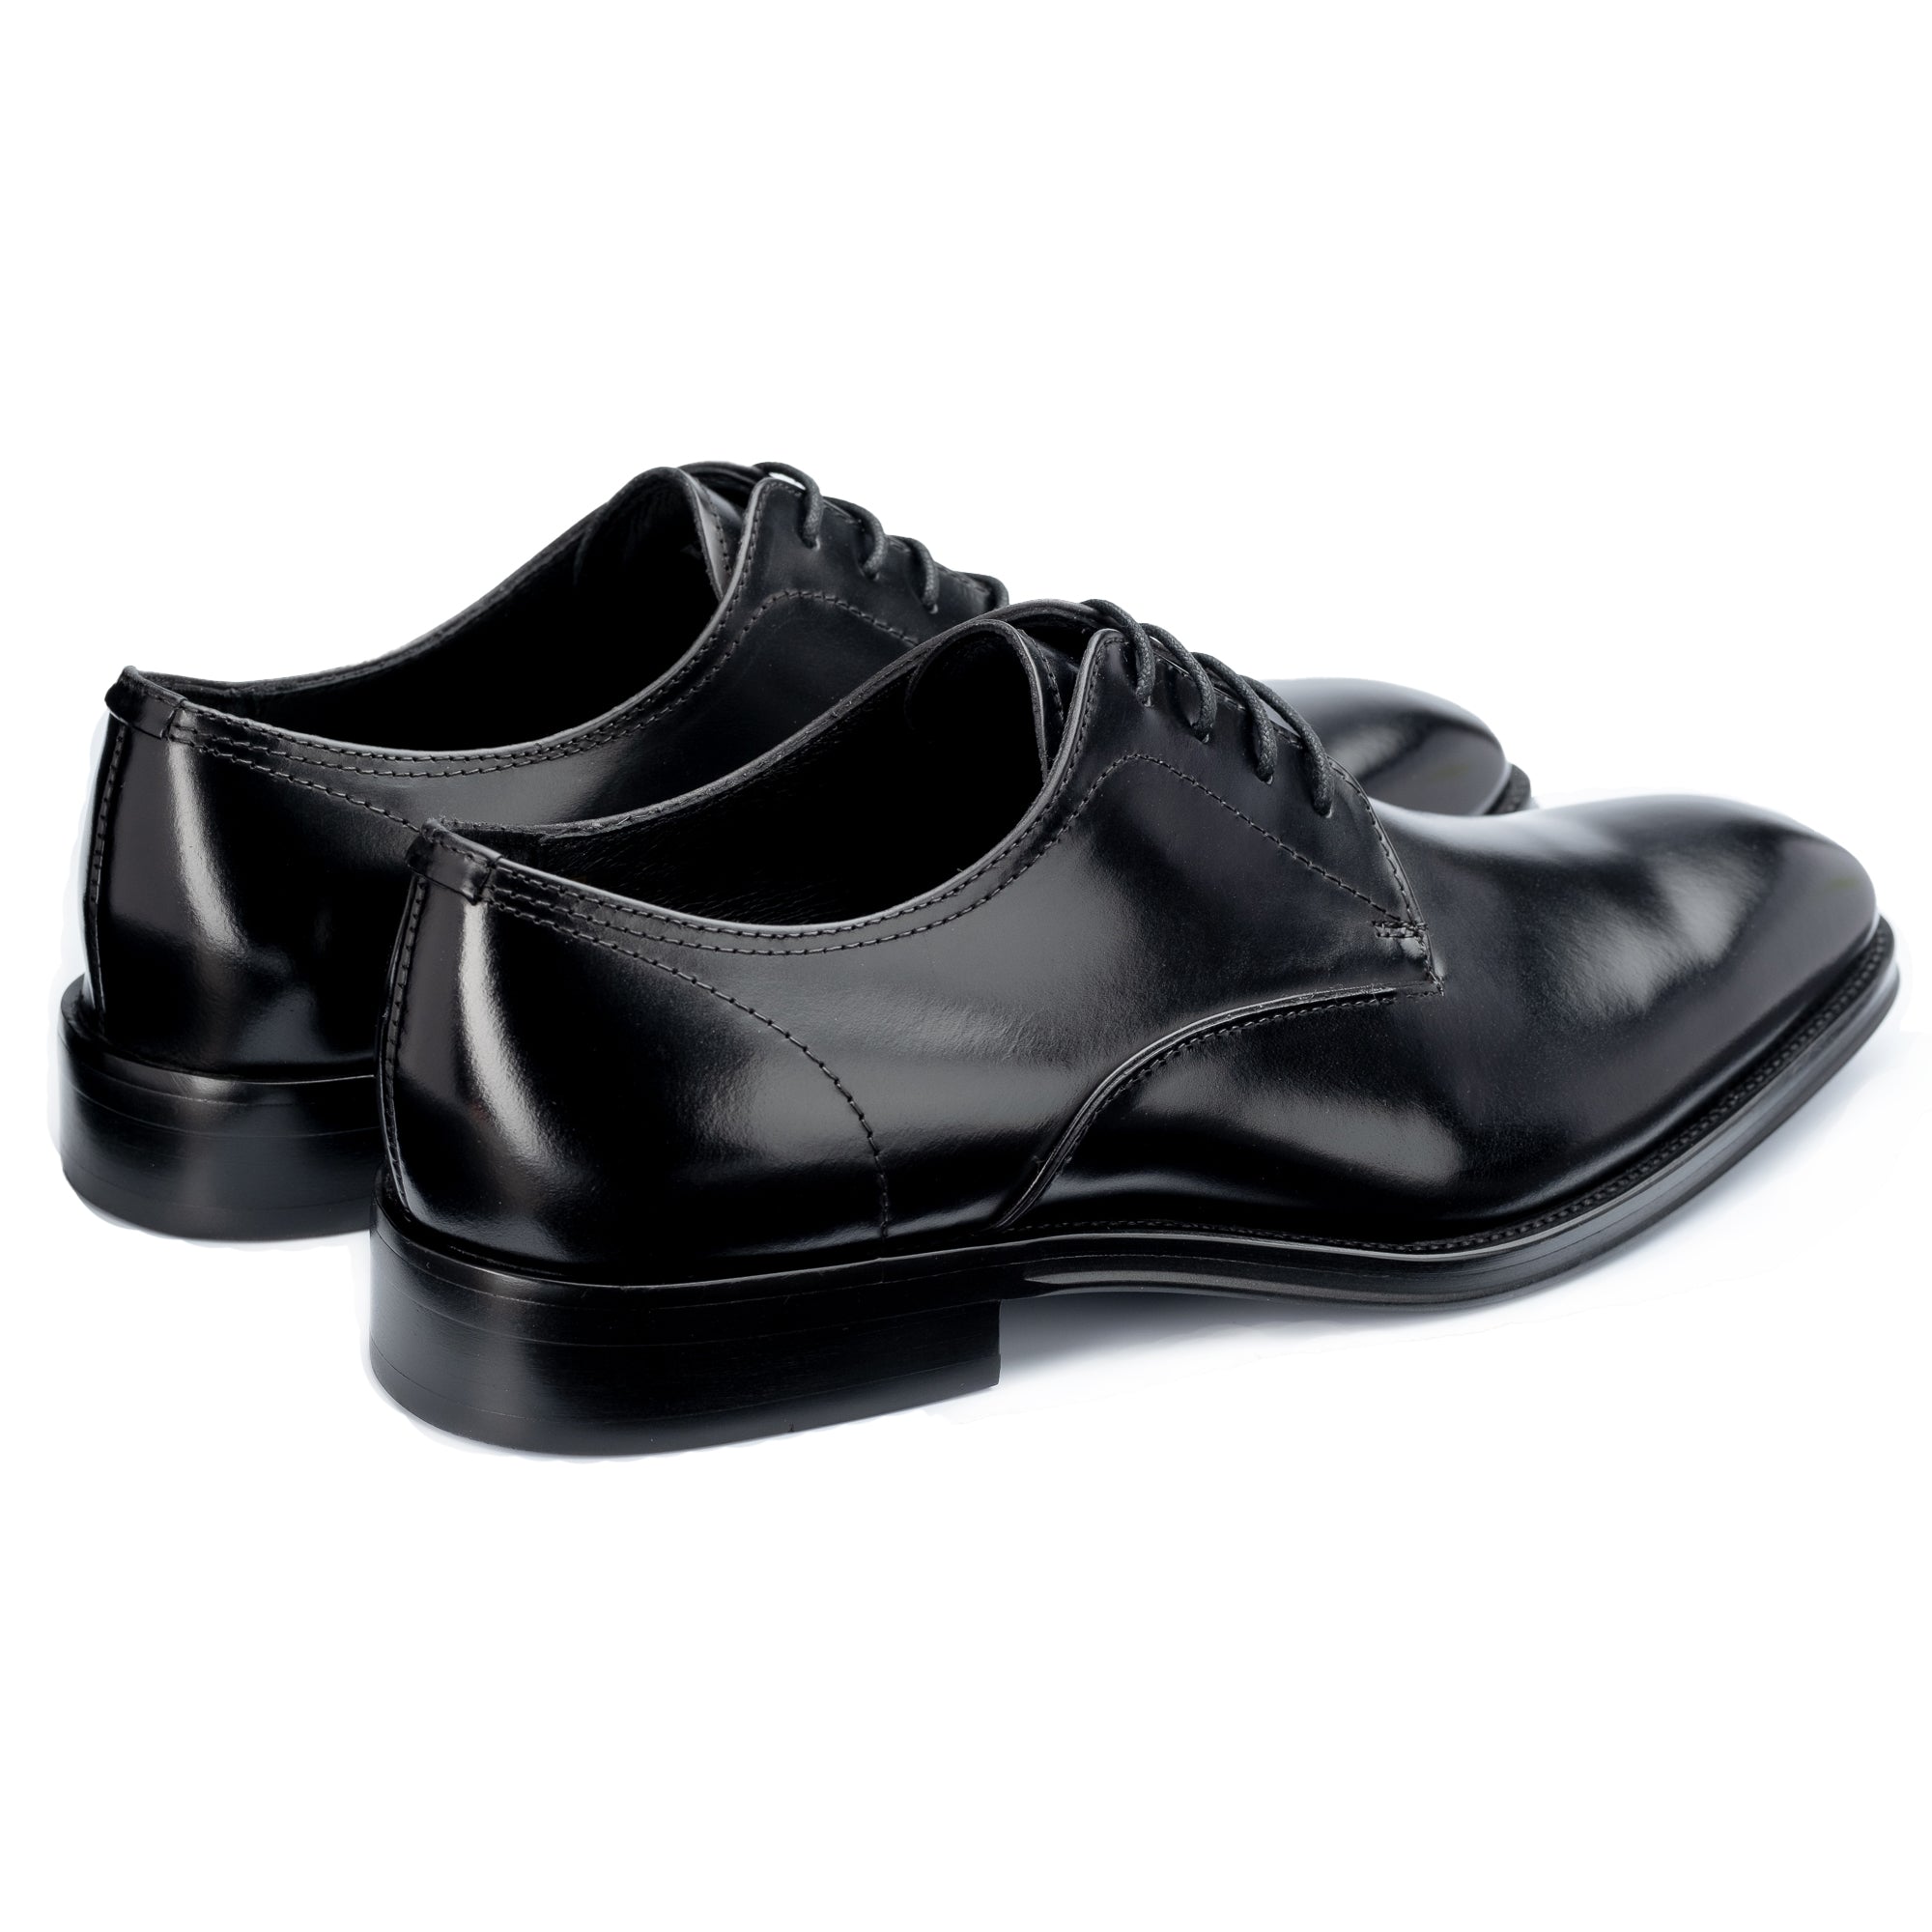
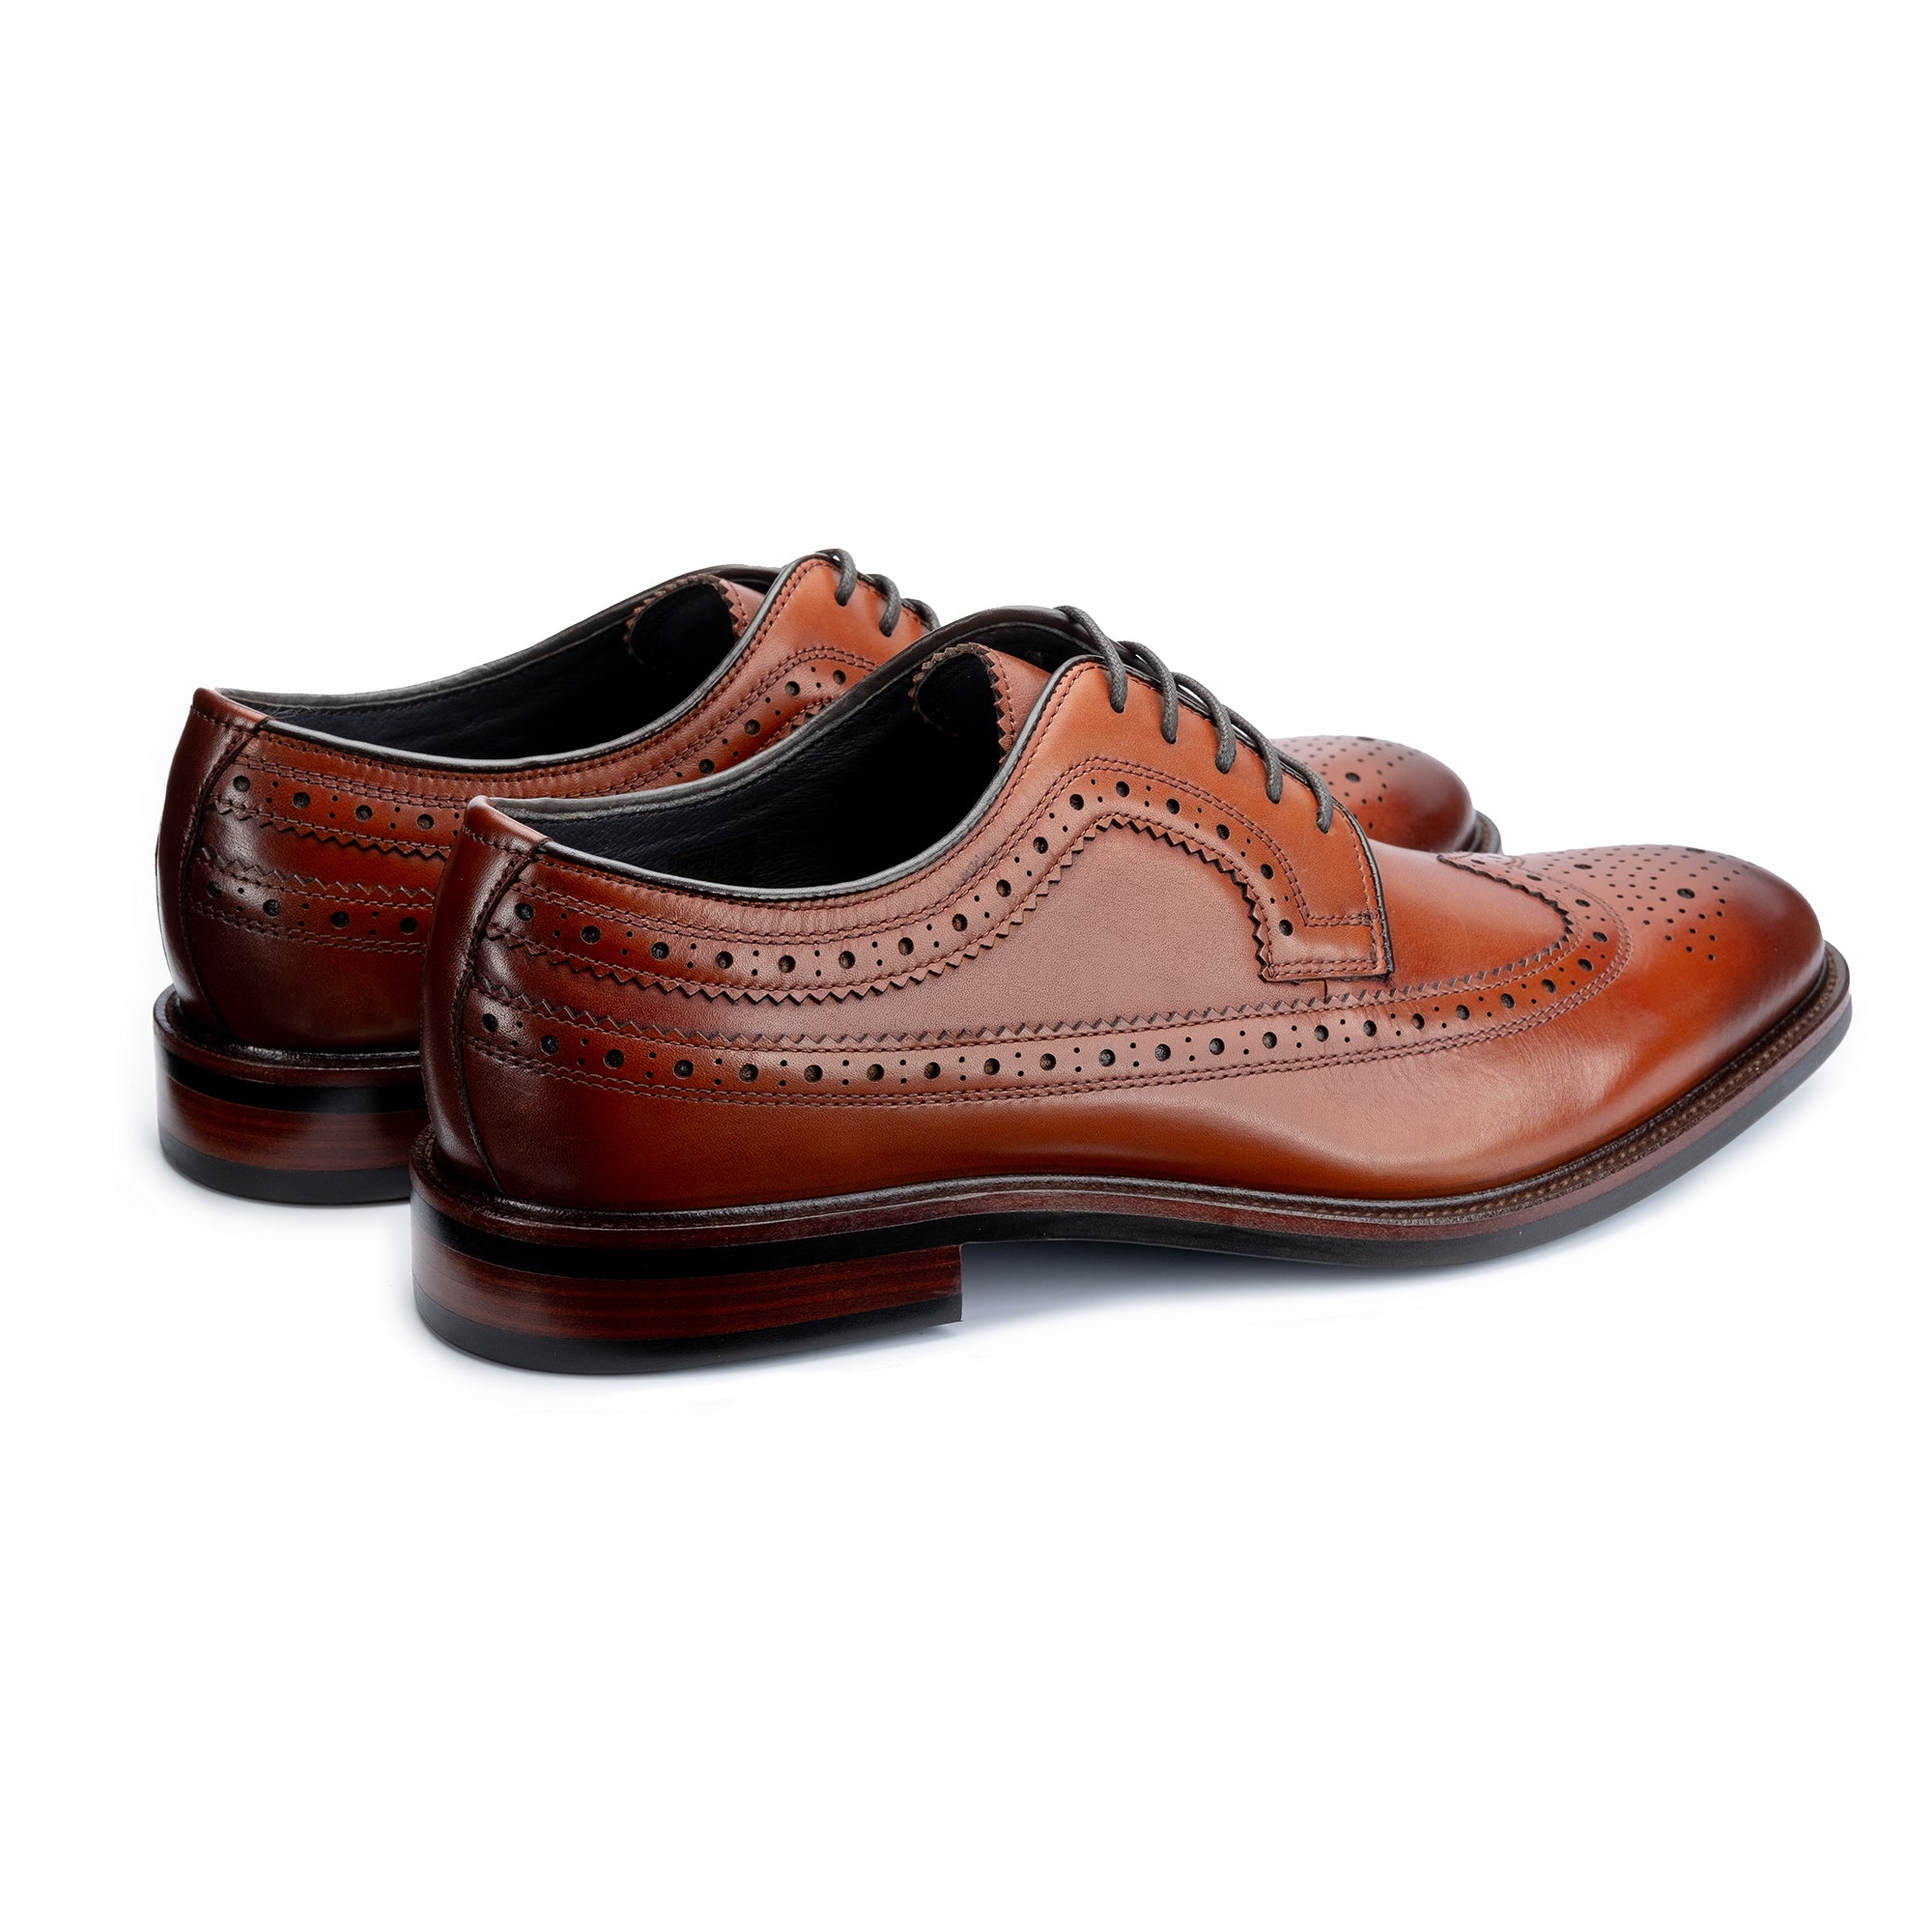
Browse the full collection of men's leather shoes and men's leather boots at John White Shoes.
Frequently Asked Questions
Can you fix a scuff on leather shoes at home?
Yes, in most cases. Grade 1 and Grade 2 scuffs — surface finish displacement and moderate colour loss — respond well to home treatment using cream polish, leather conditioner, and wax polish in the correct sequence. Grade 3 deep grazes are also manageable at home with leather filler, though they require more care and accurate colour matching.
What's the best product to remove scuffs from leather shoes?
A quality cream polish in a colour matched to the leather is the most effective product for the majority of scuffs. It restores colour and conditions the leather in one step. For deeper damage, apply a leather filler first to level the surface before polishing. Seal the finished repair with wax polish.
Does toothpaste remove scuffs from leather shoes?
This is a widely circulated home remedy that professional cobblers don't recommend. Toothpaste is mildly abrasive and can strip the leather's finish unevenly, and it leaves a residue that interferes with subsequent polish adhesion. A proper leather cream is both safer and more effective.
How do I match the colour when repairing a leather scuff?
Test the cream or polish on a discreet area — the inner heel counter or welt edge — and allow it to dry fully before assessing the match. Leather darkens slightly when conditioned, so a colour that appears slightly light when wet will often dry to the correct shade. If you're uncertain, a neutral cream conditions the leather without altering the colour while you source the correct match.