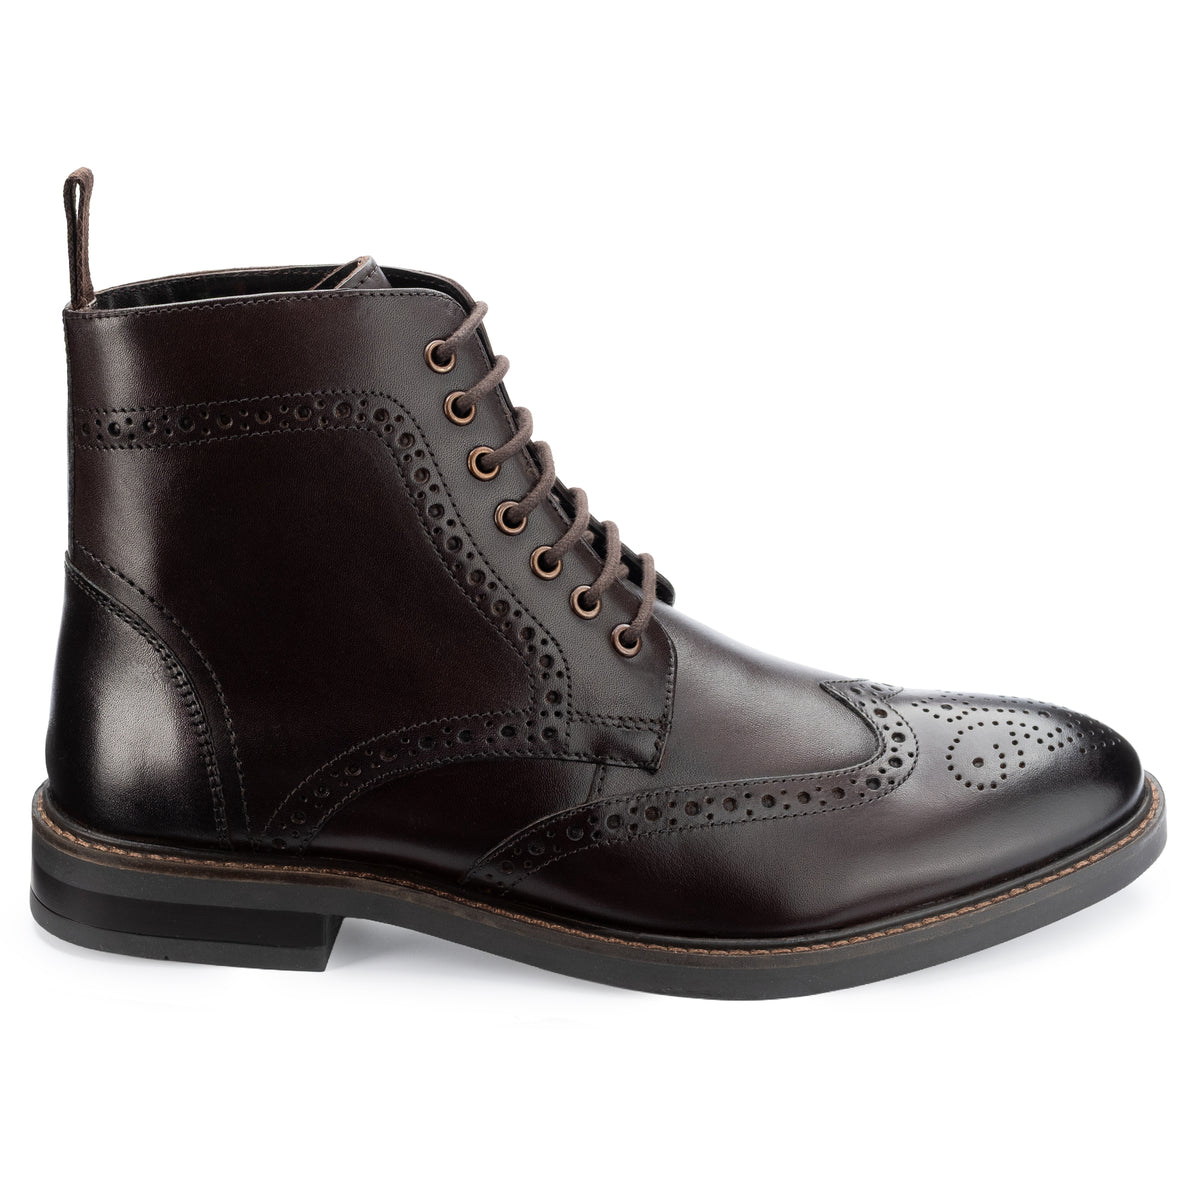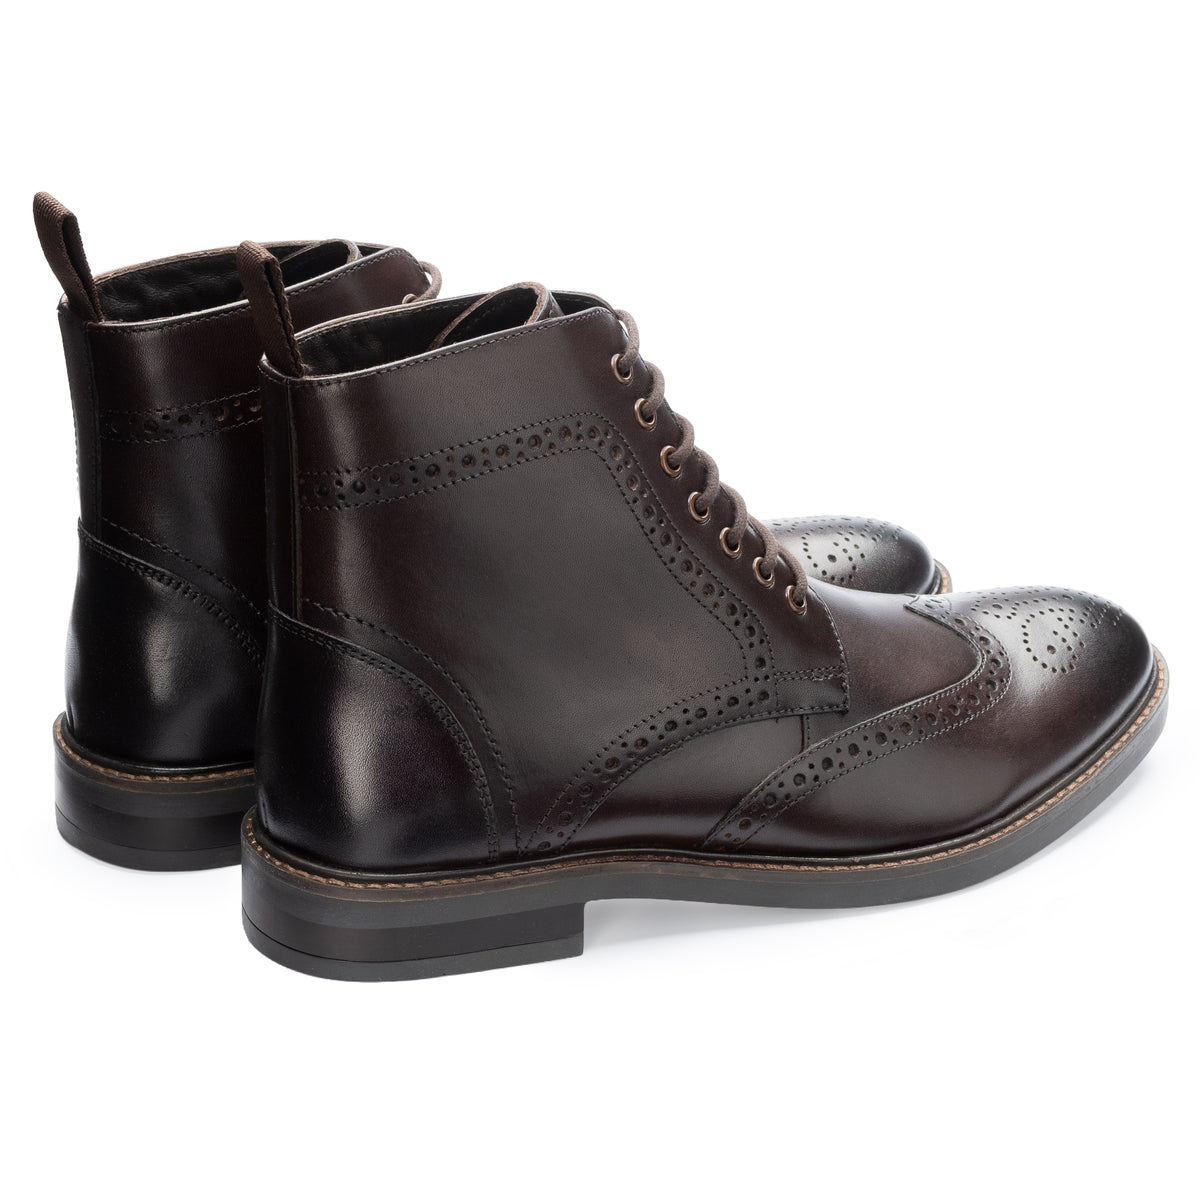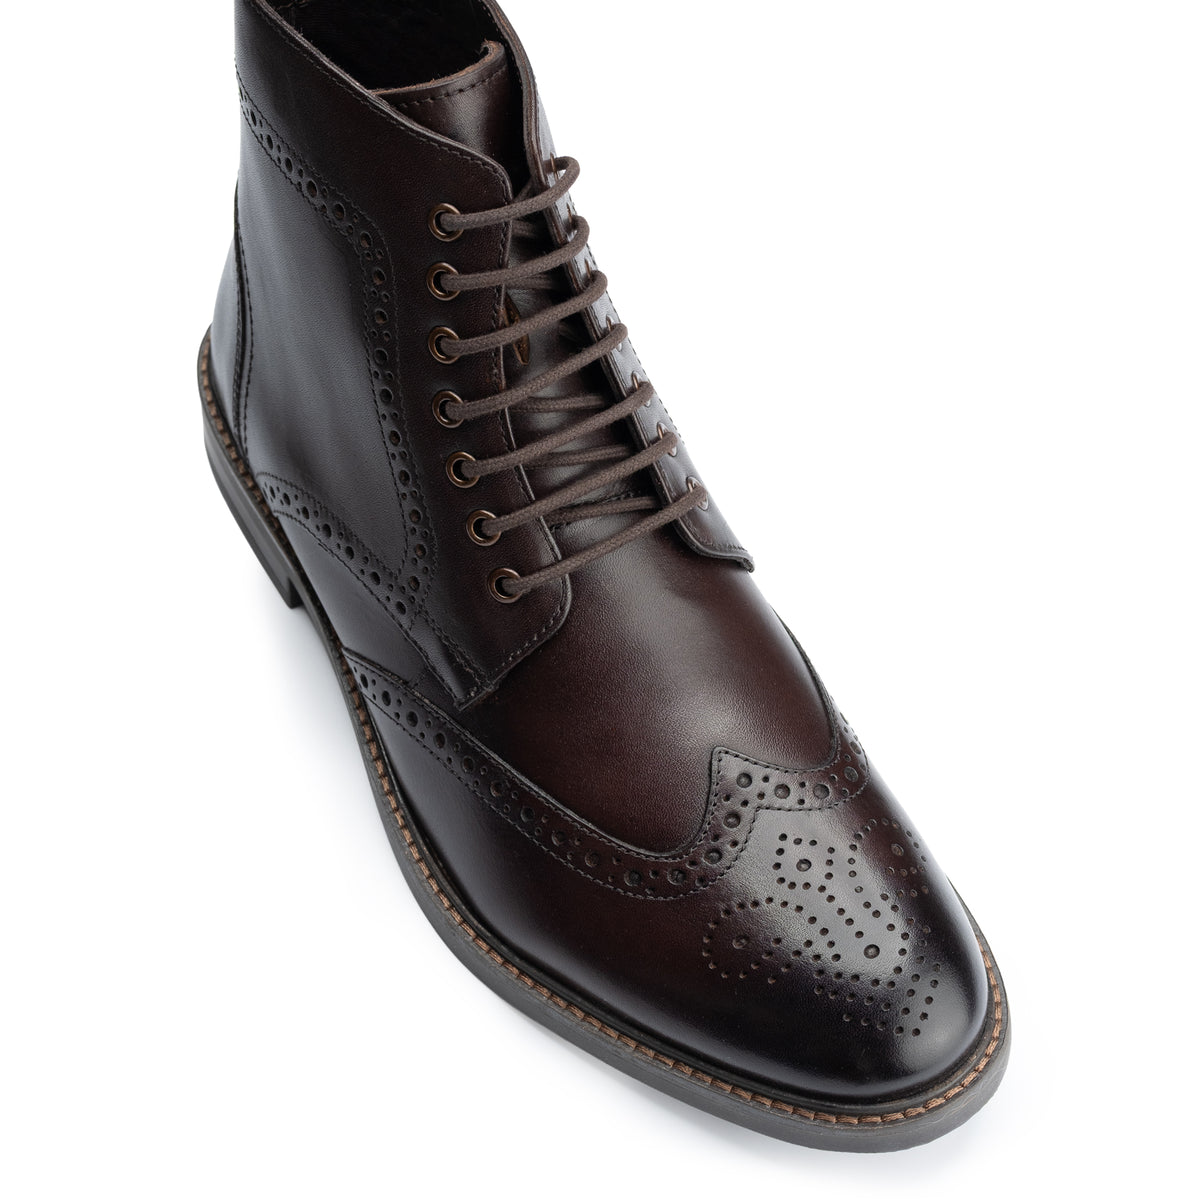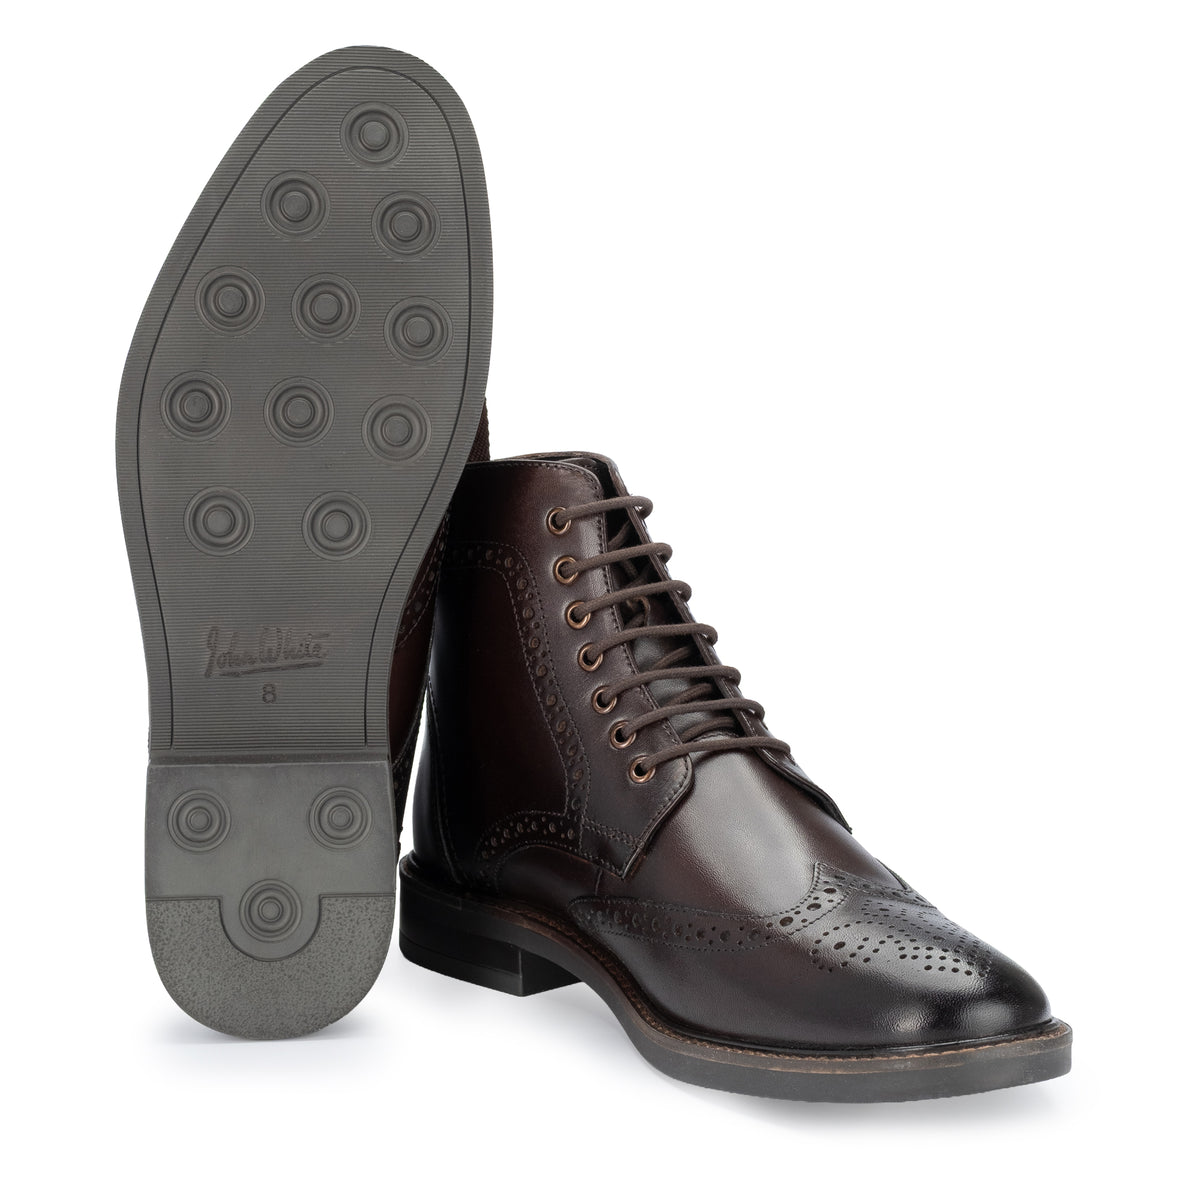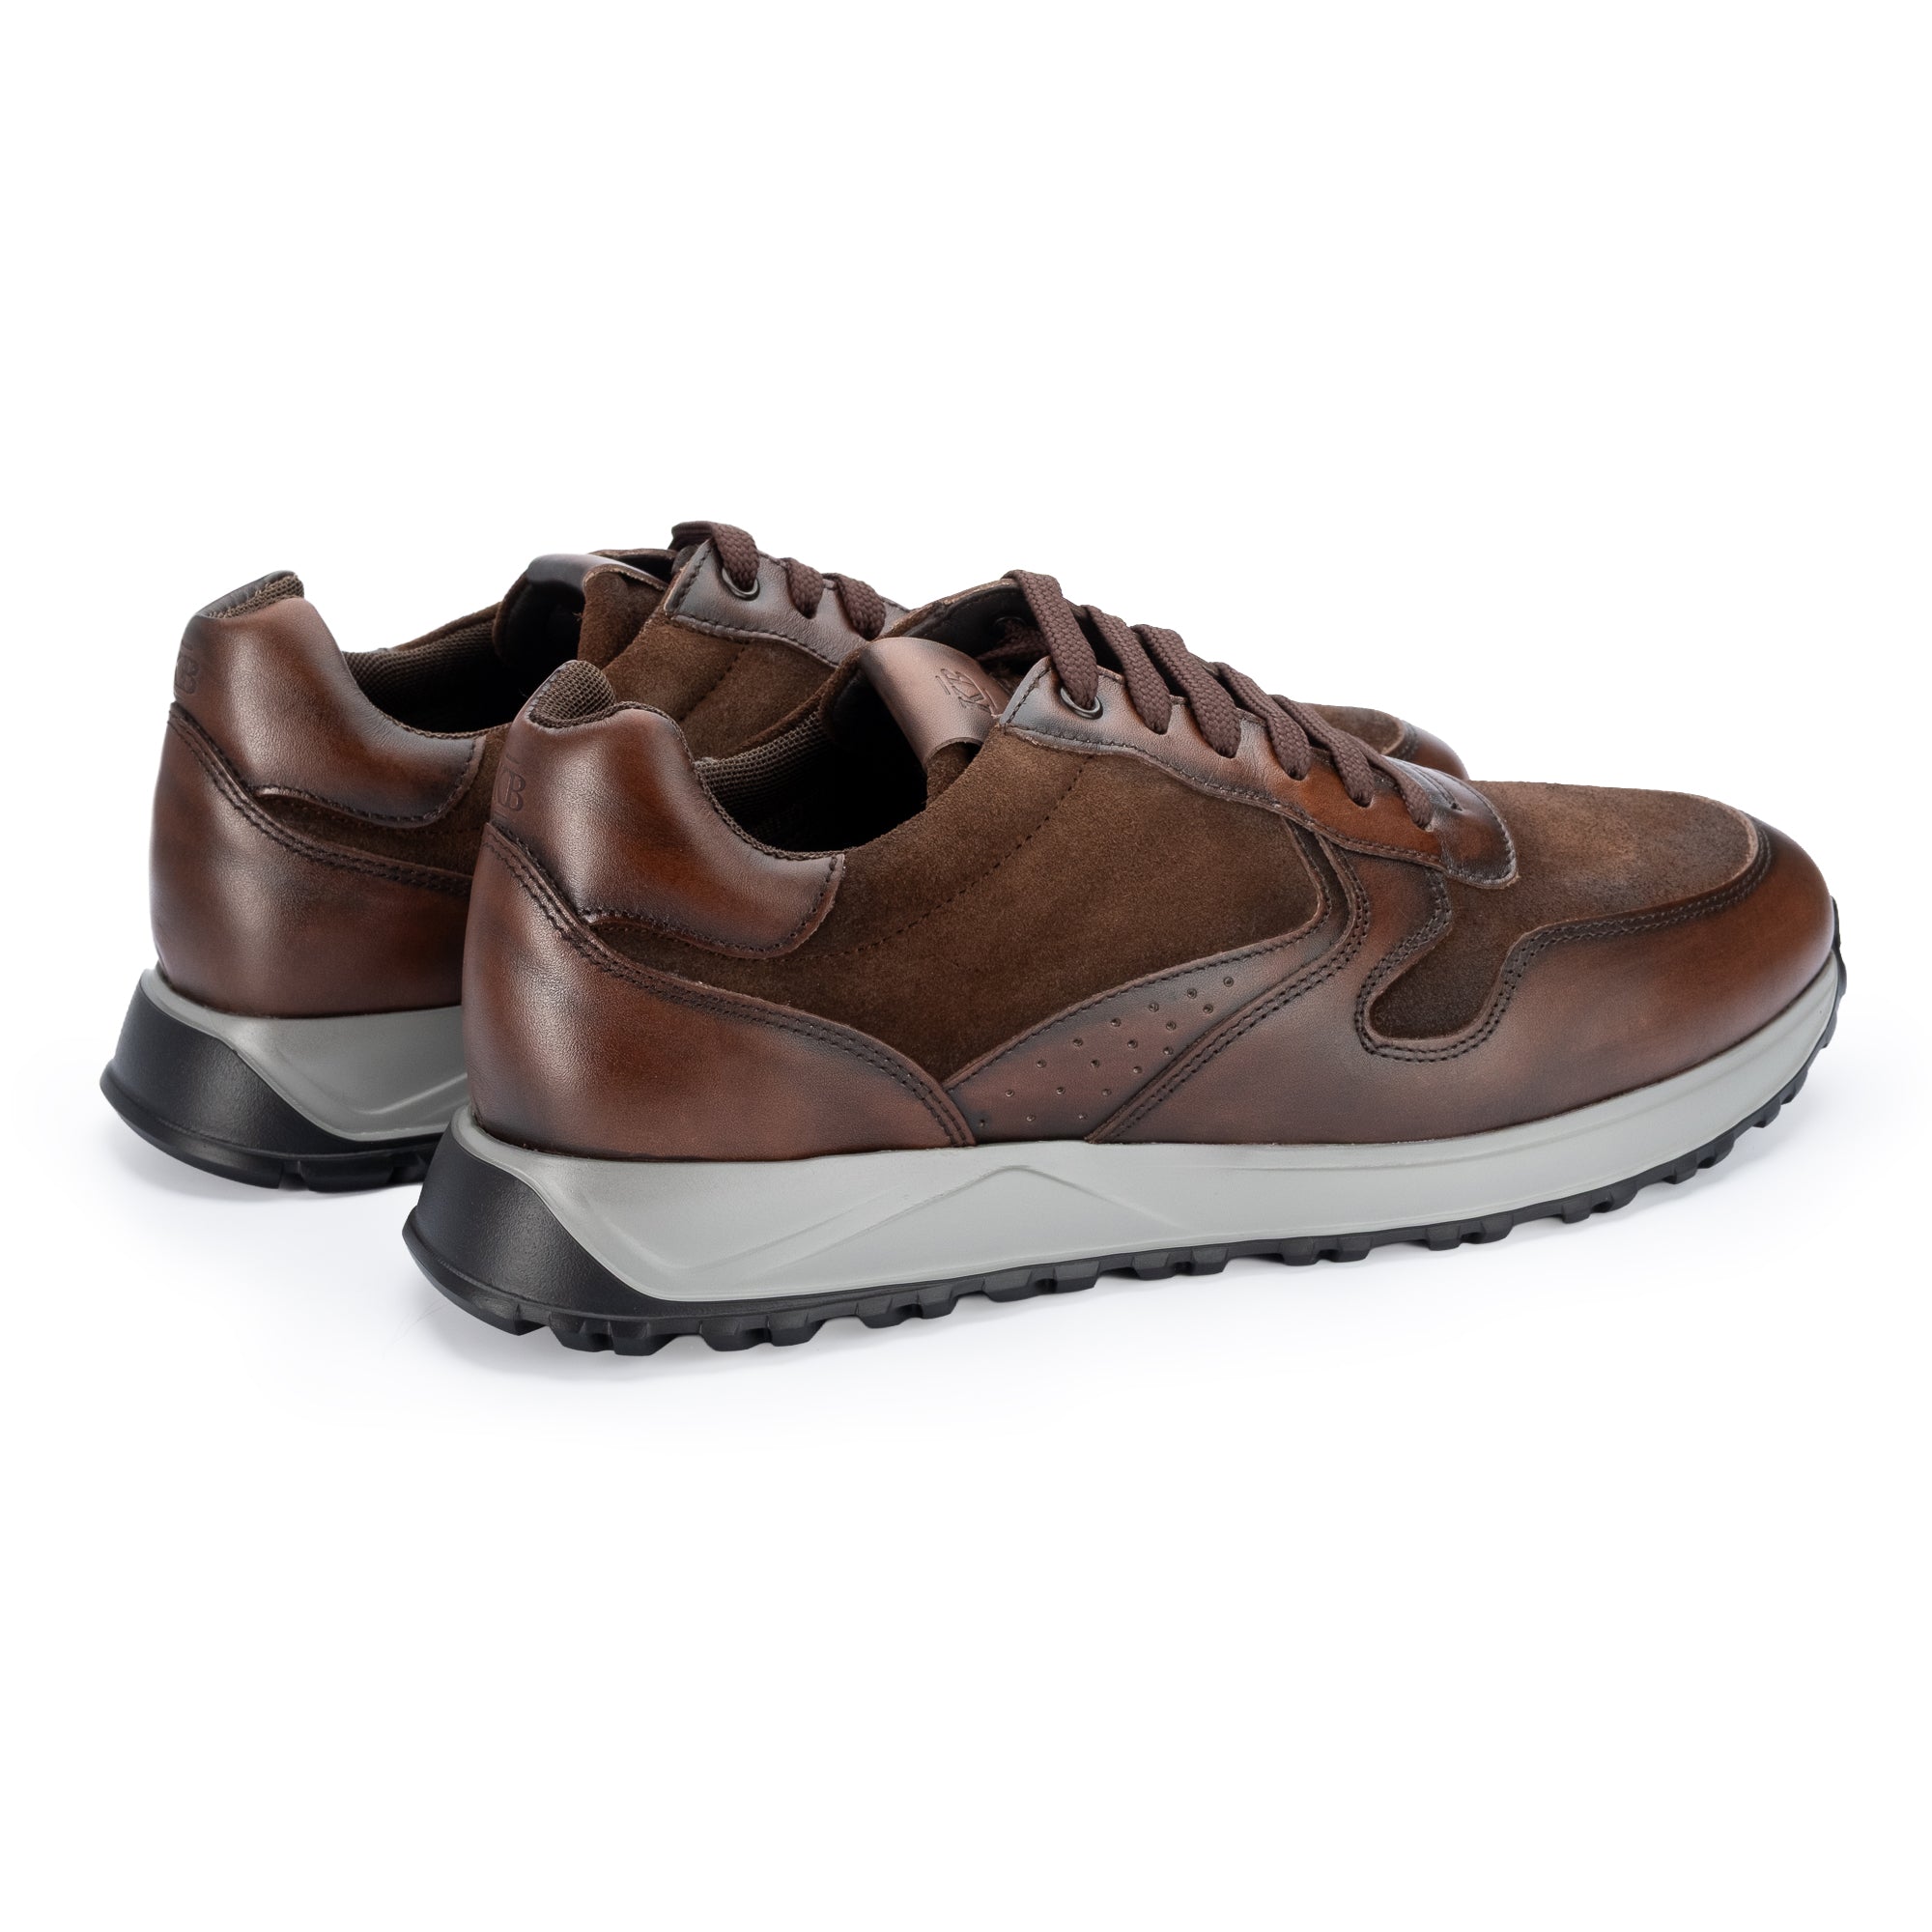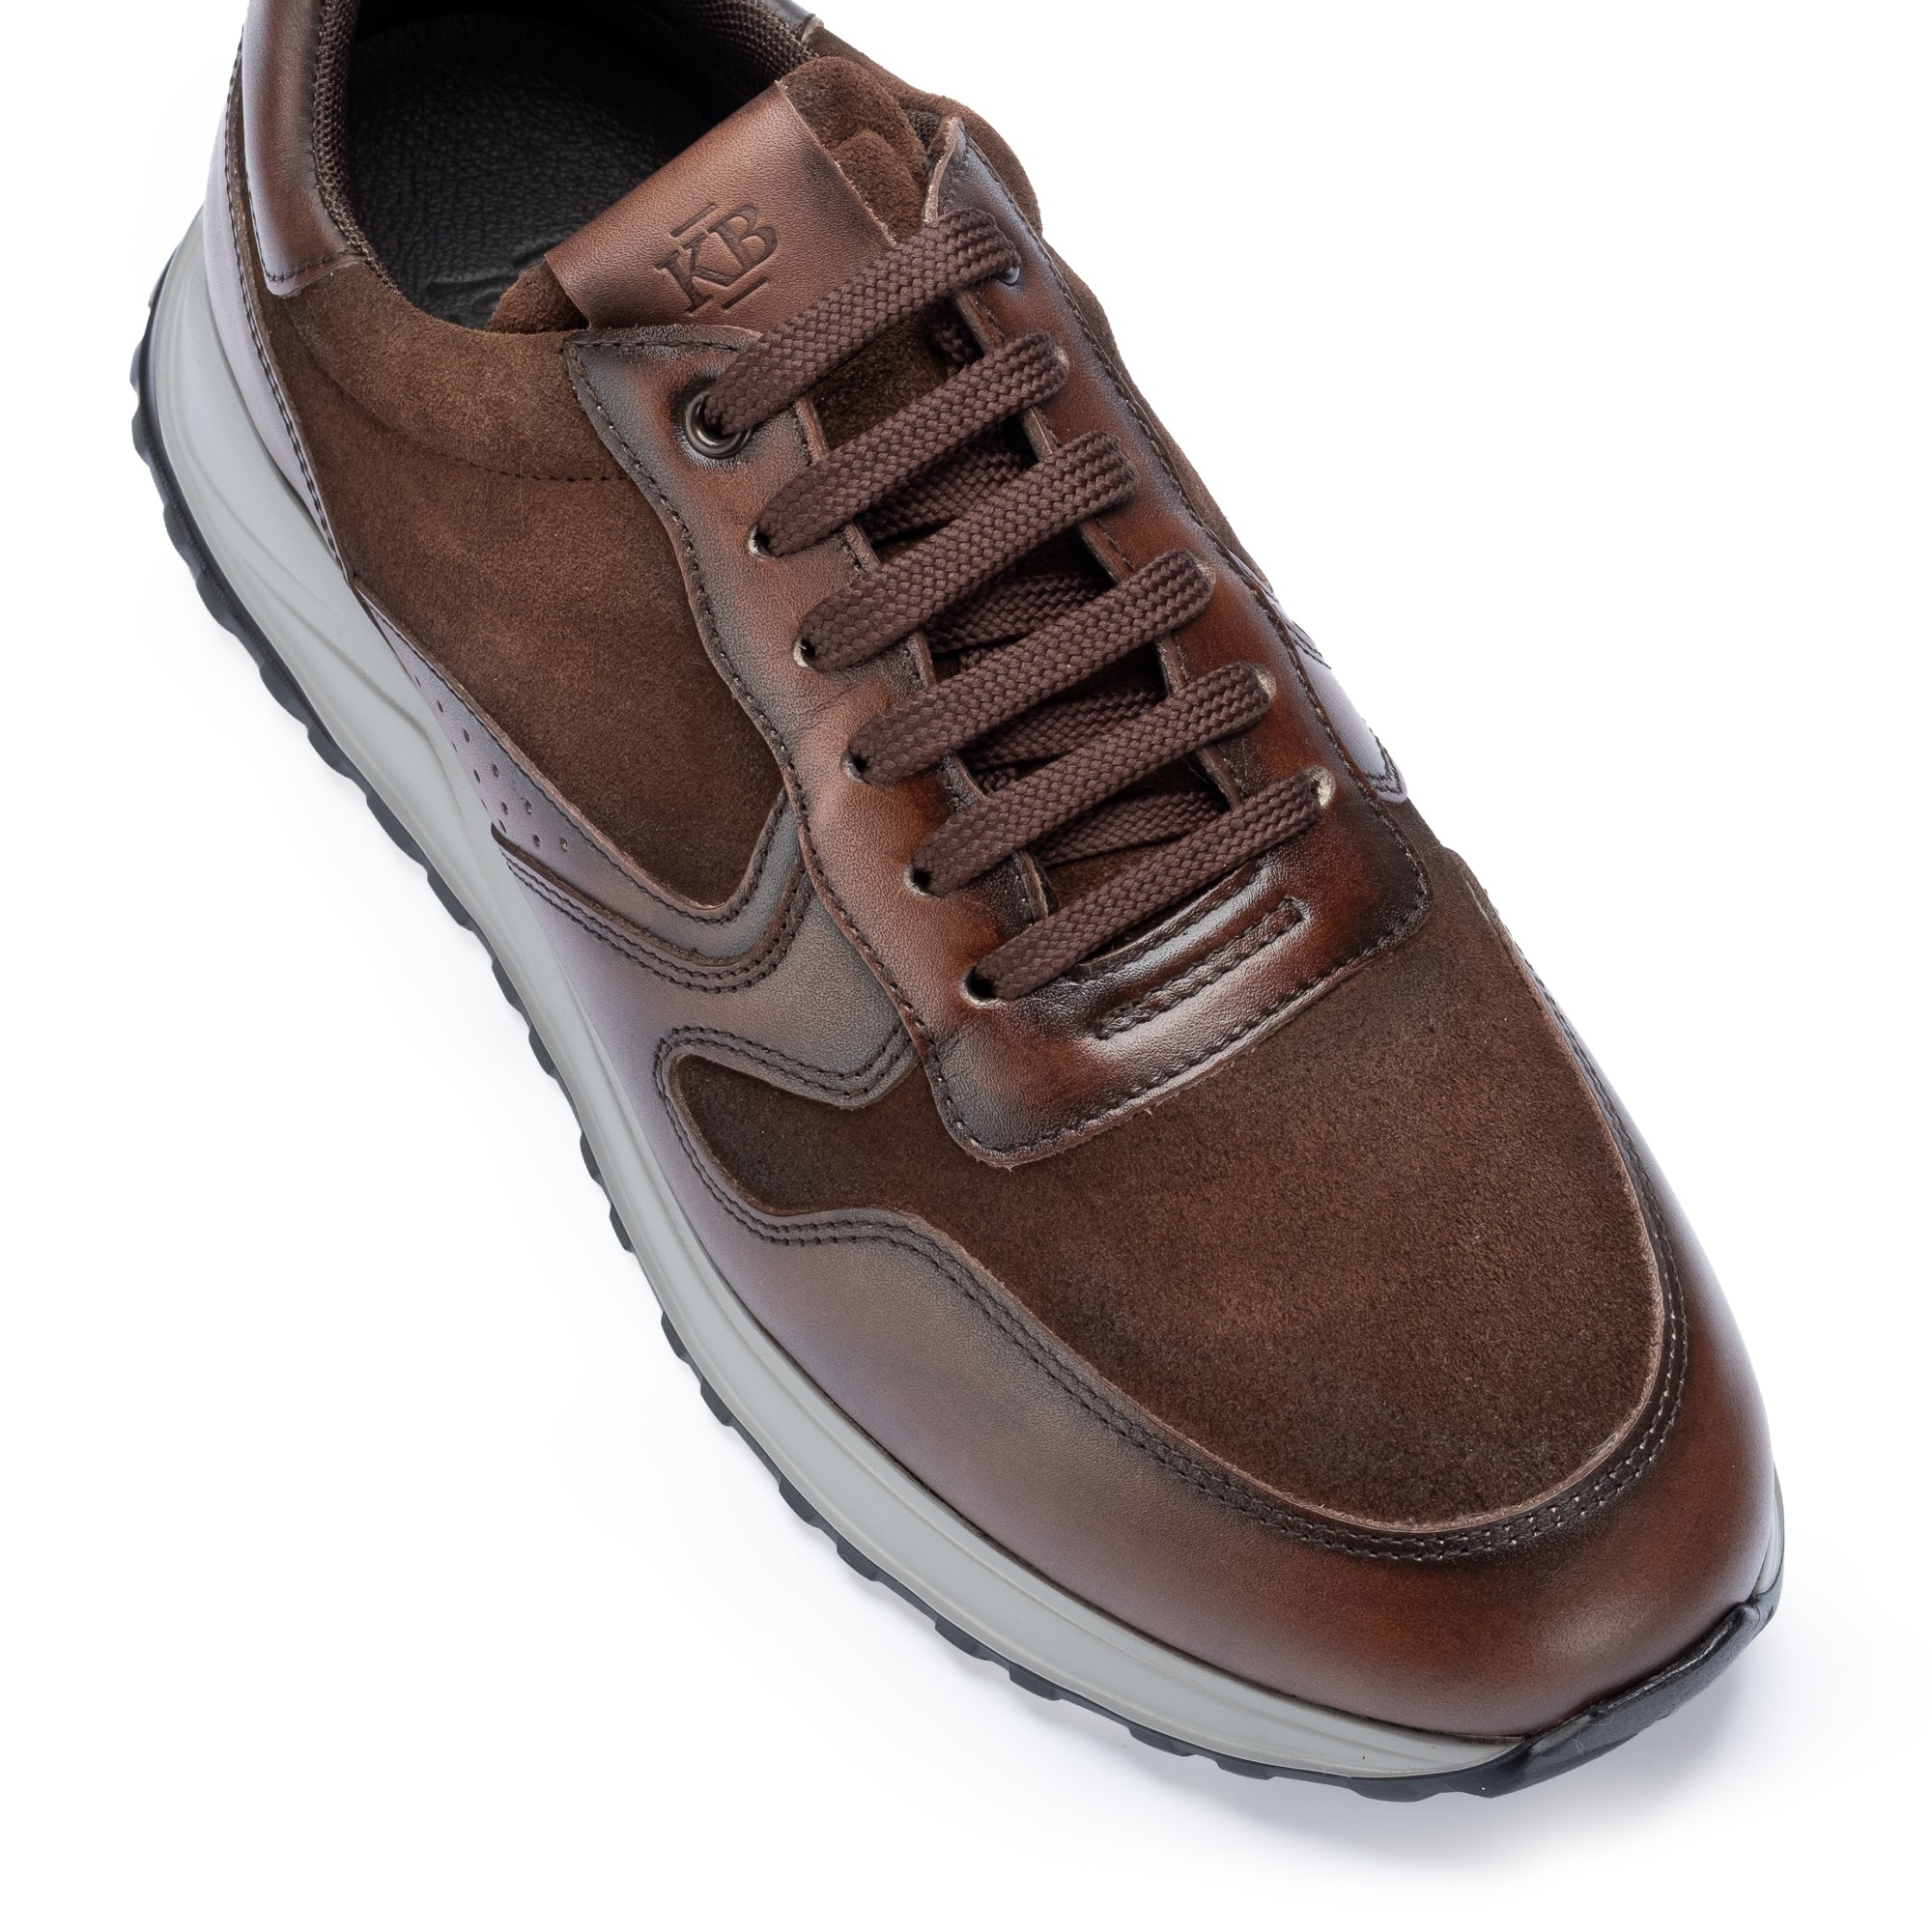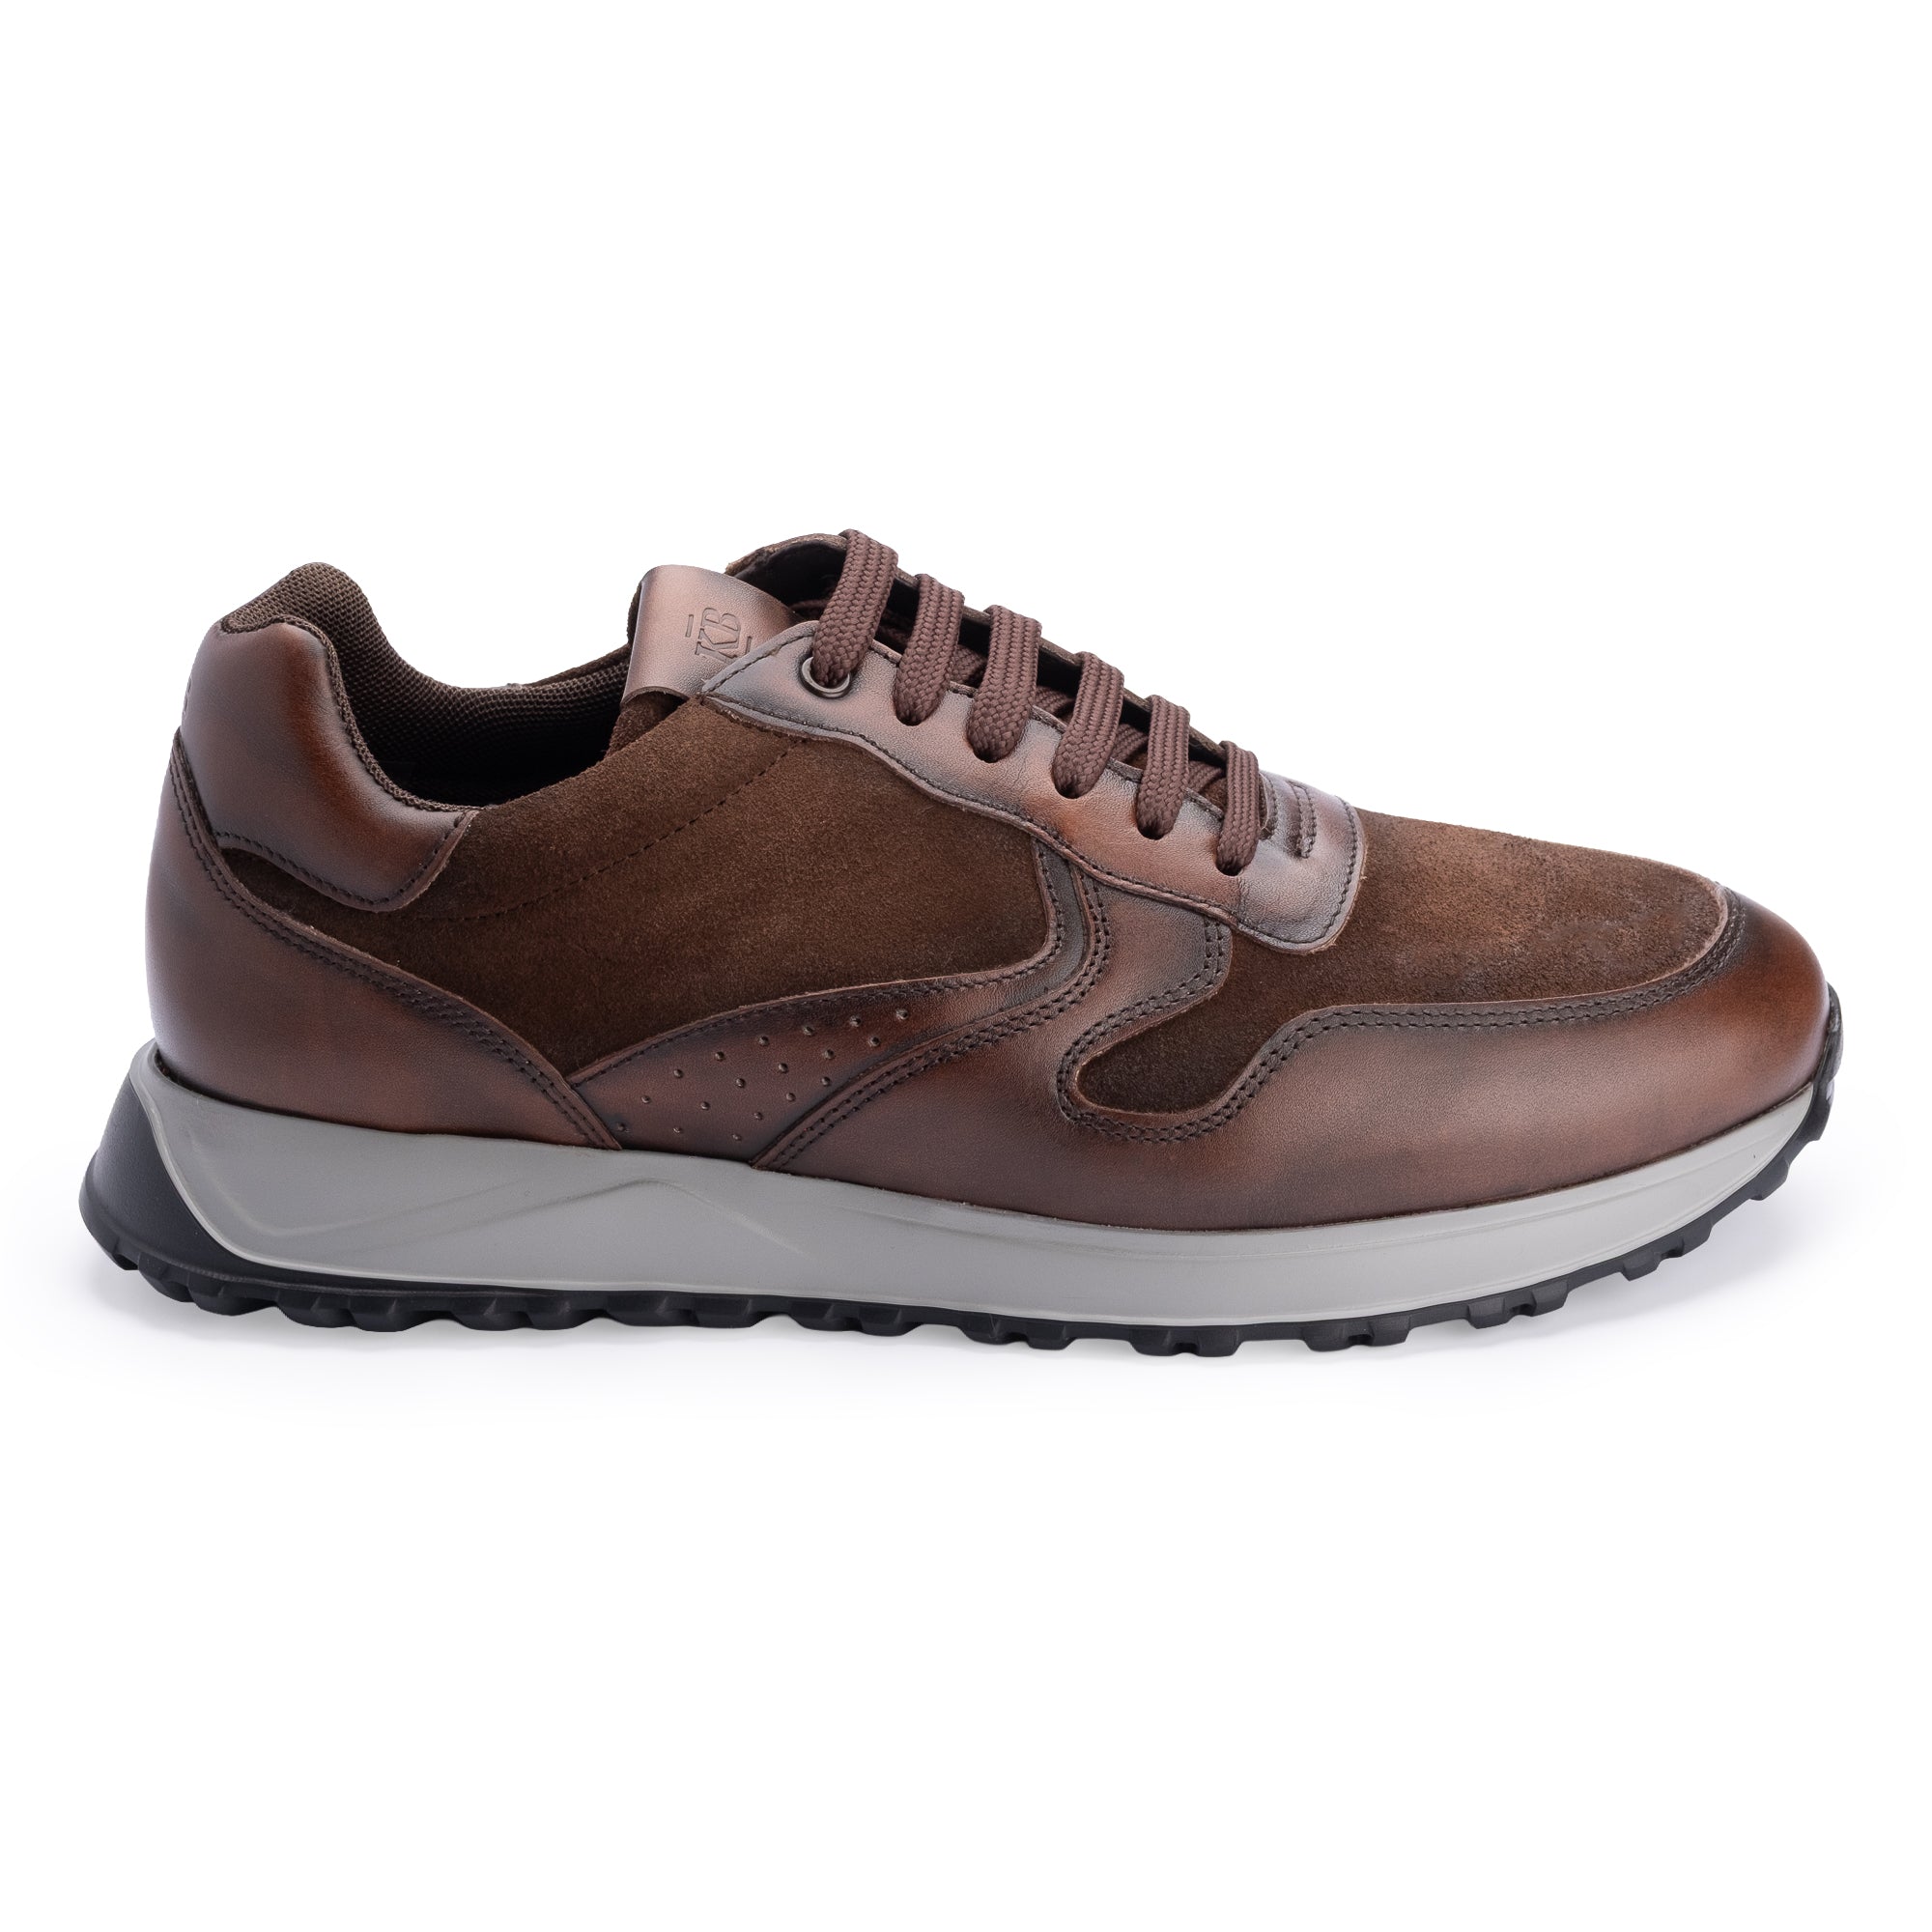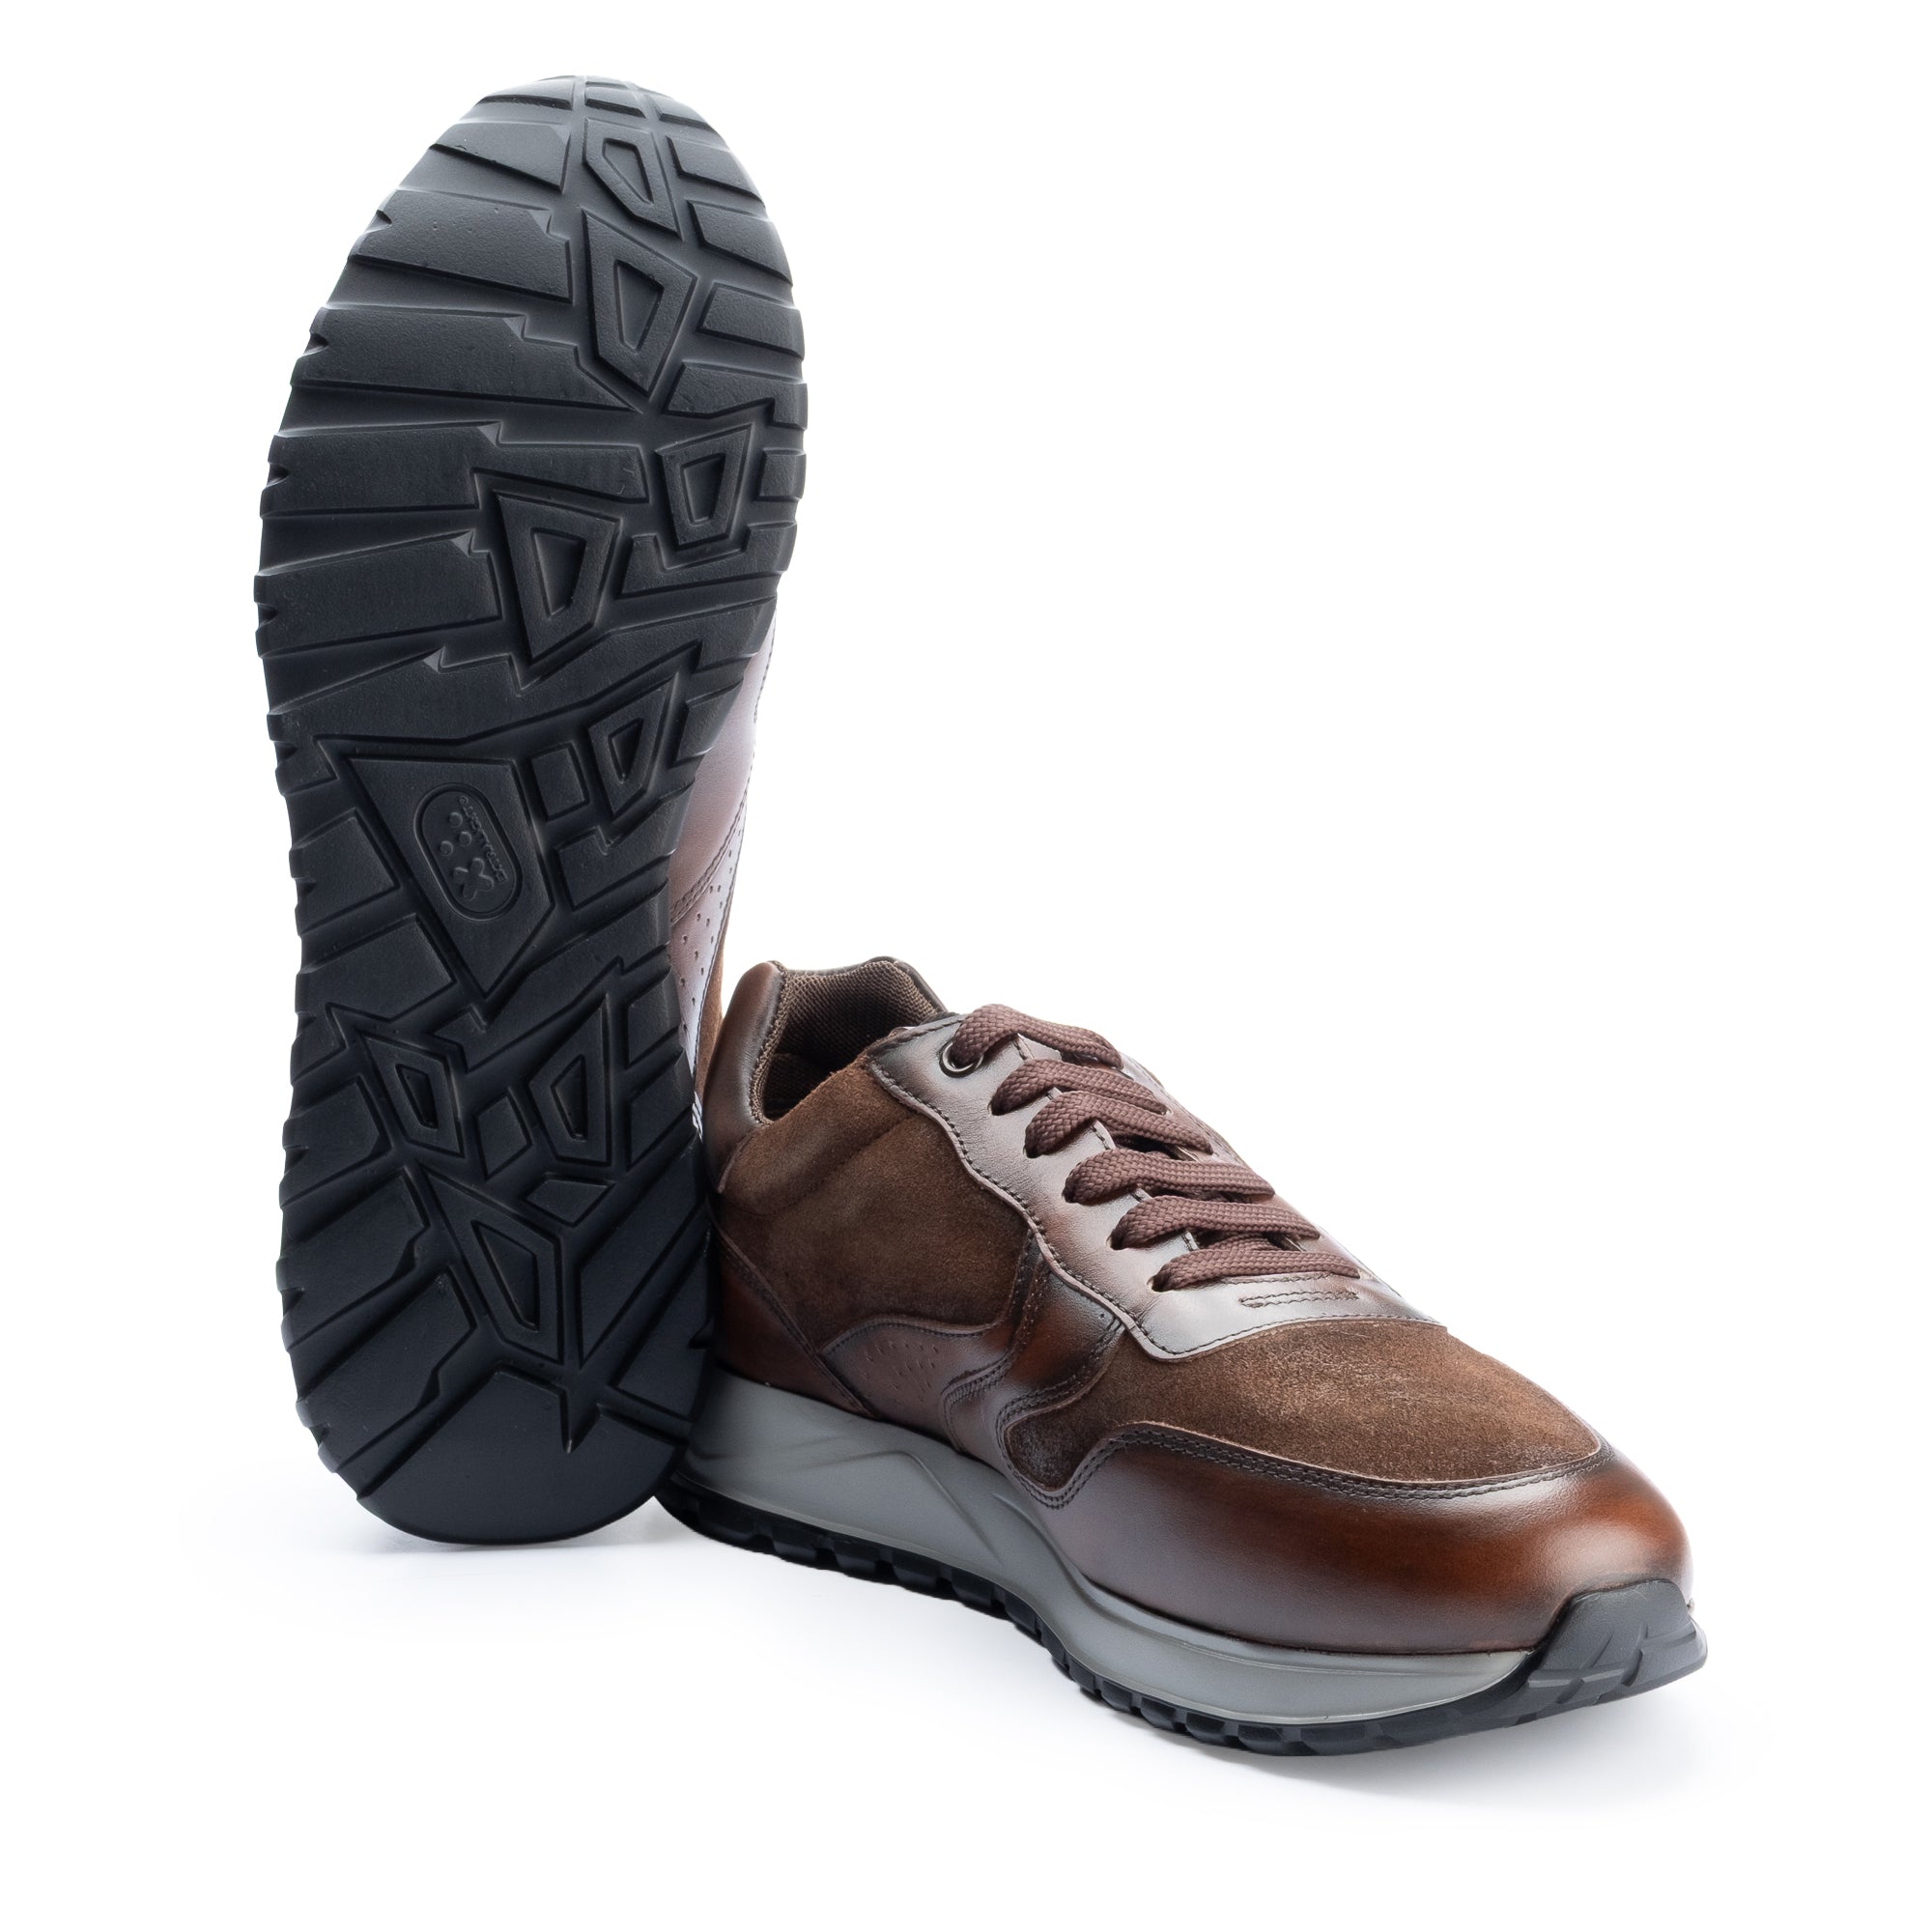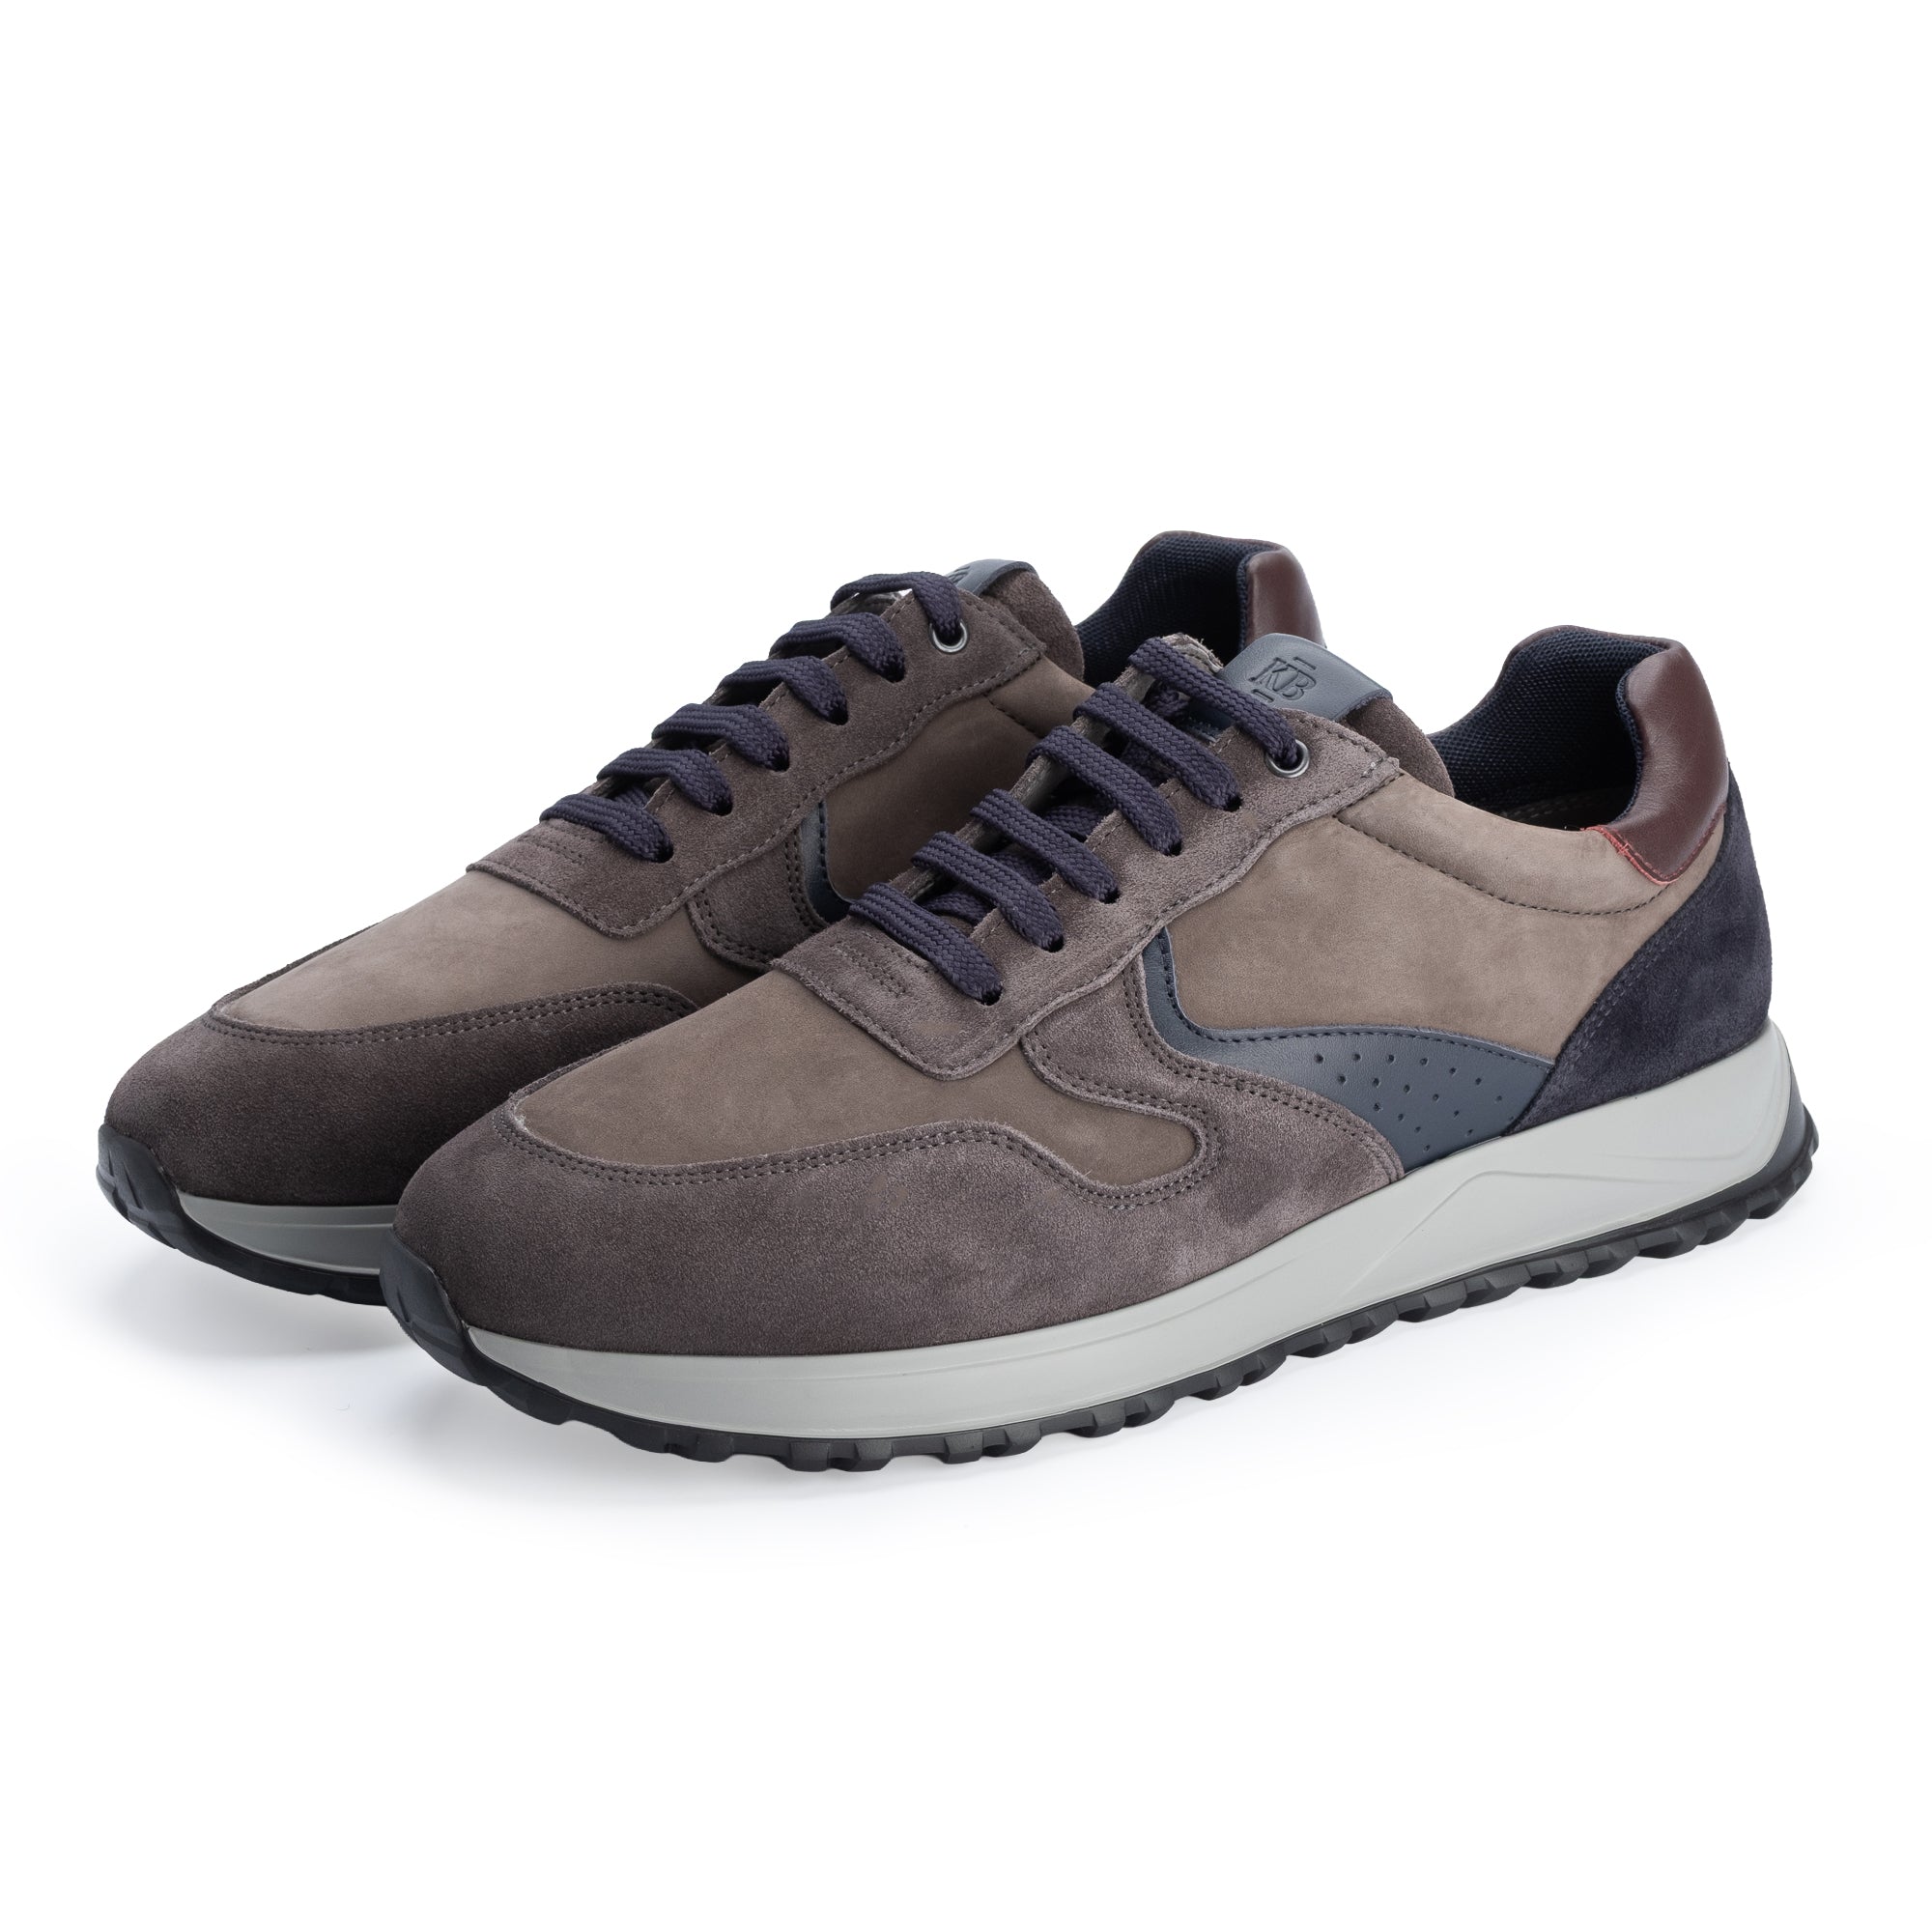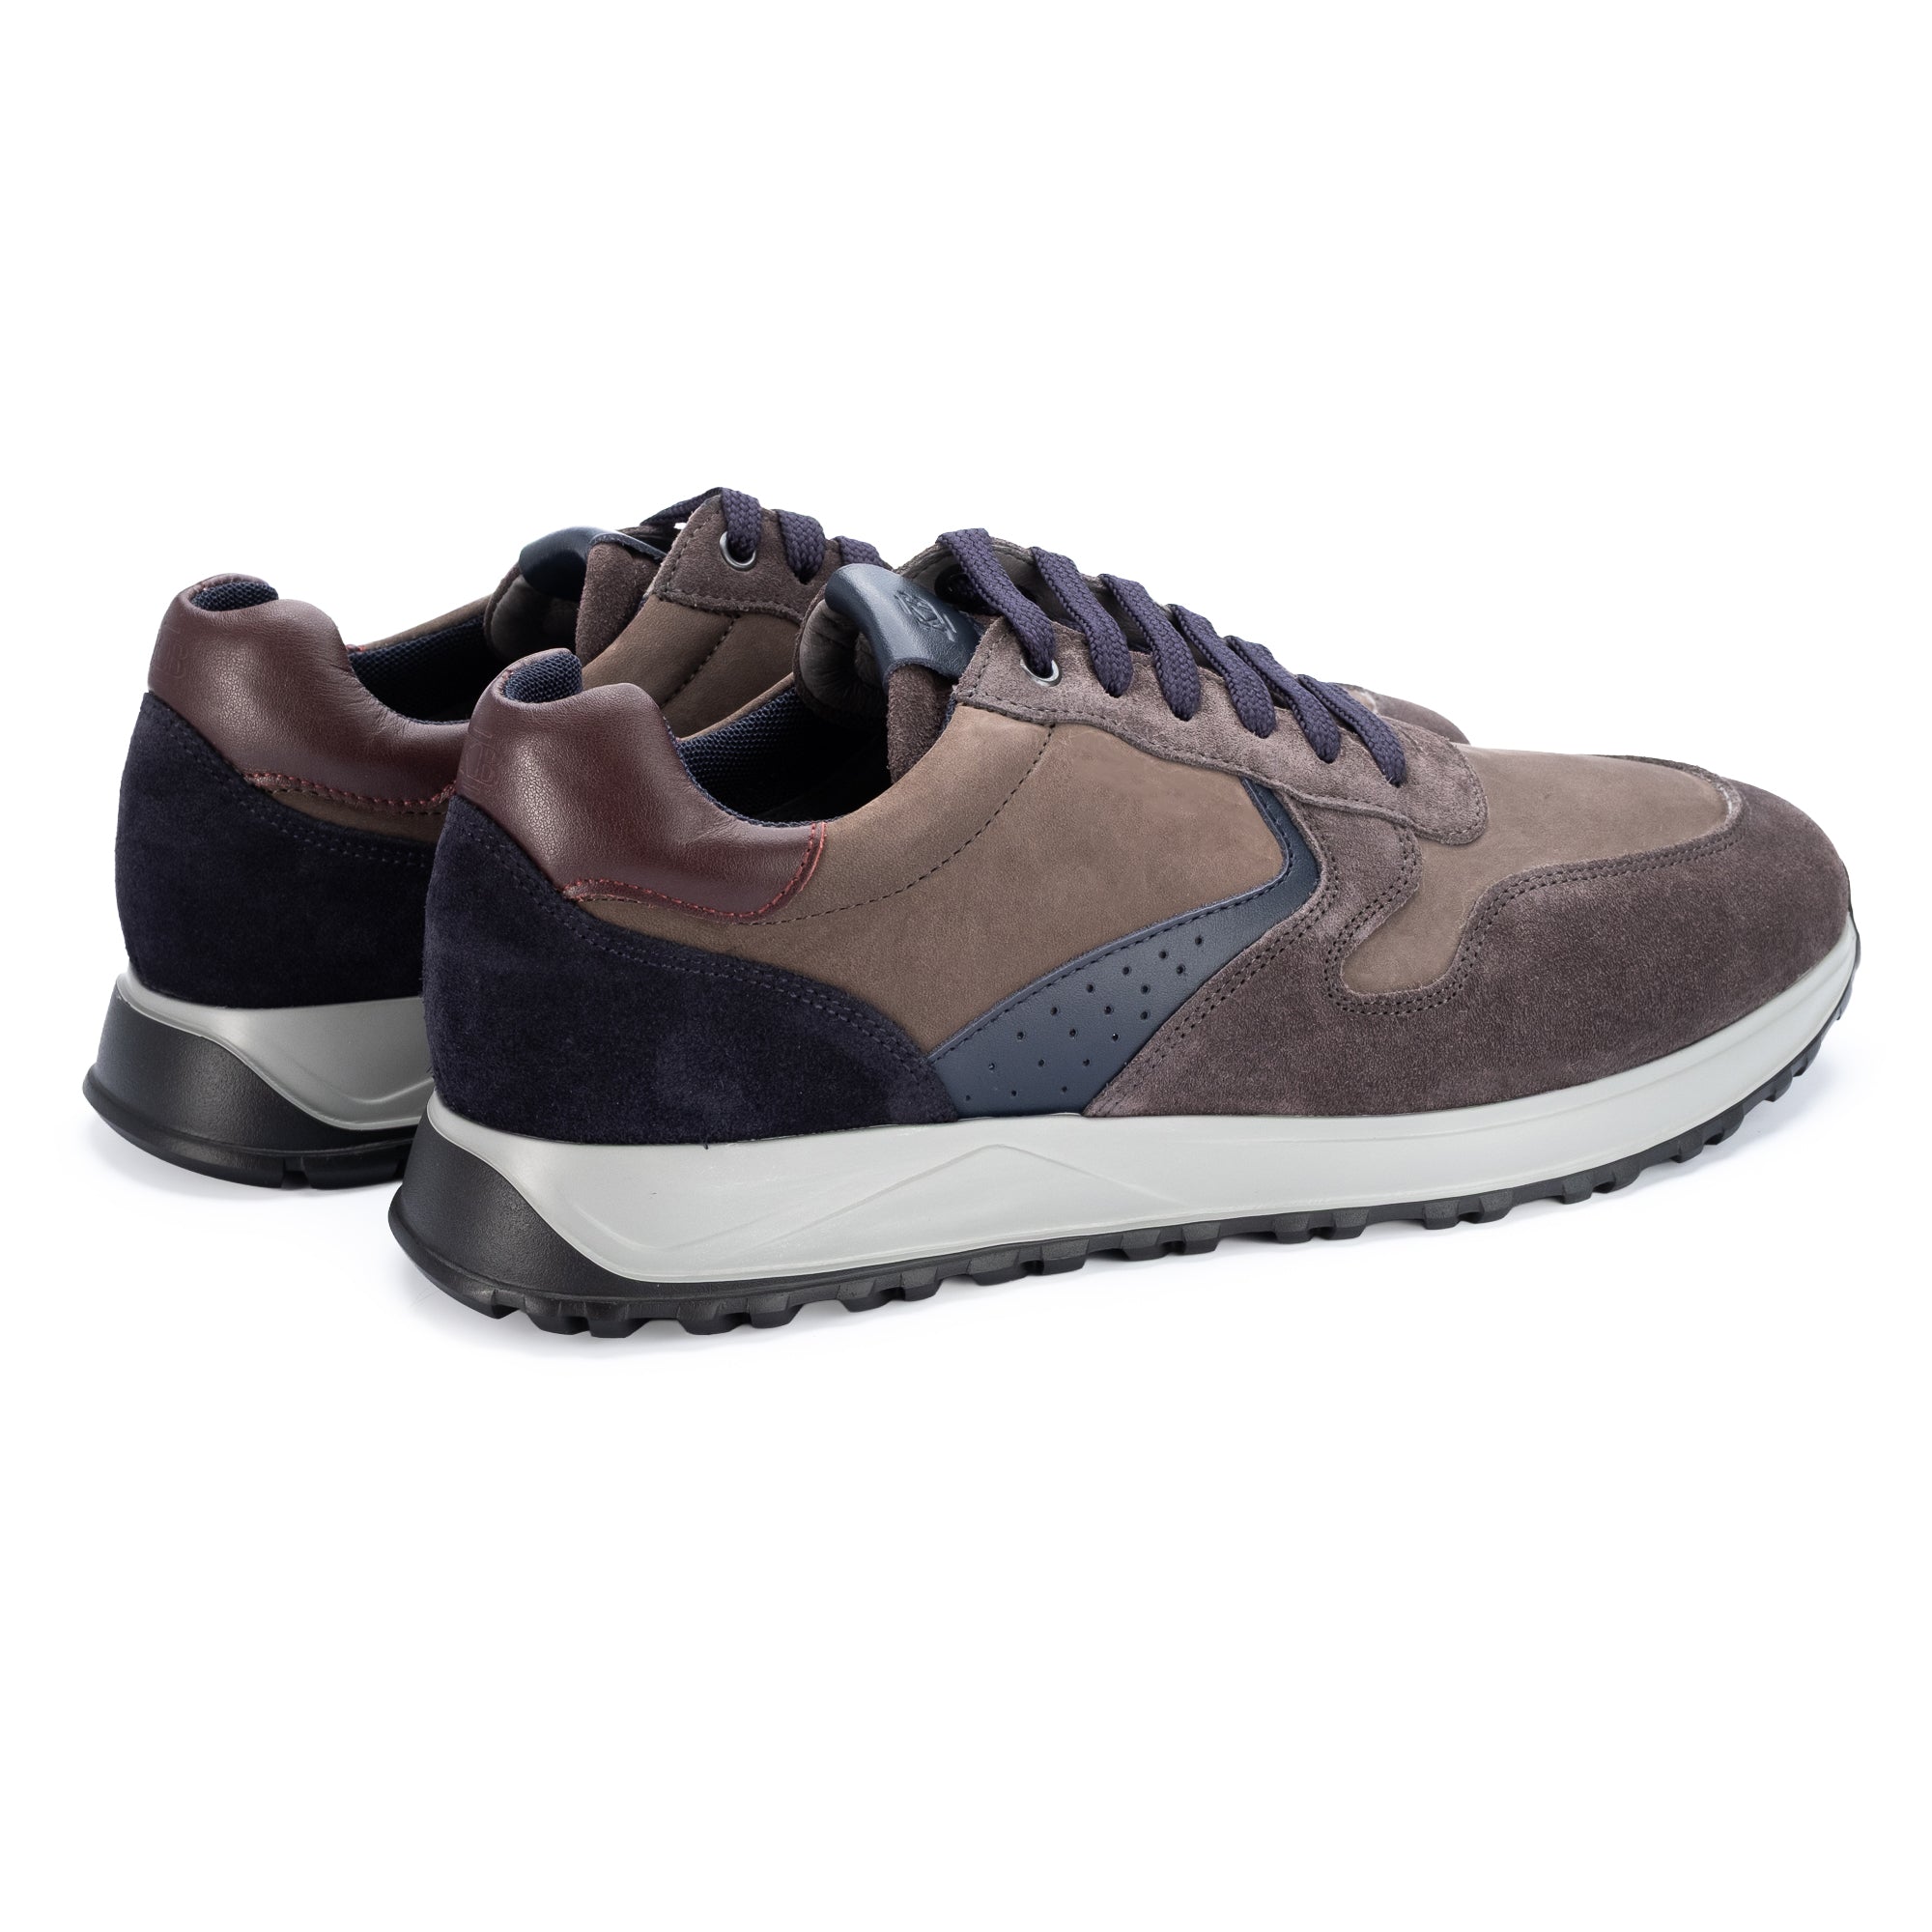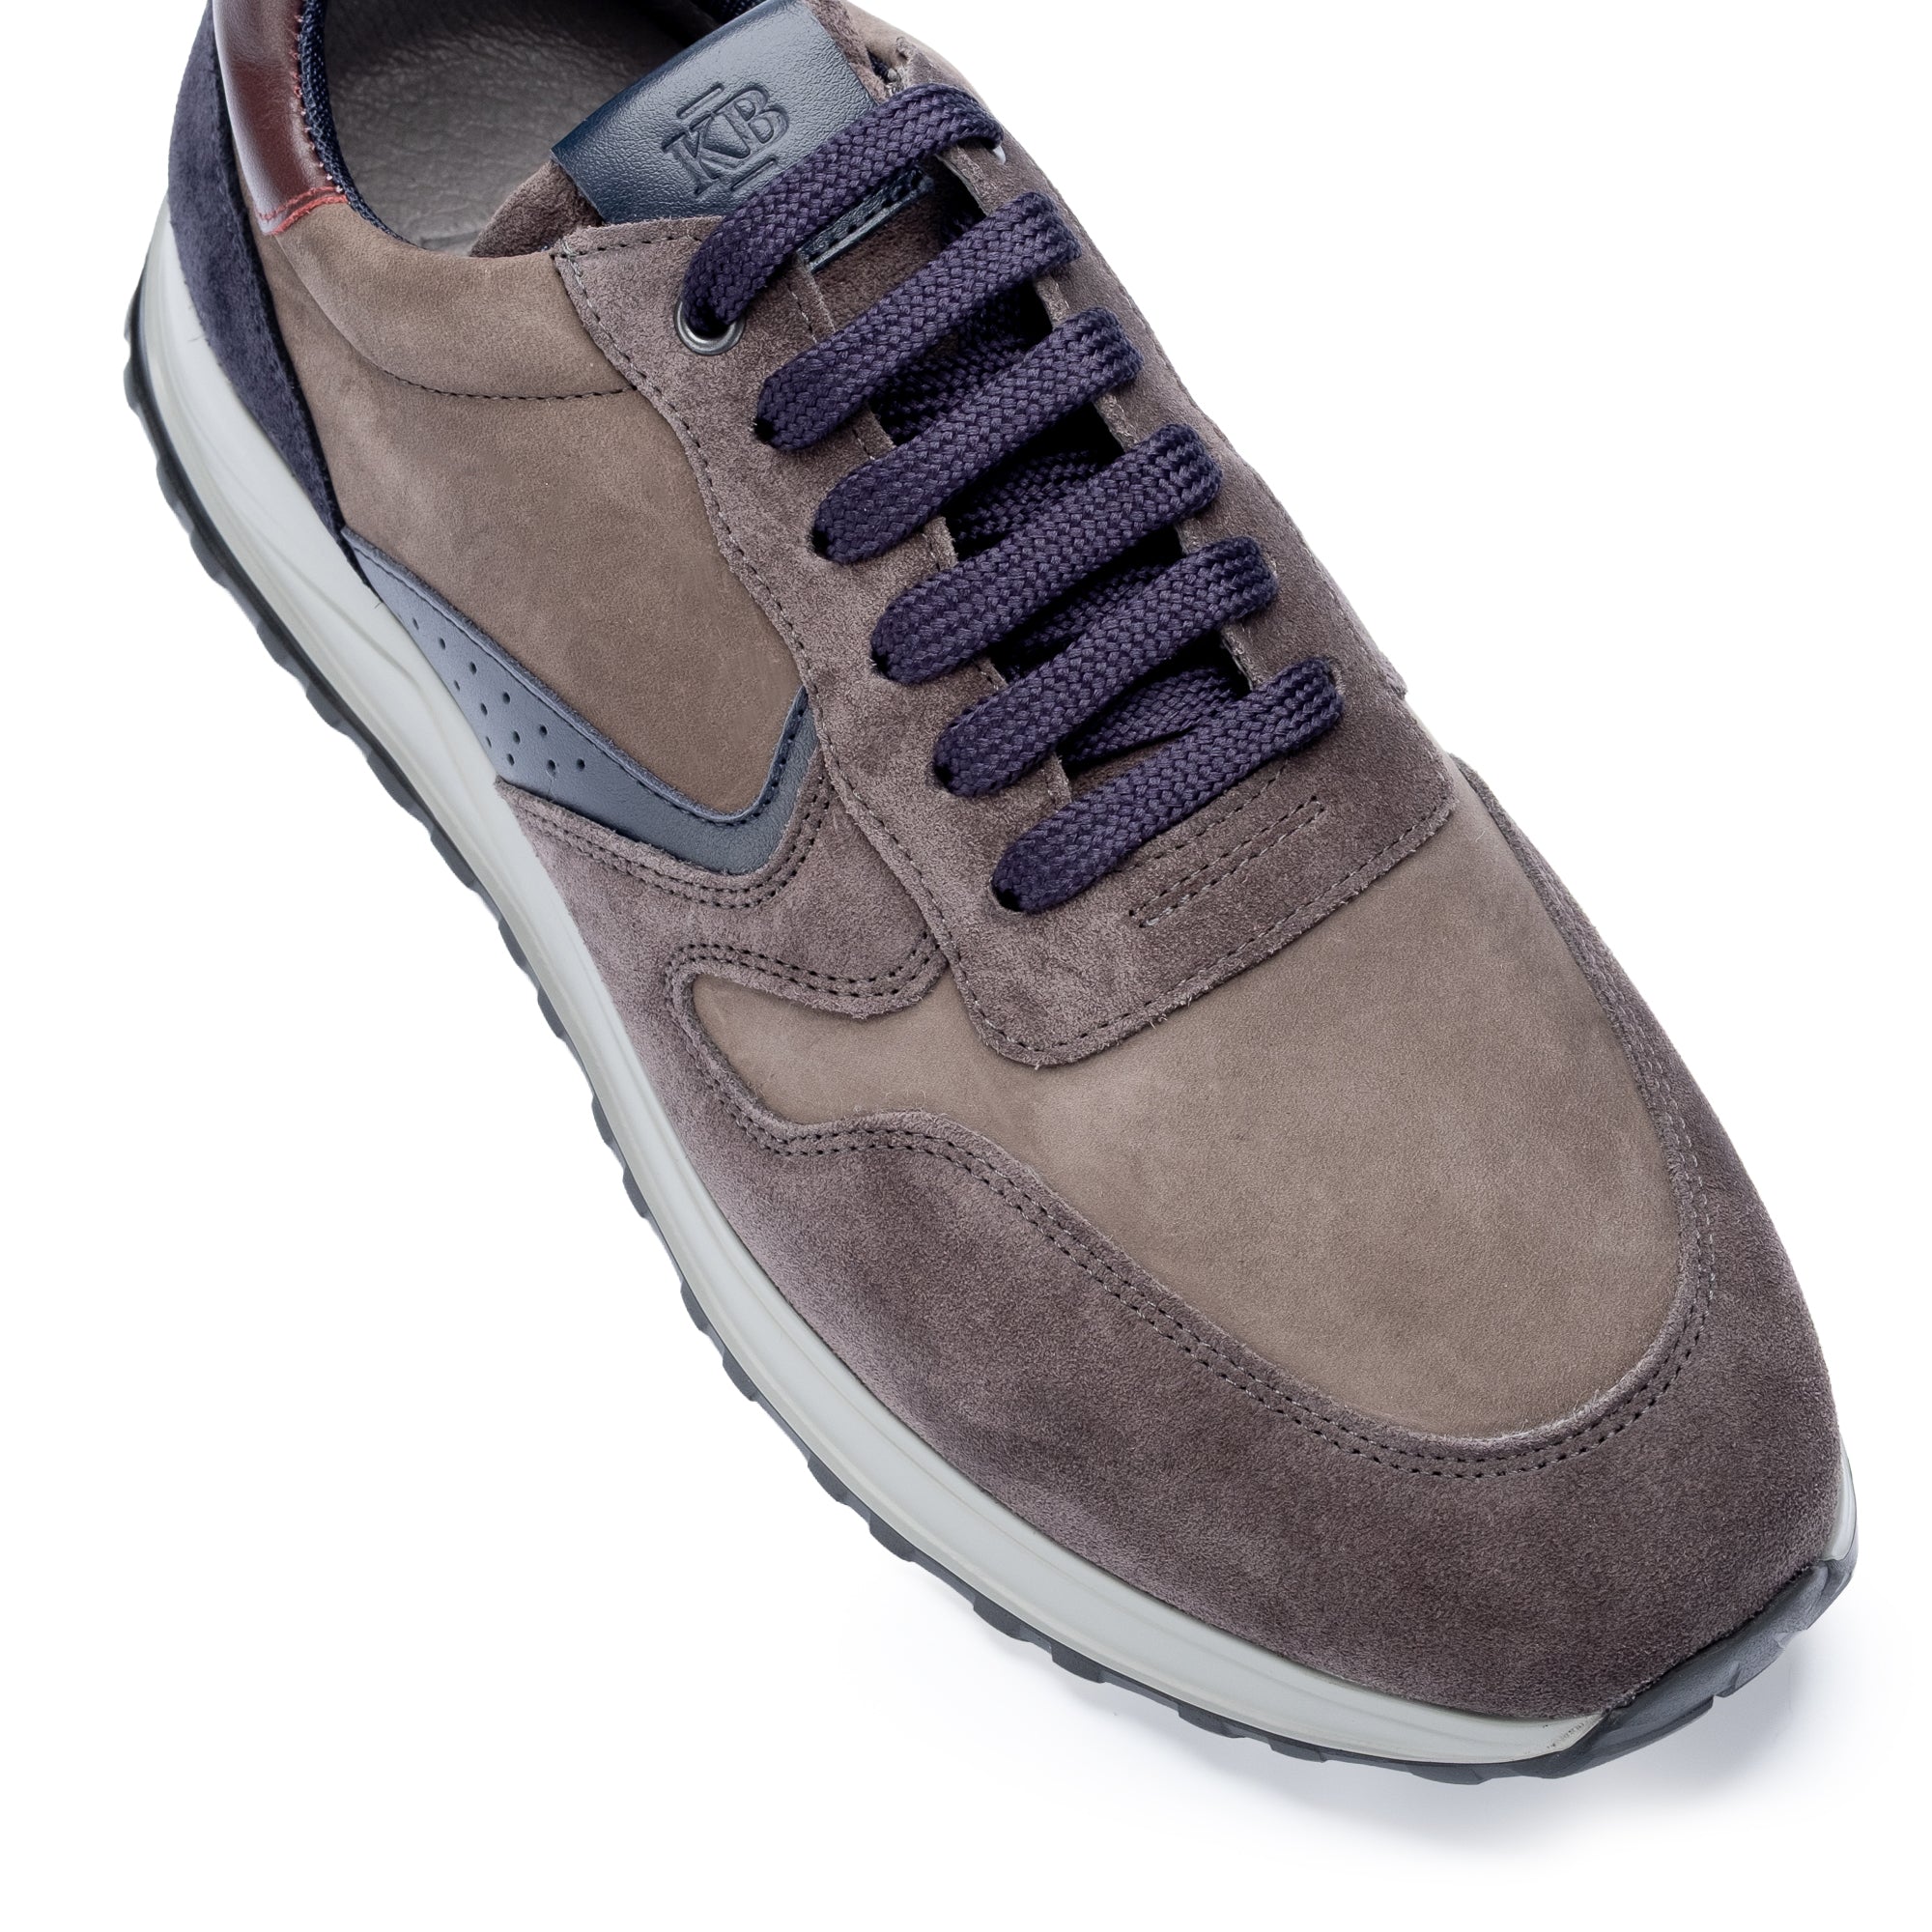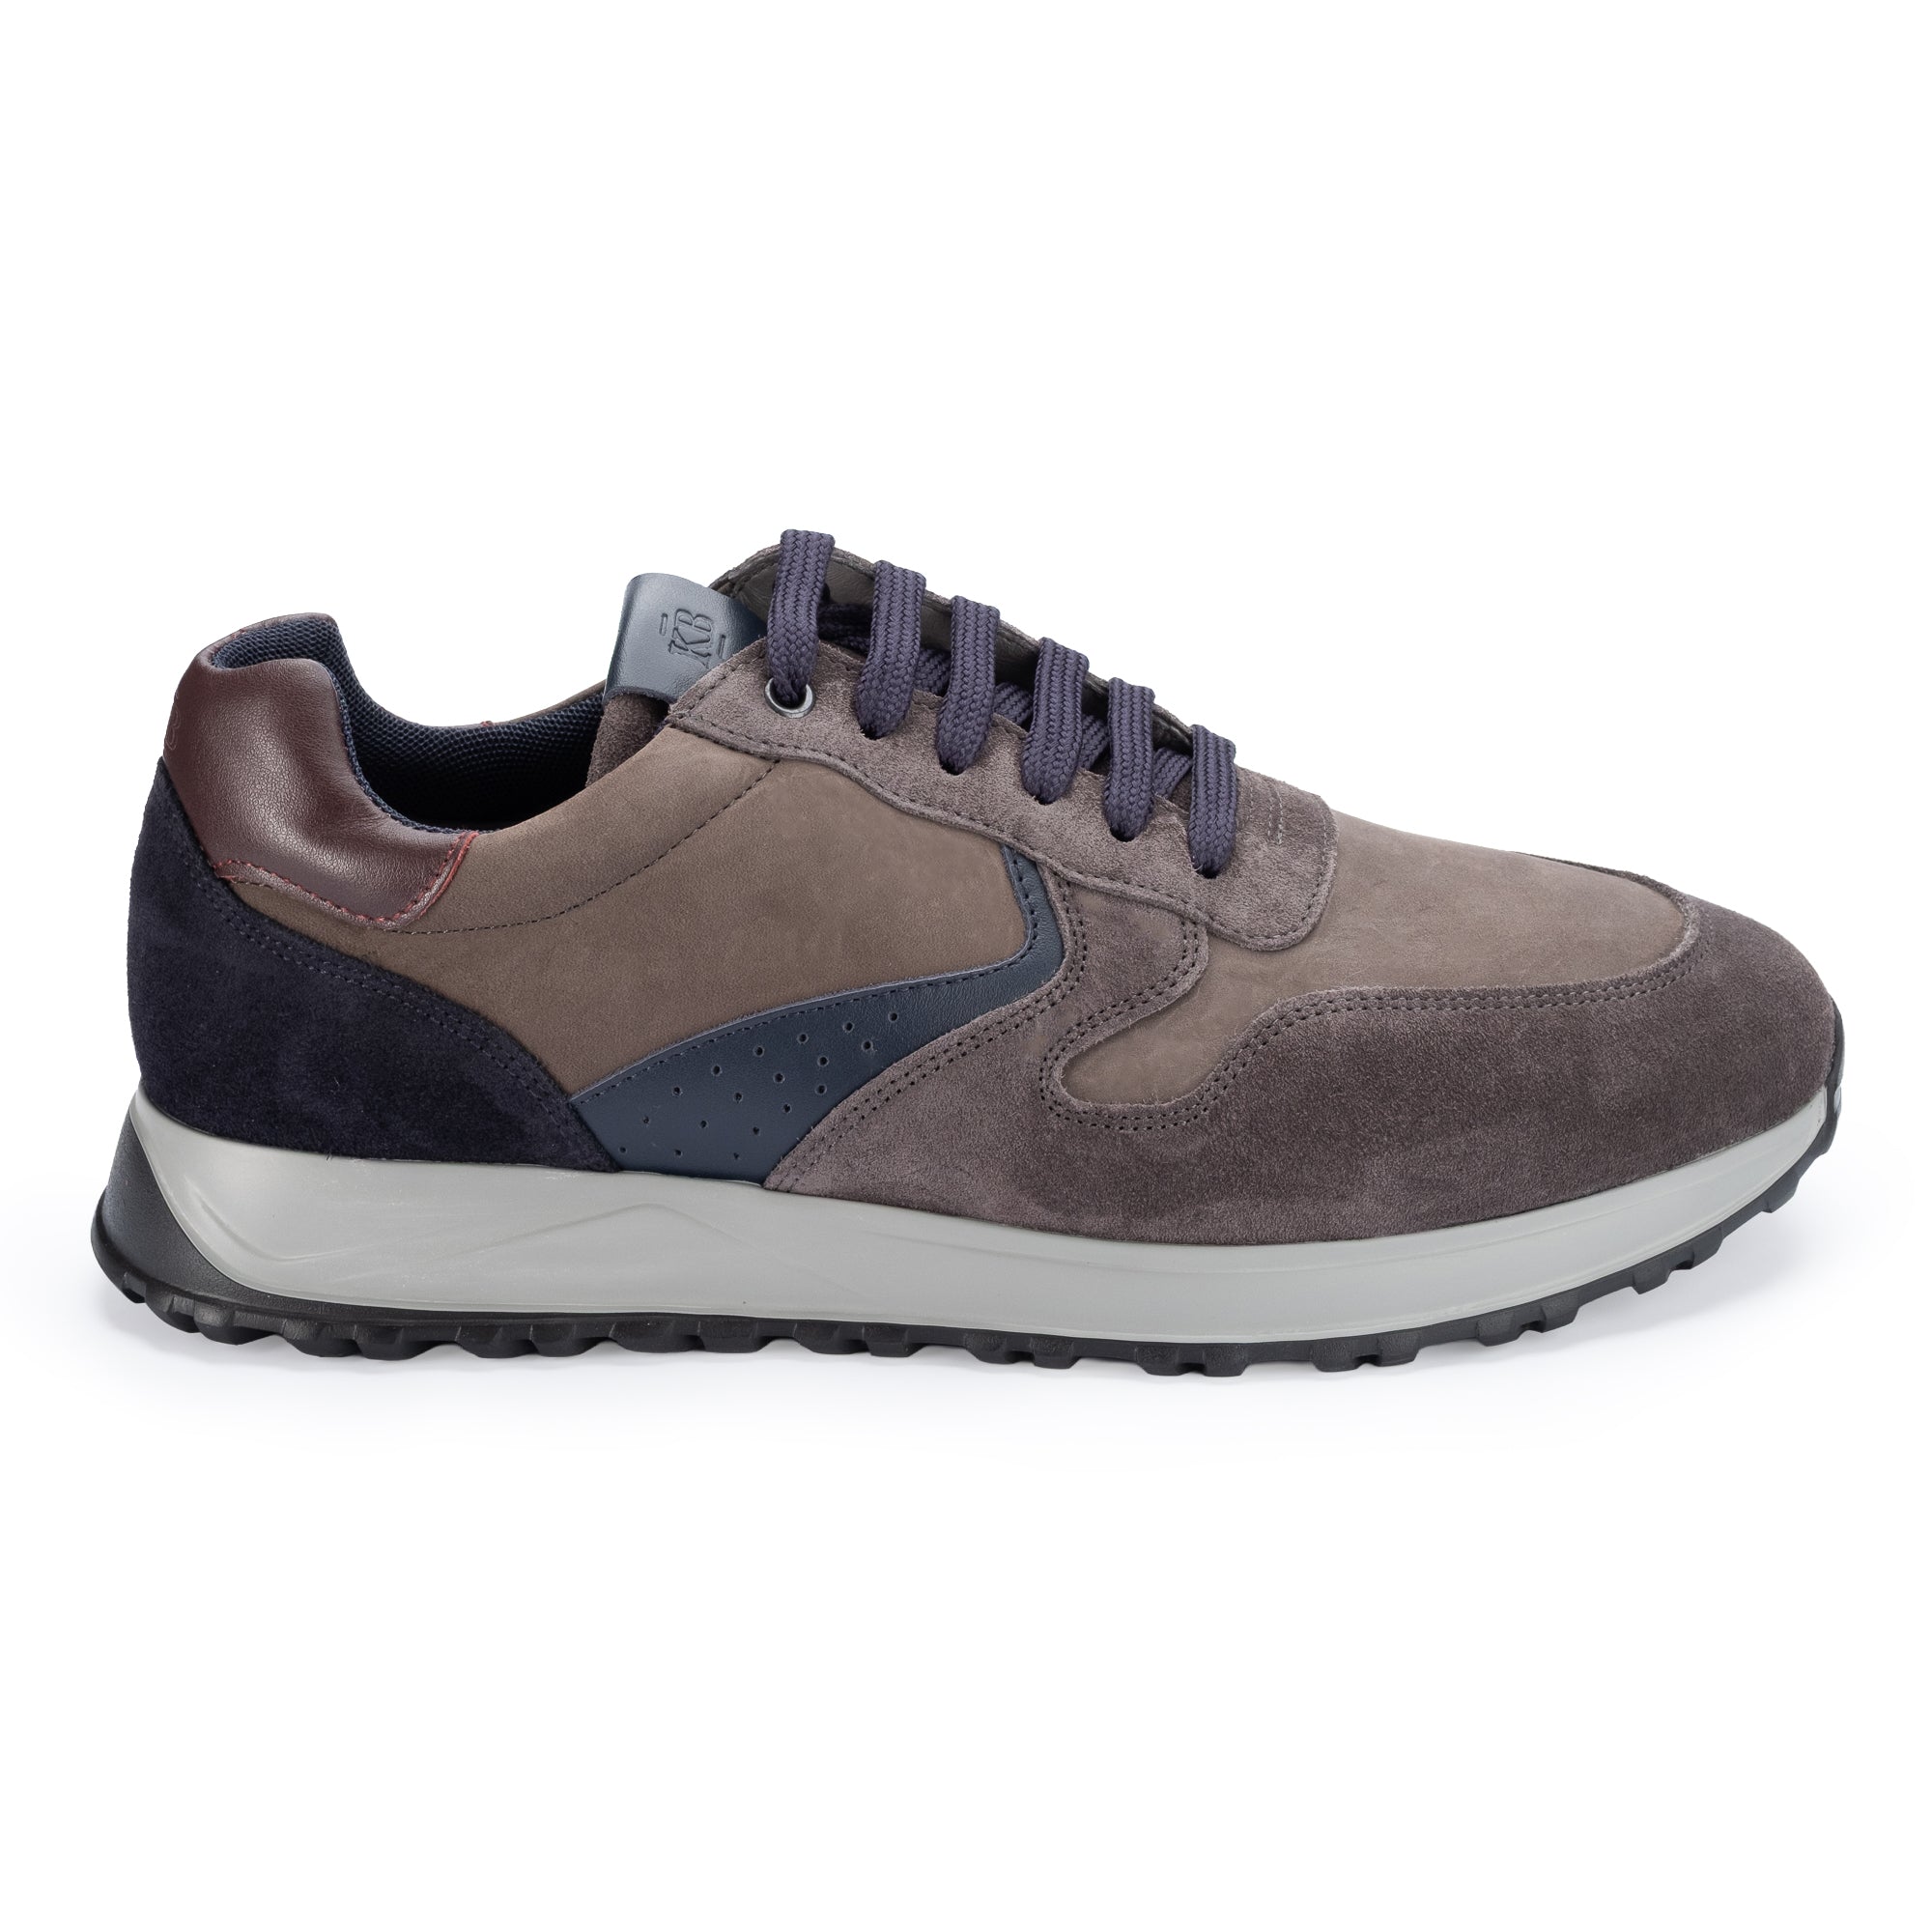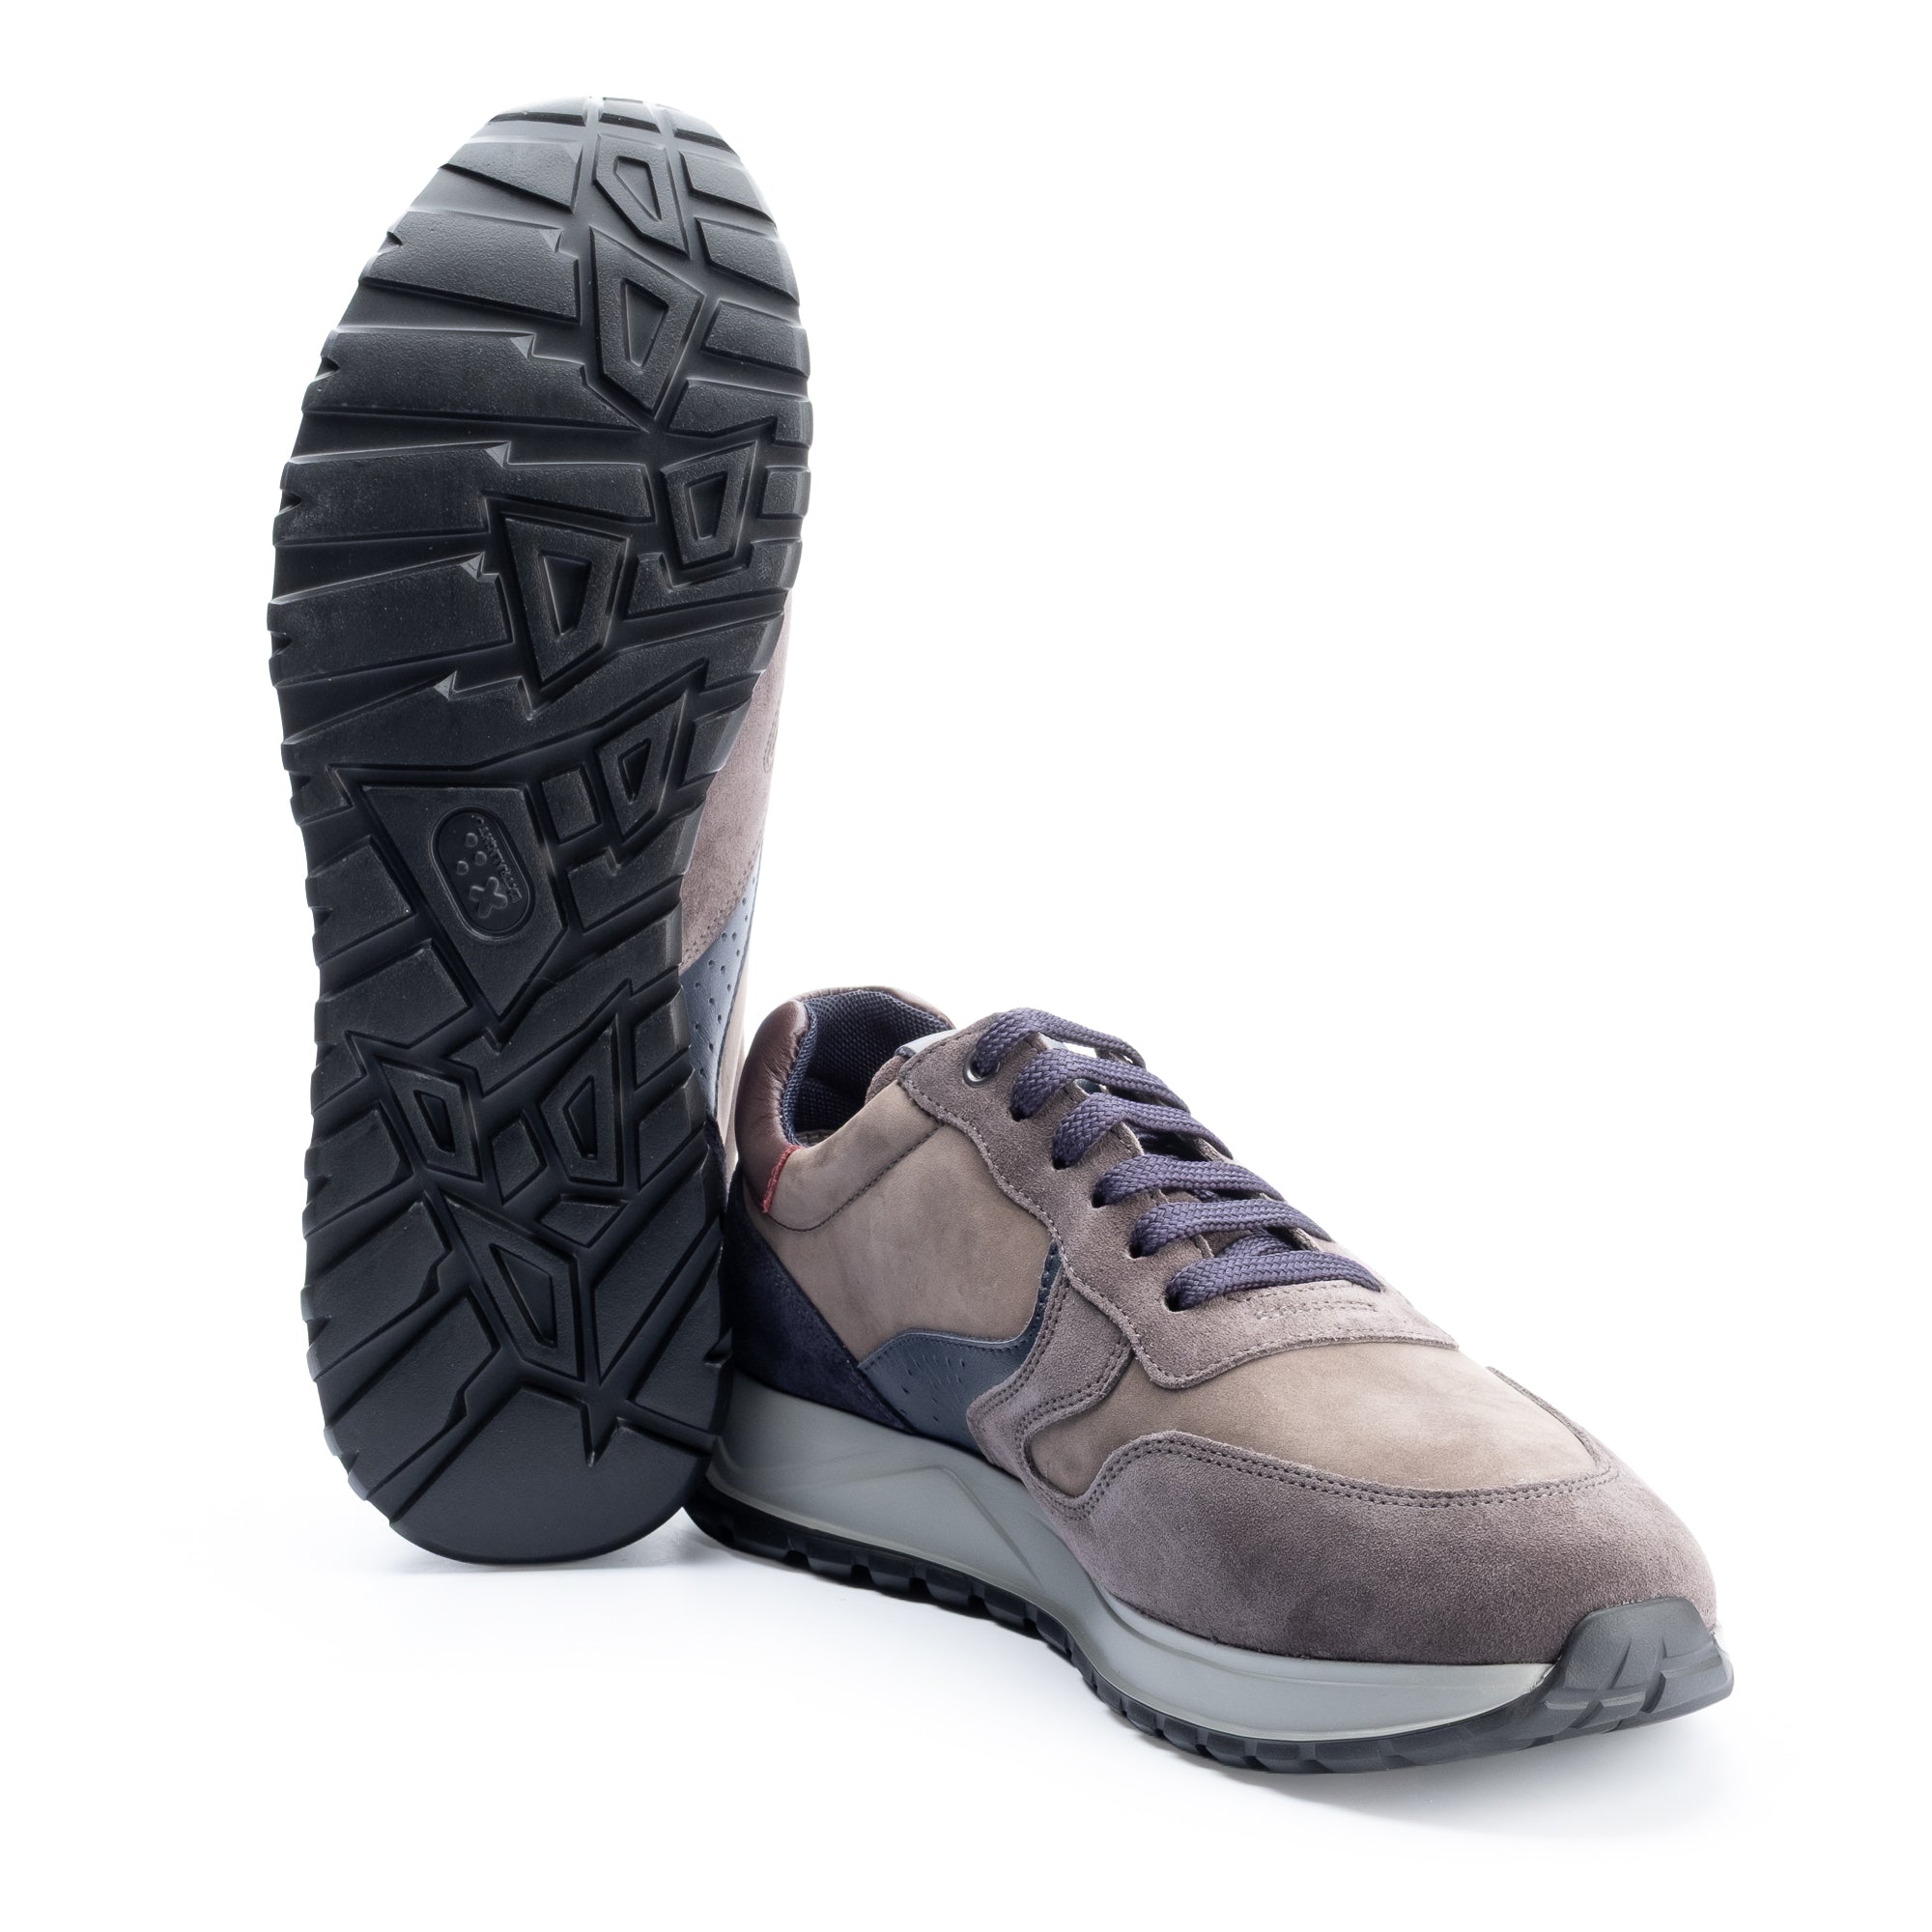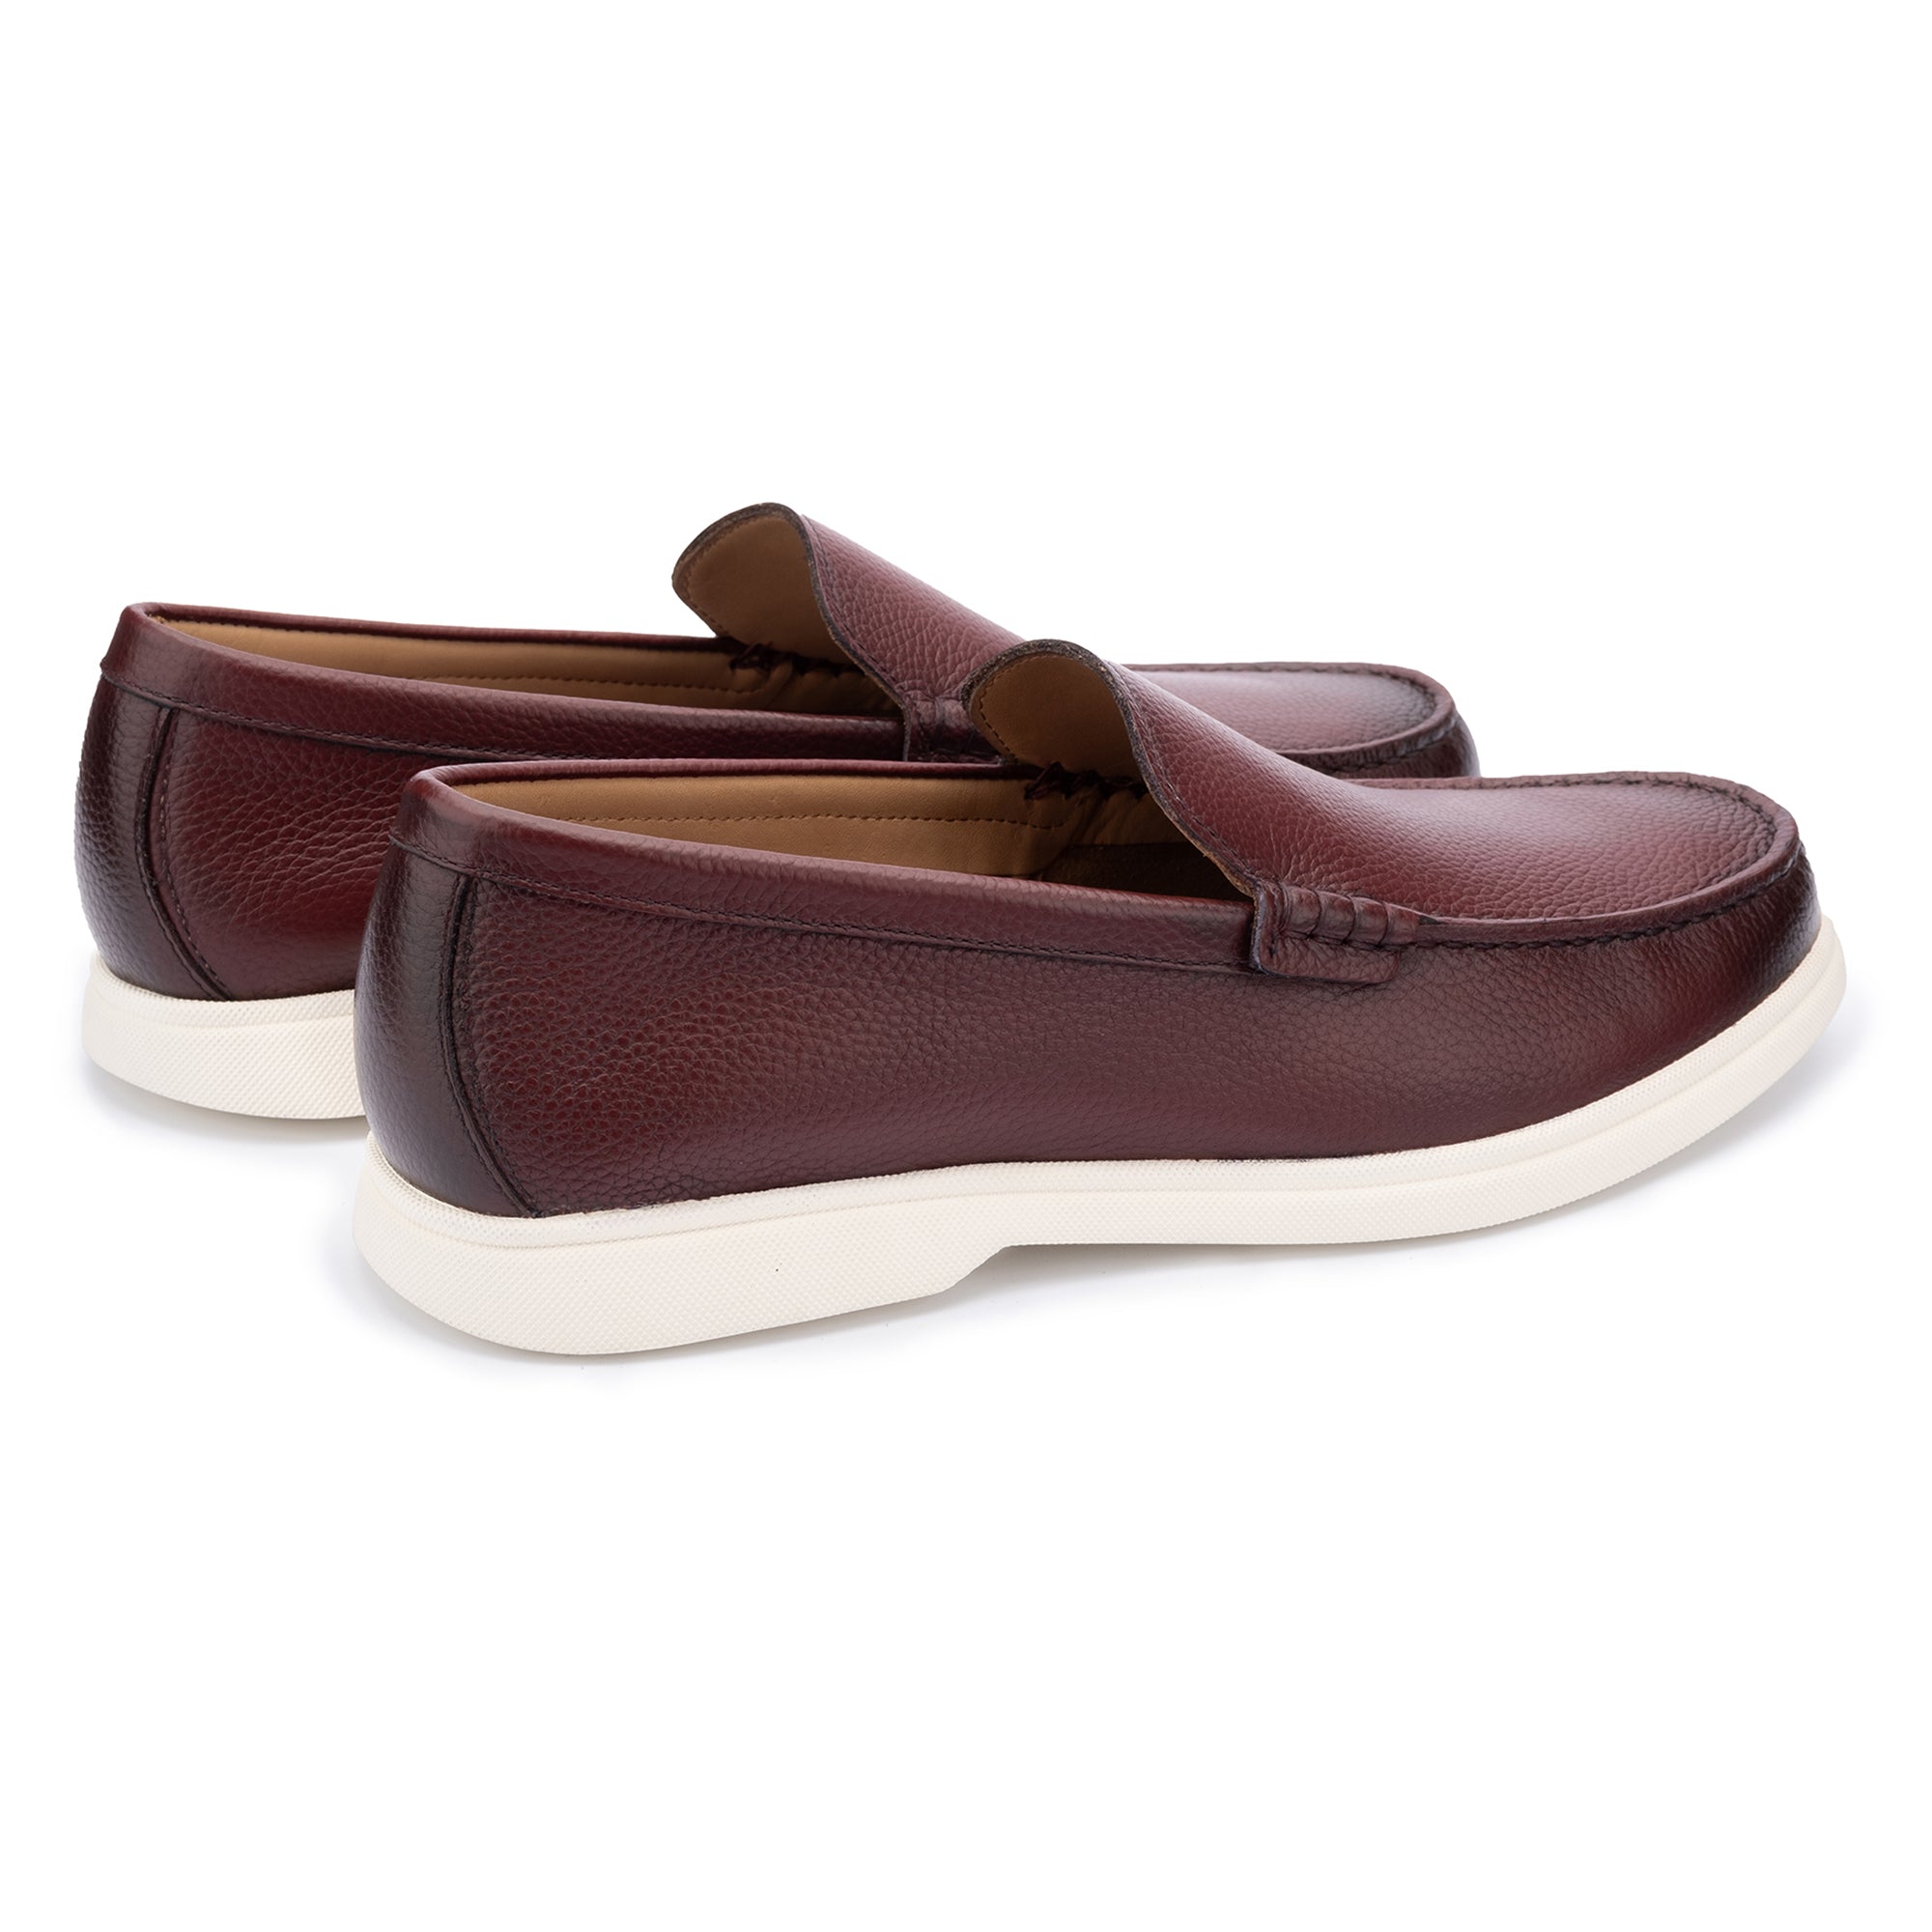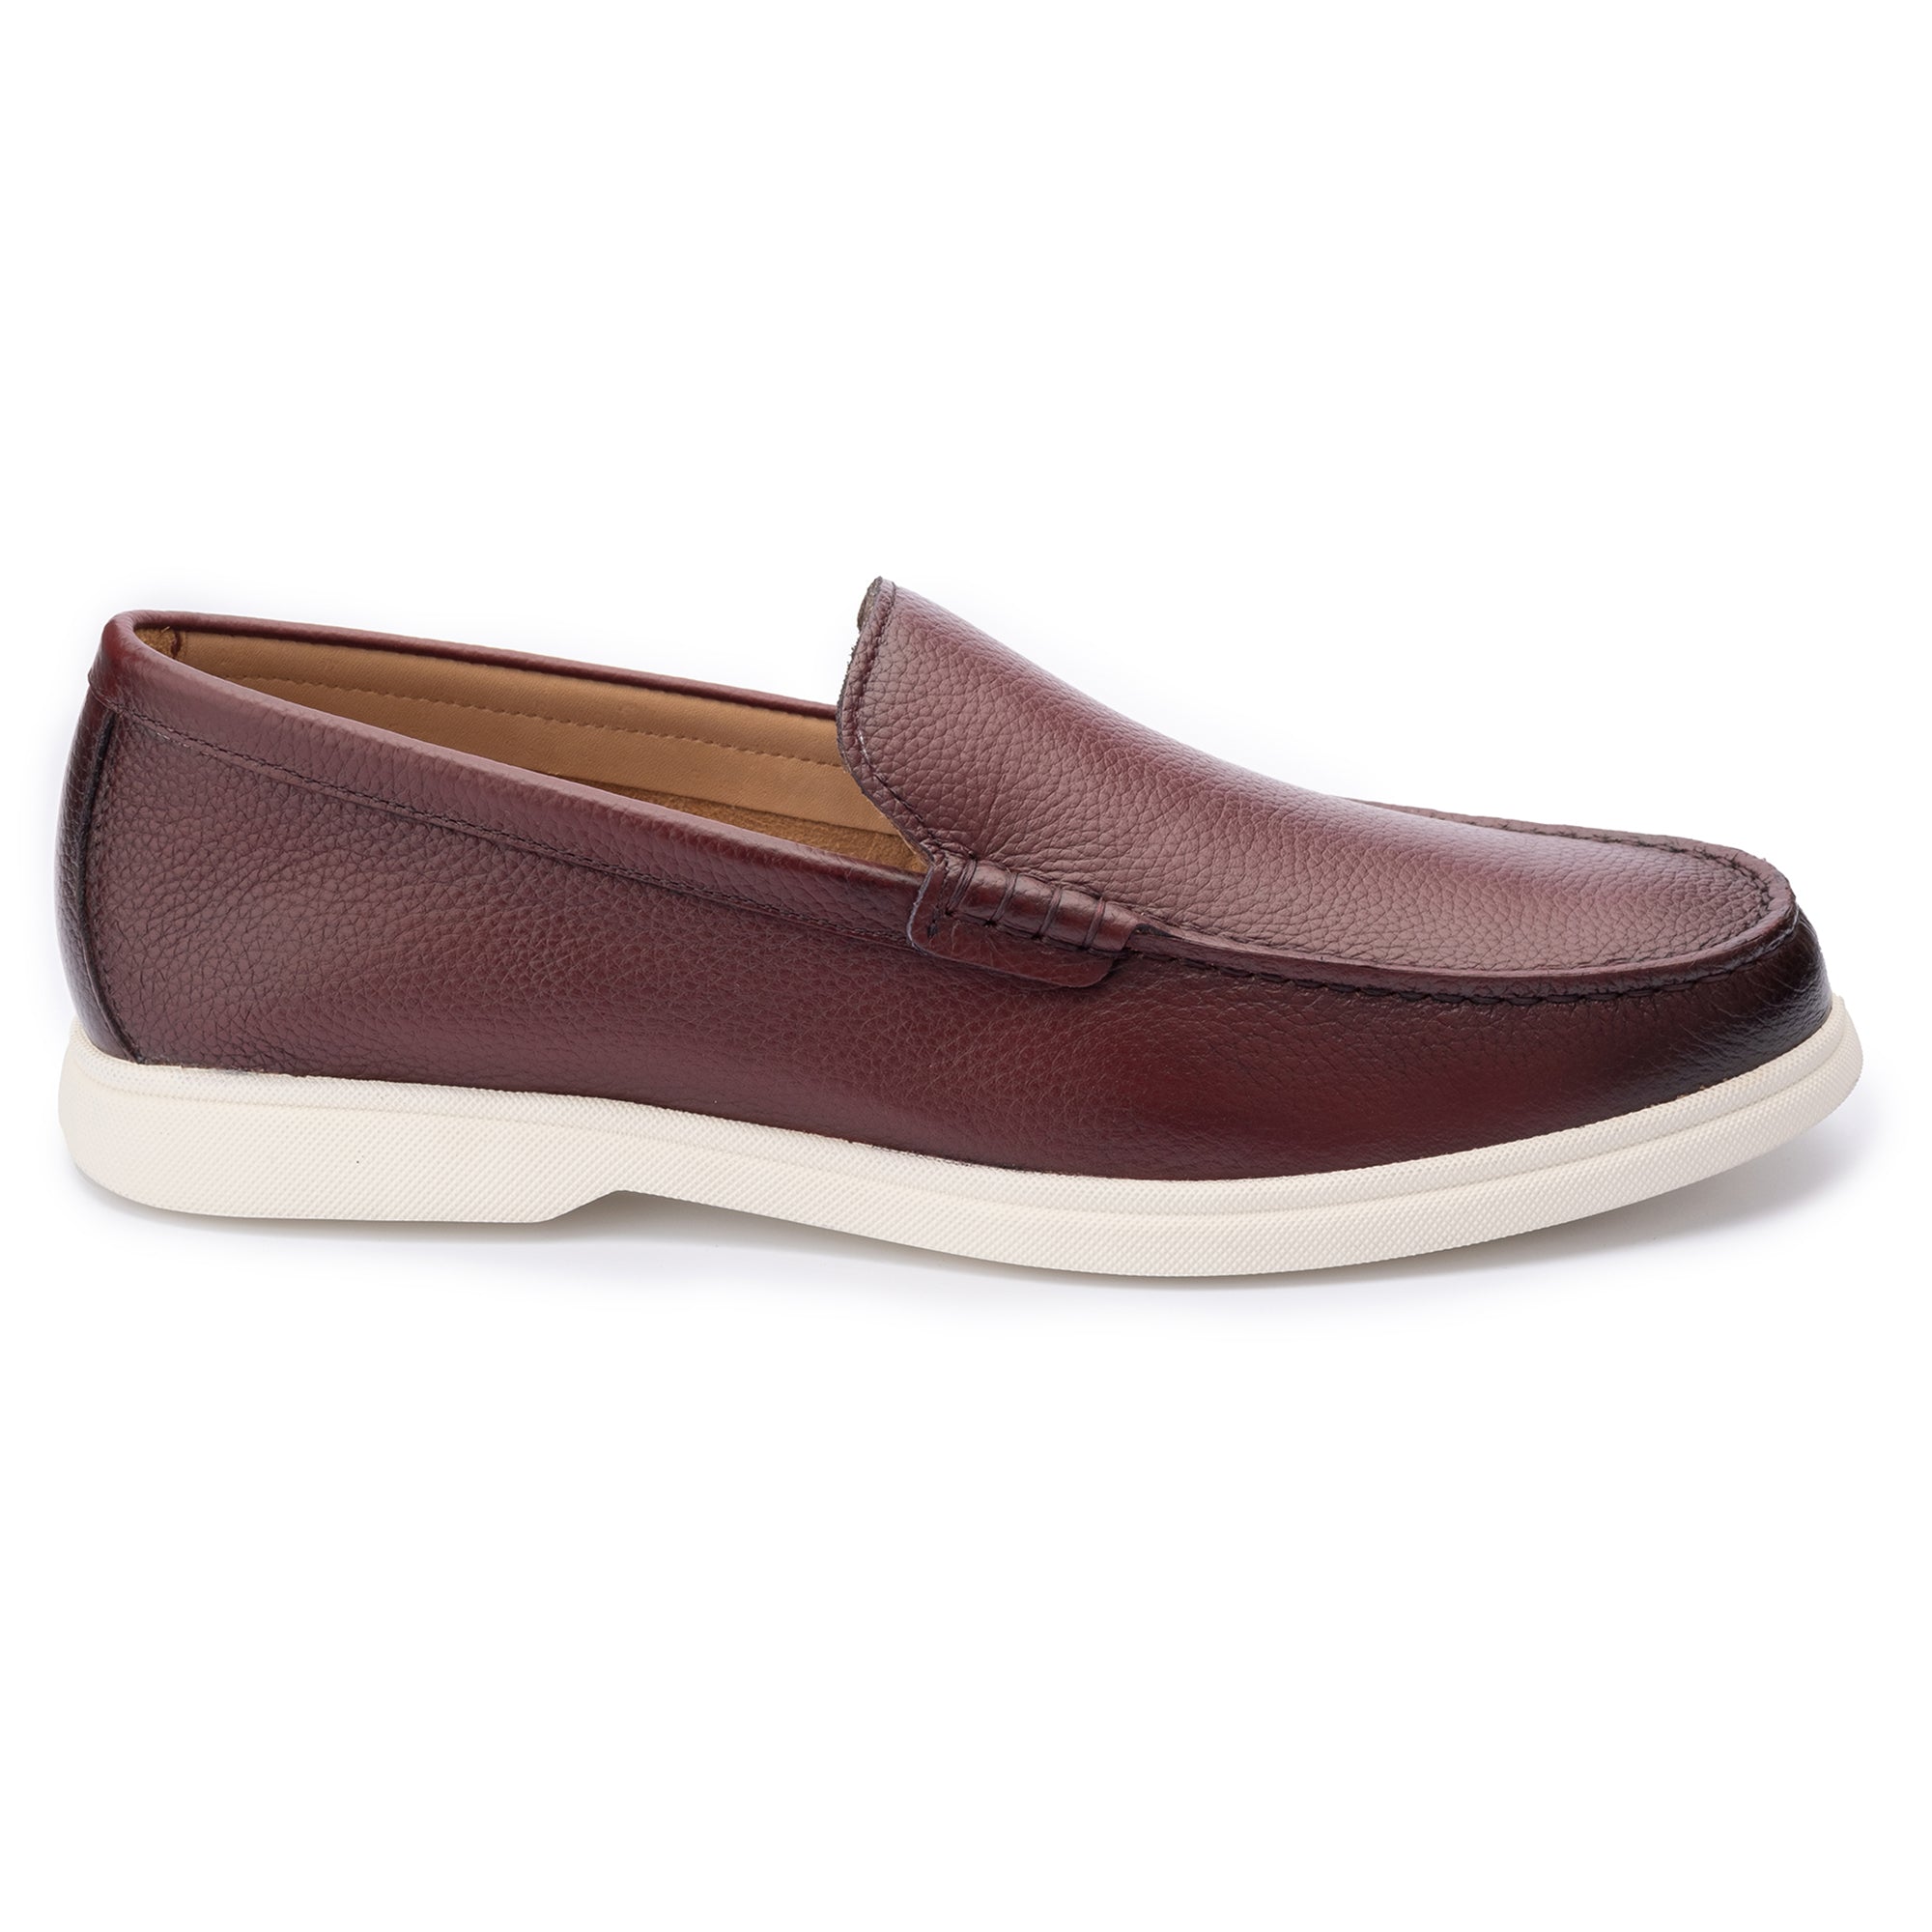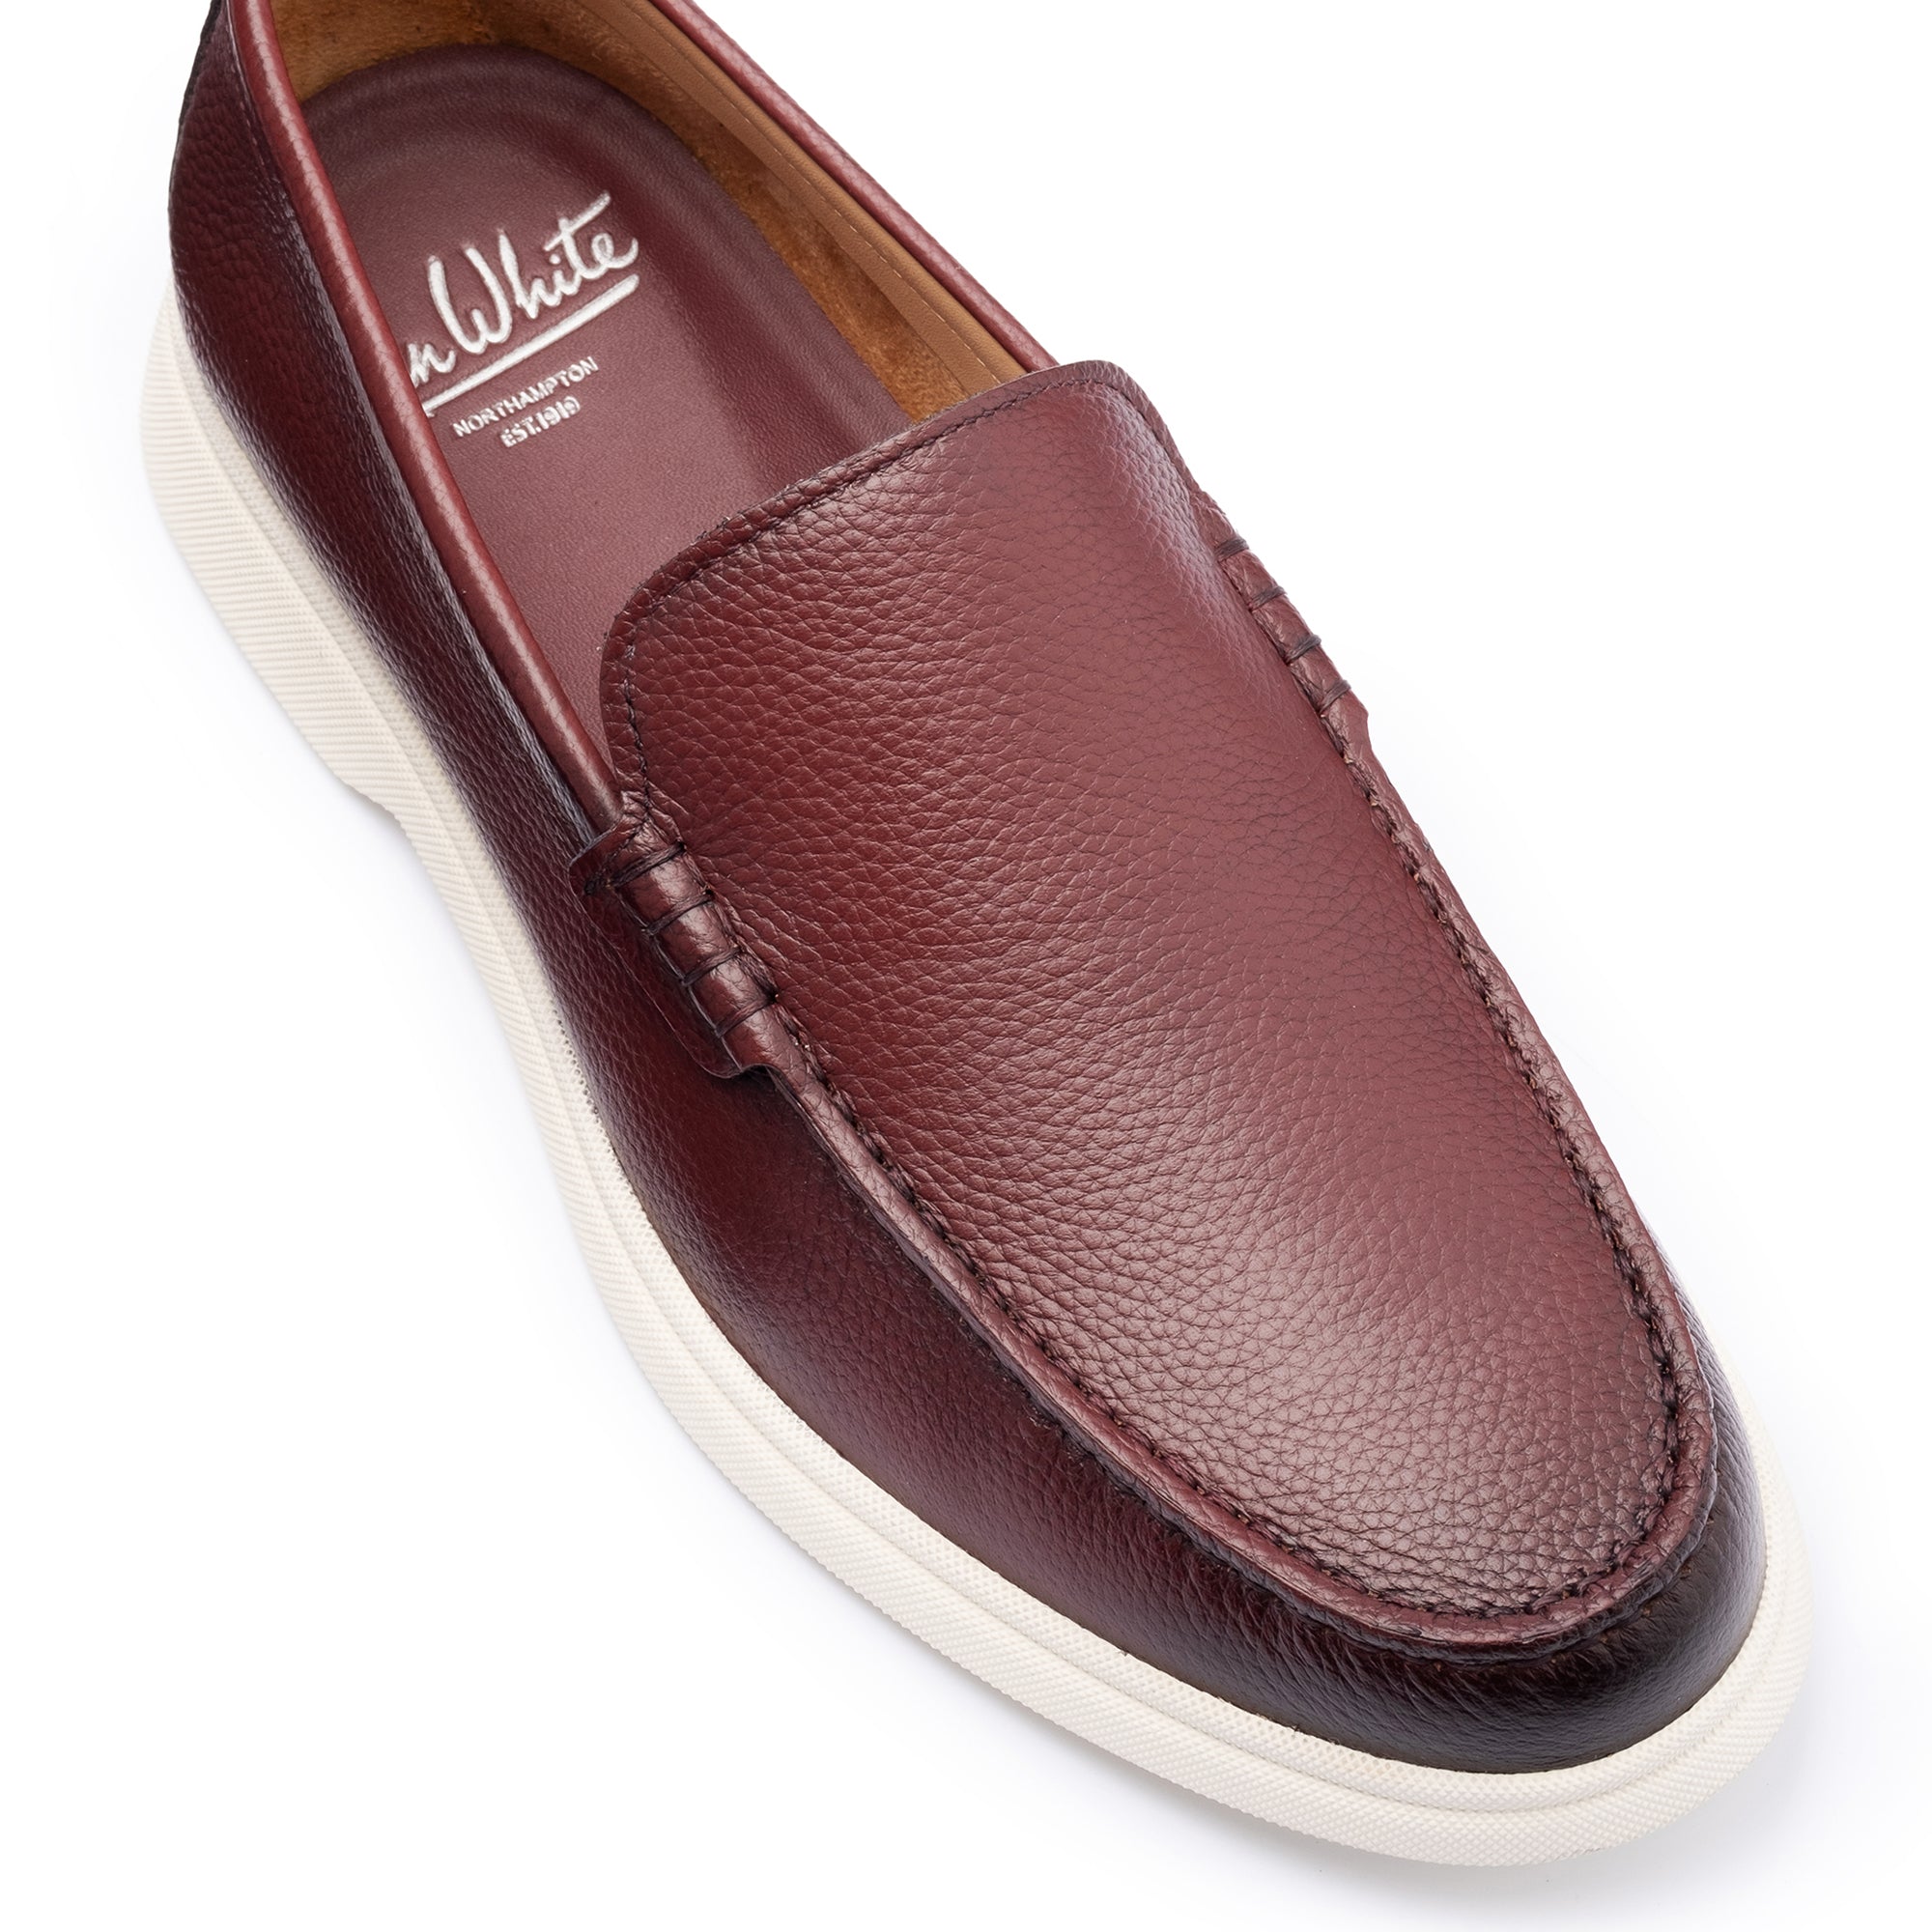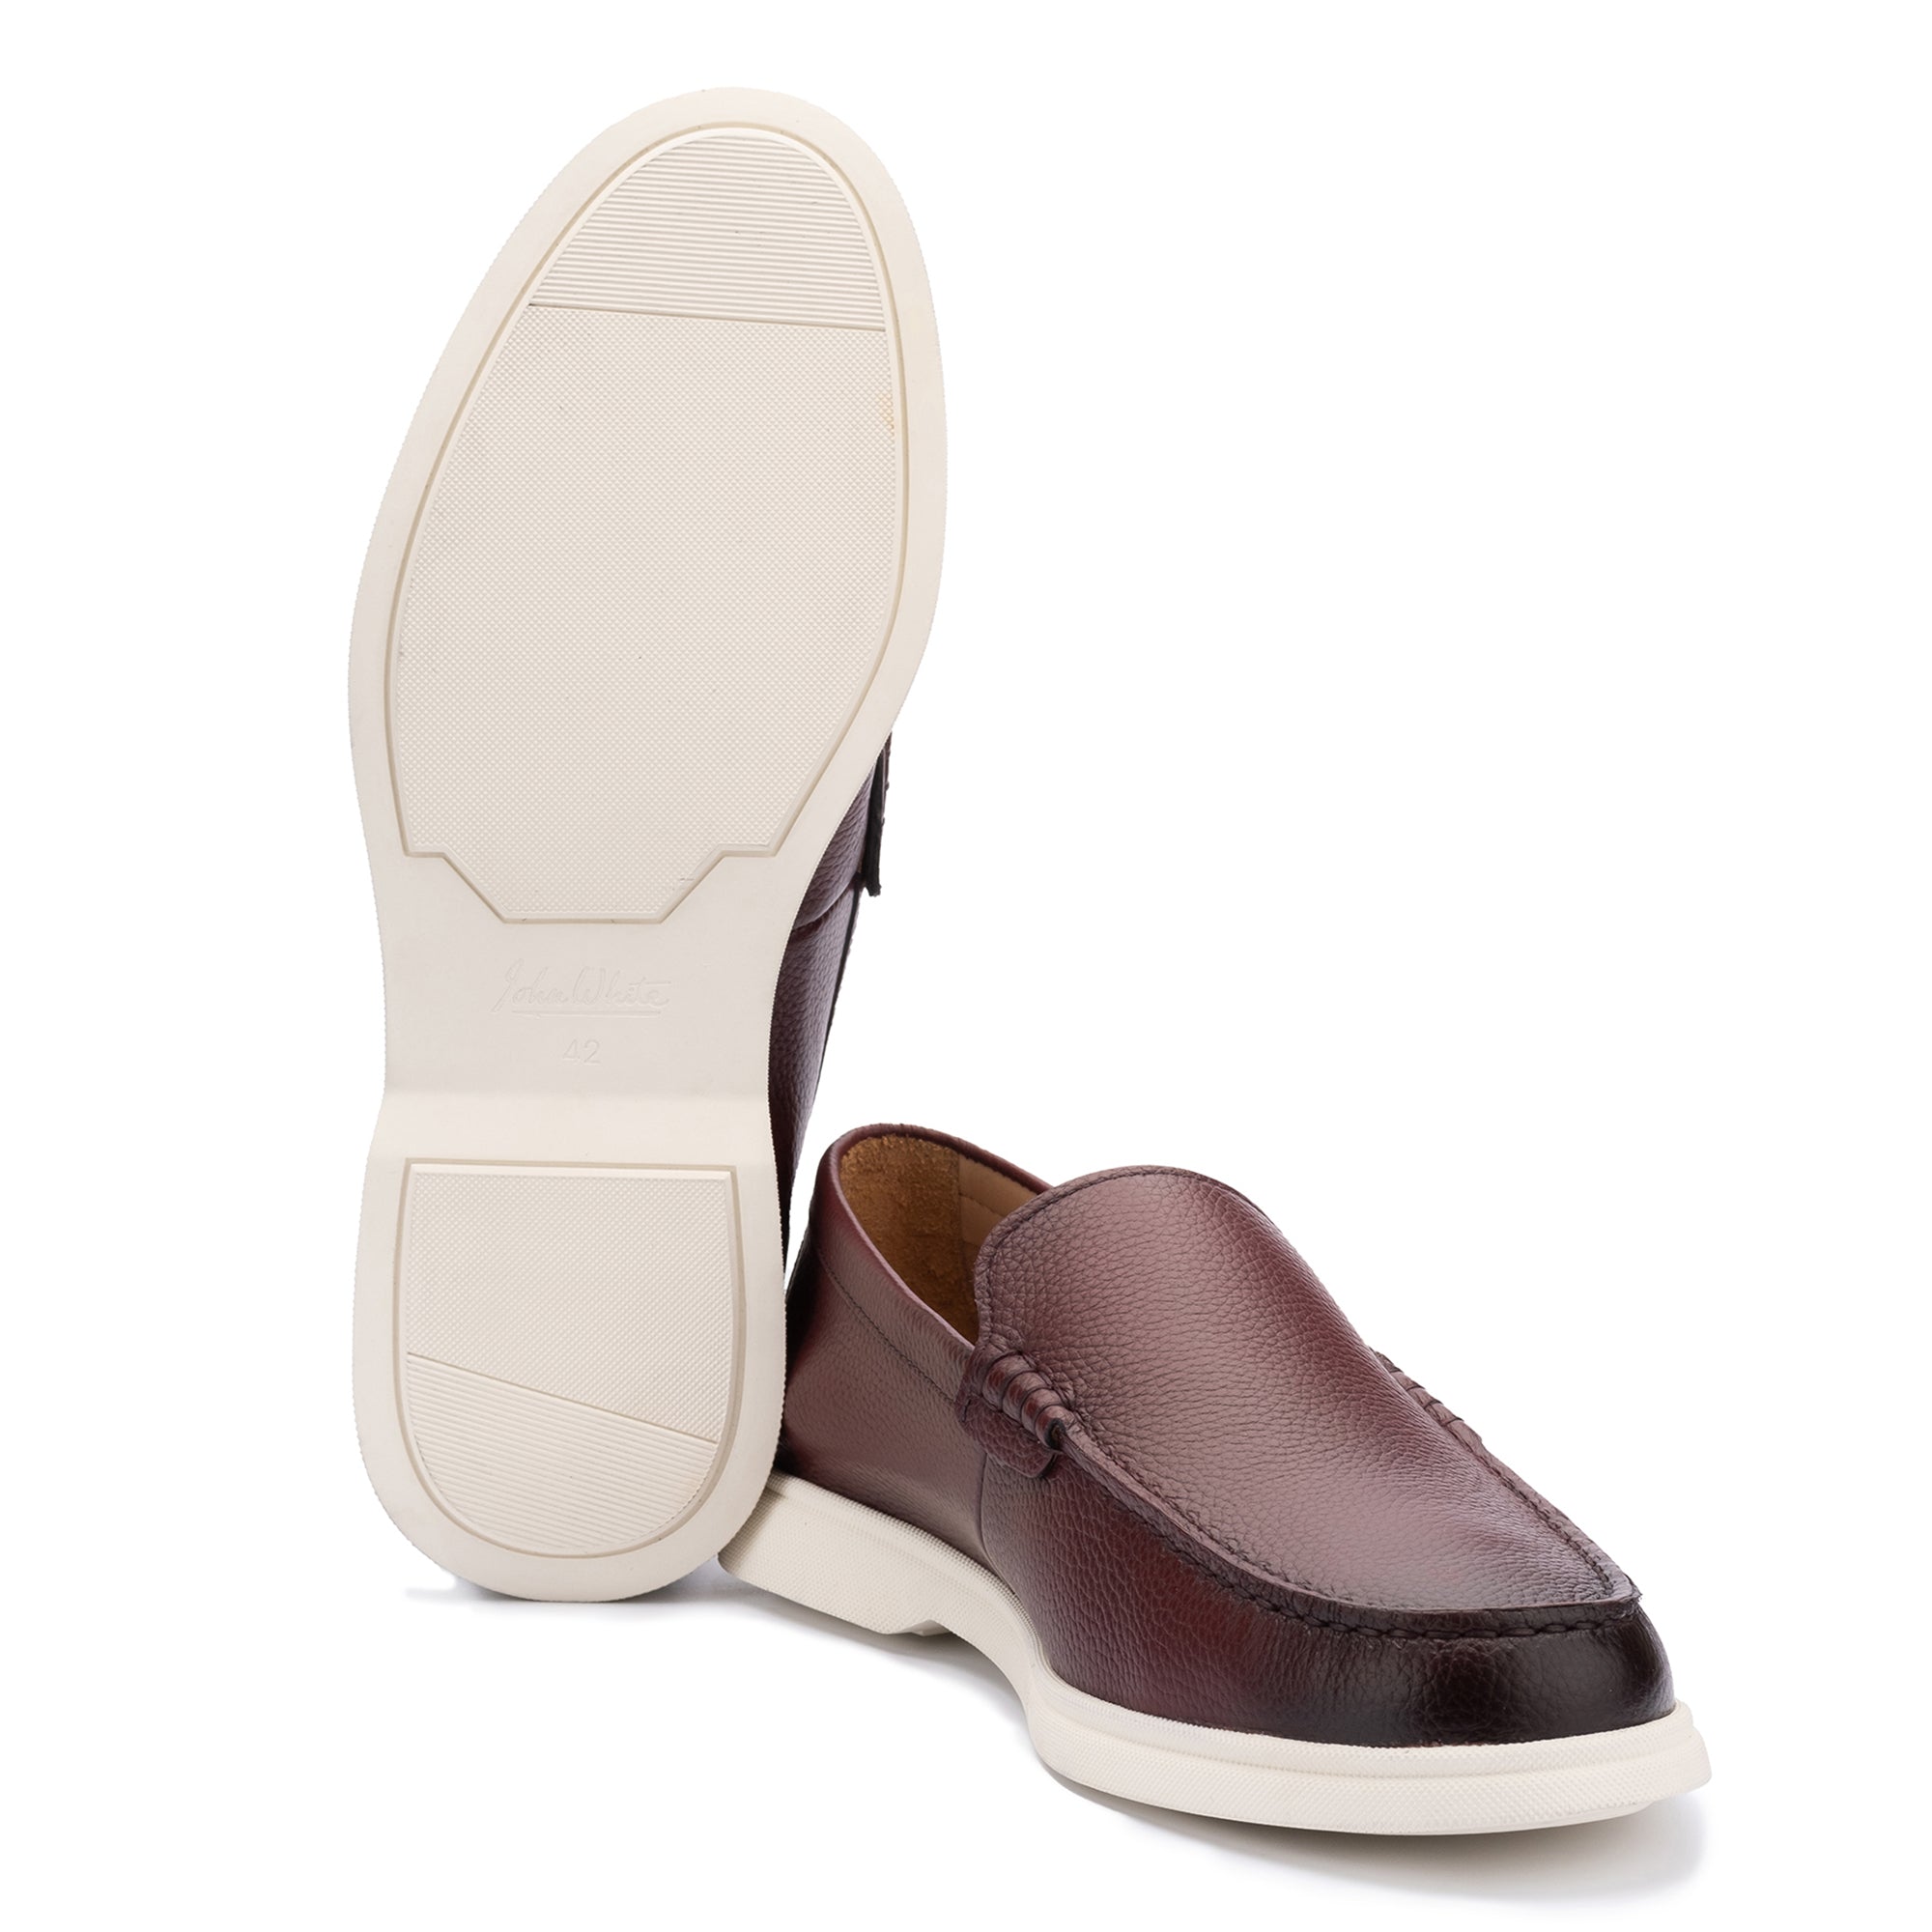

Suede is the one material in a shoe wardrobe that genuinely rewards attention. Ignore it and a beautiful surface becomes matted, stained, and lifeless within a season. Treat it correctly and it develops a character and depth that smooth leather rarely matches. The difference is almost entirely down to routine.
In This Guide
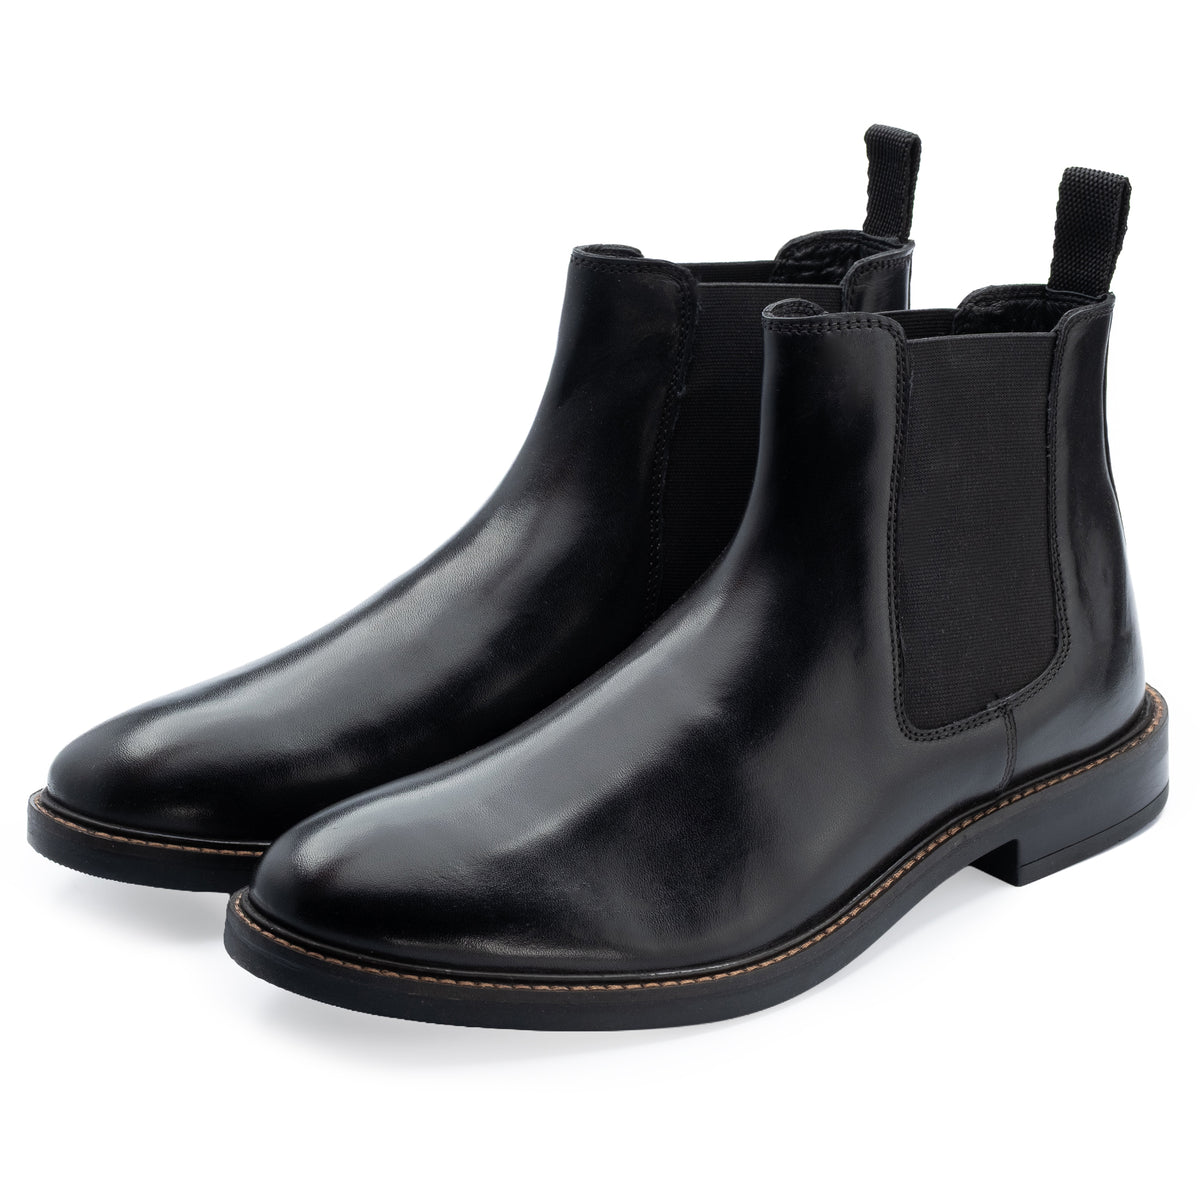
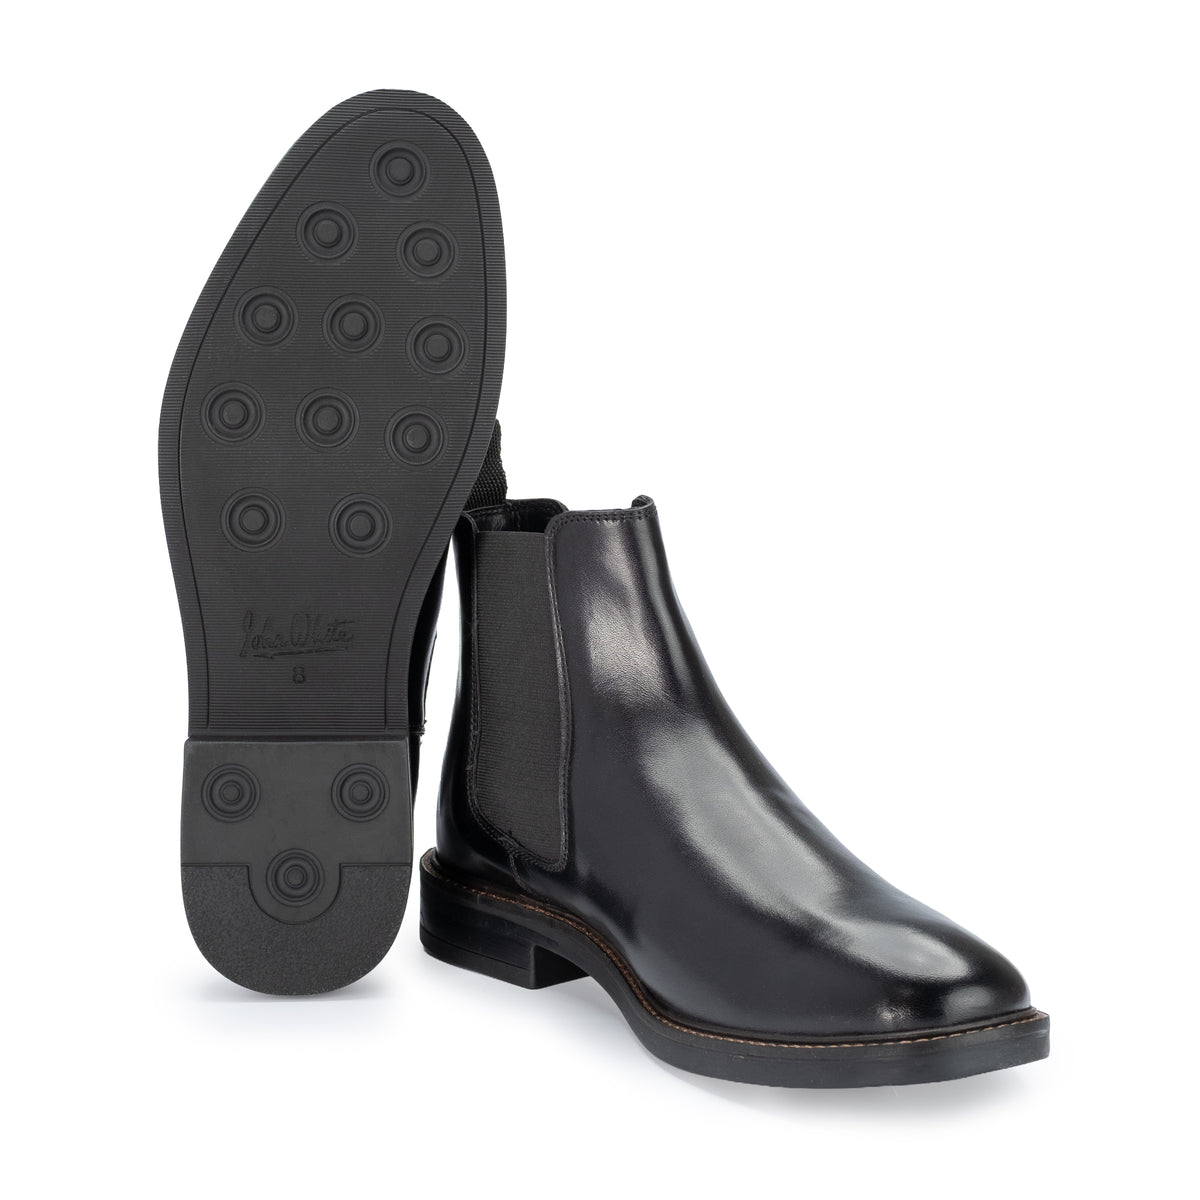
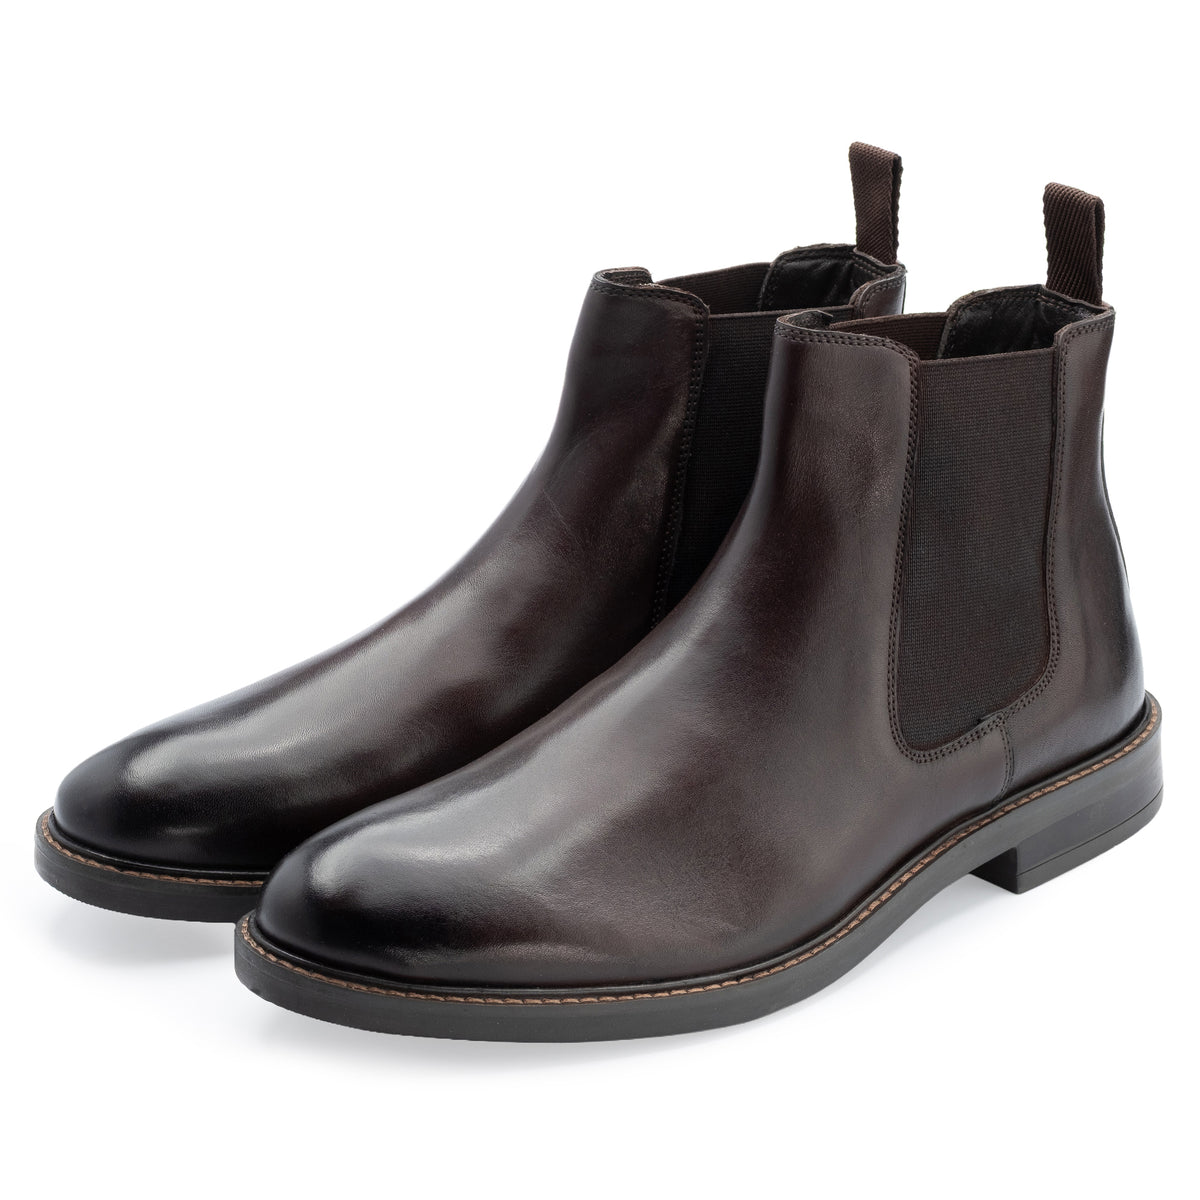
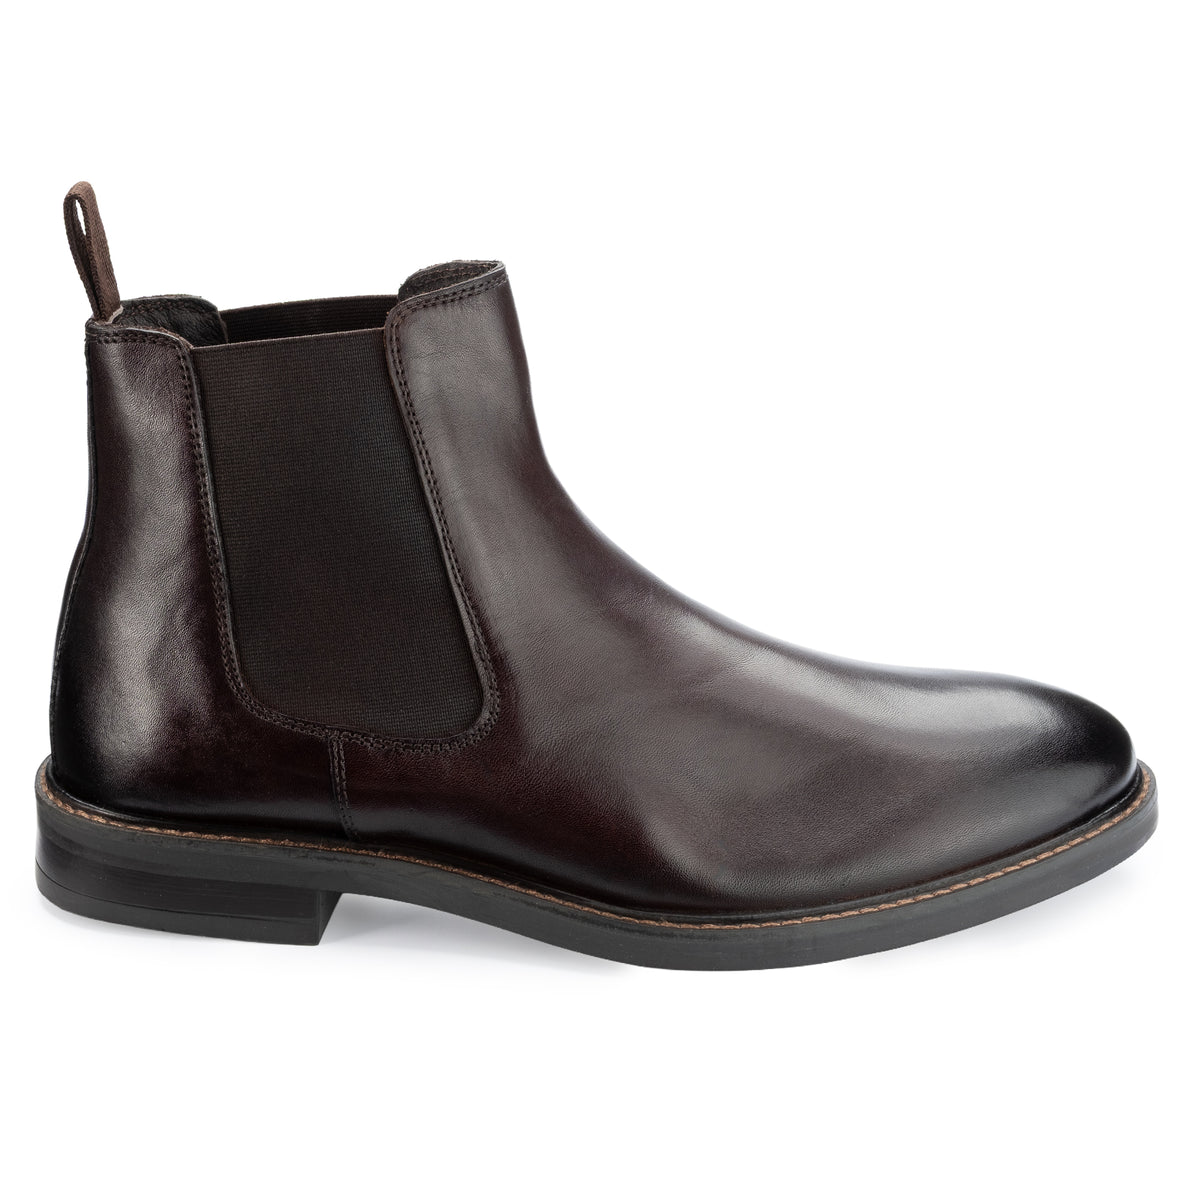
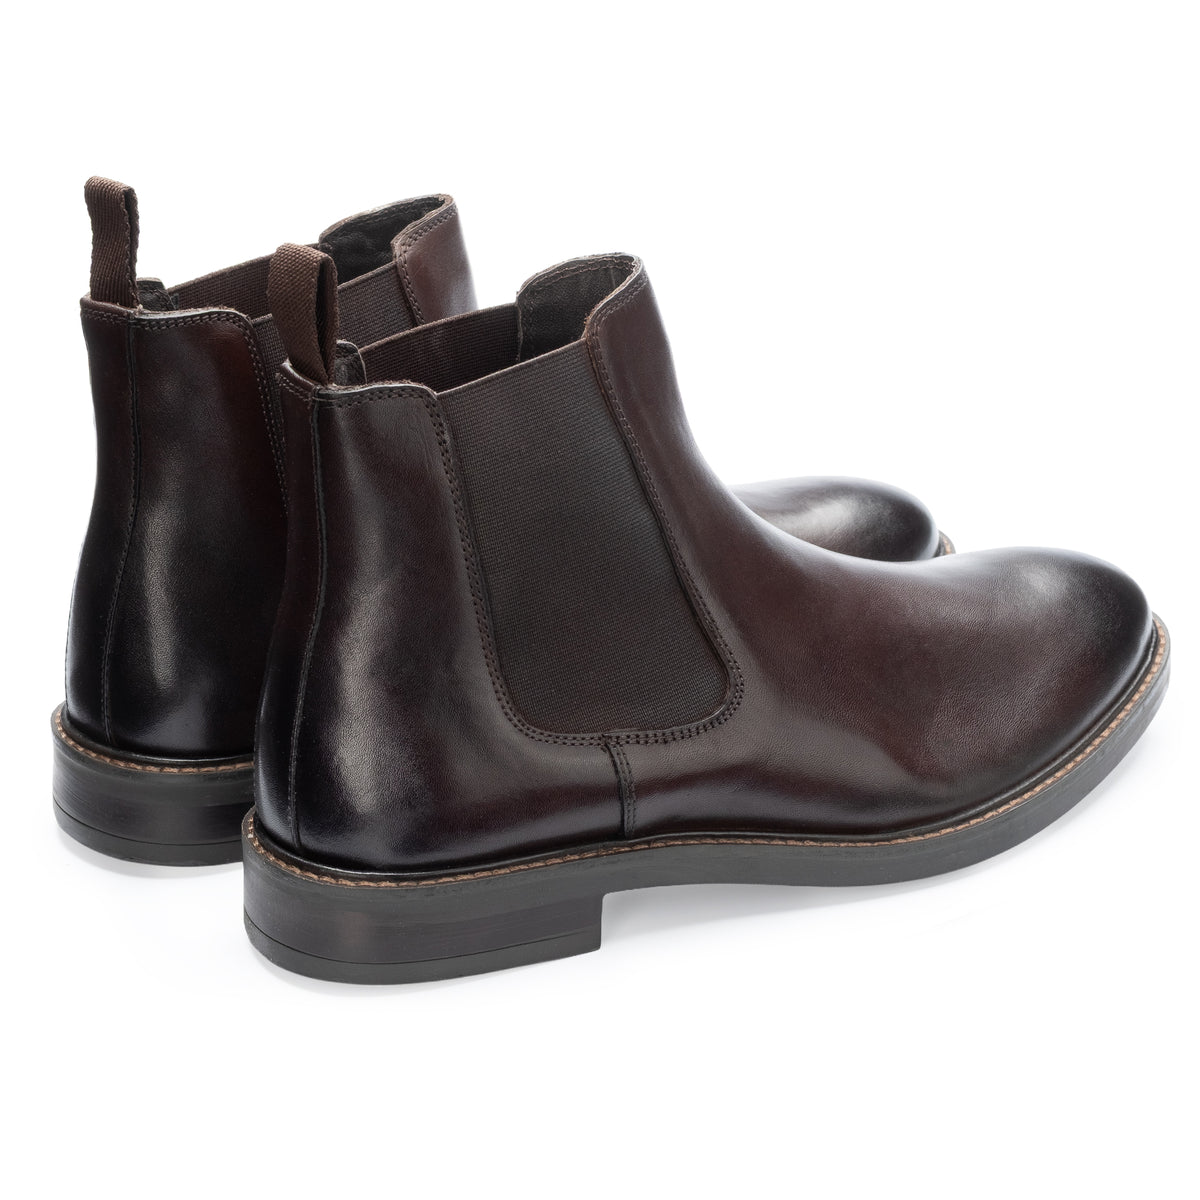
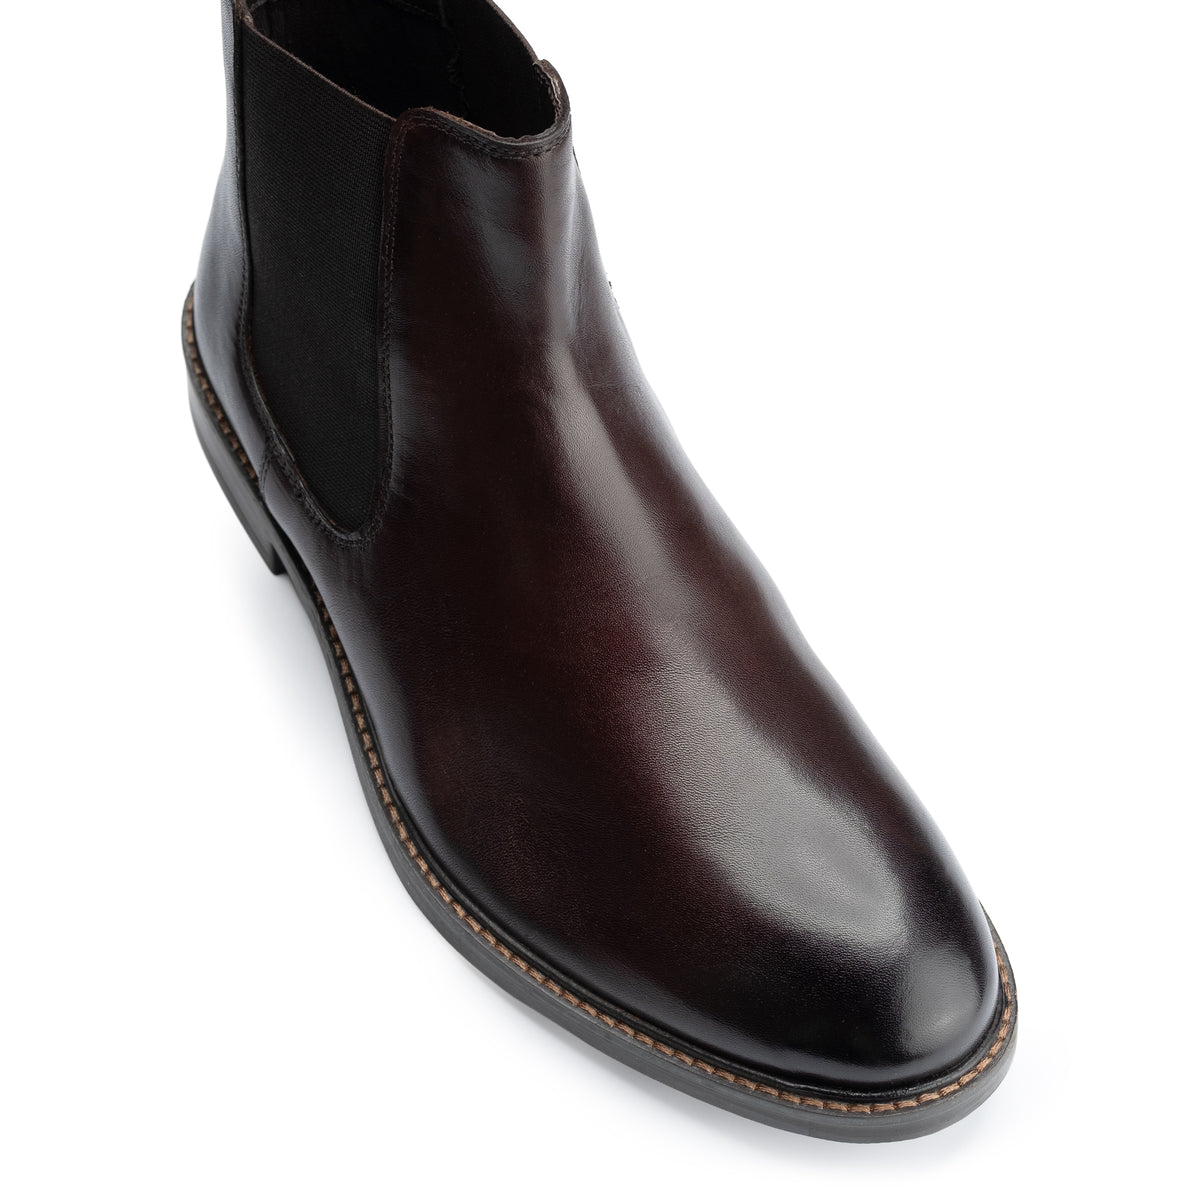
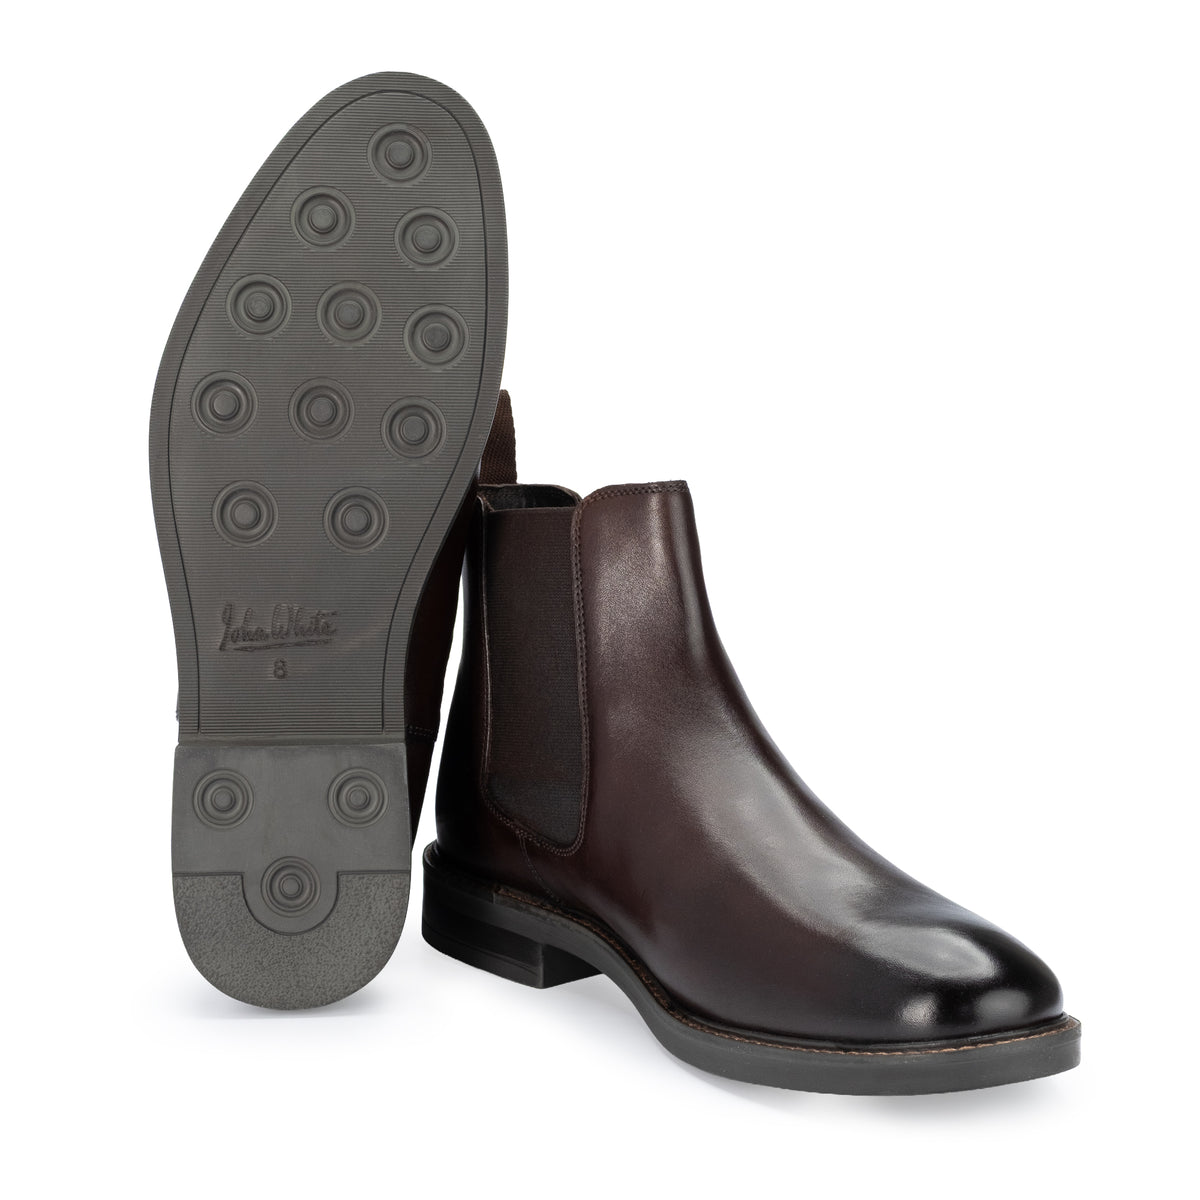
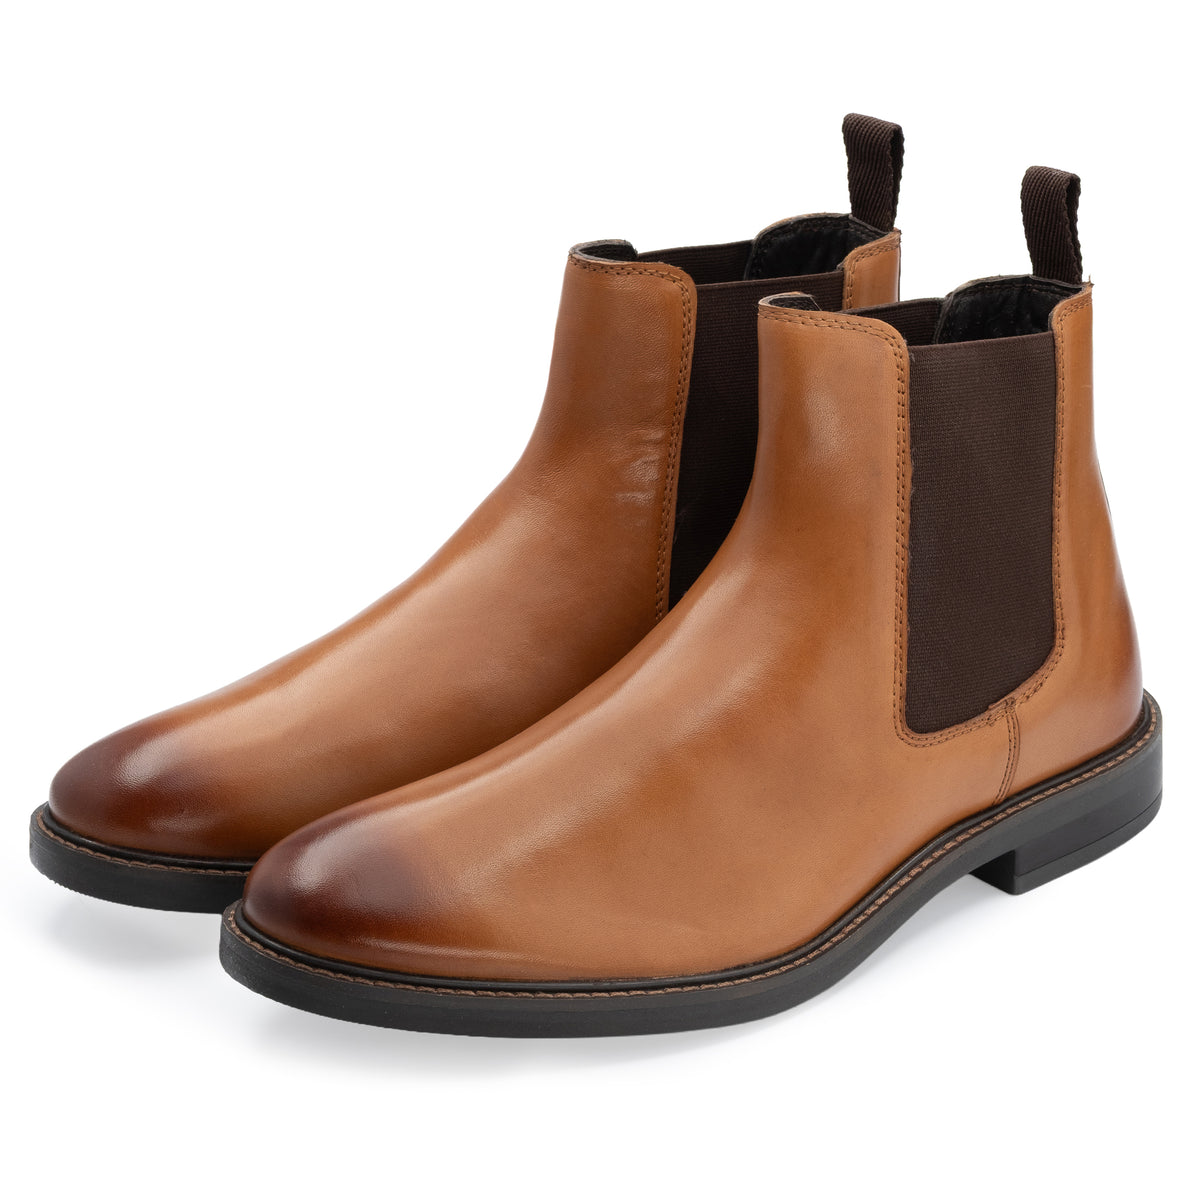
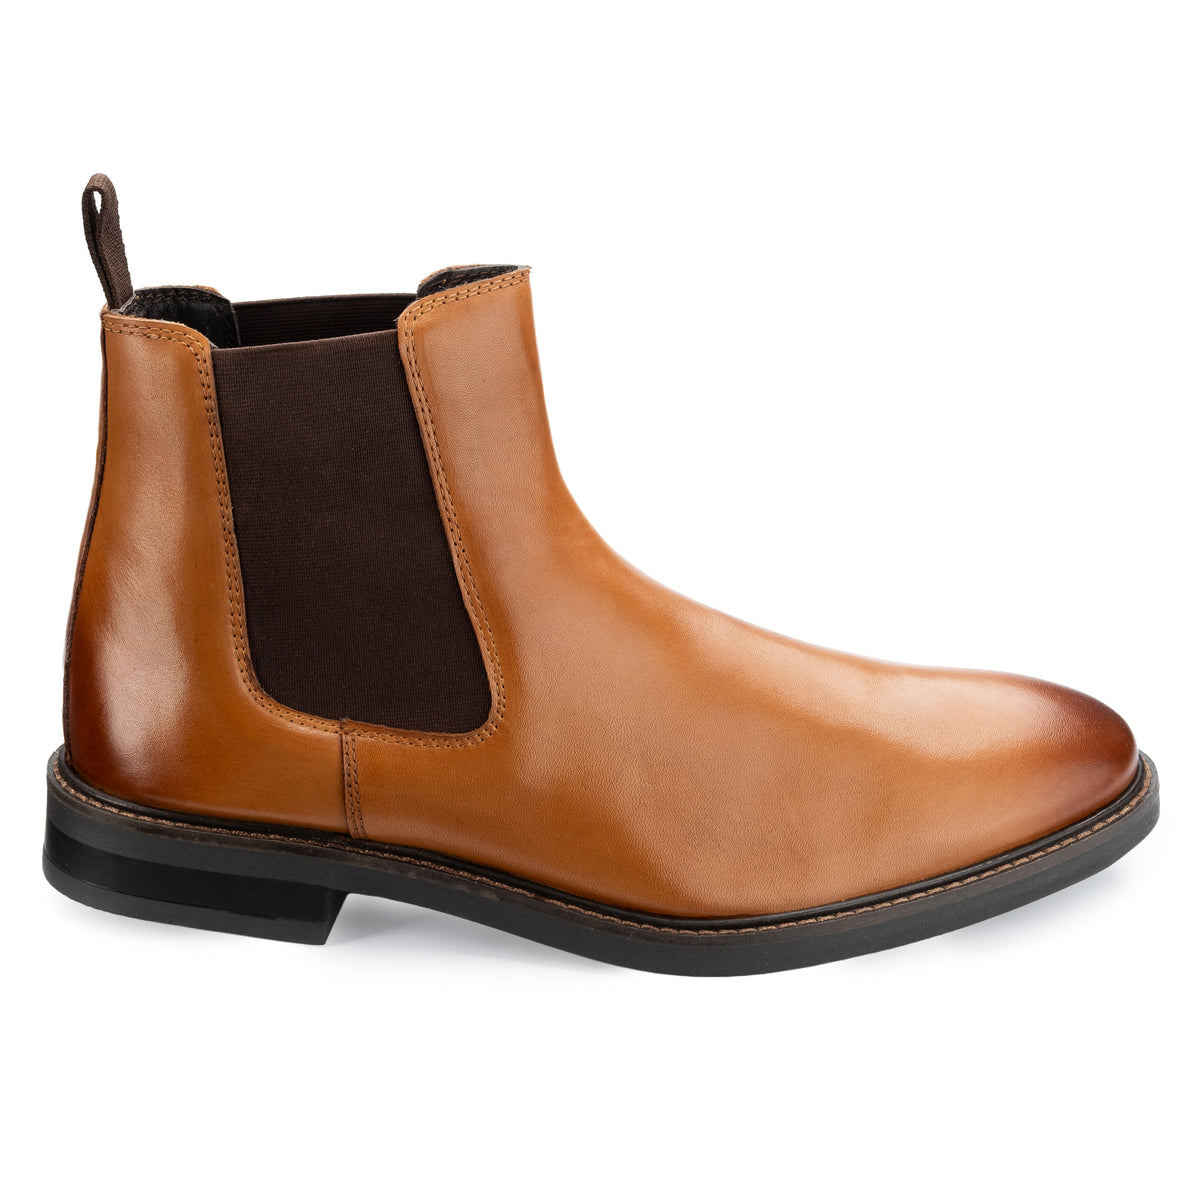
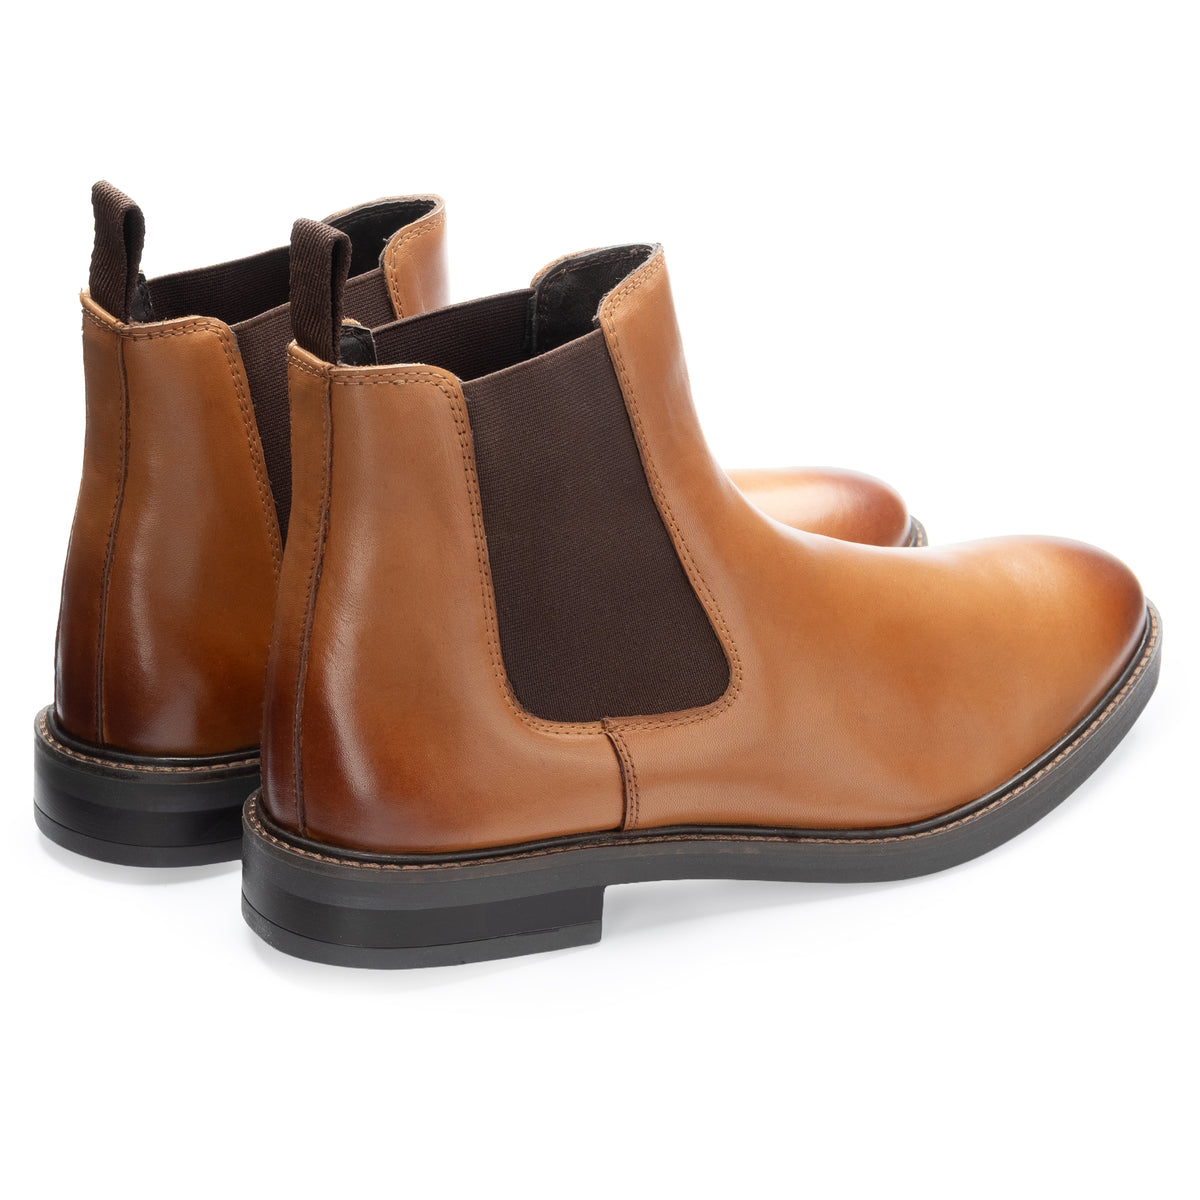
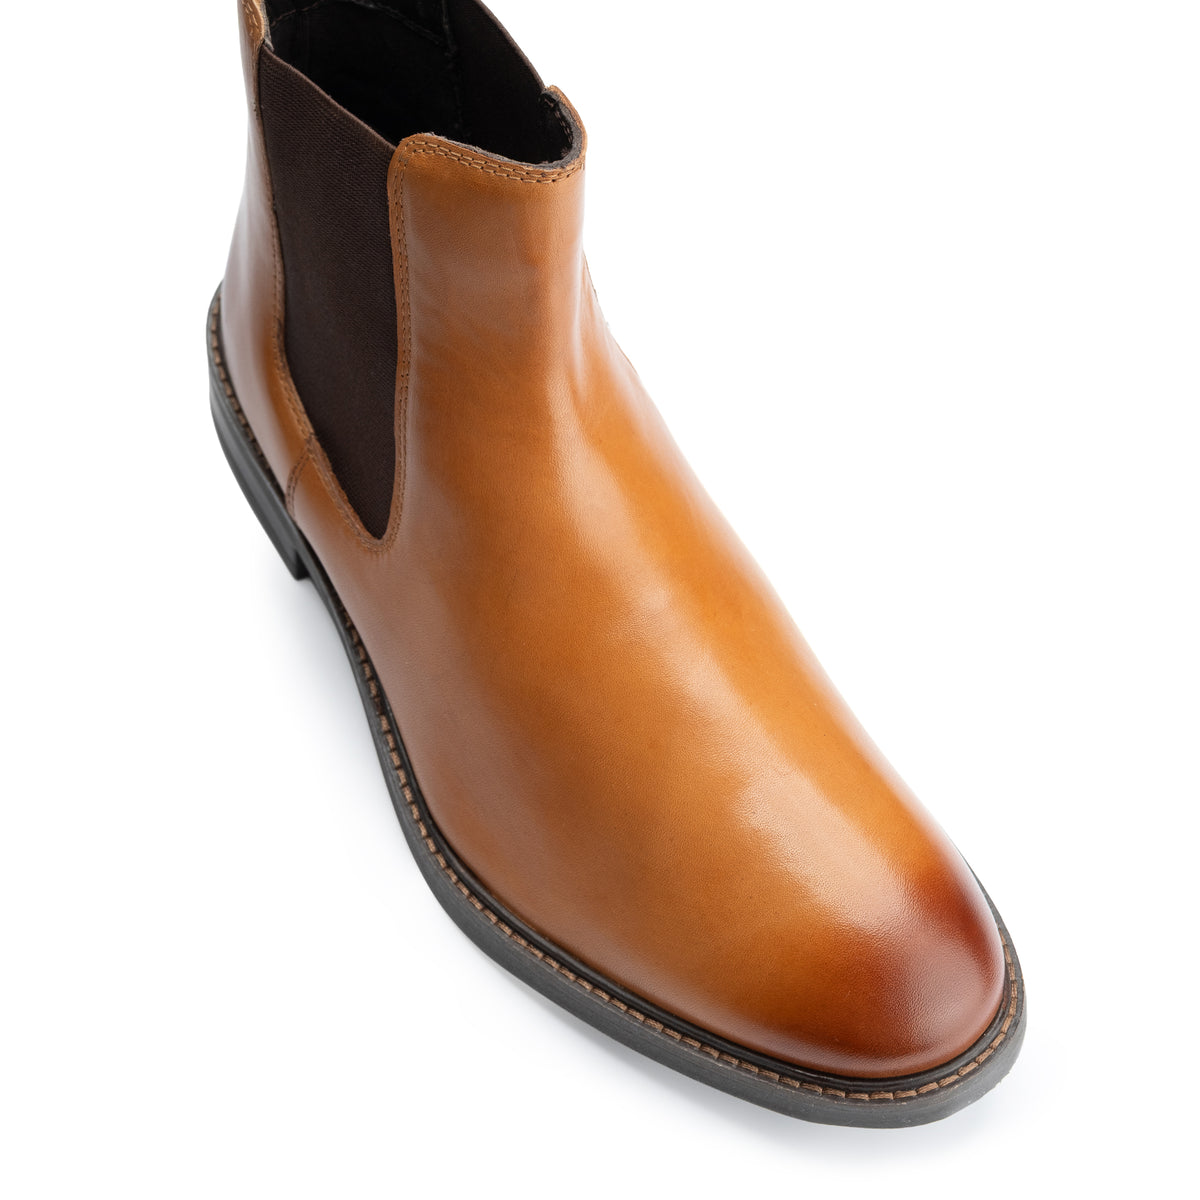
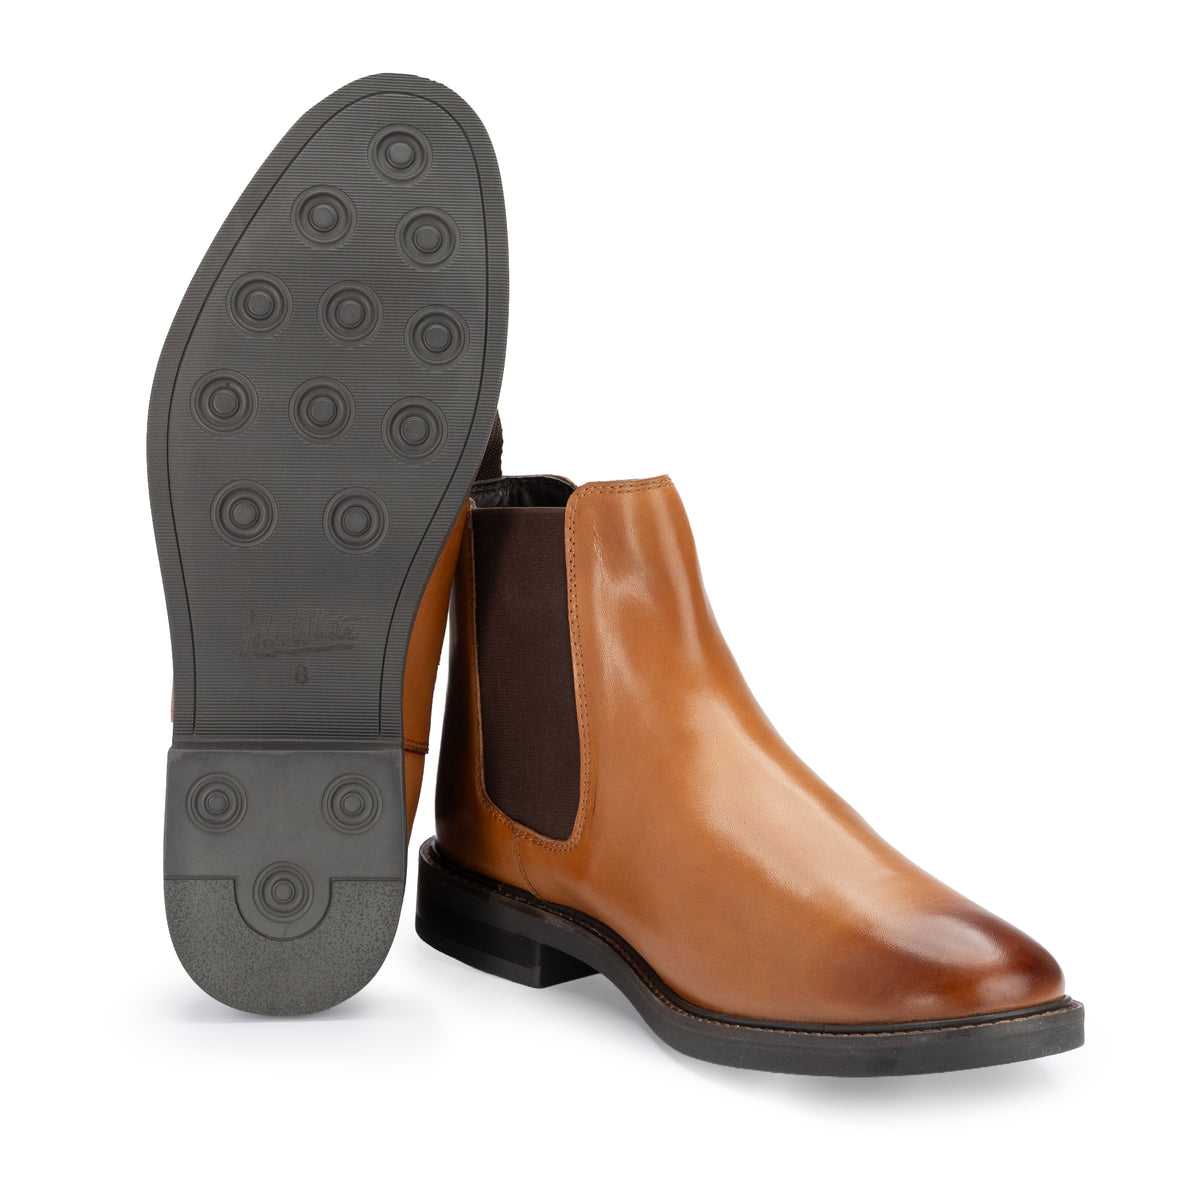
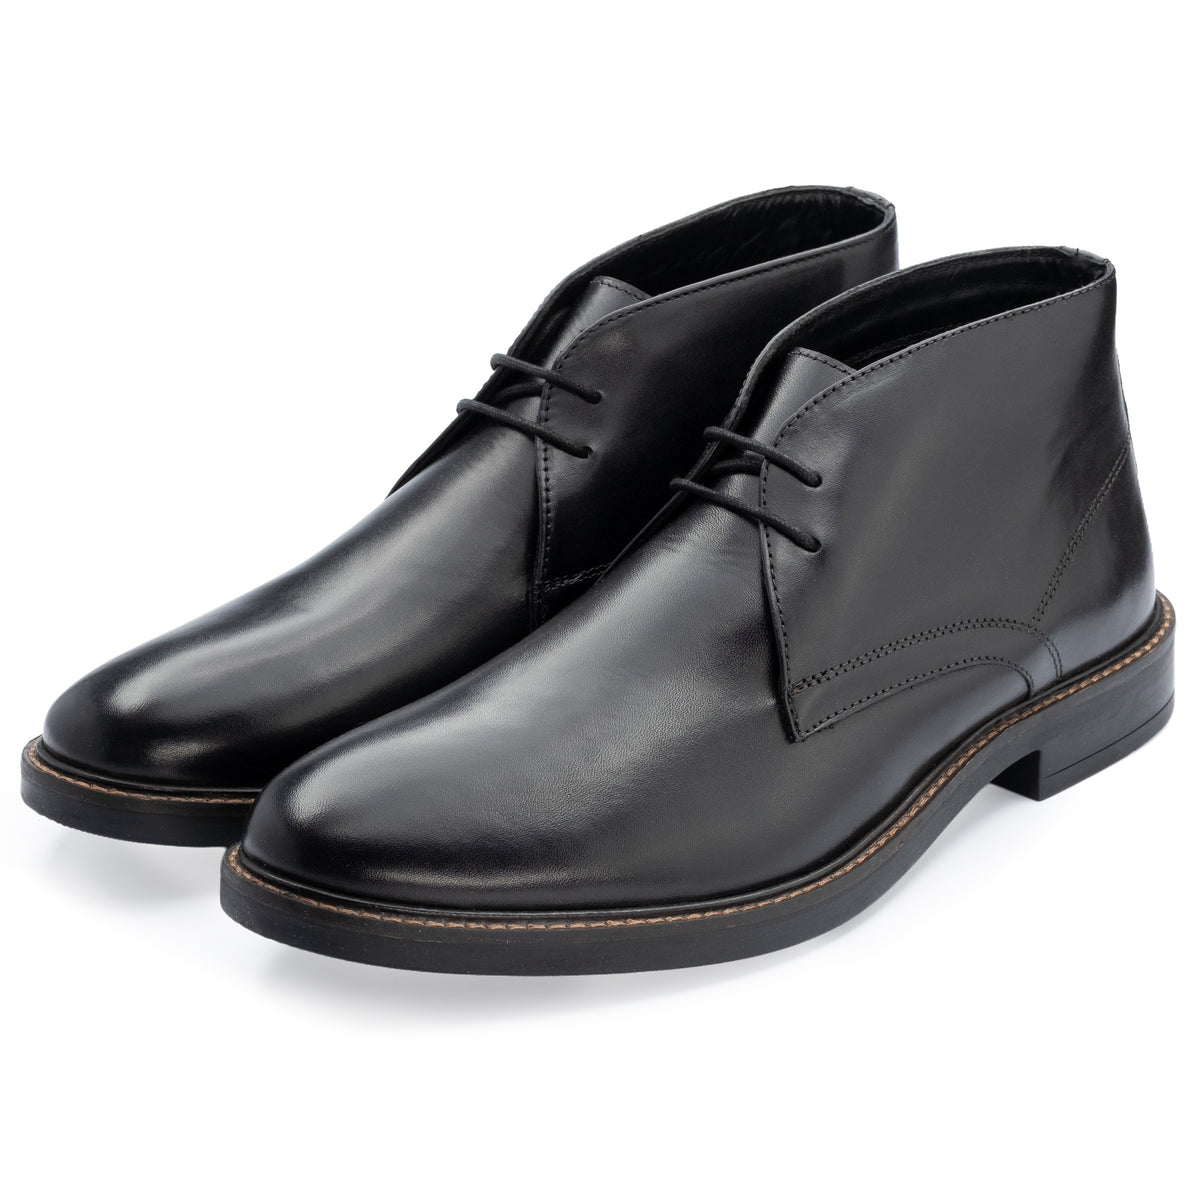
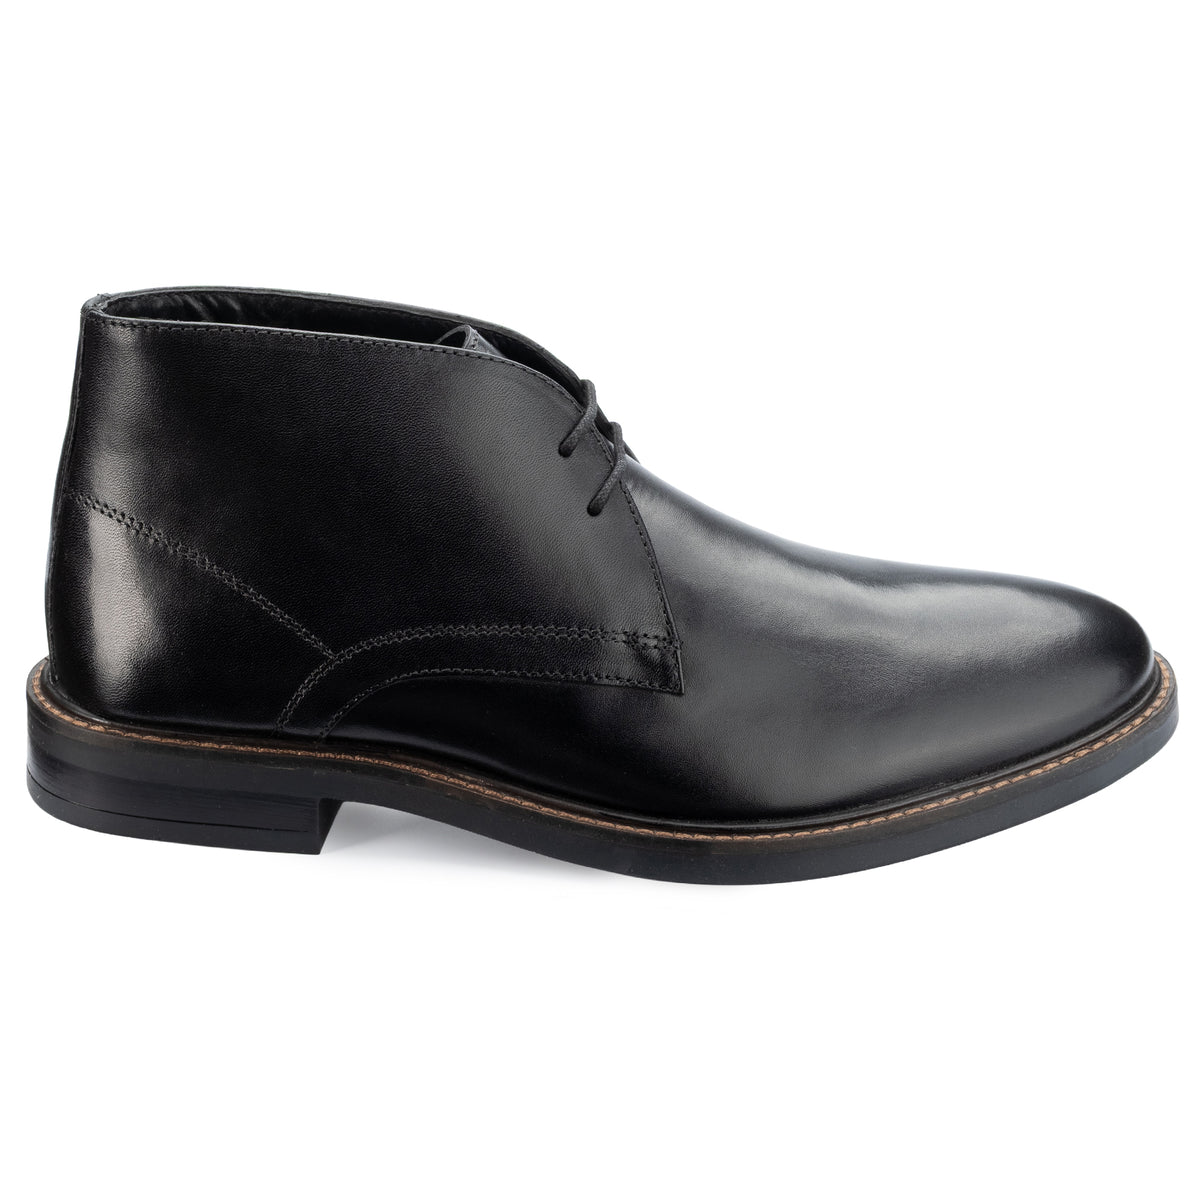
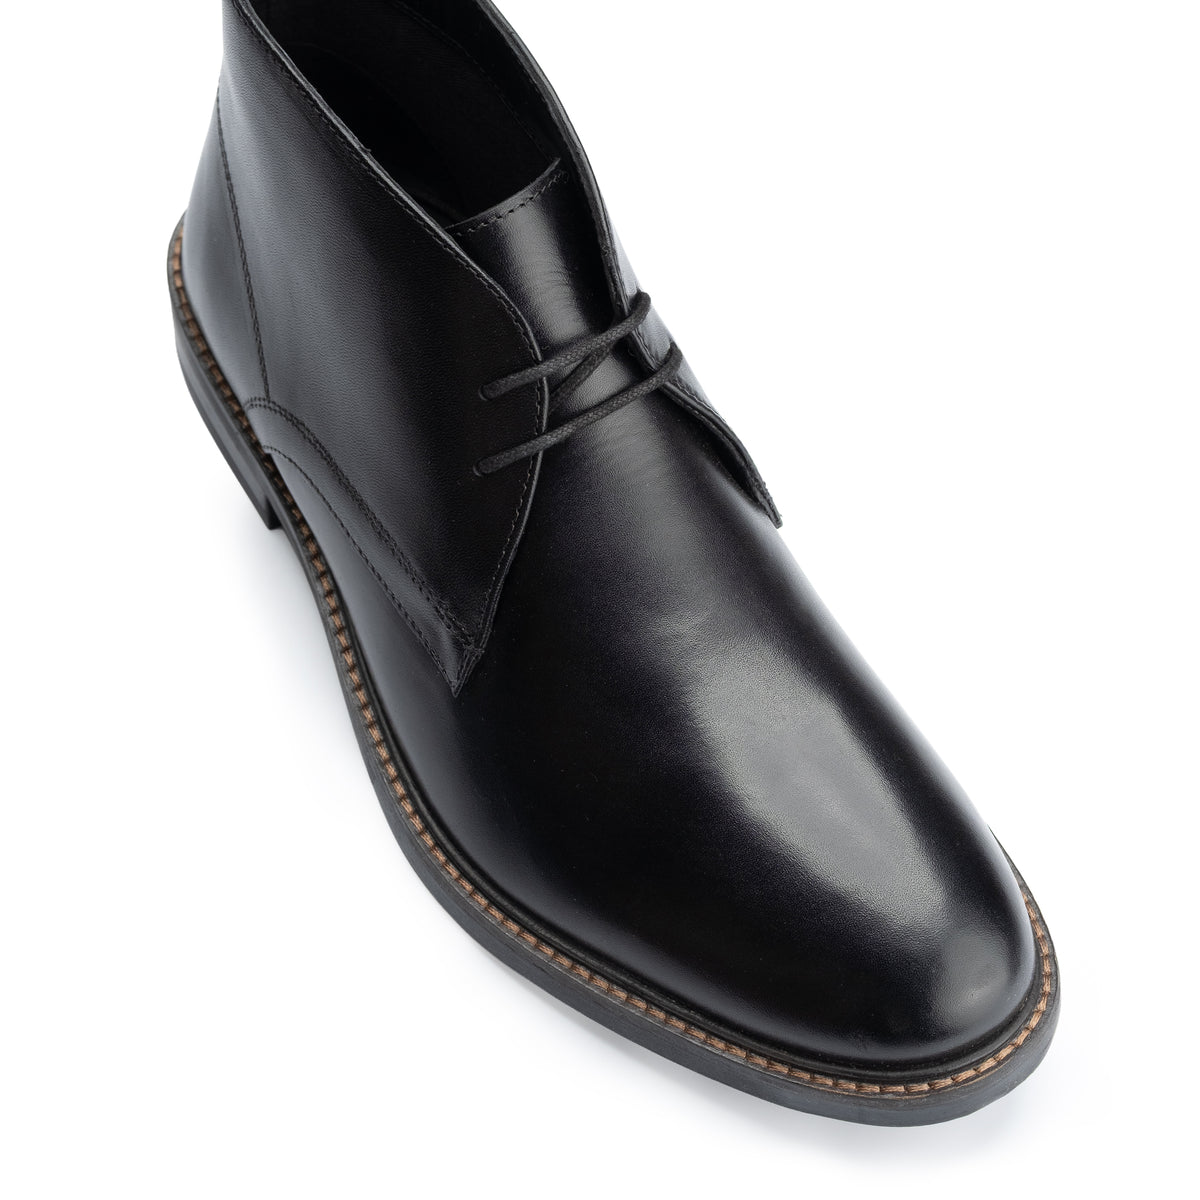
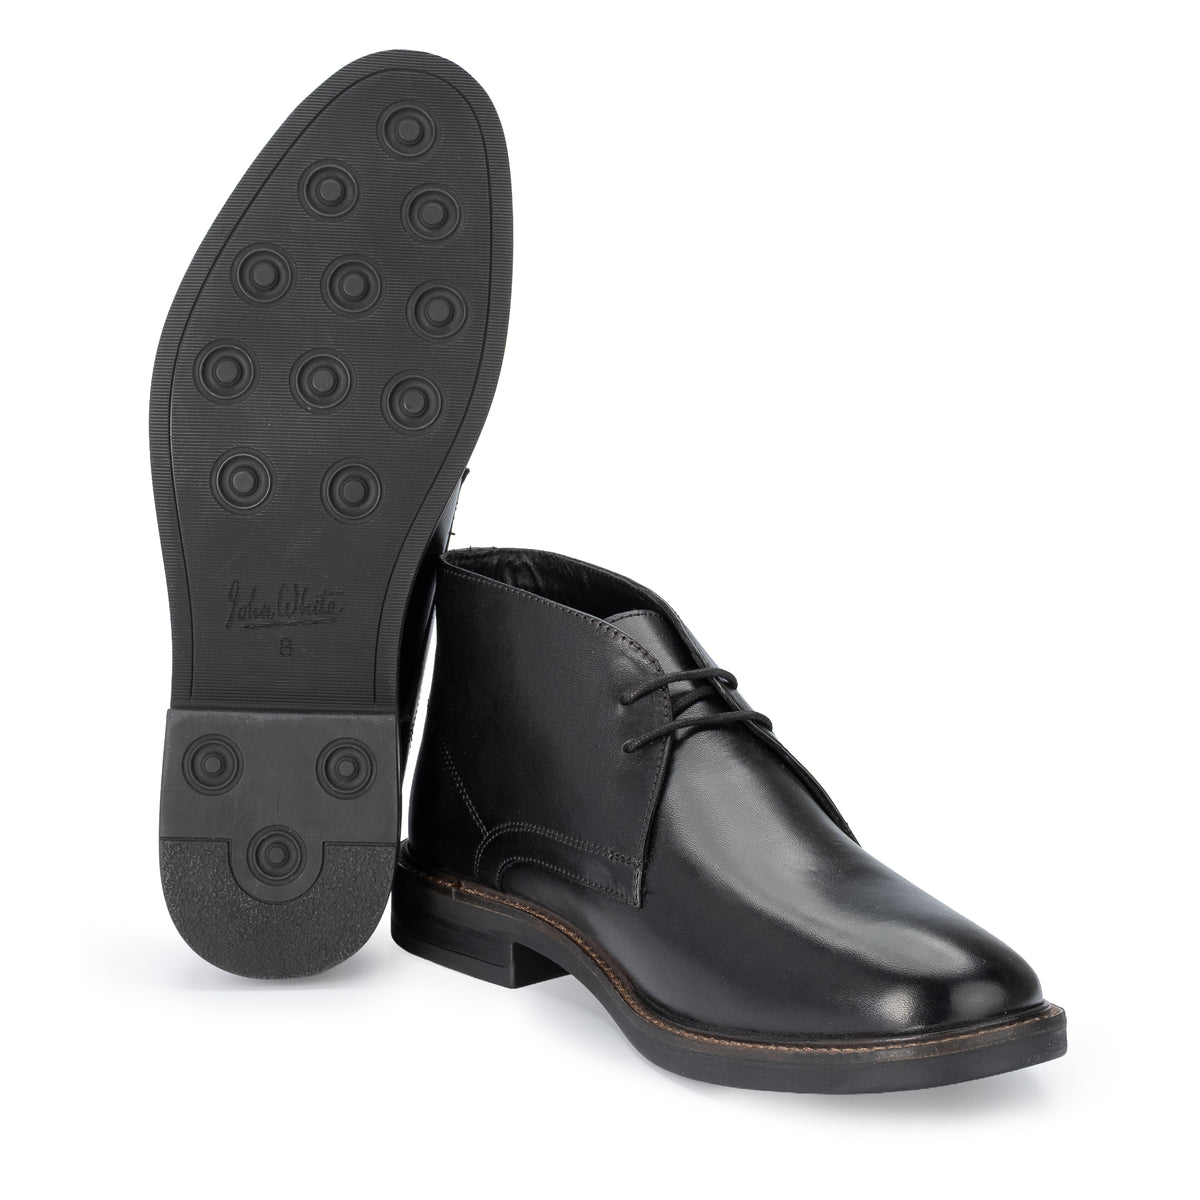
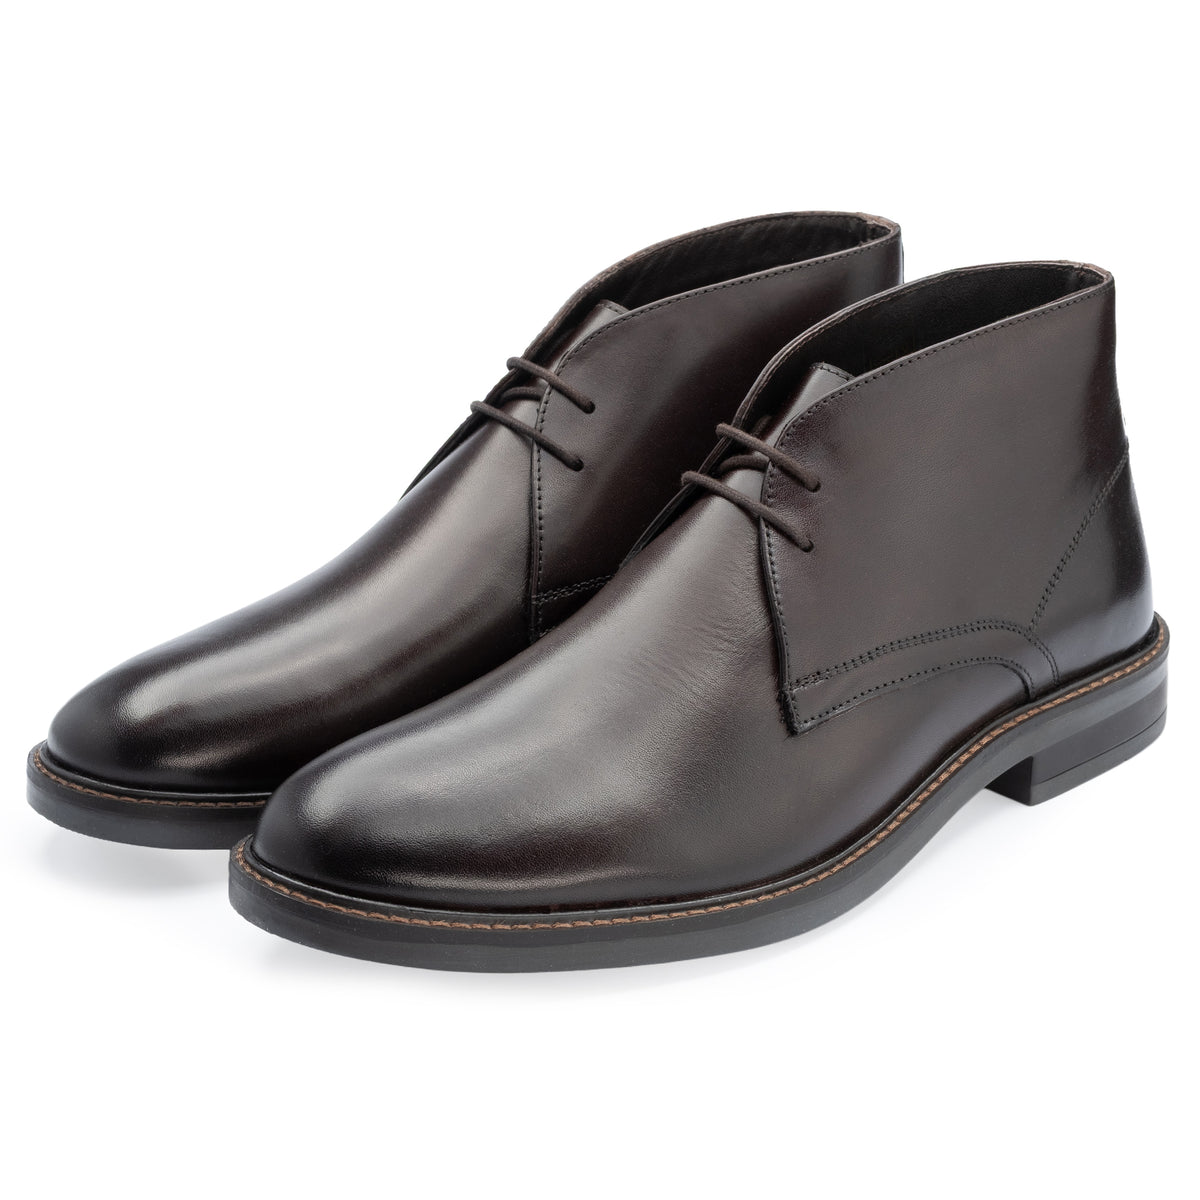
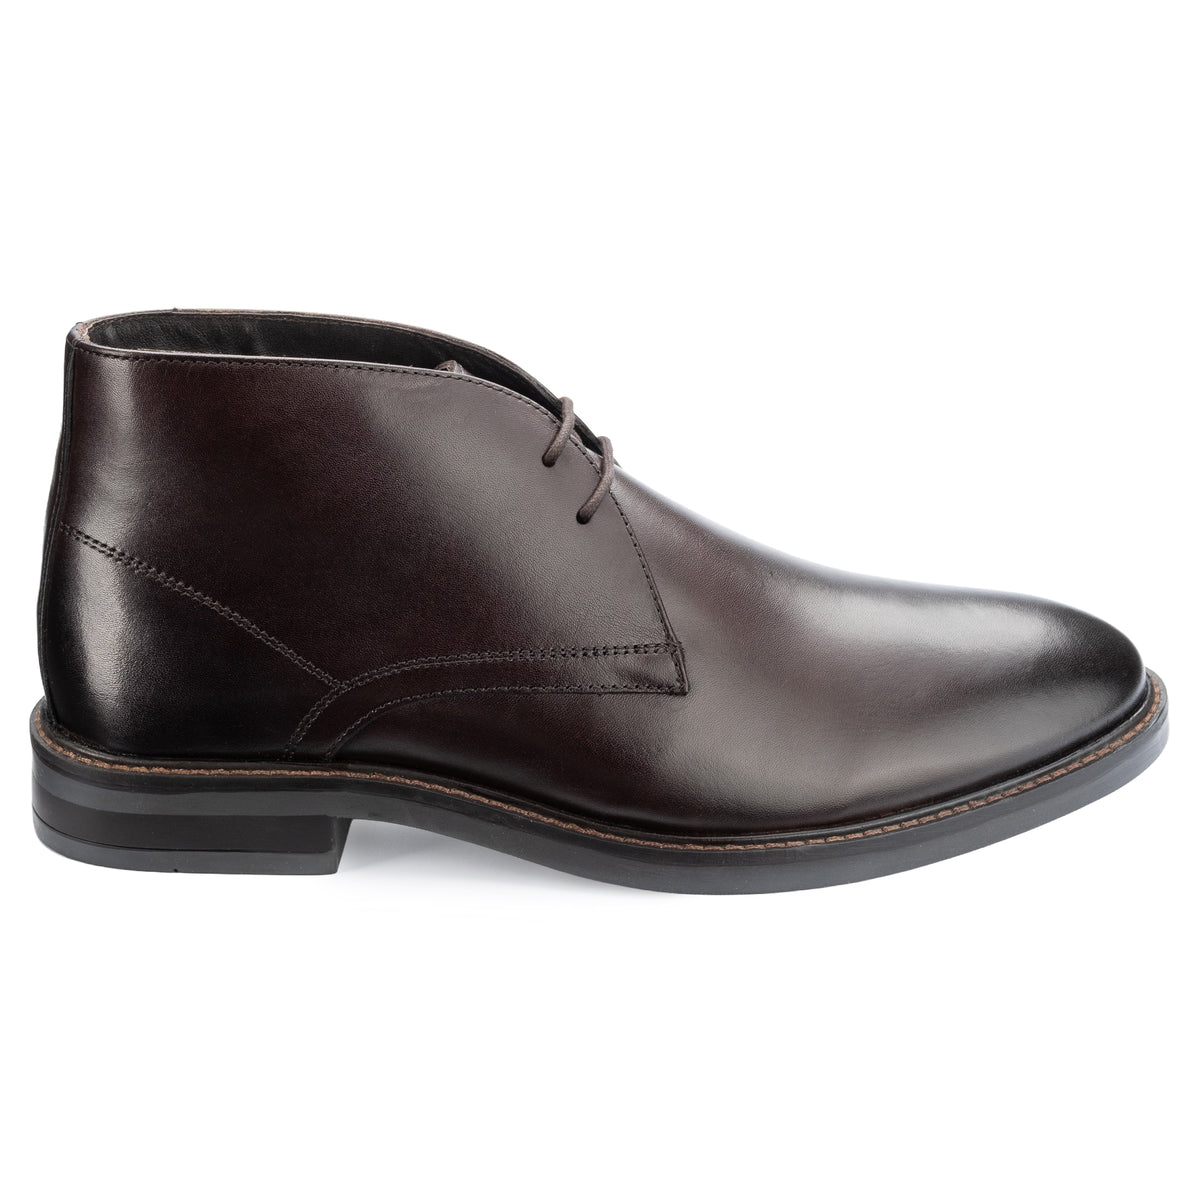
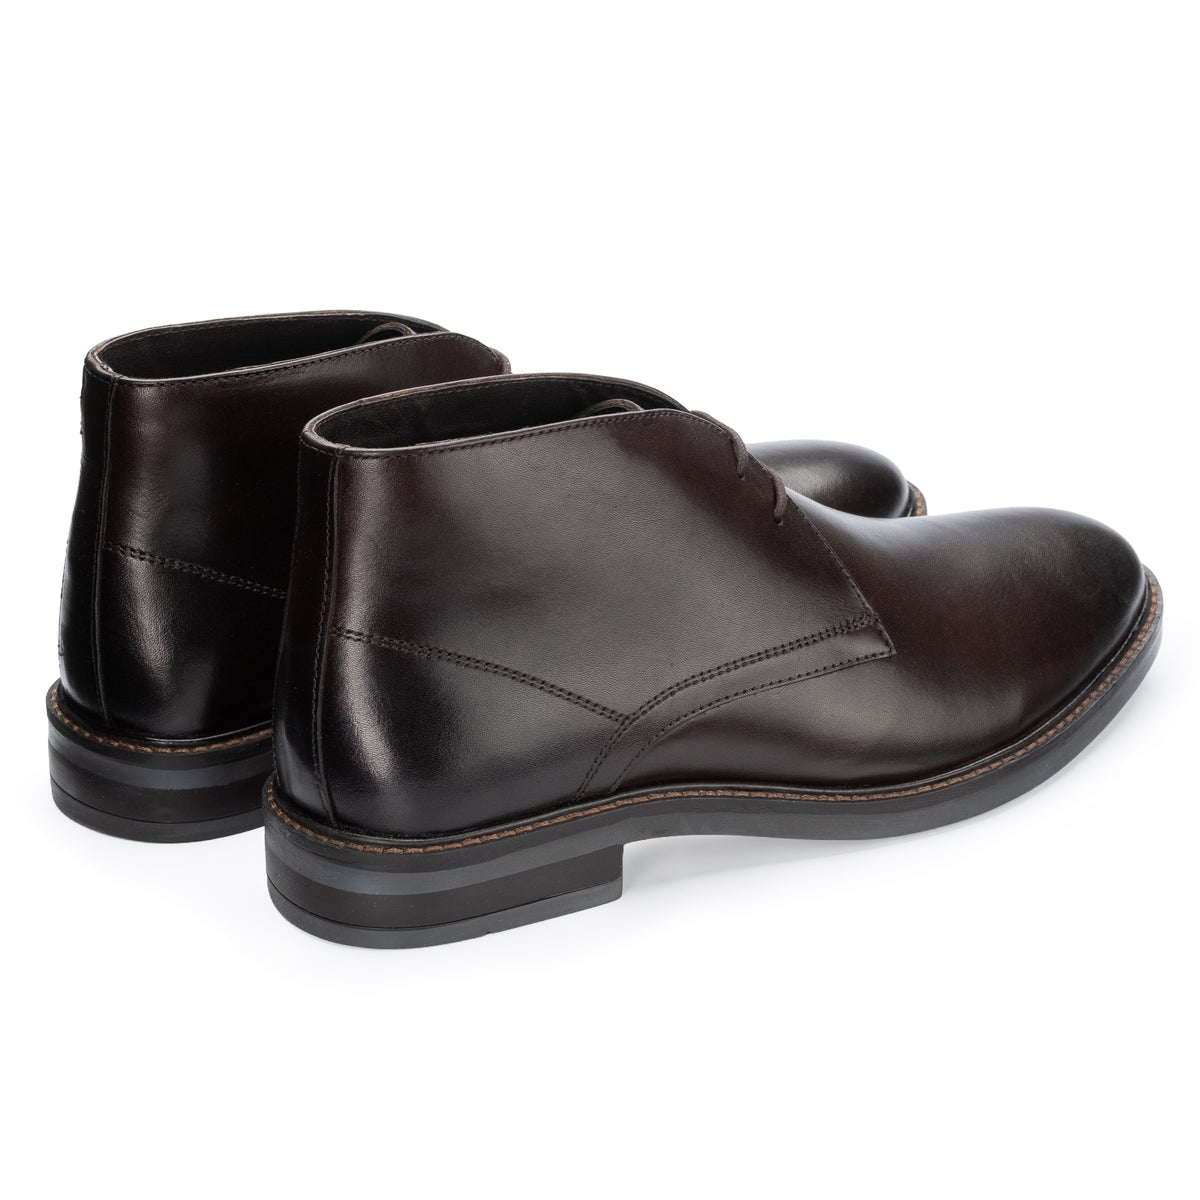
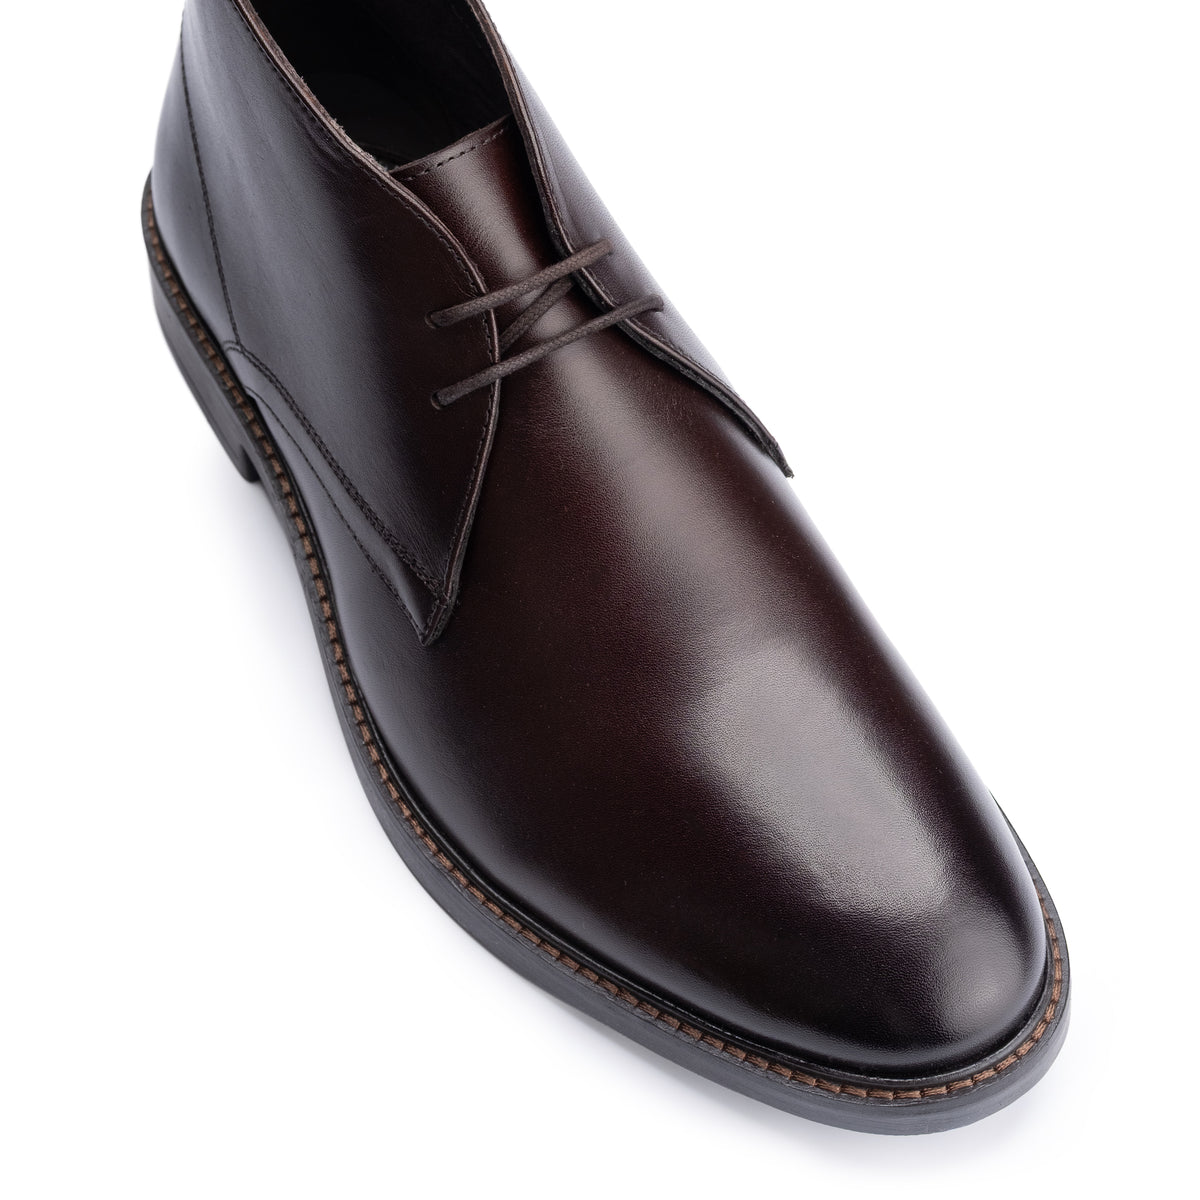
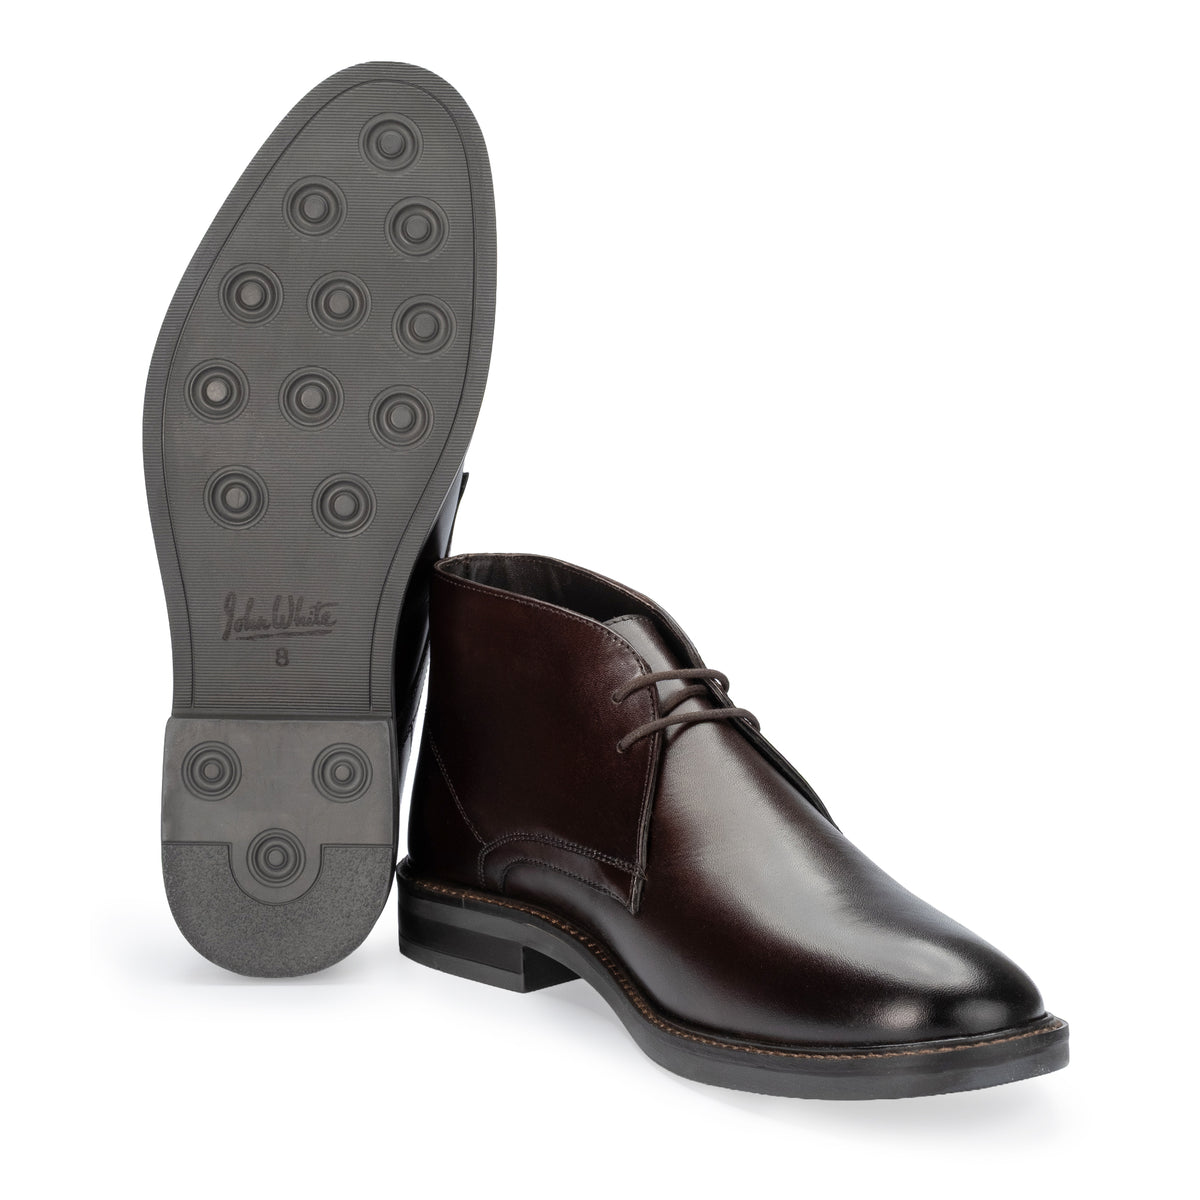
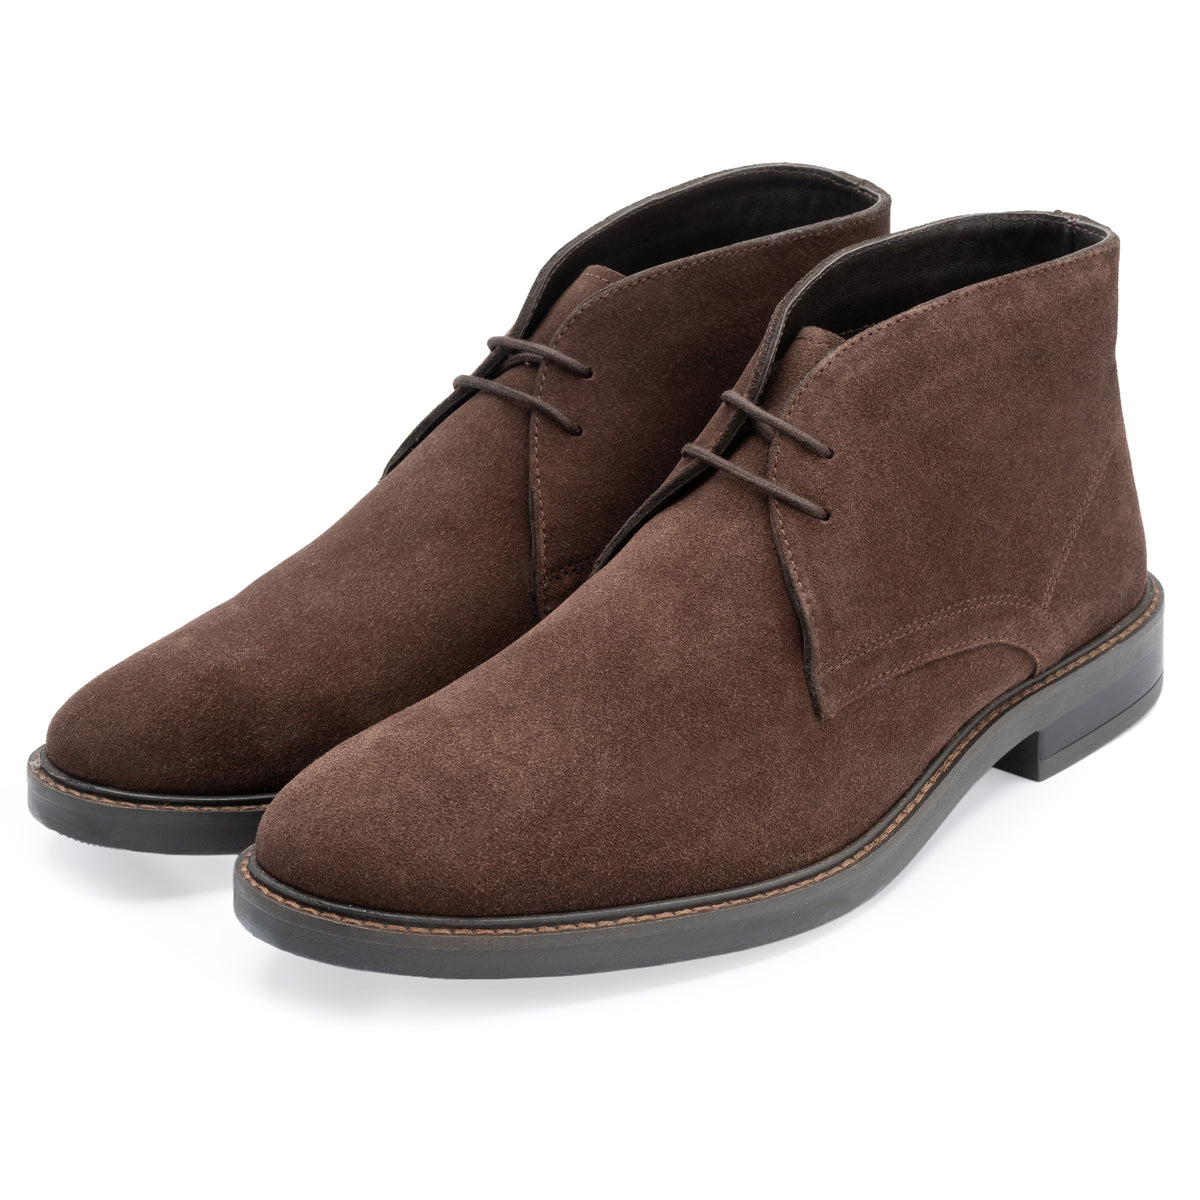
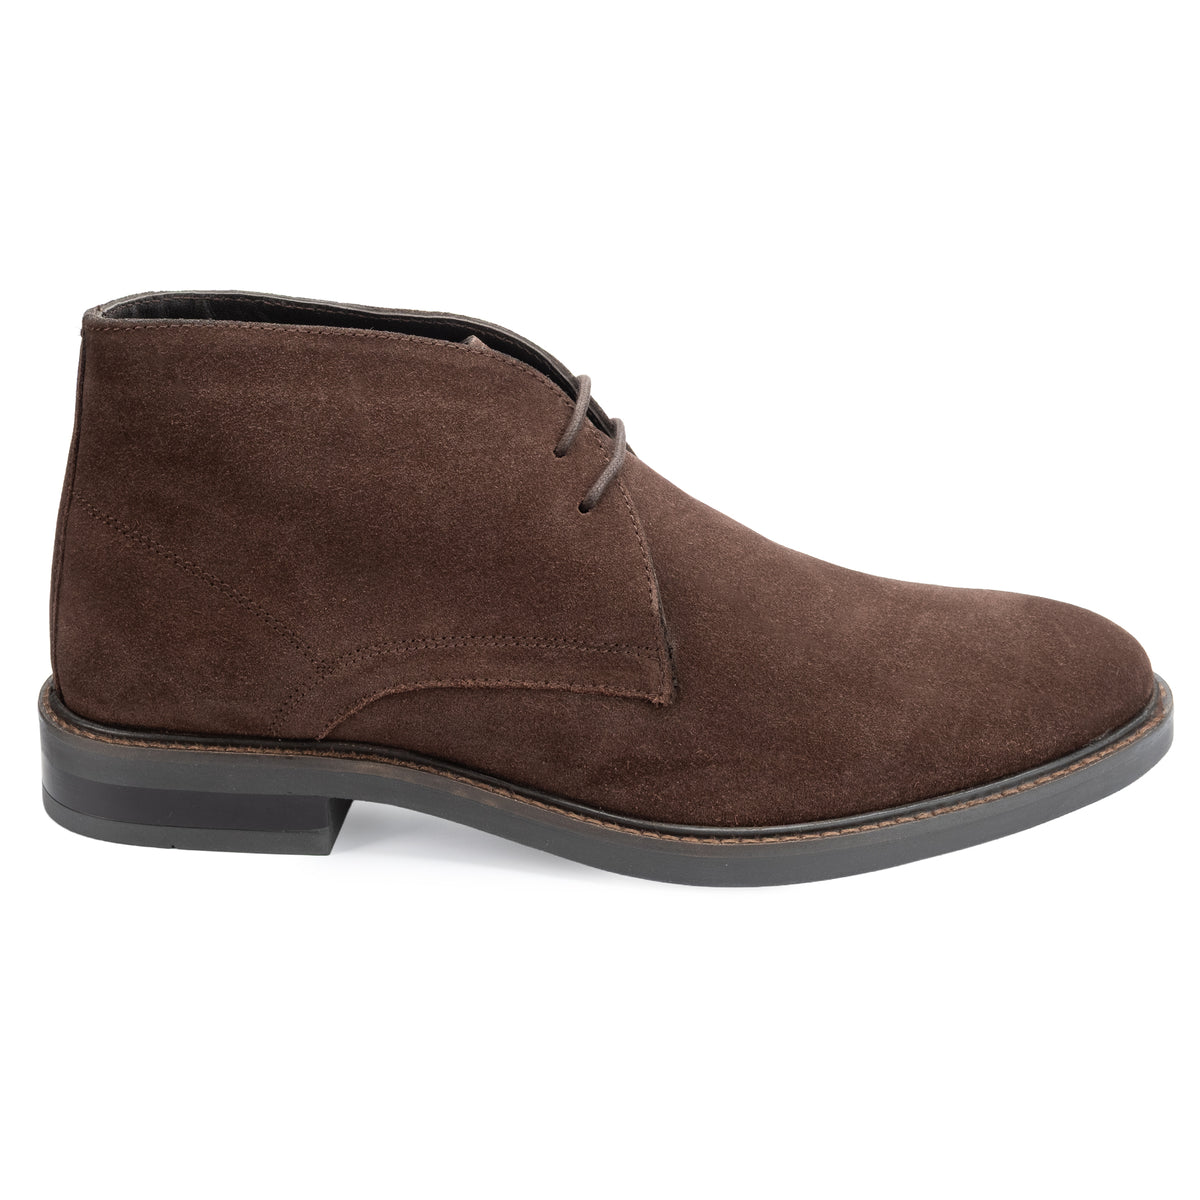
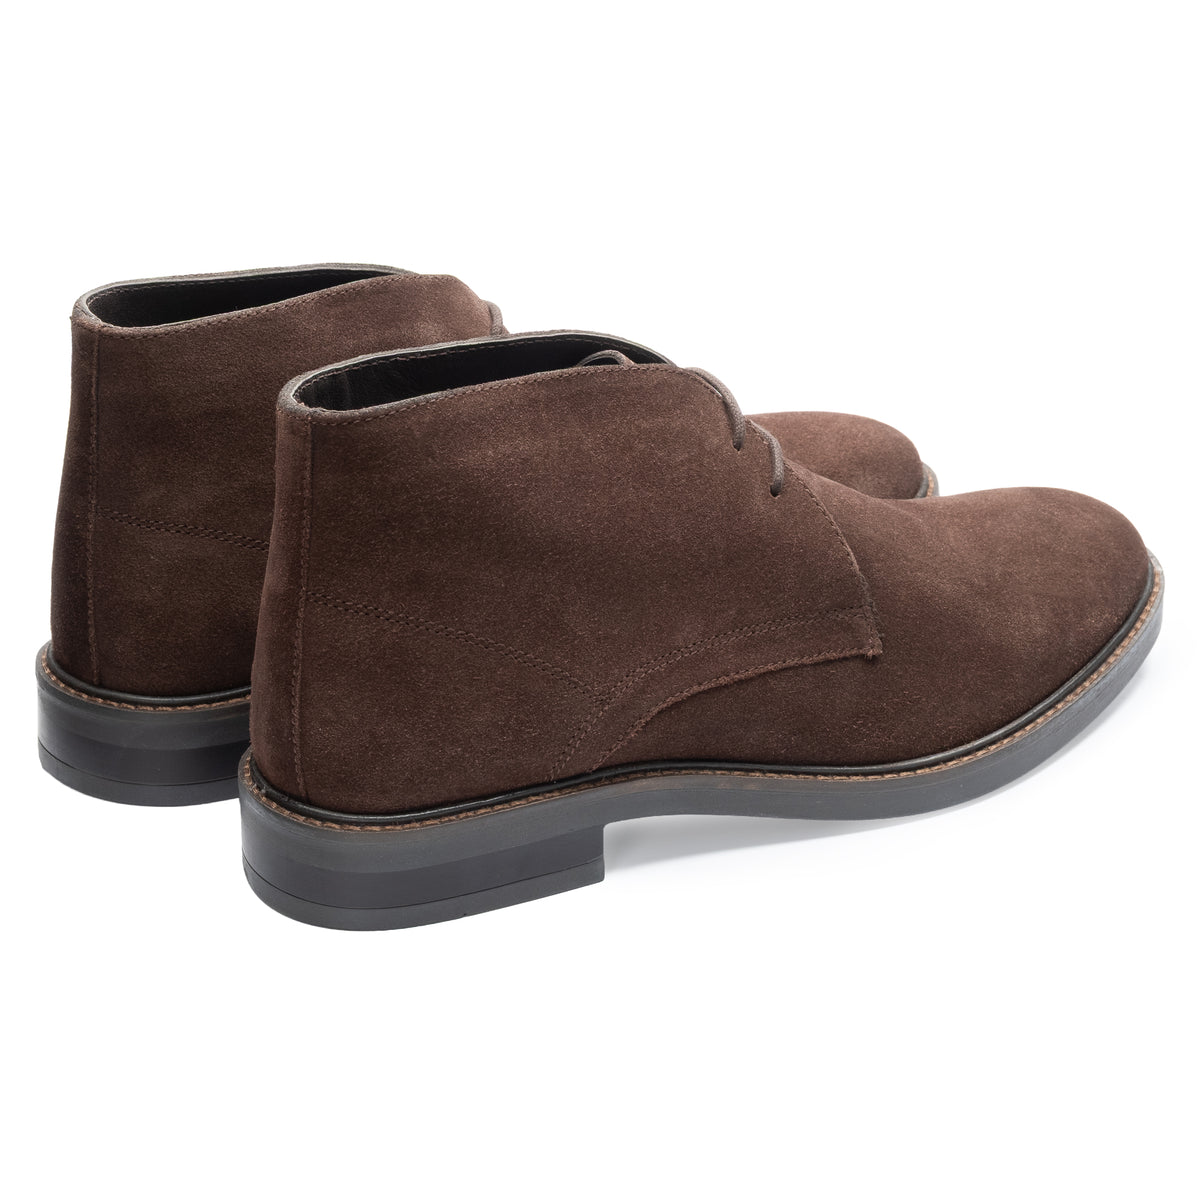
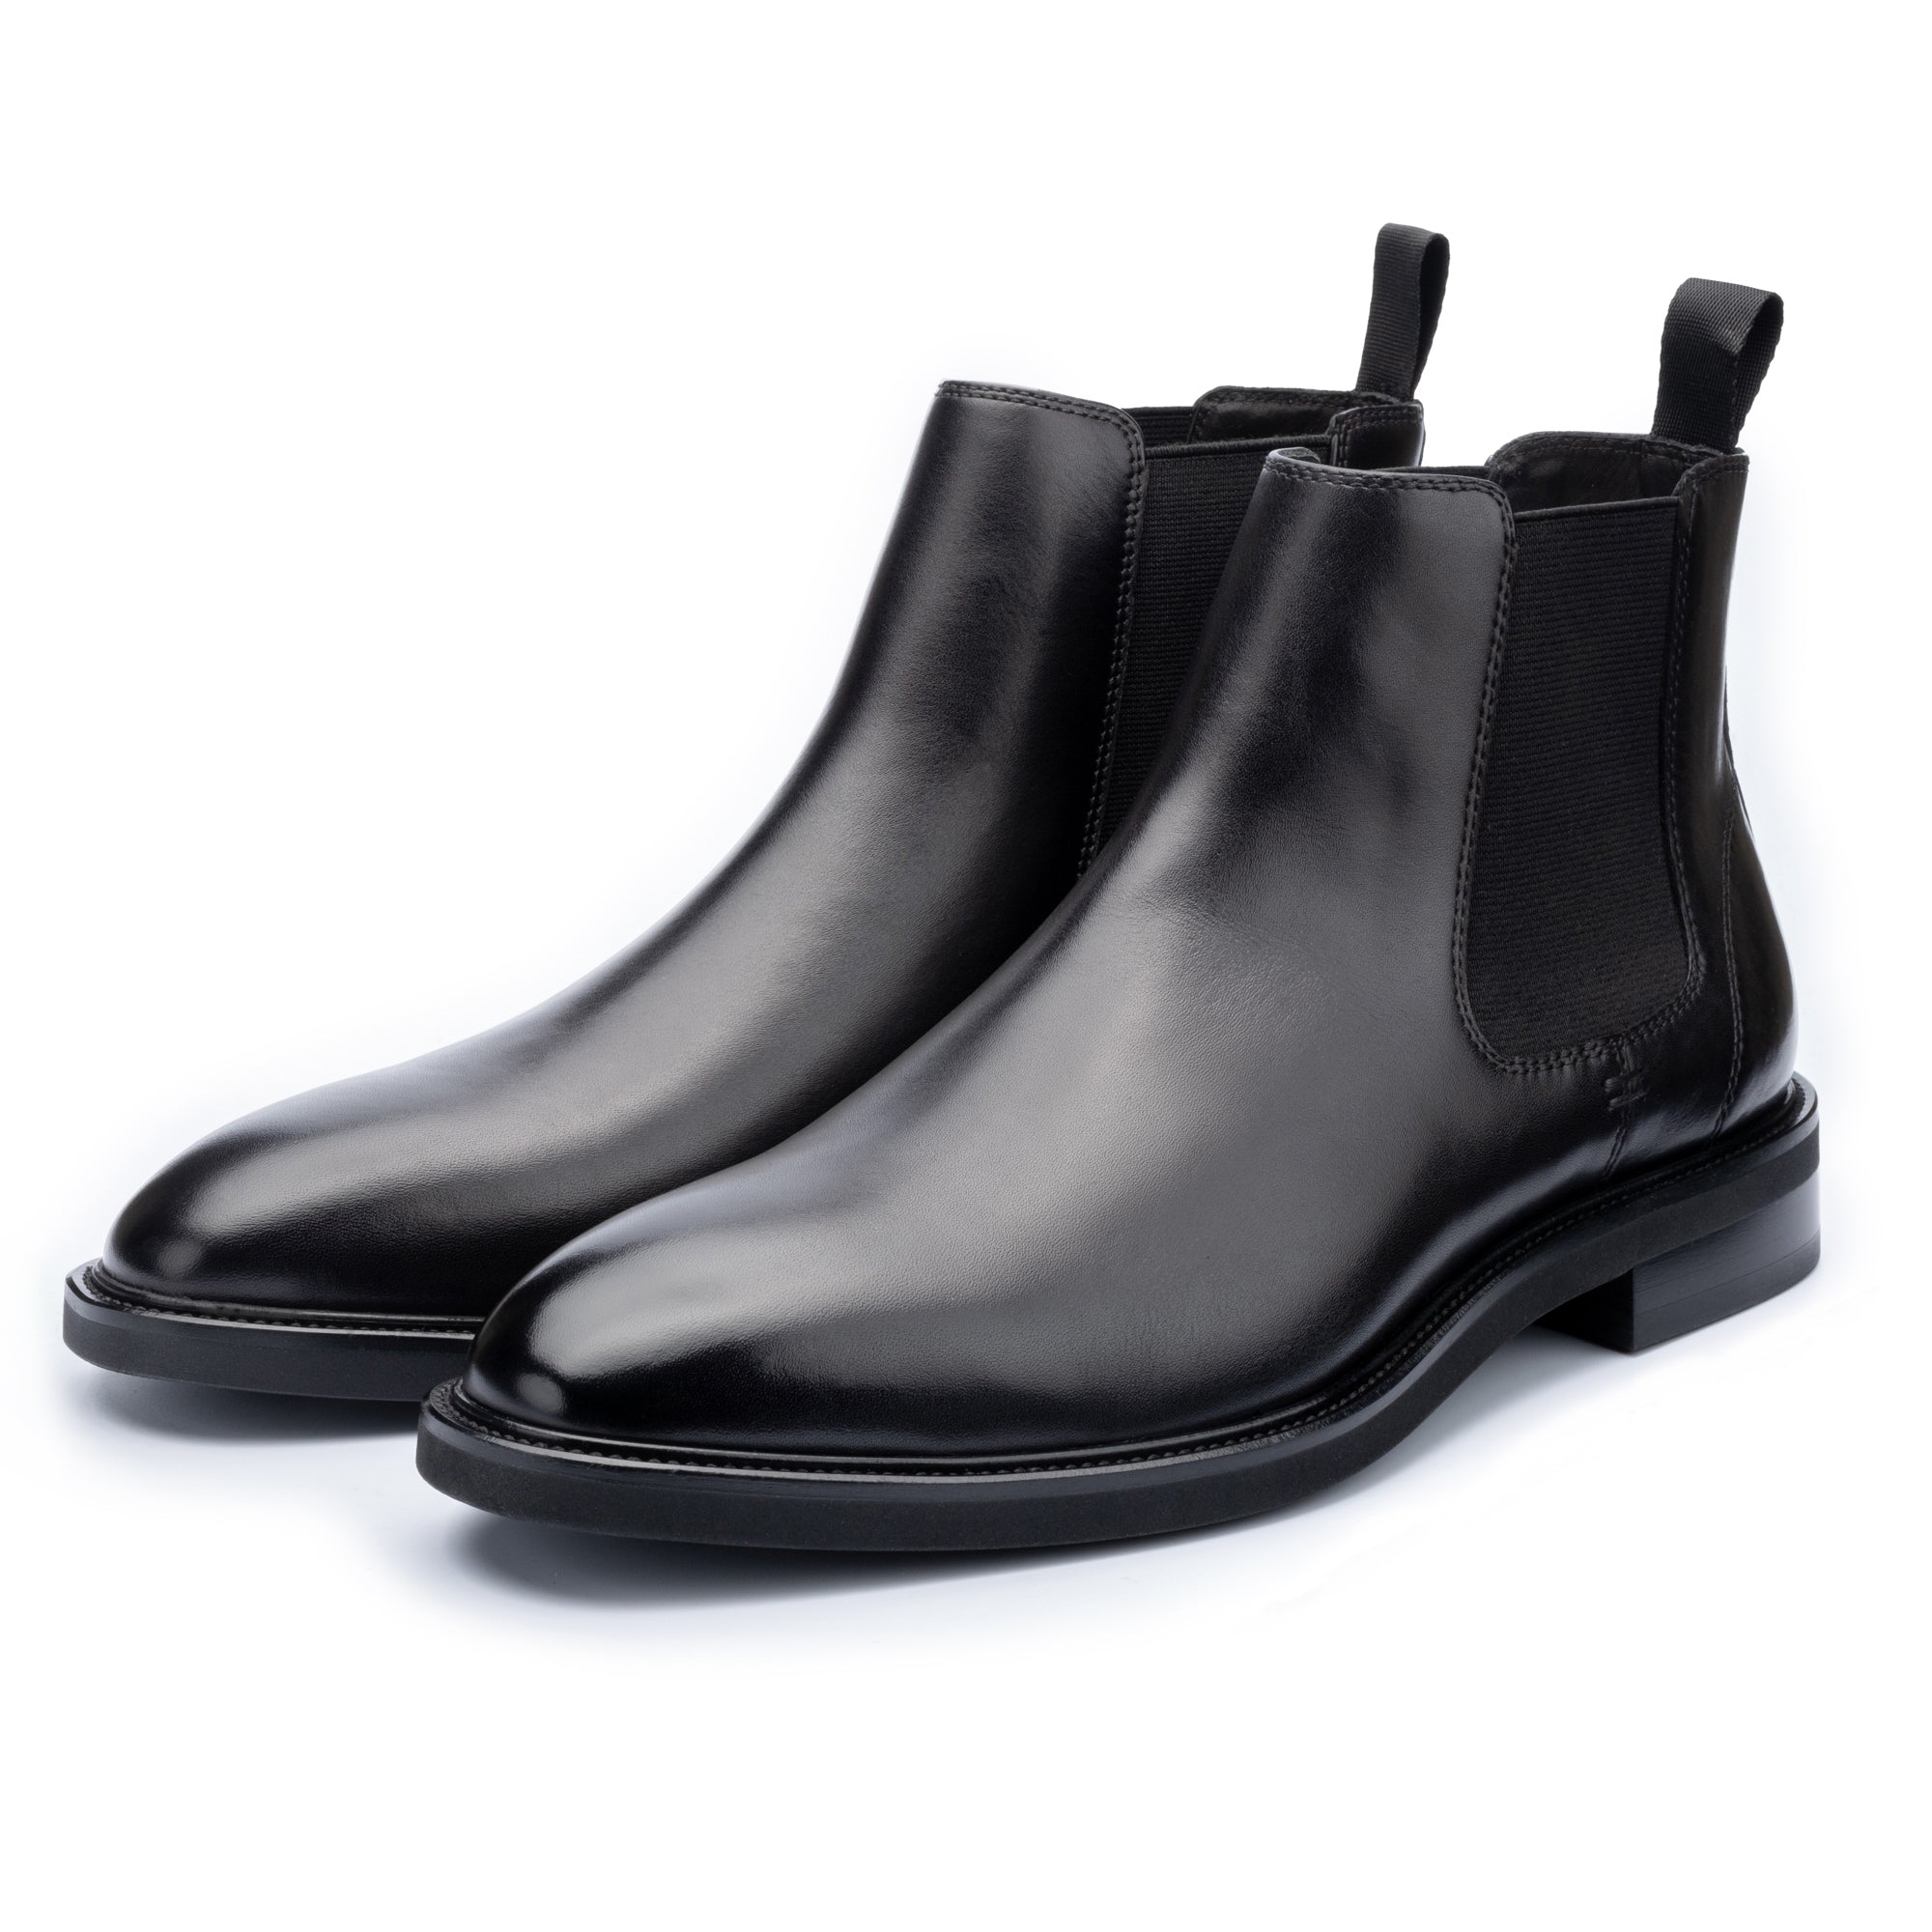
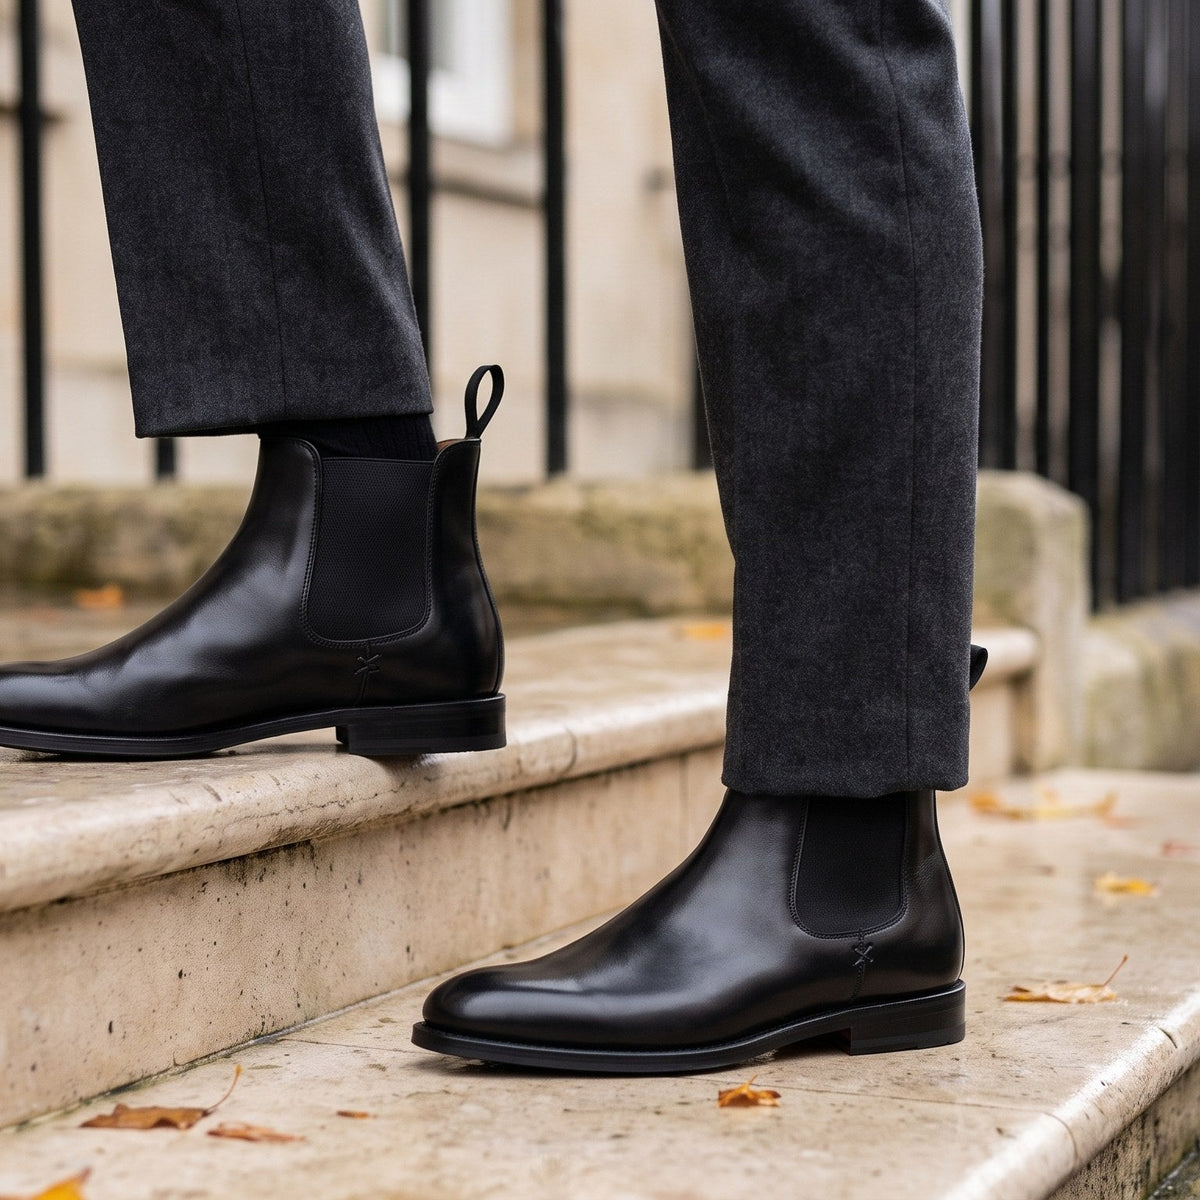
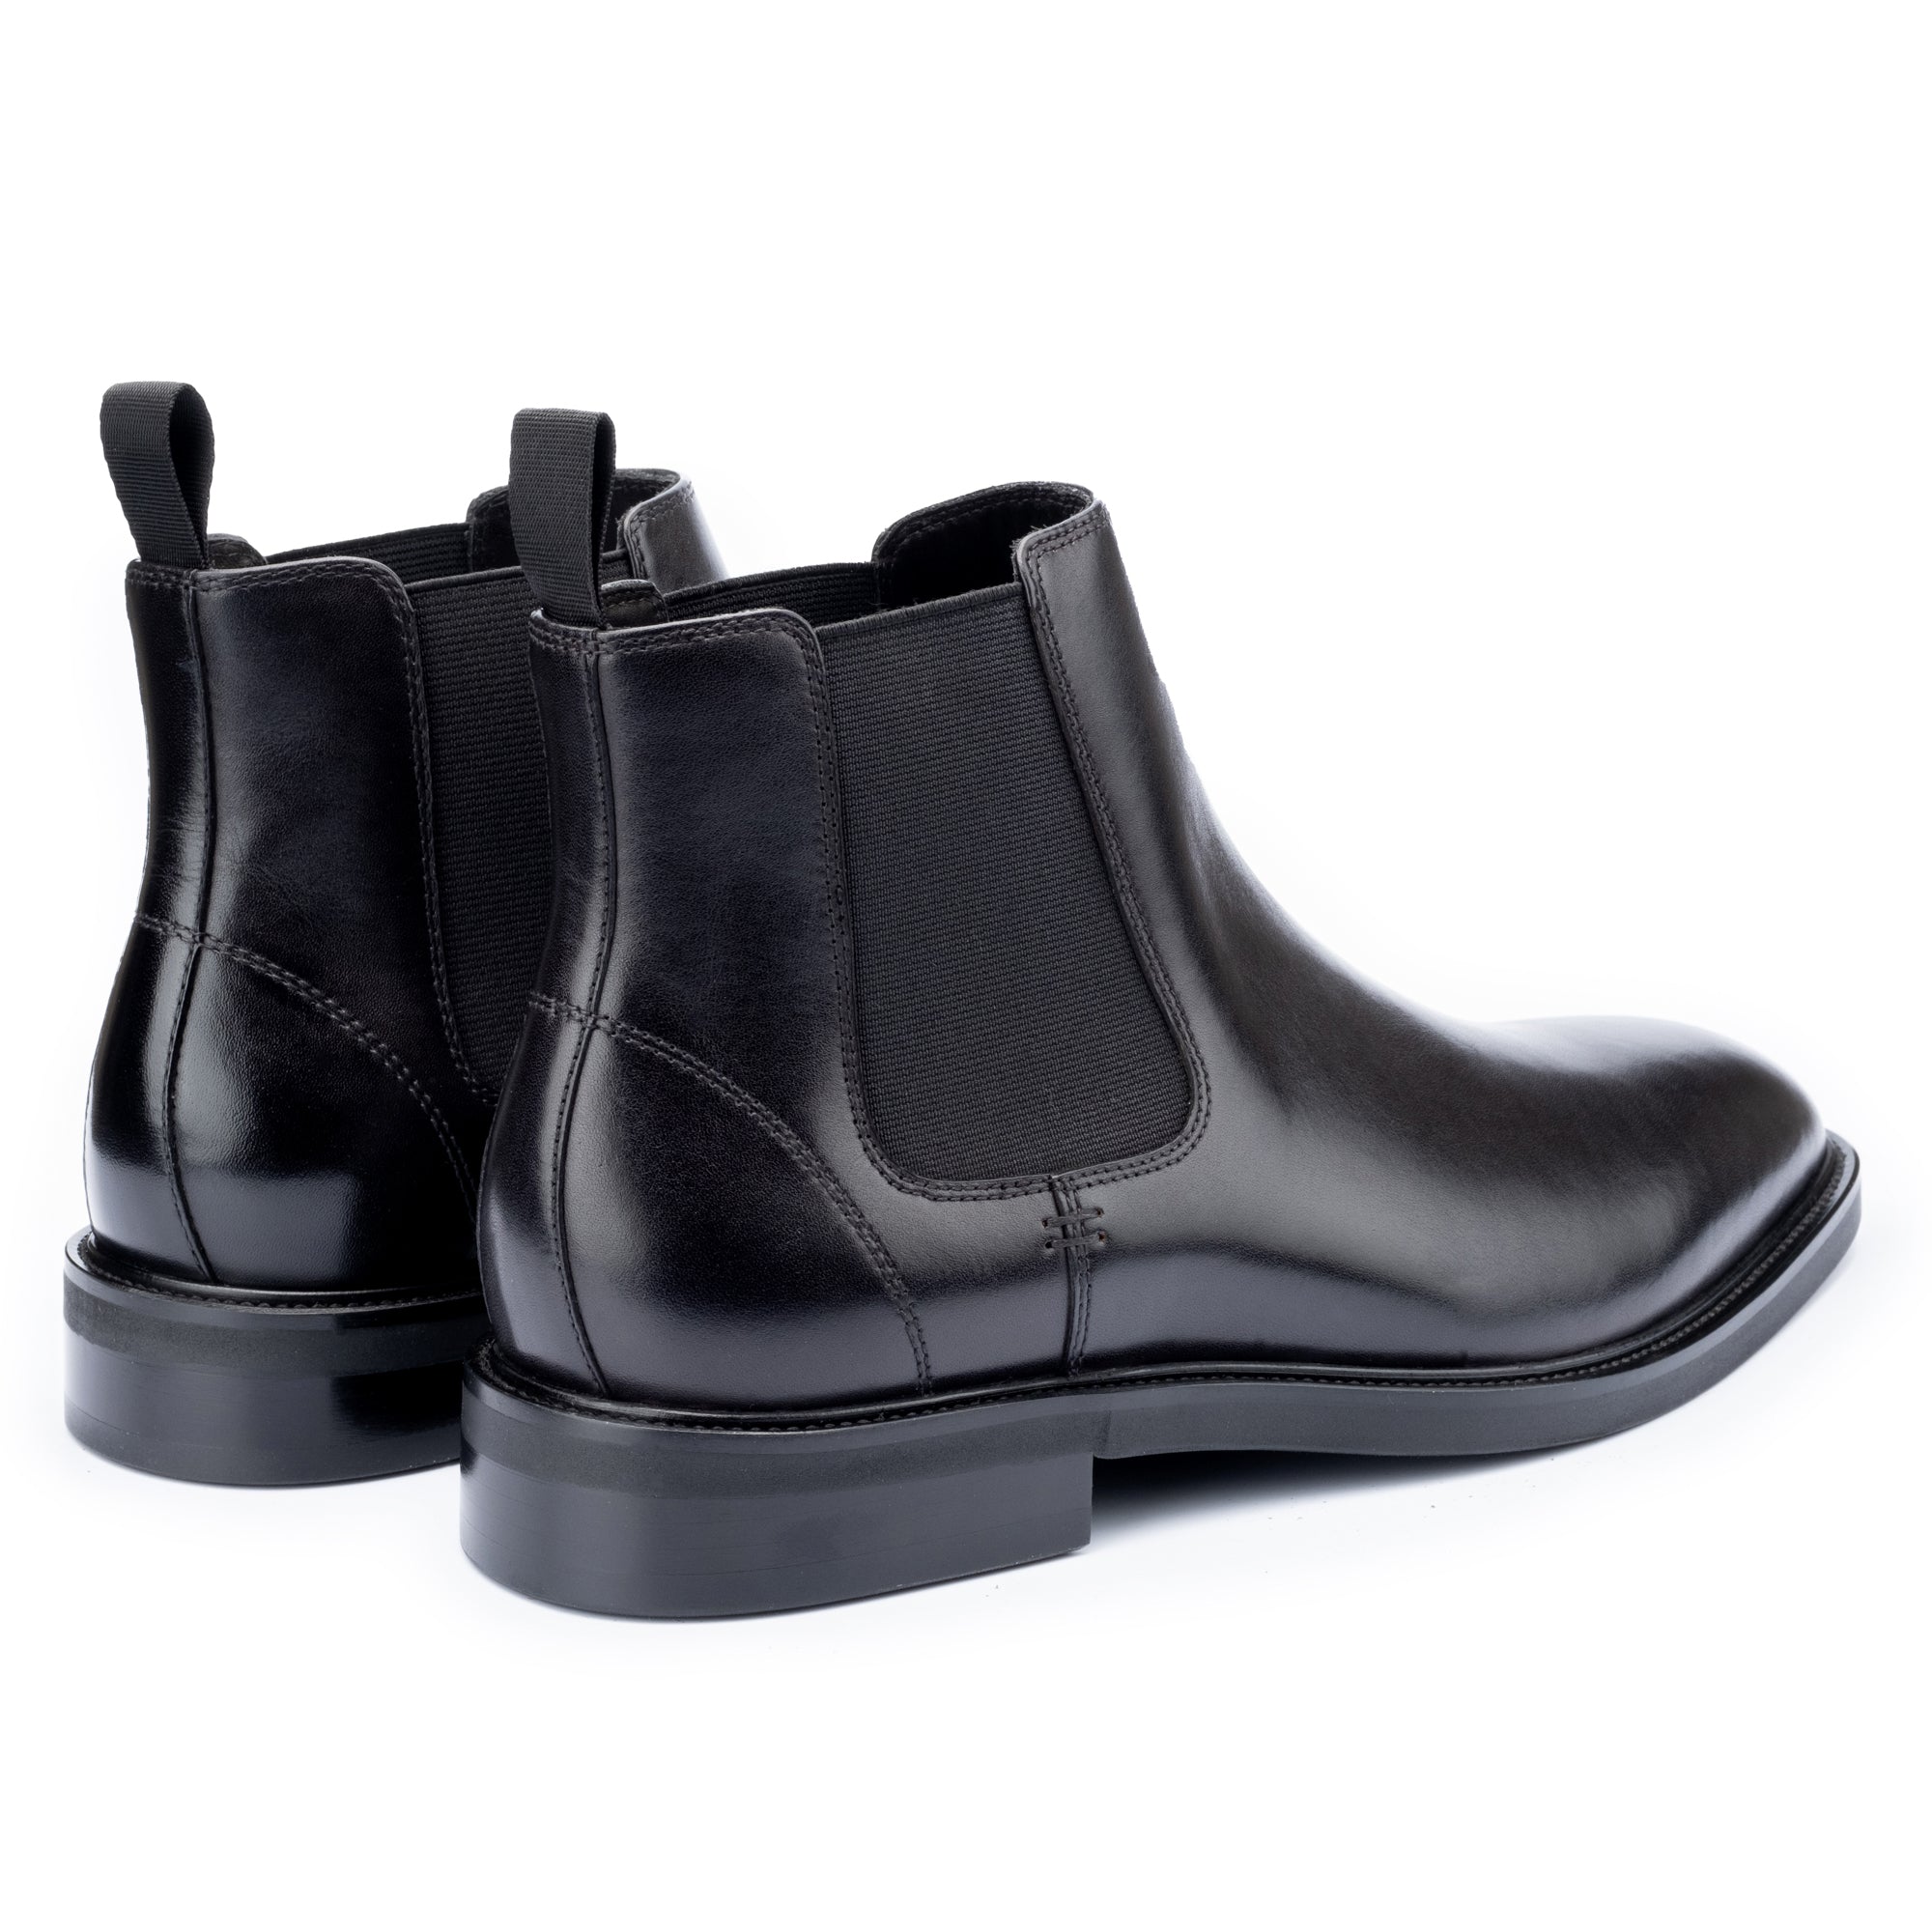
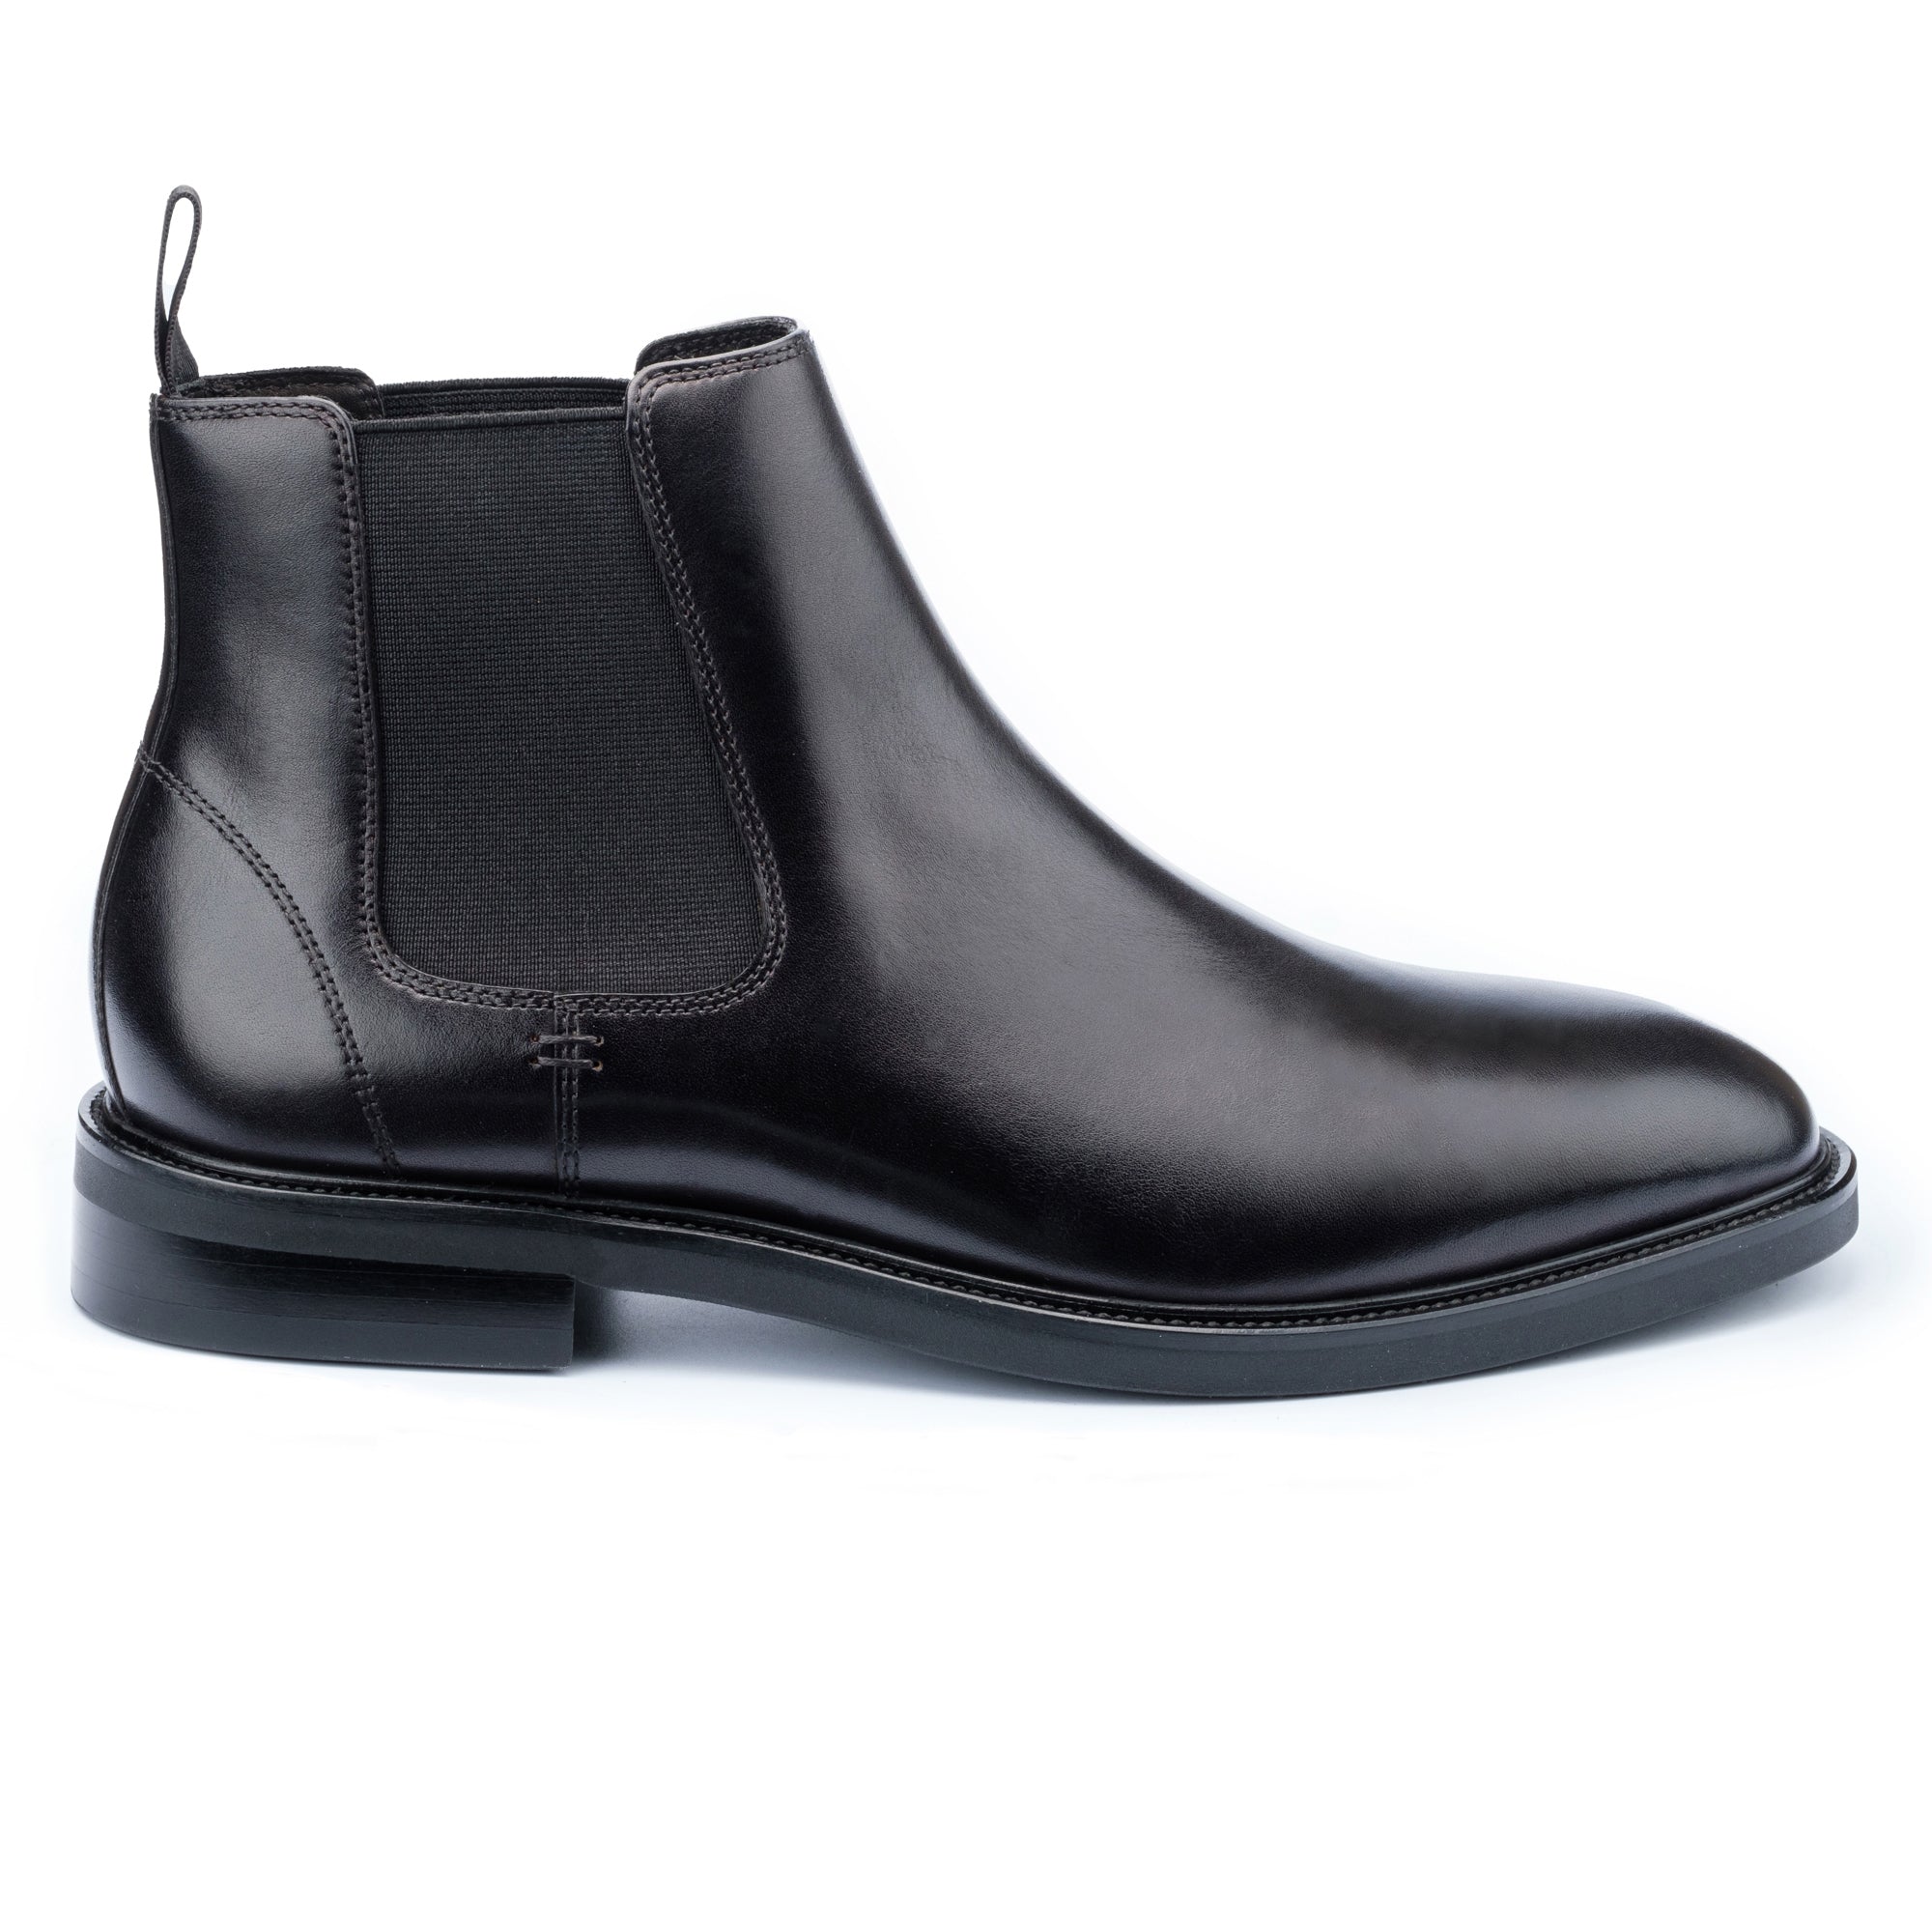
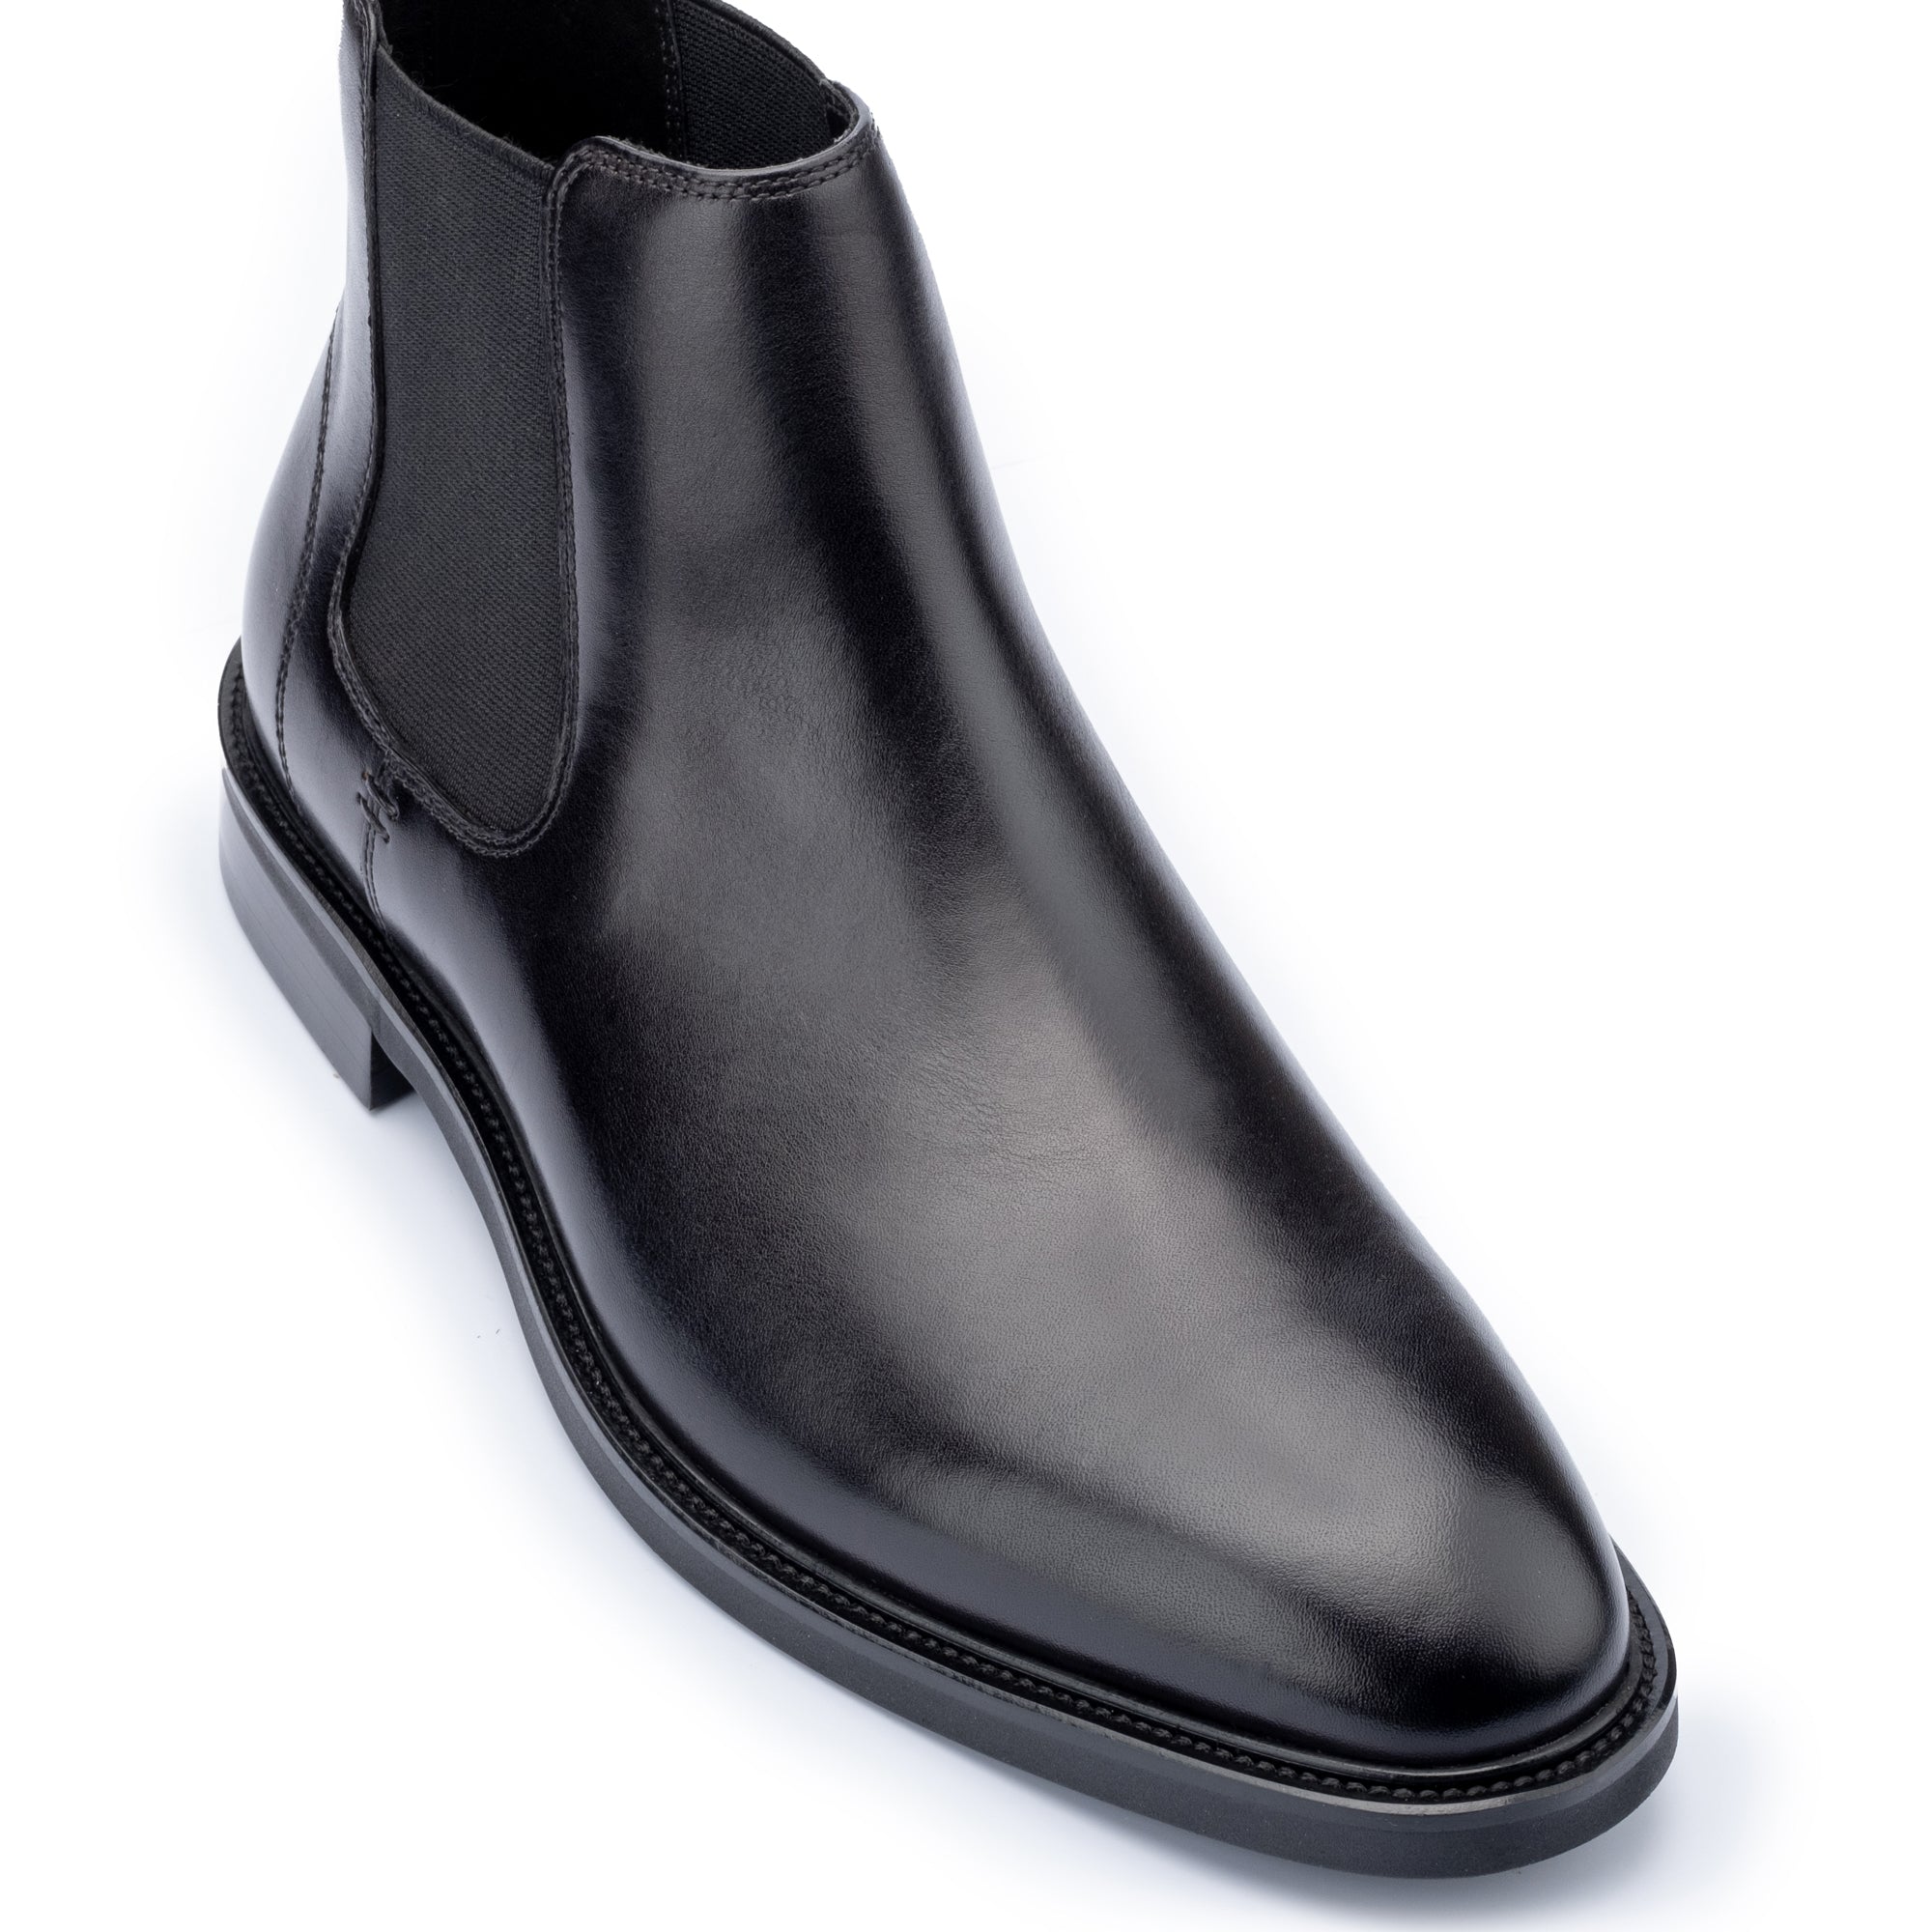
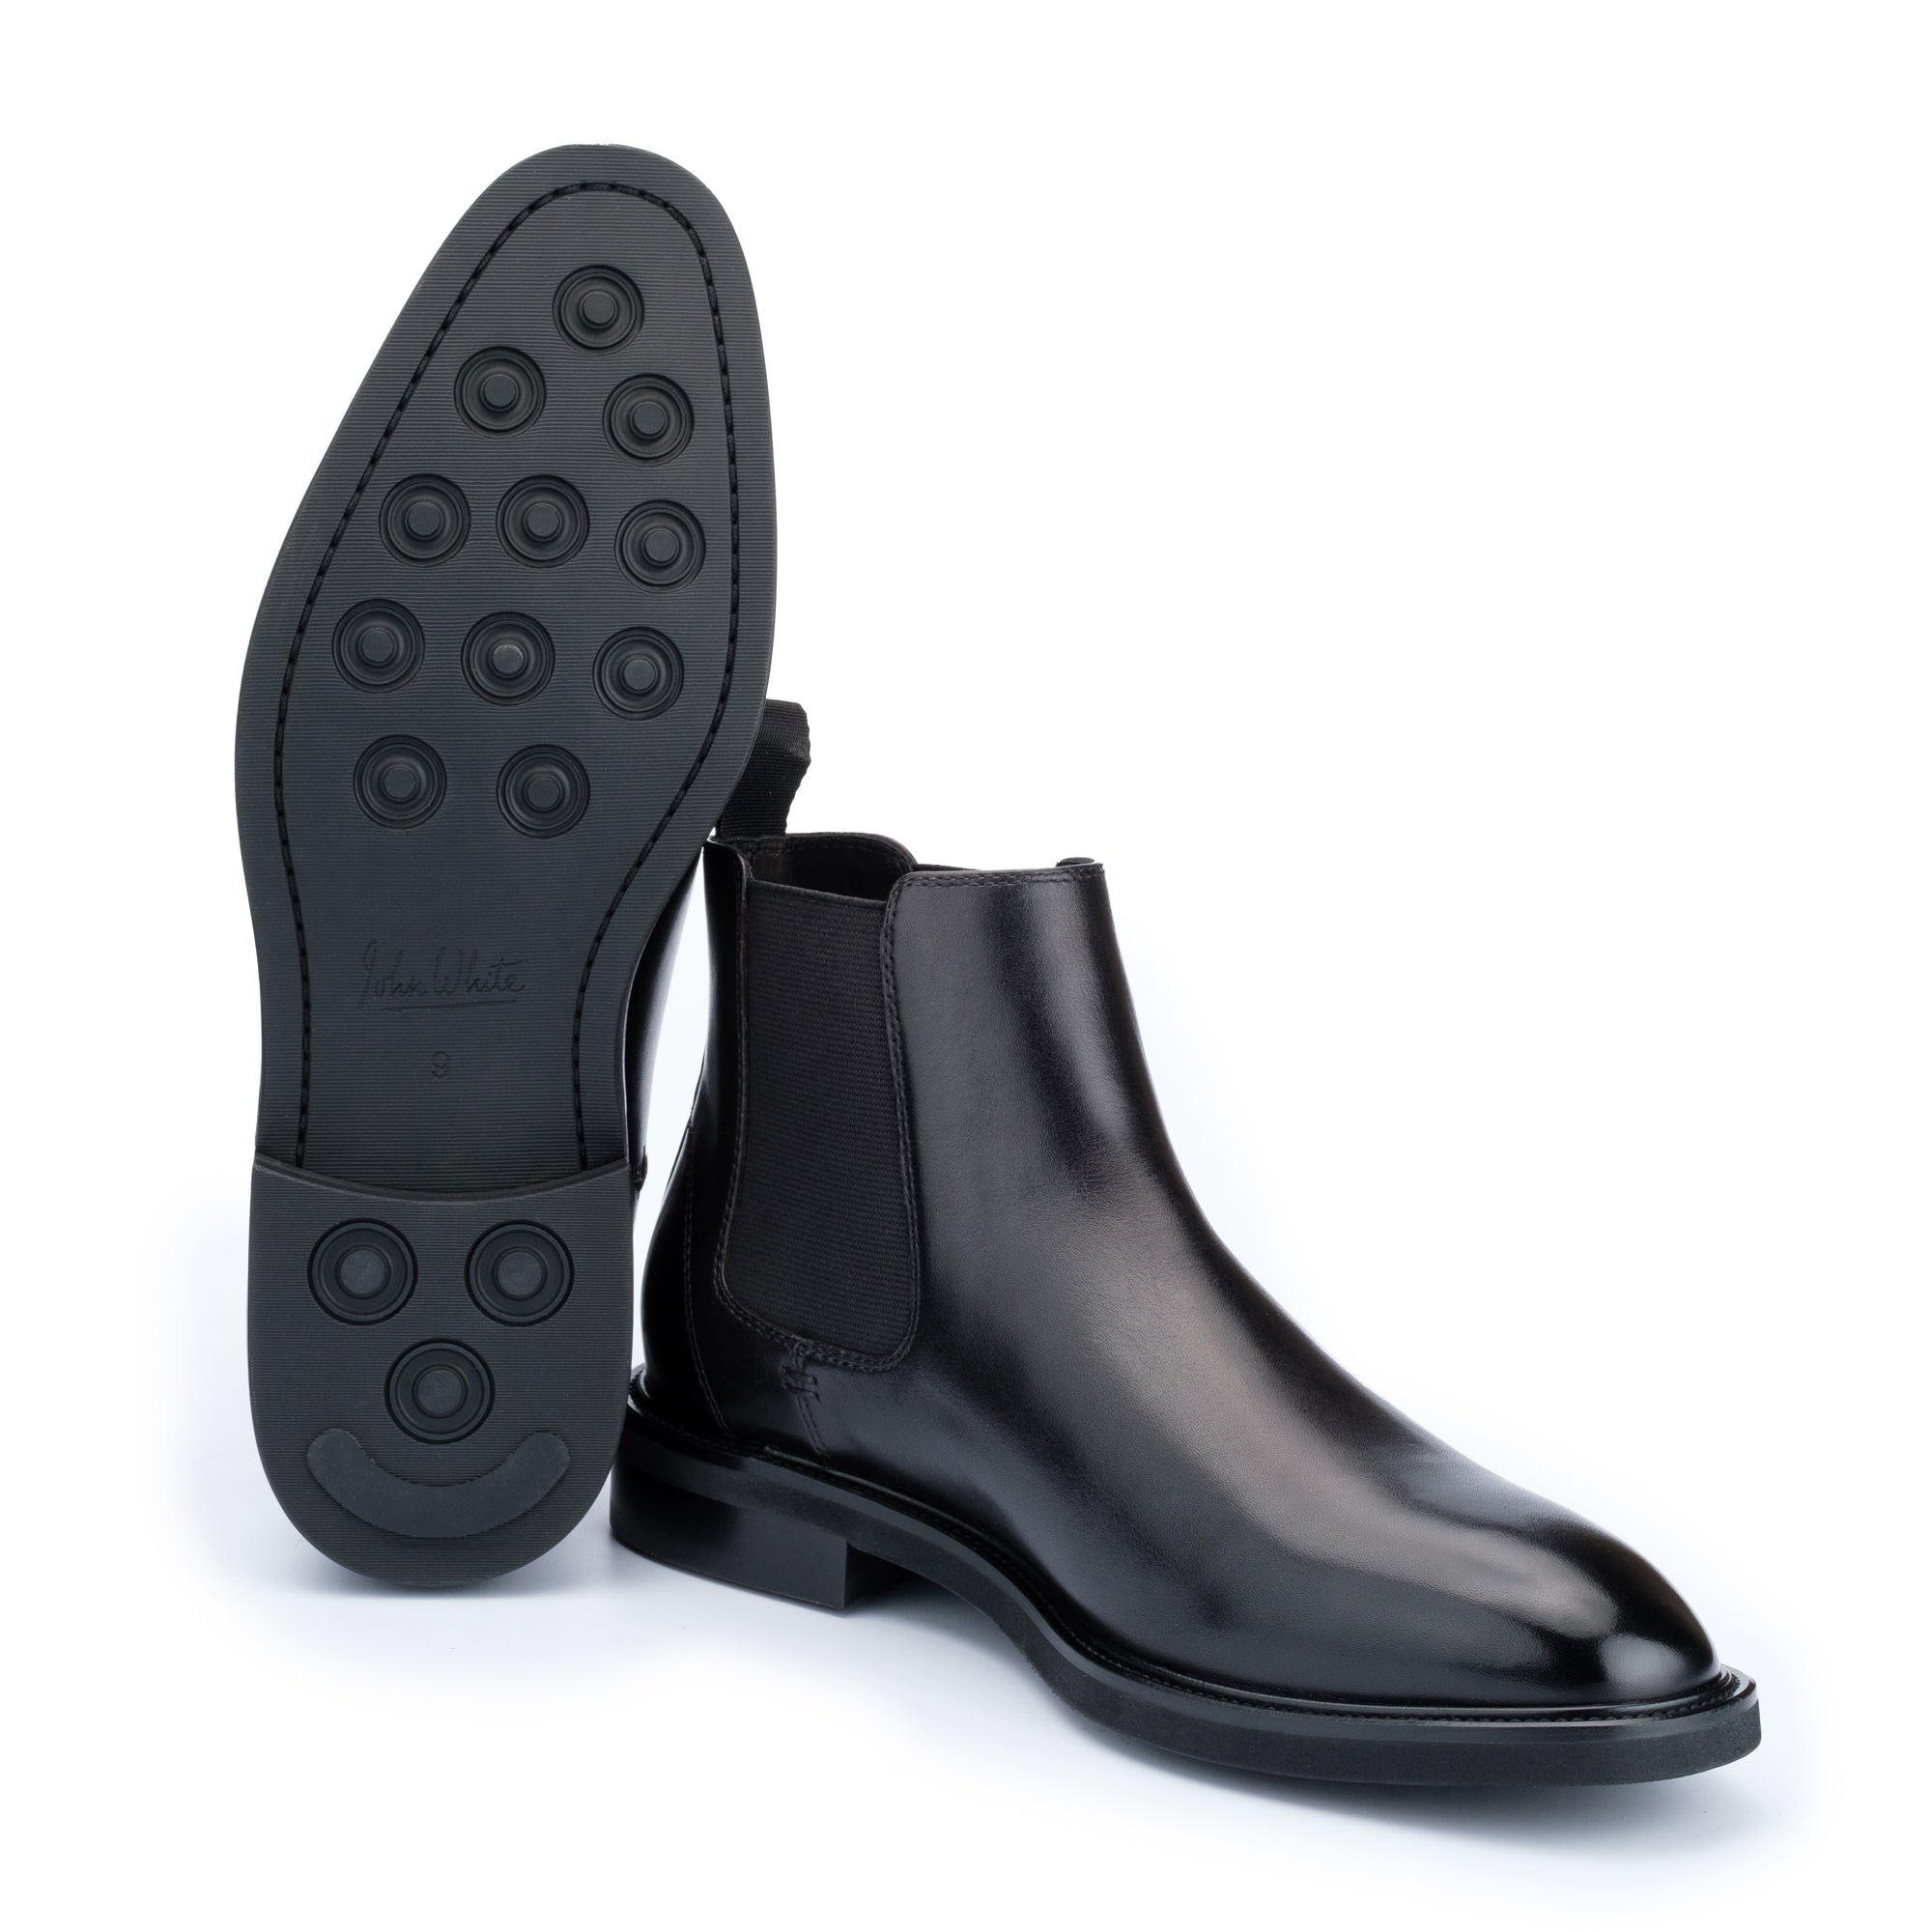
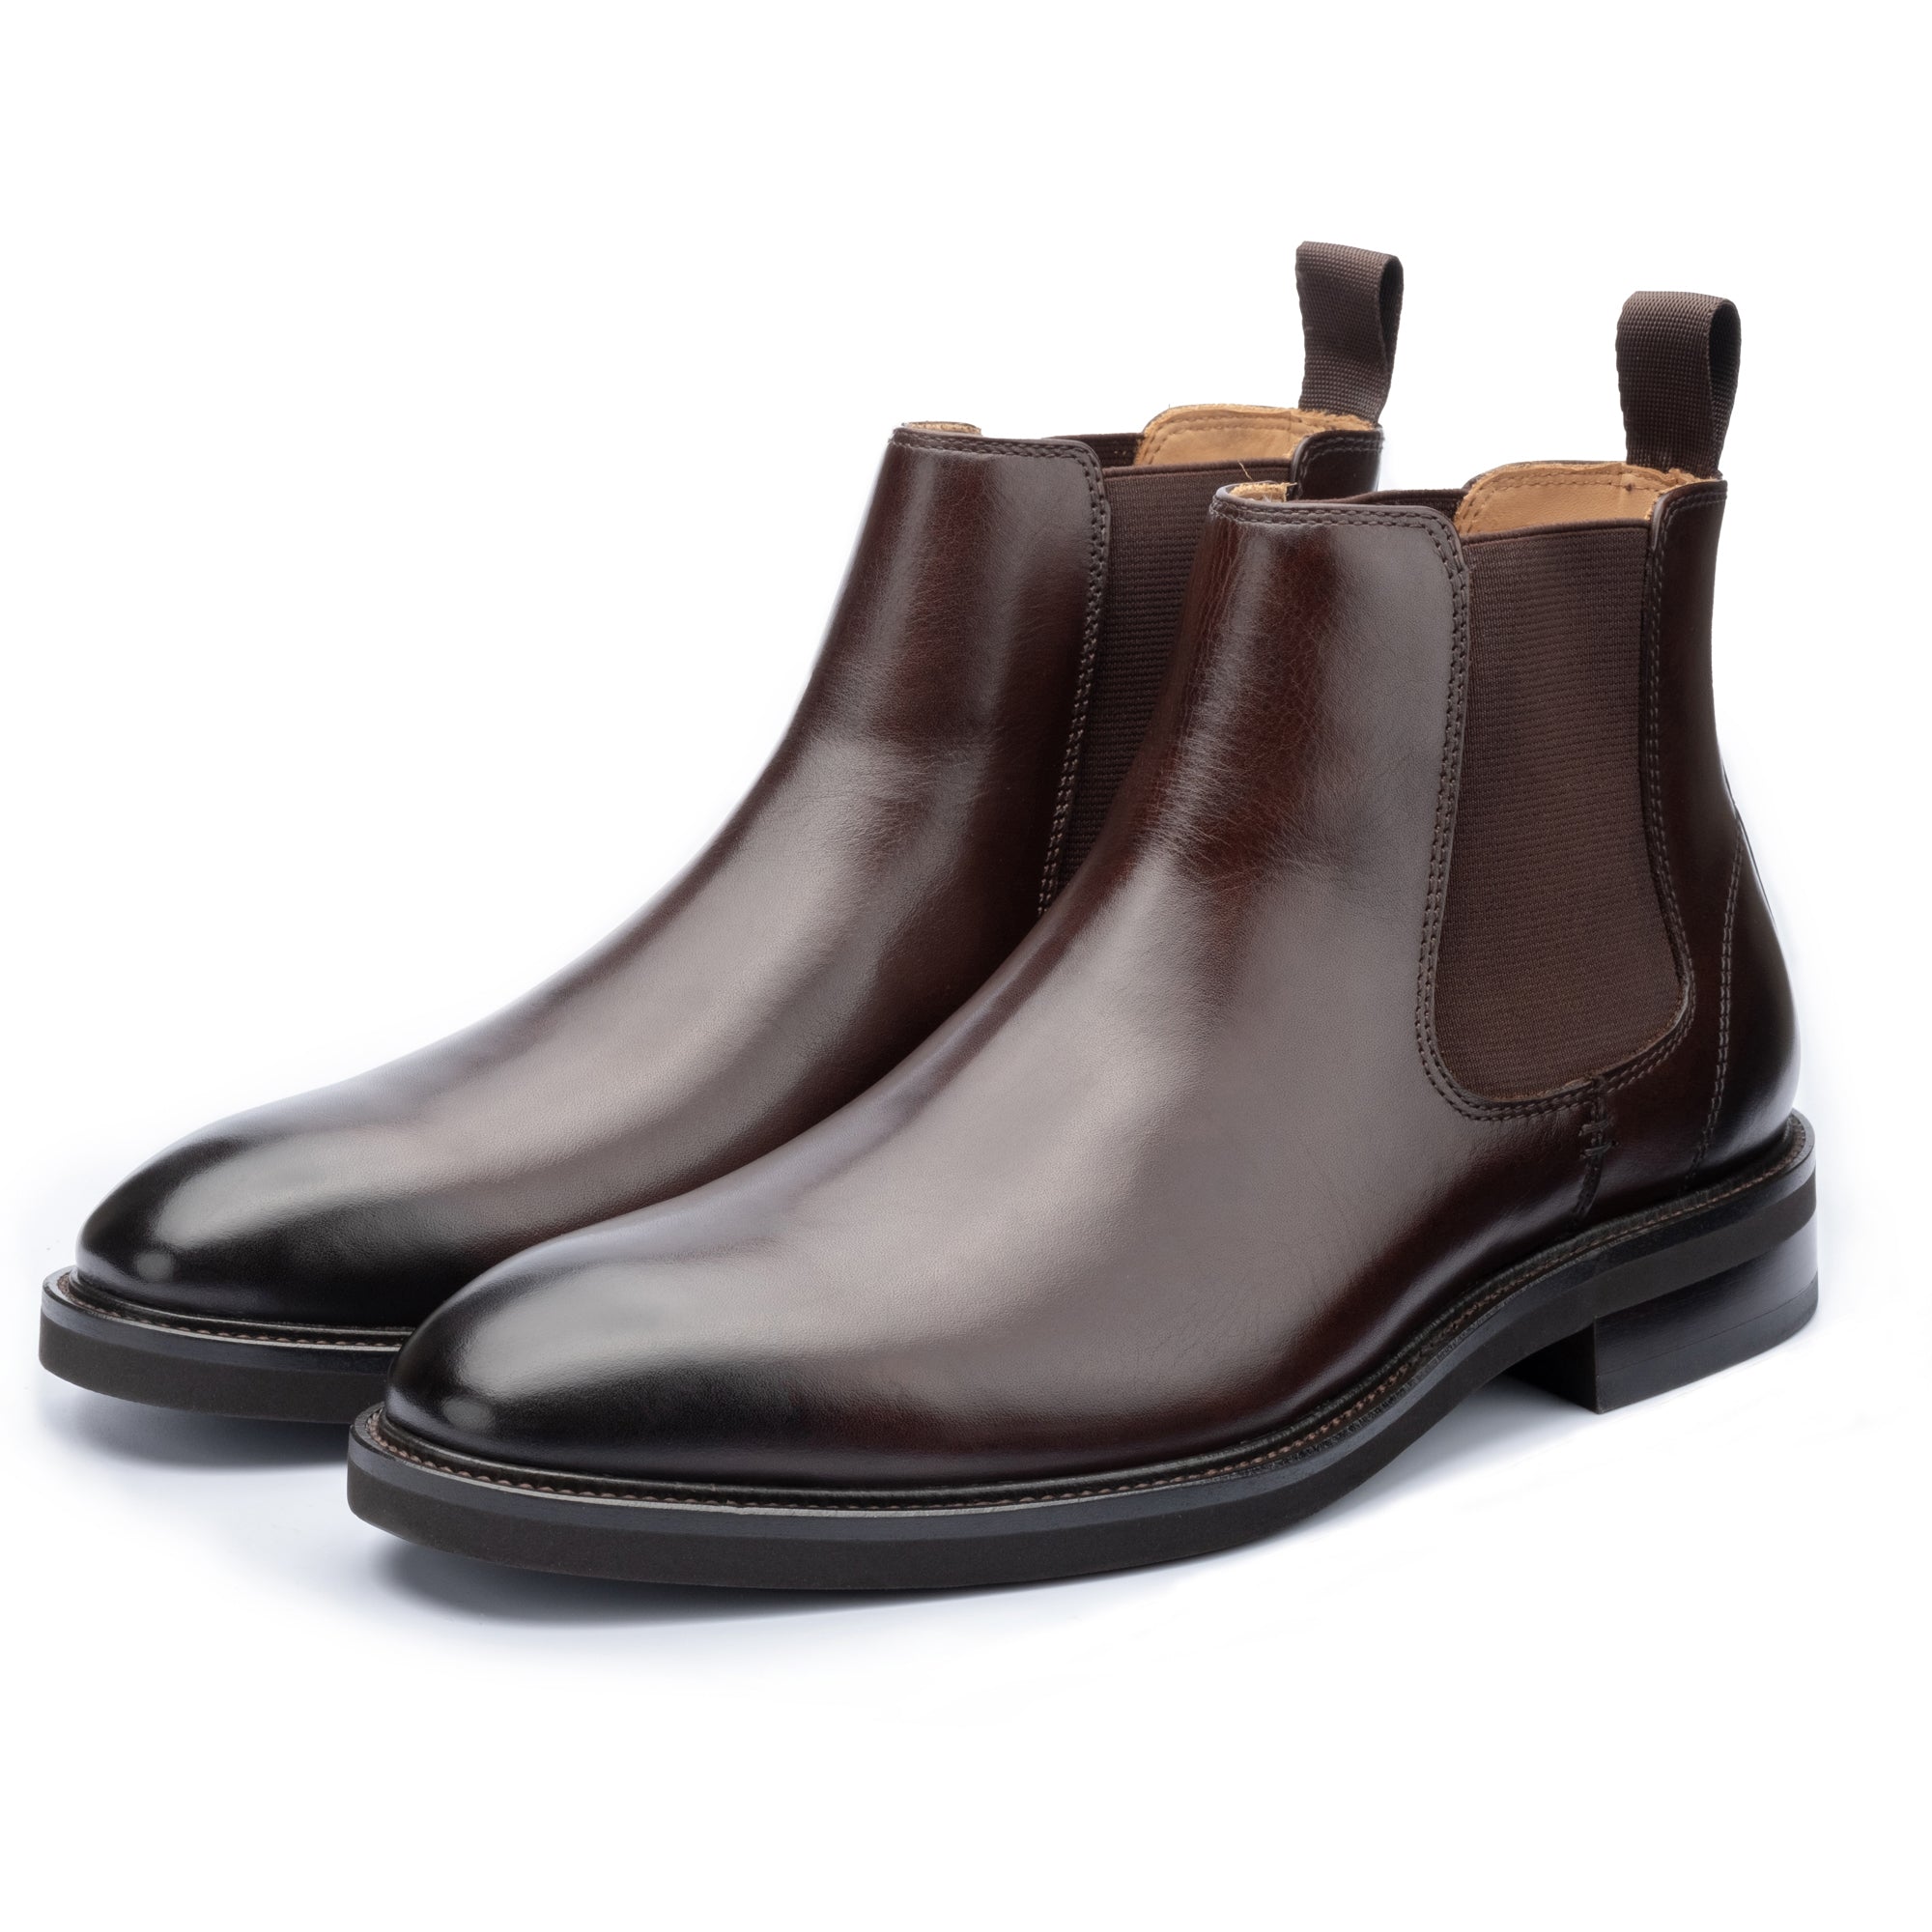
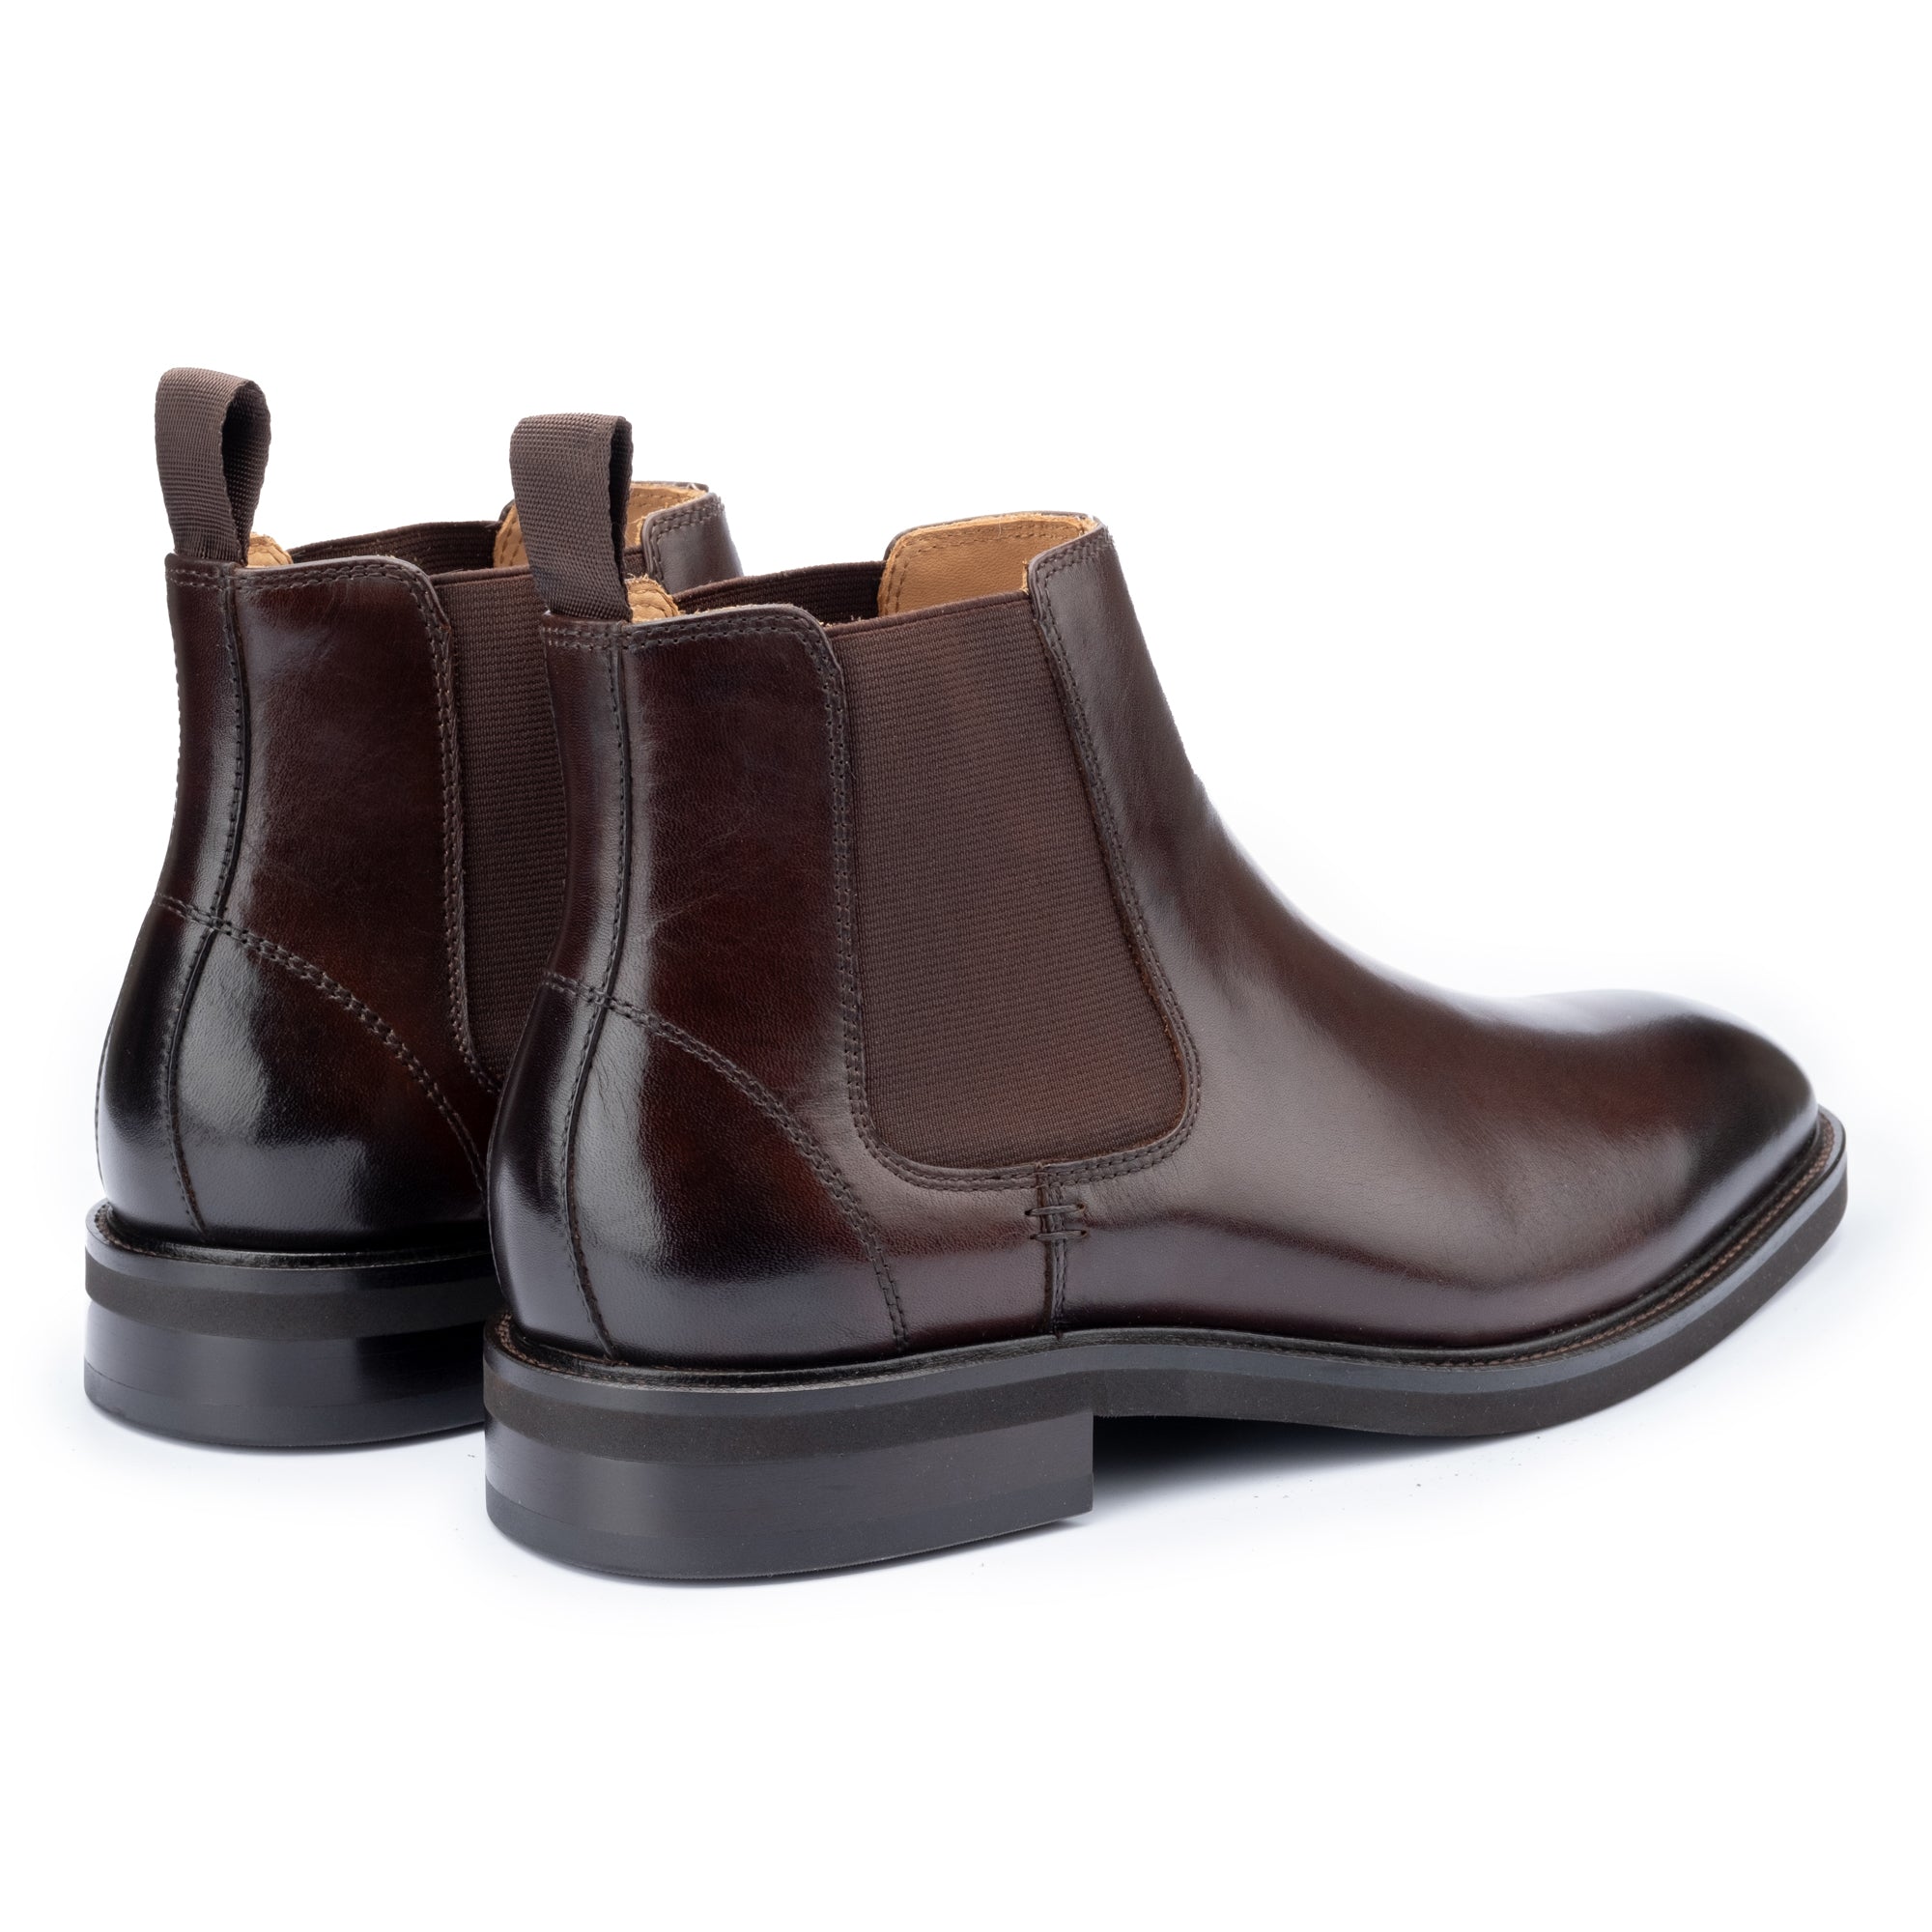
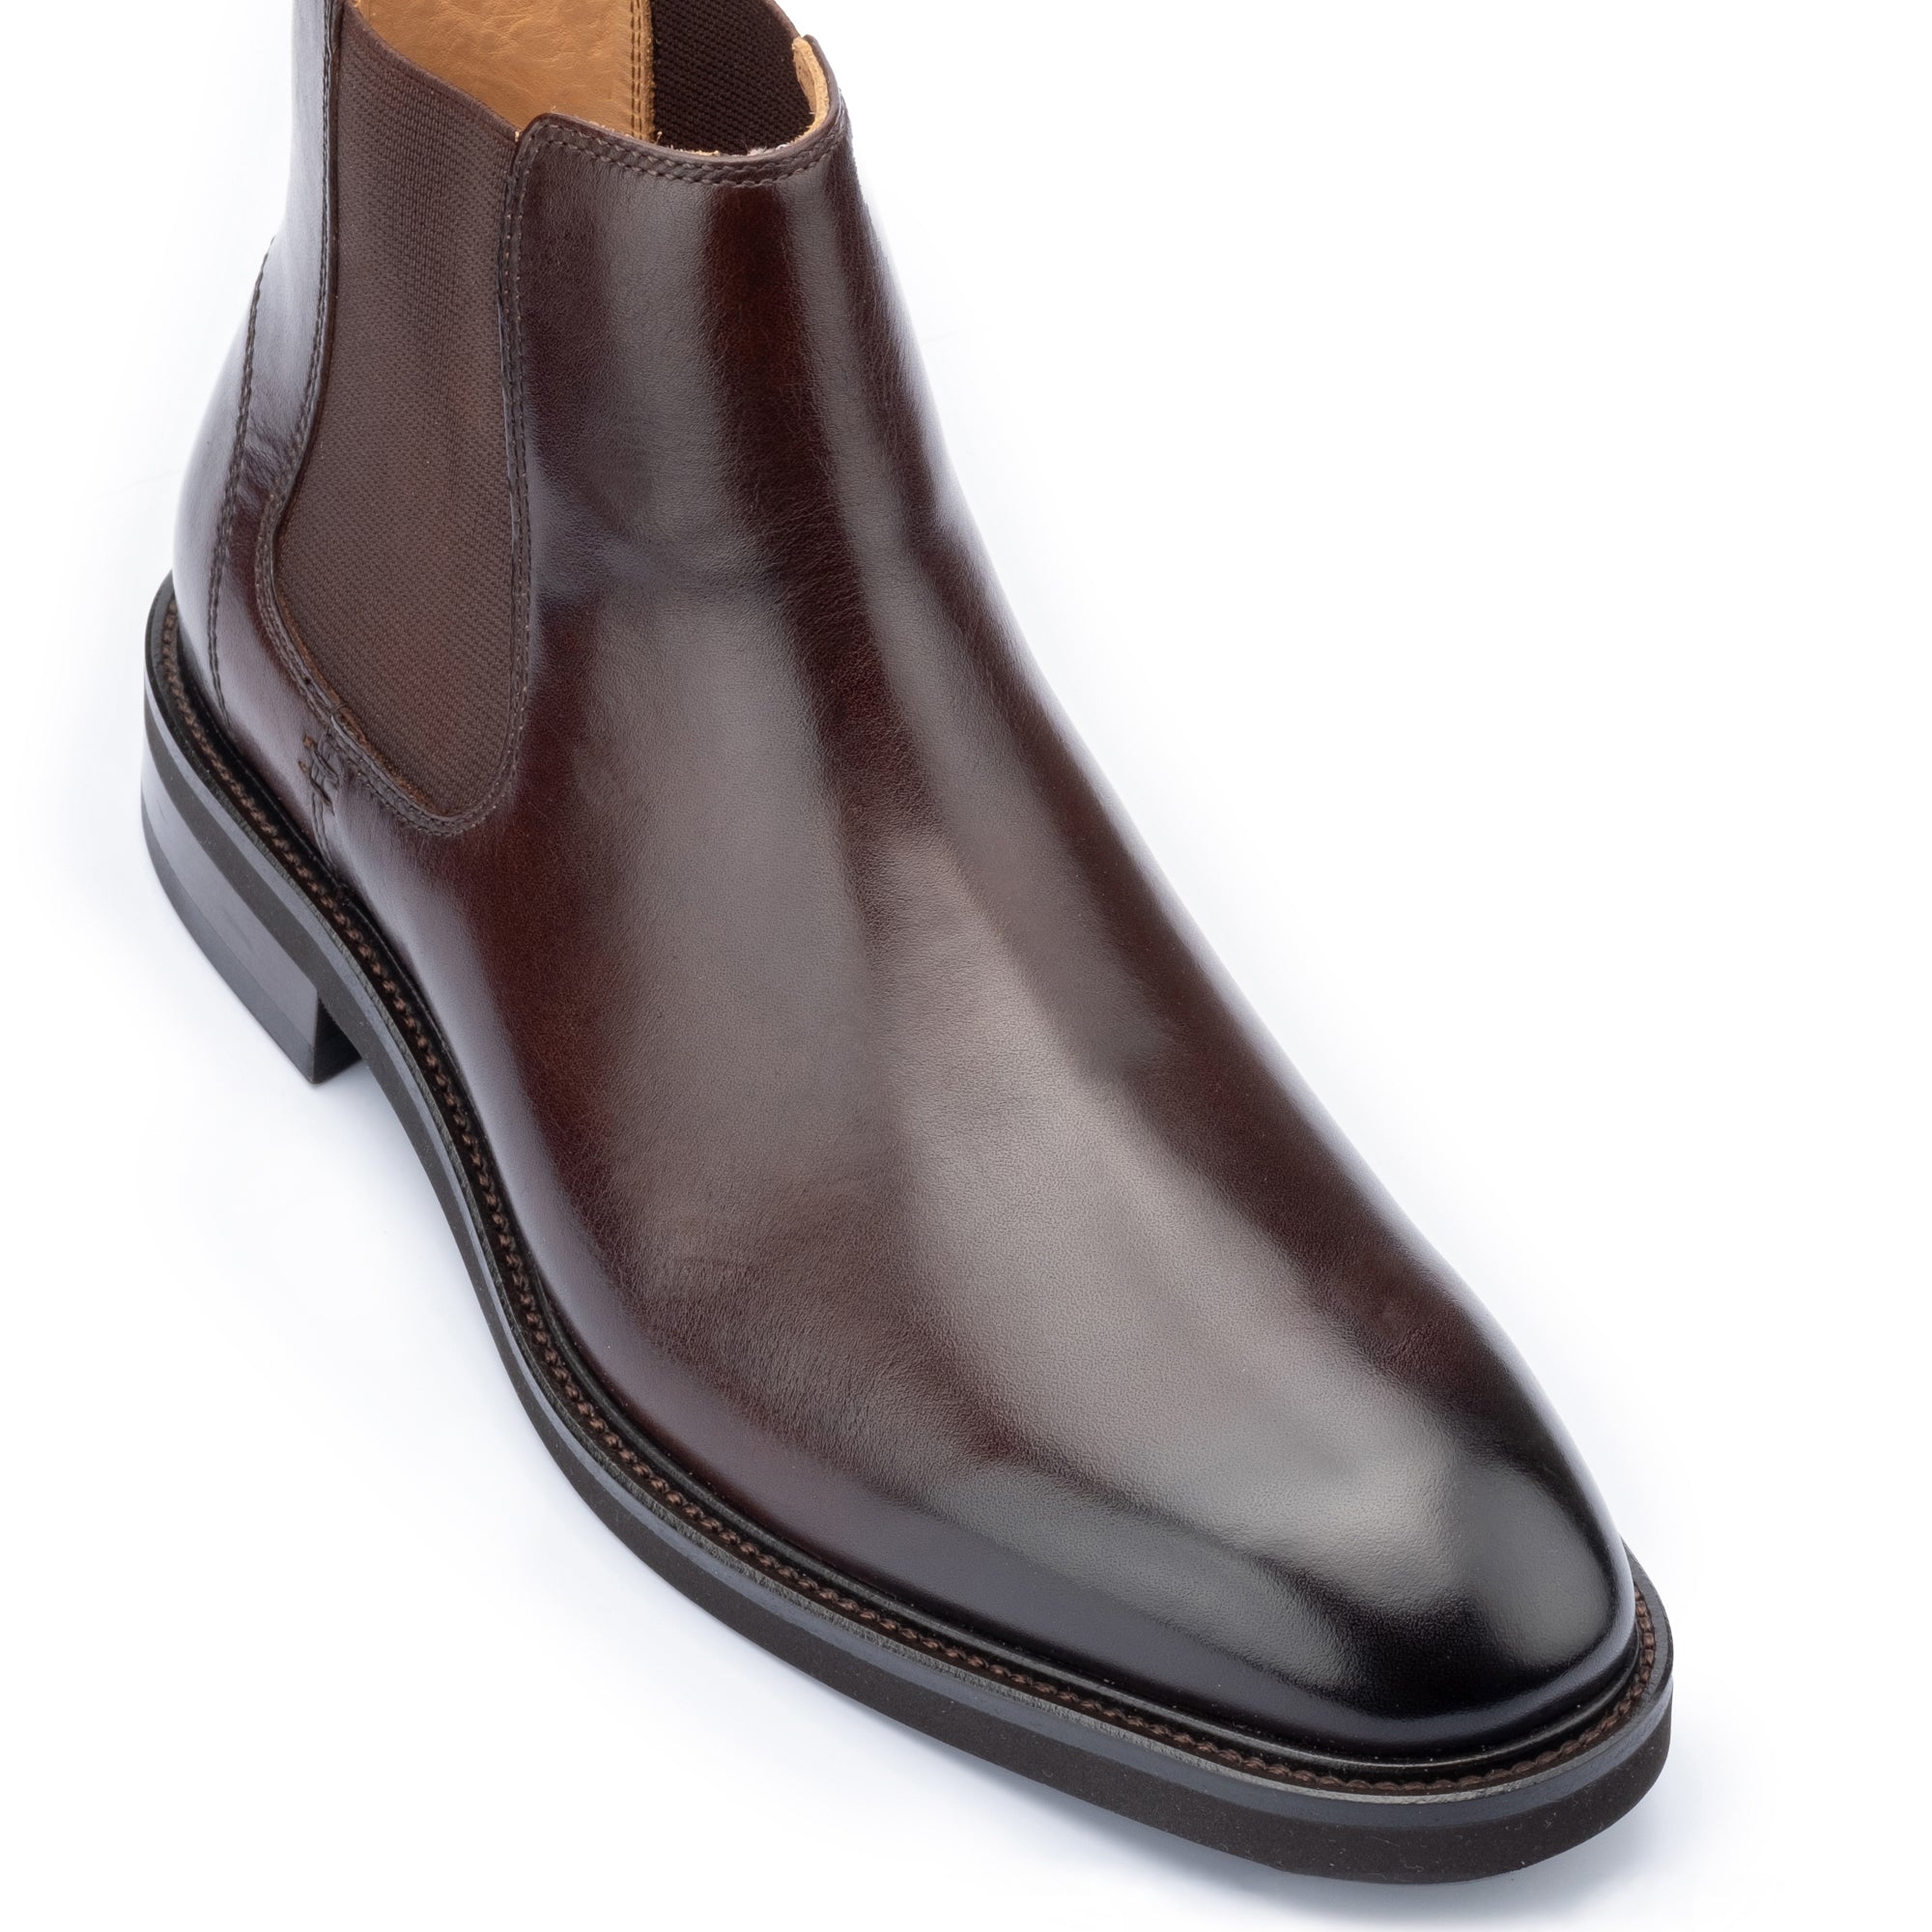
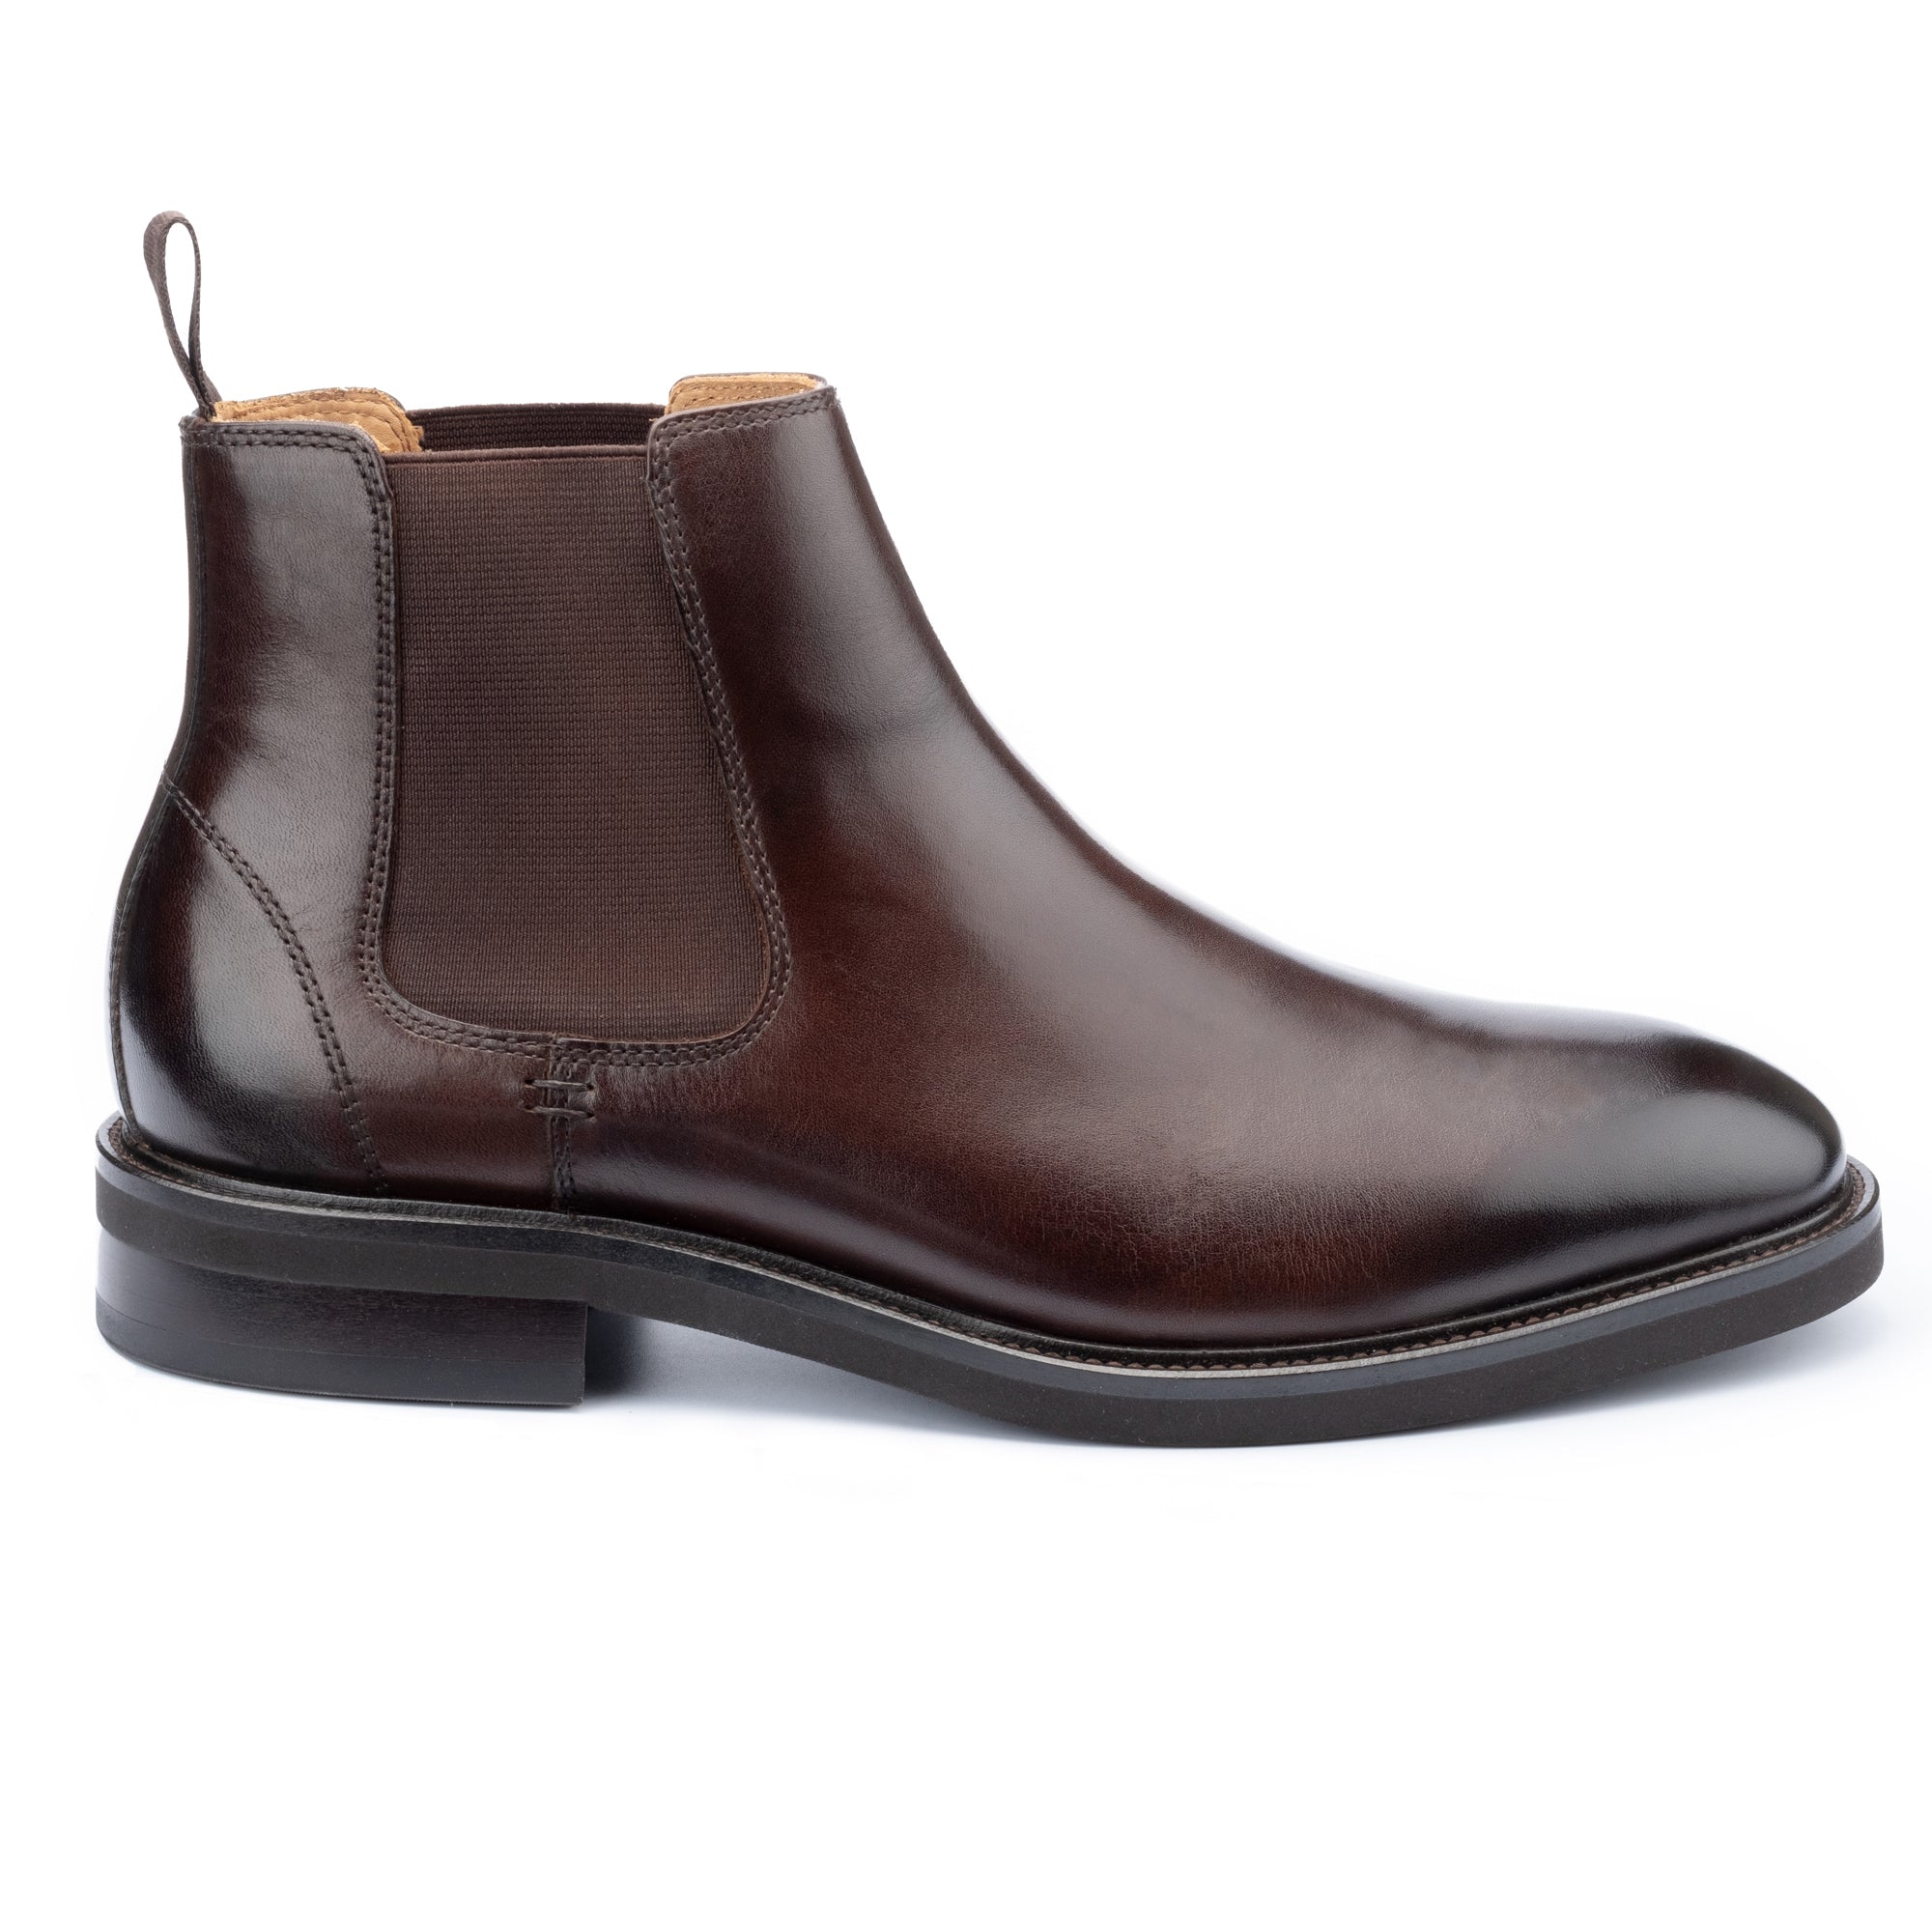
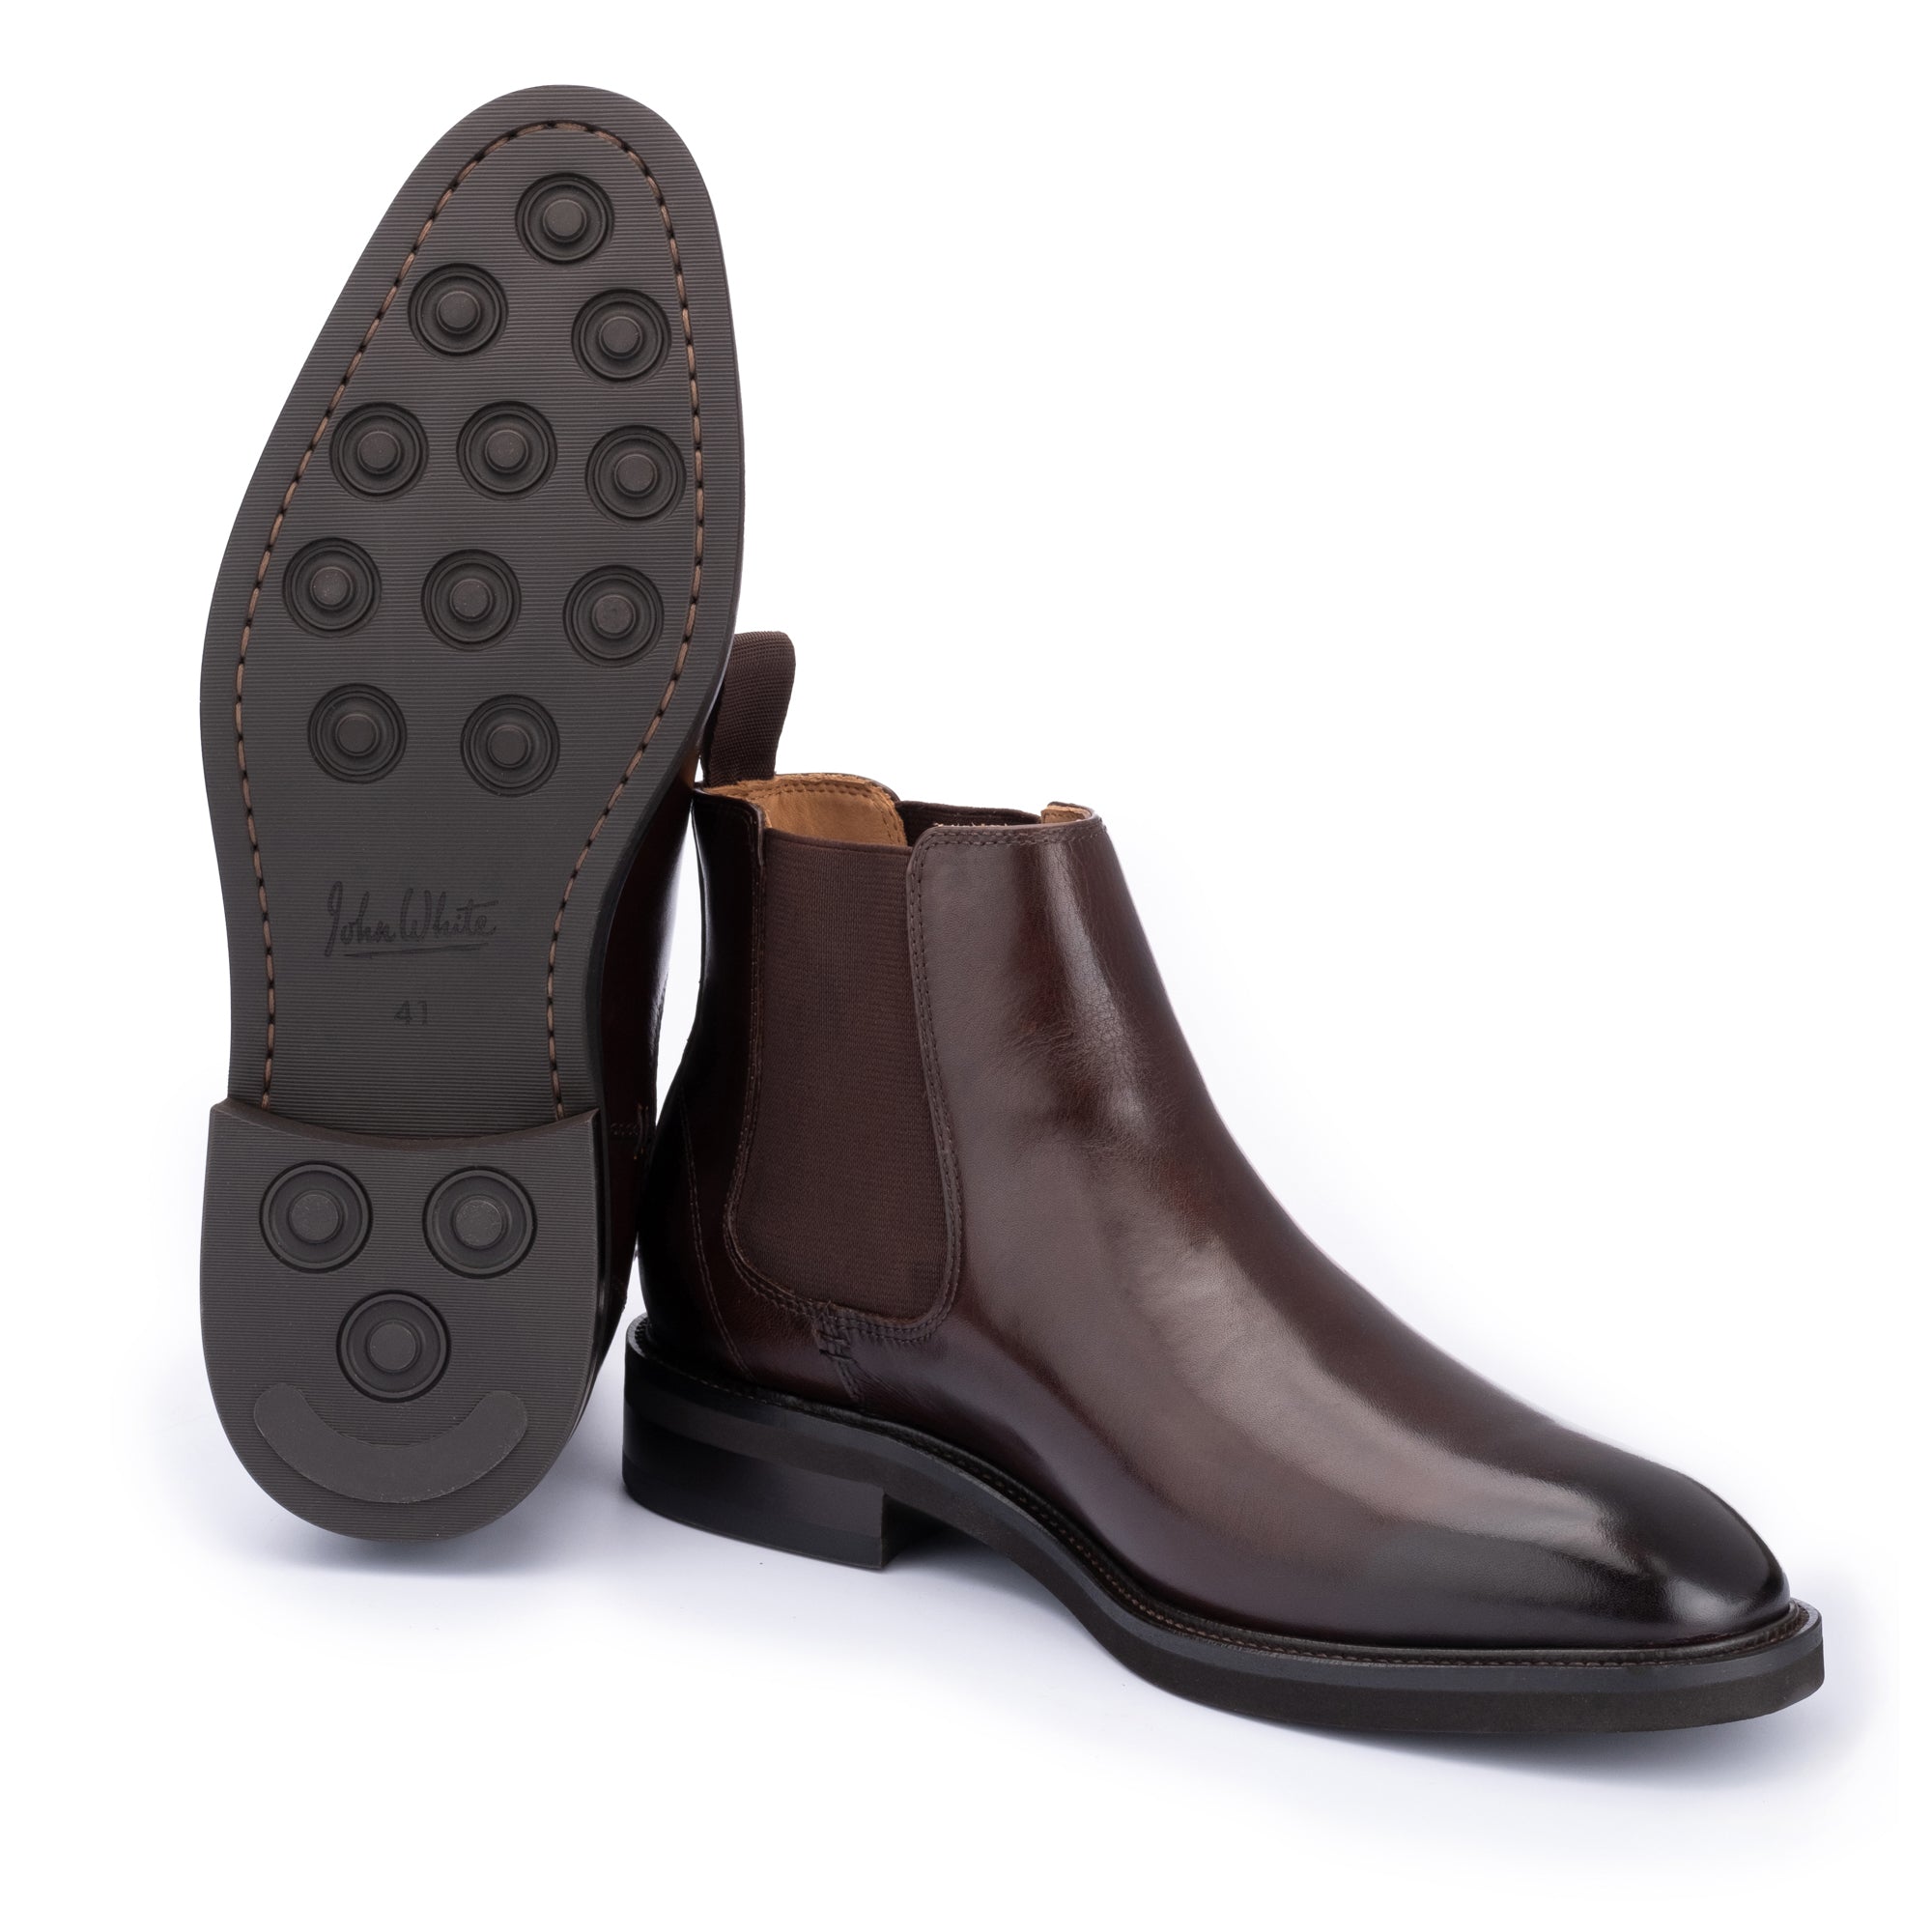
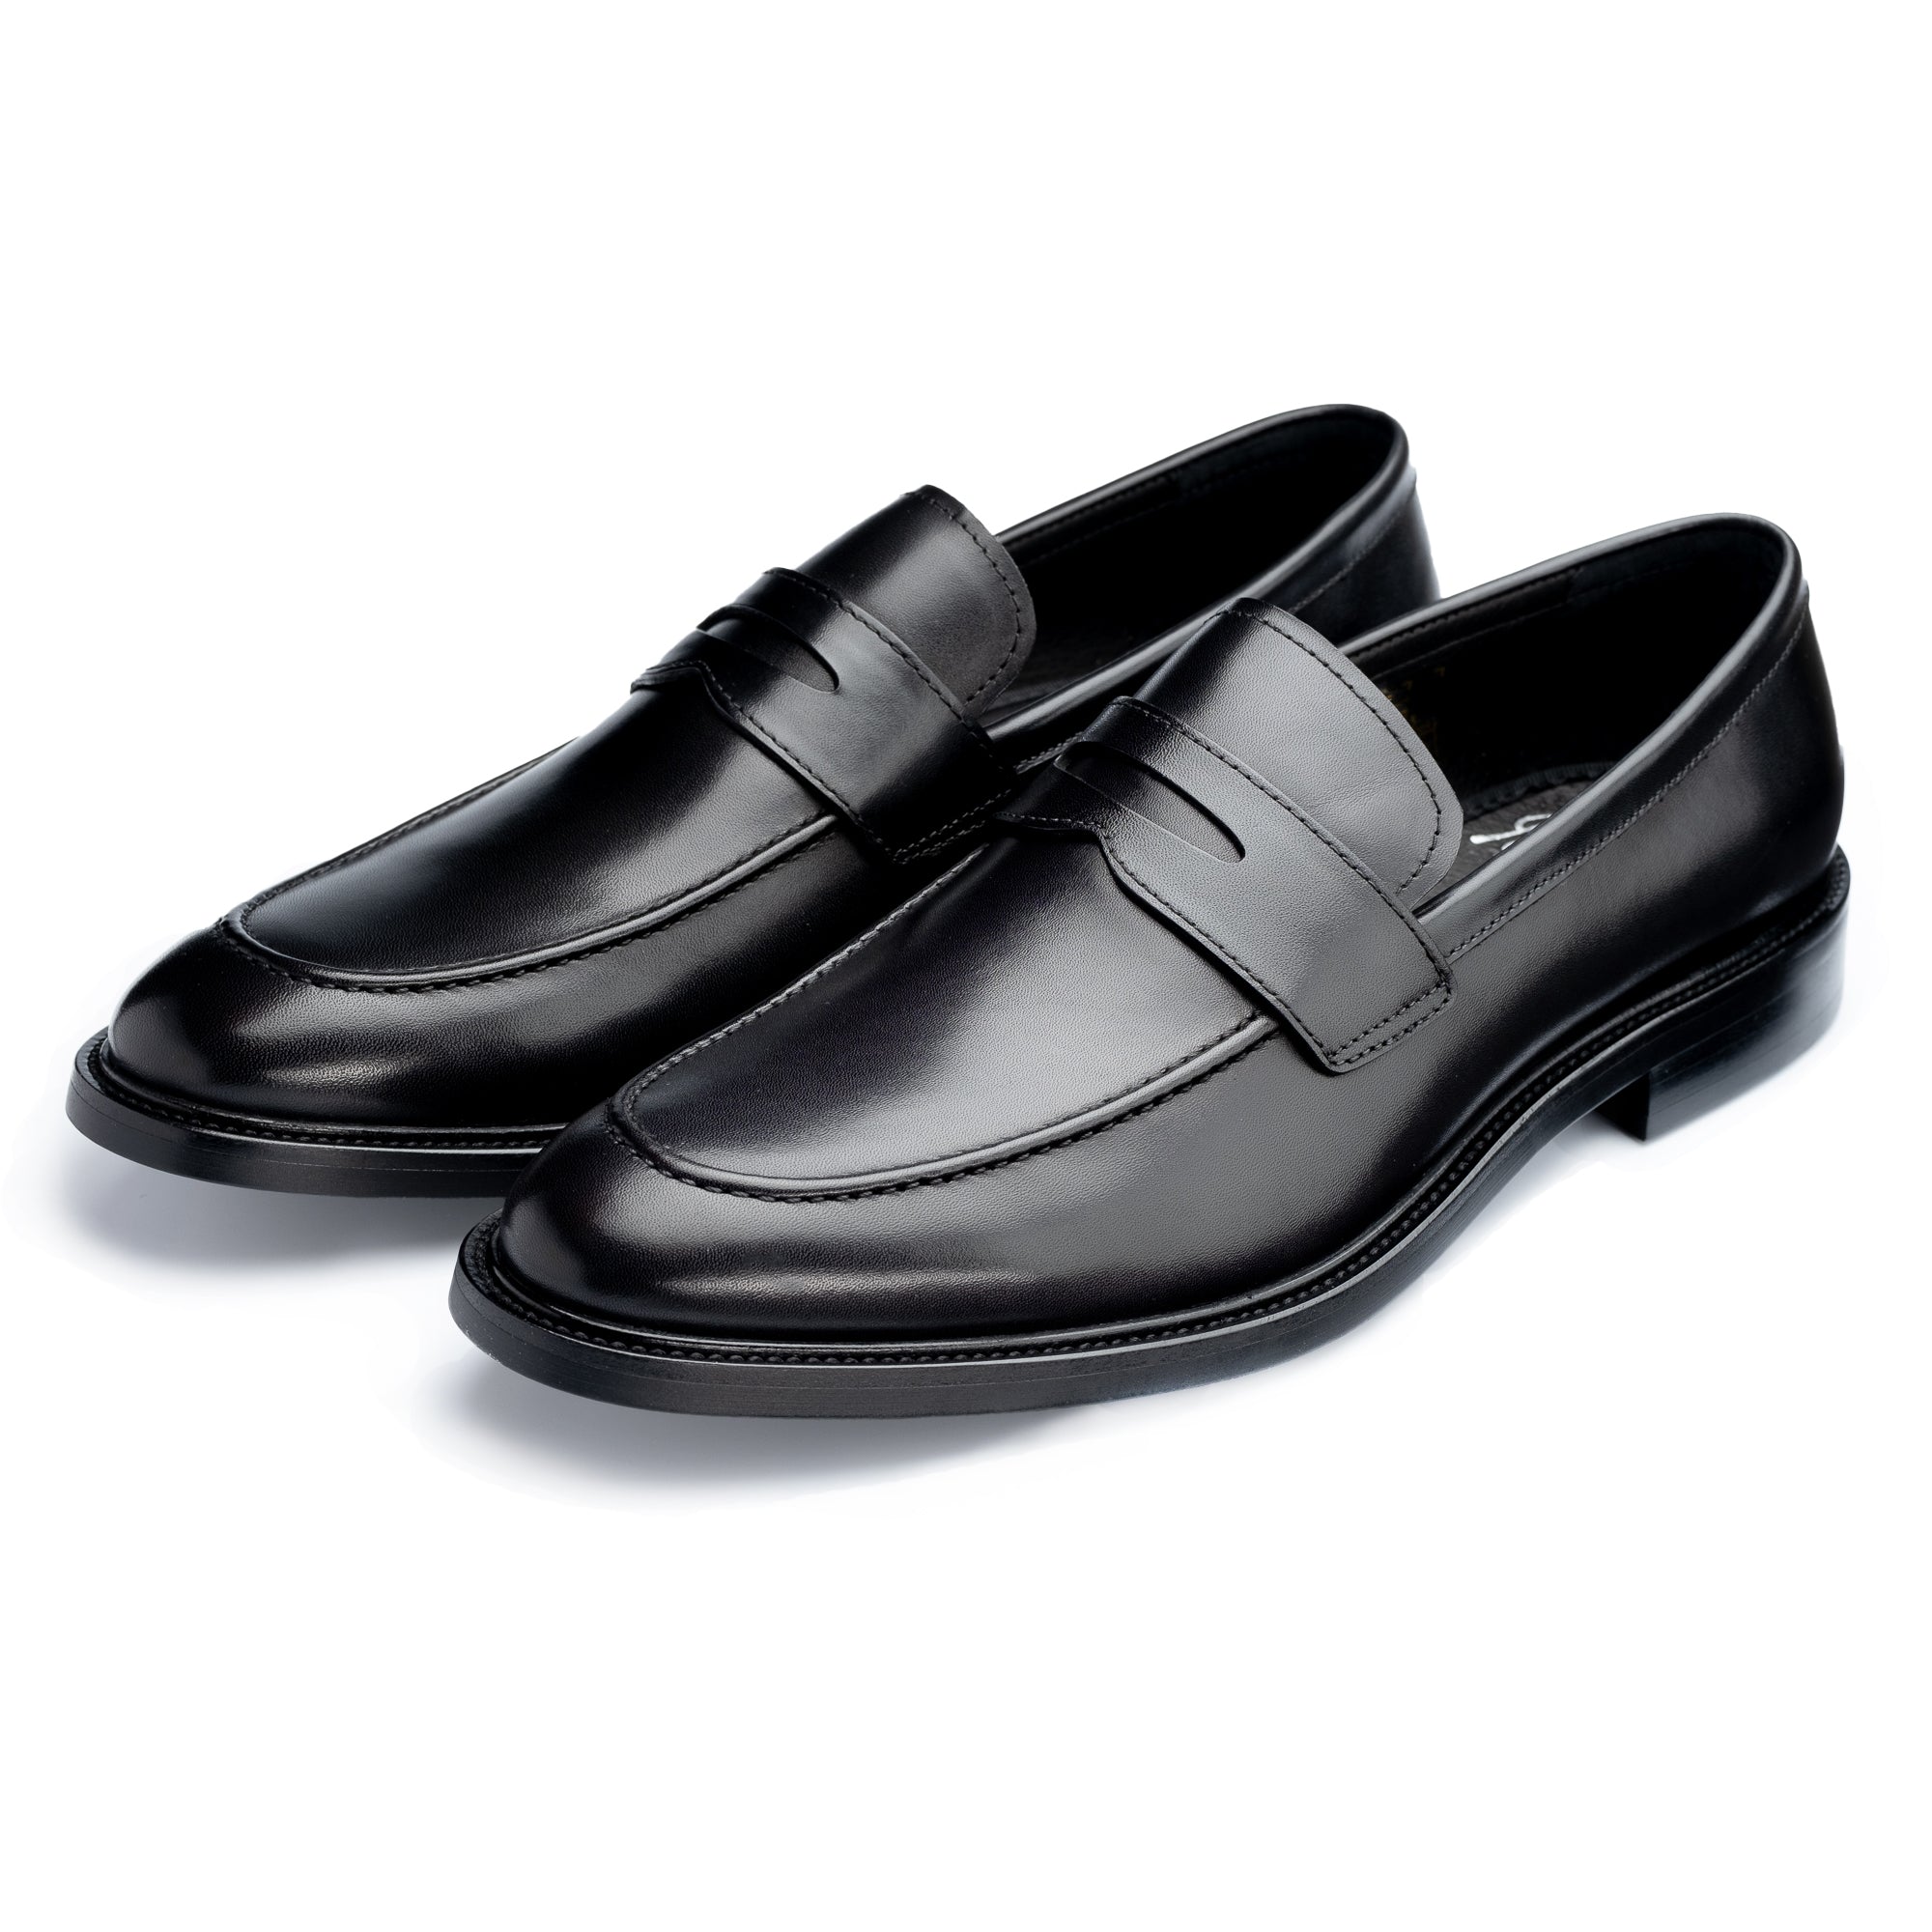
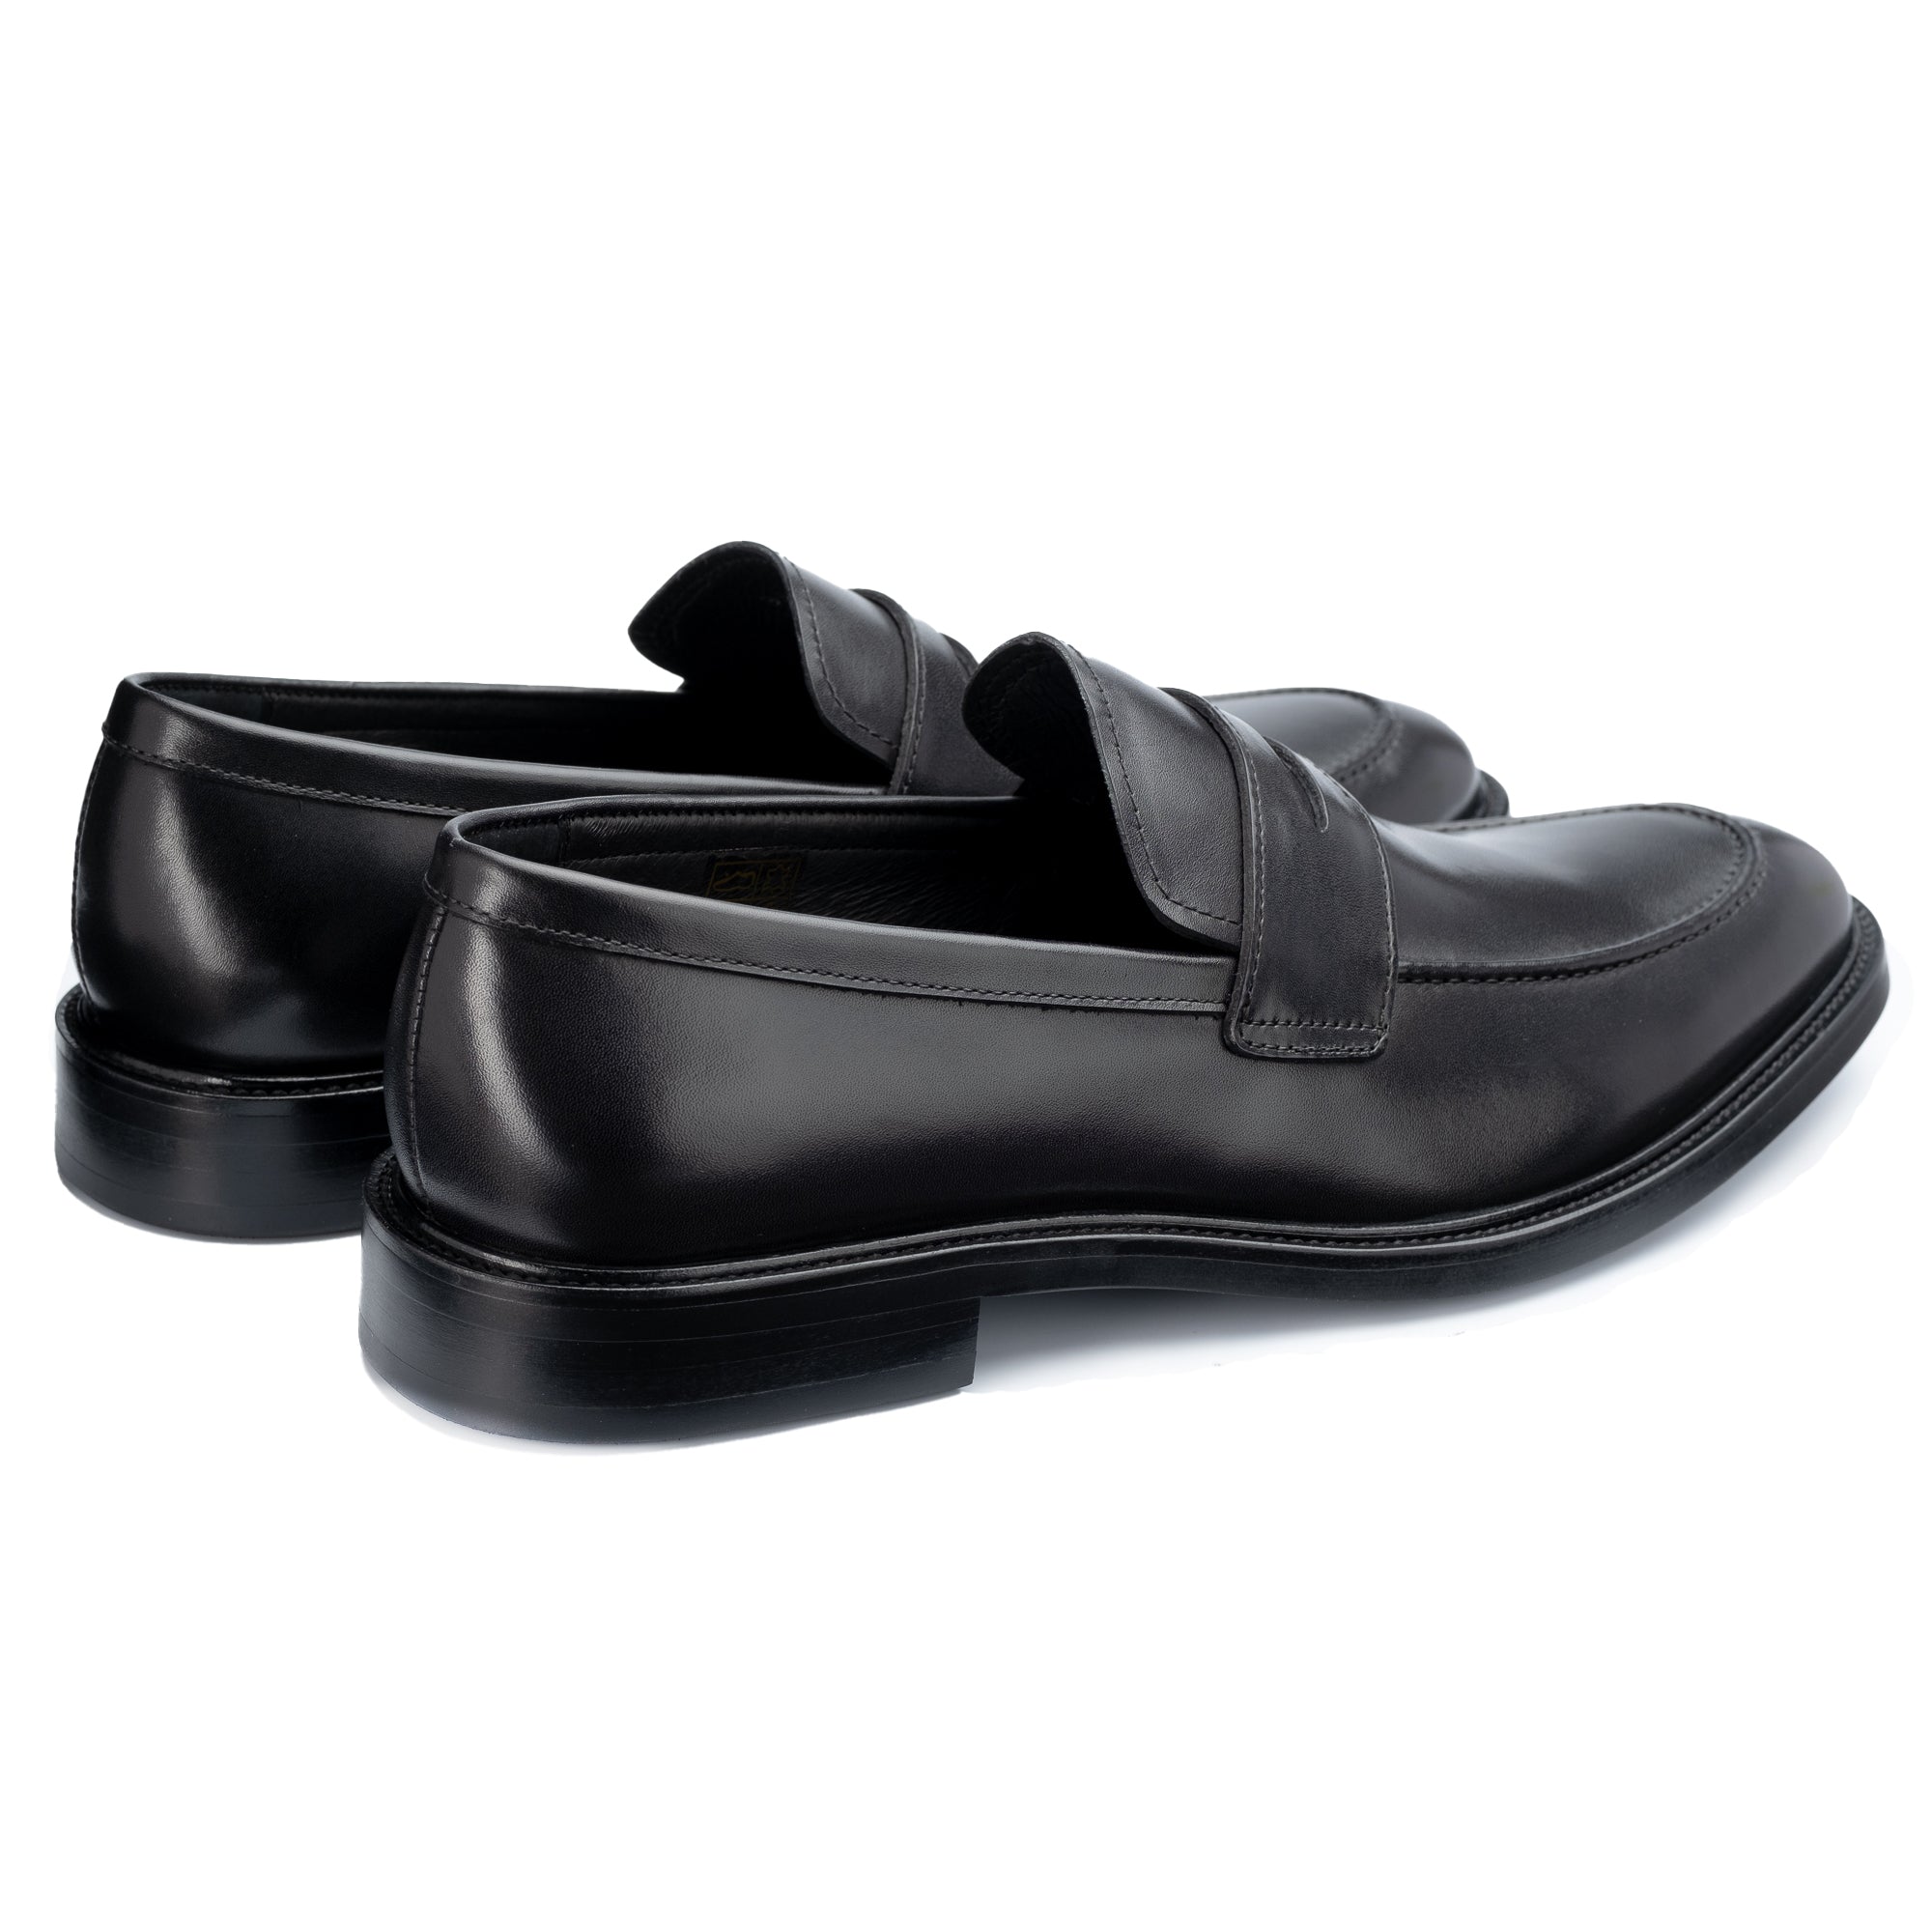
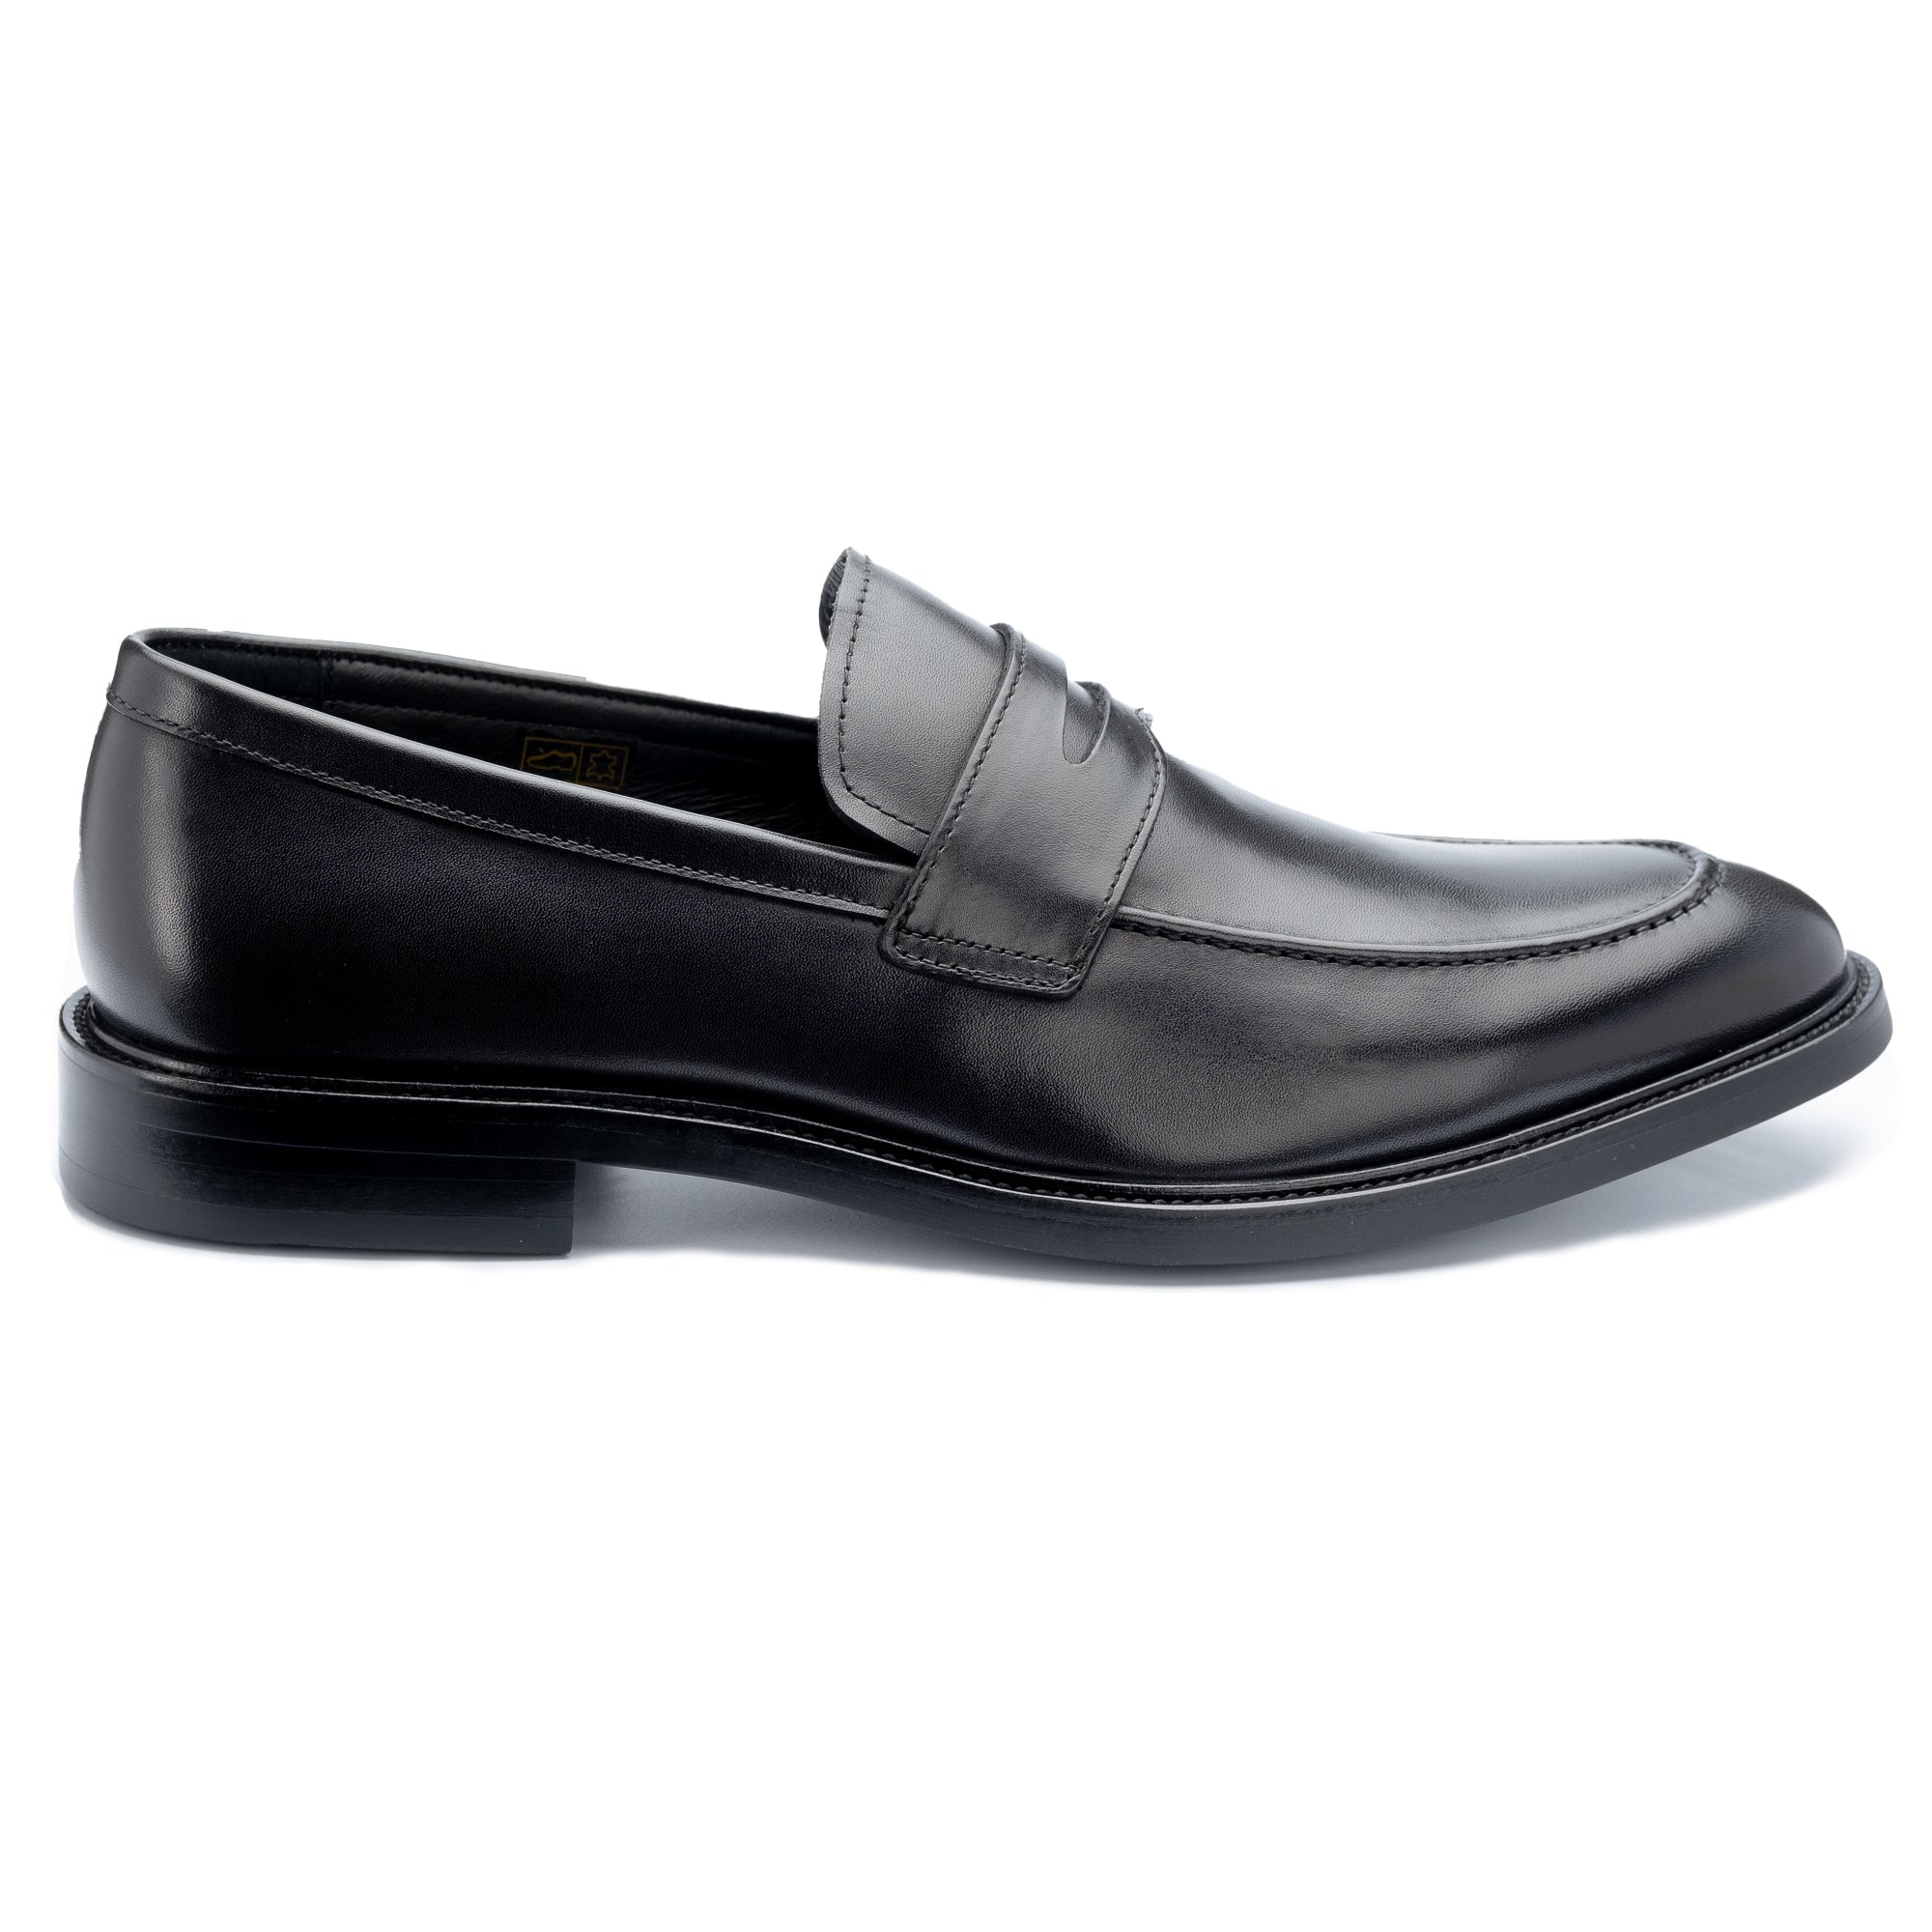
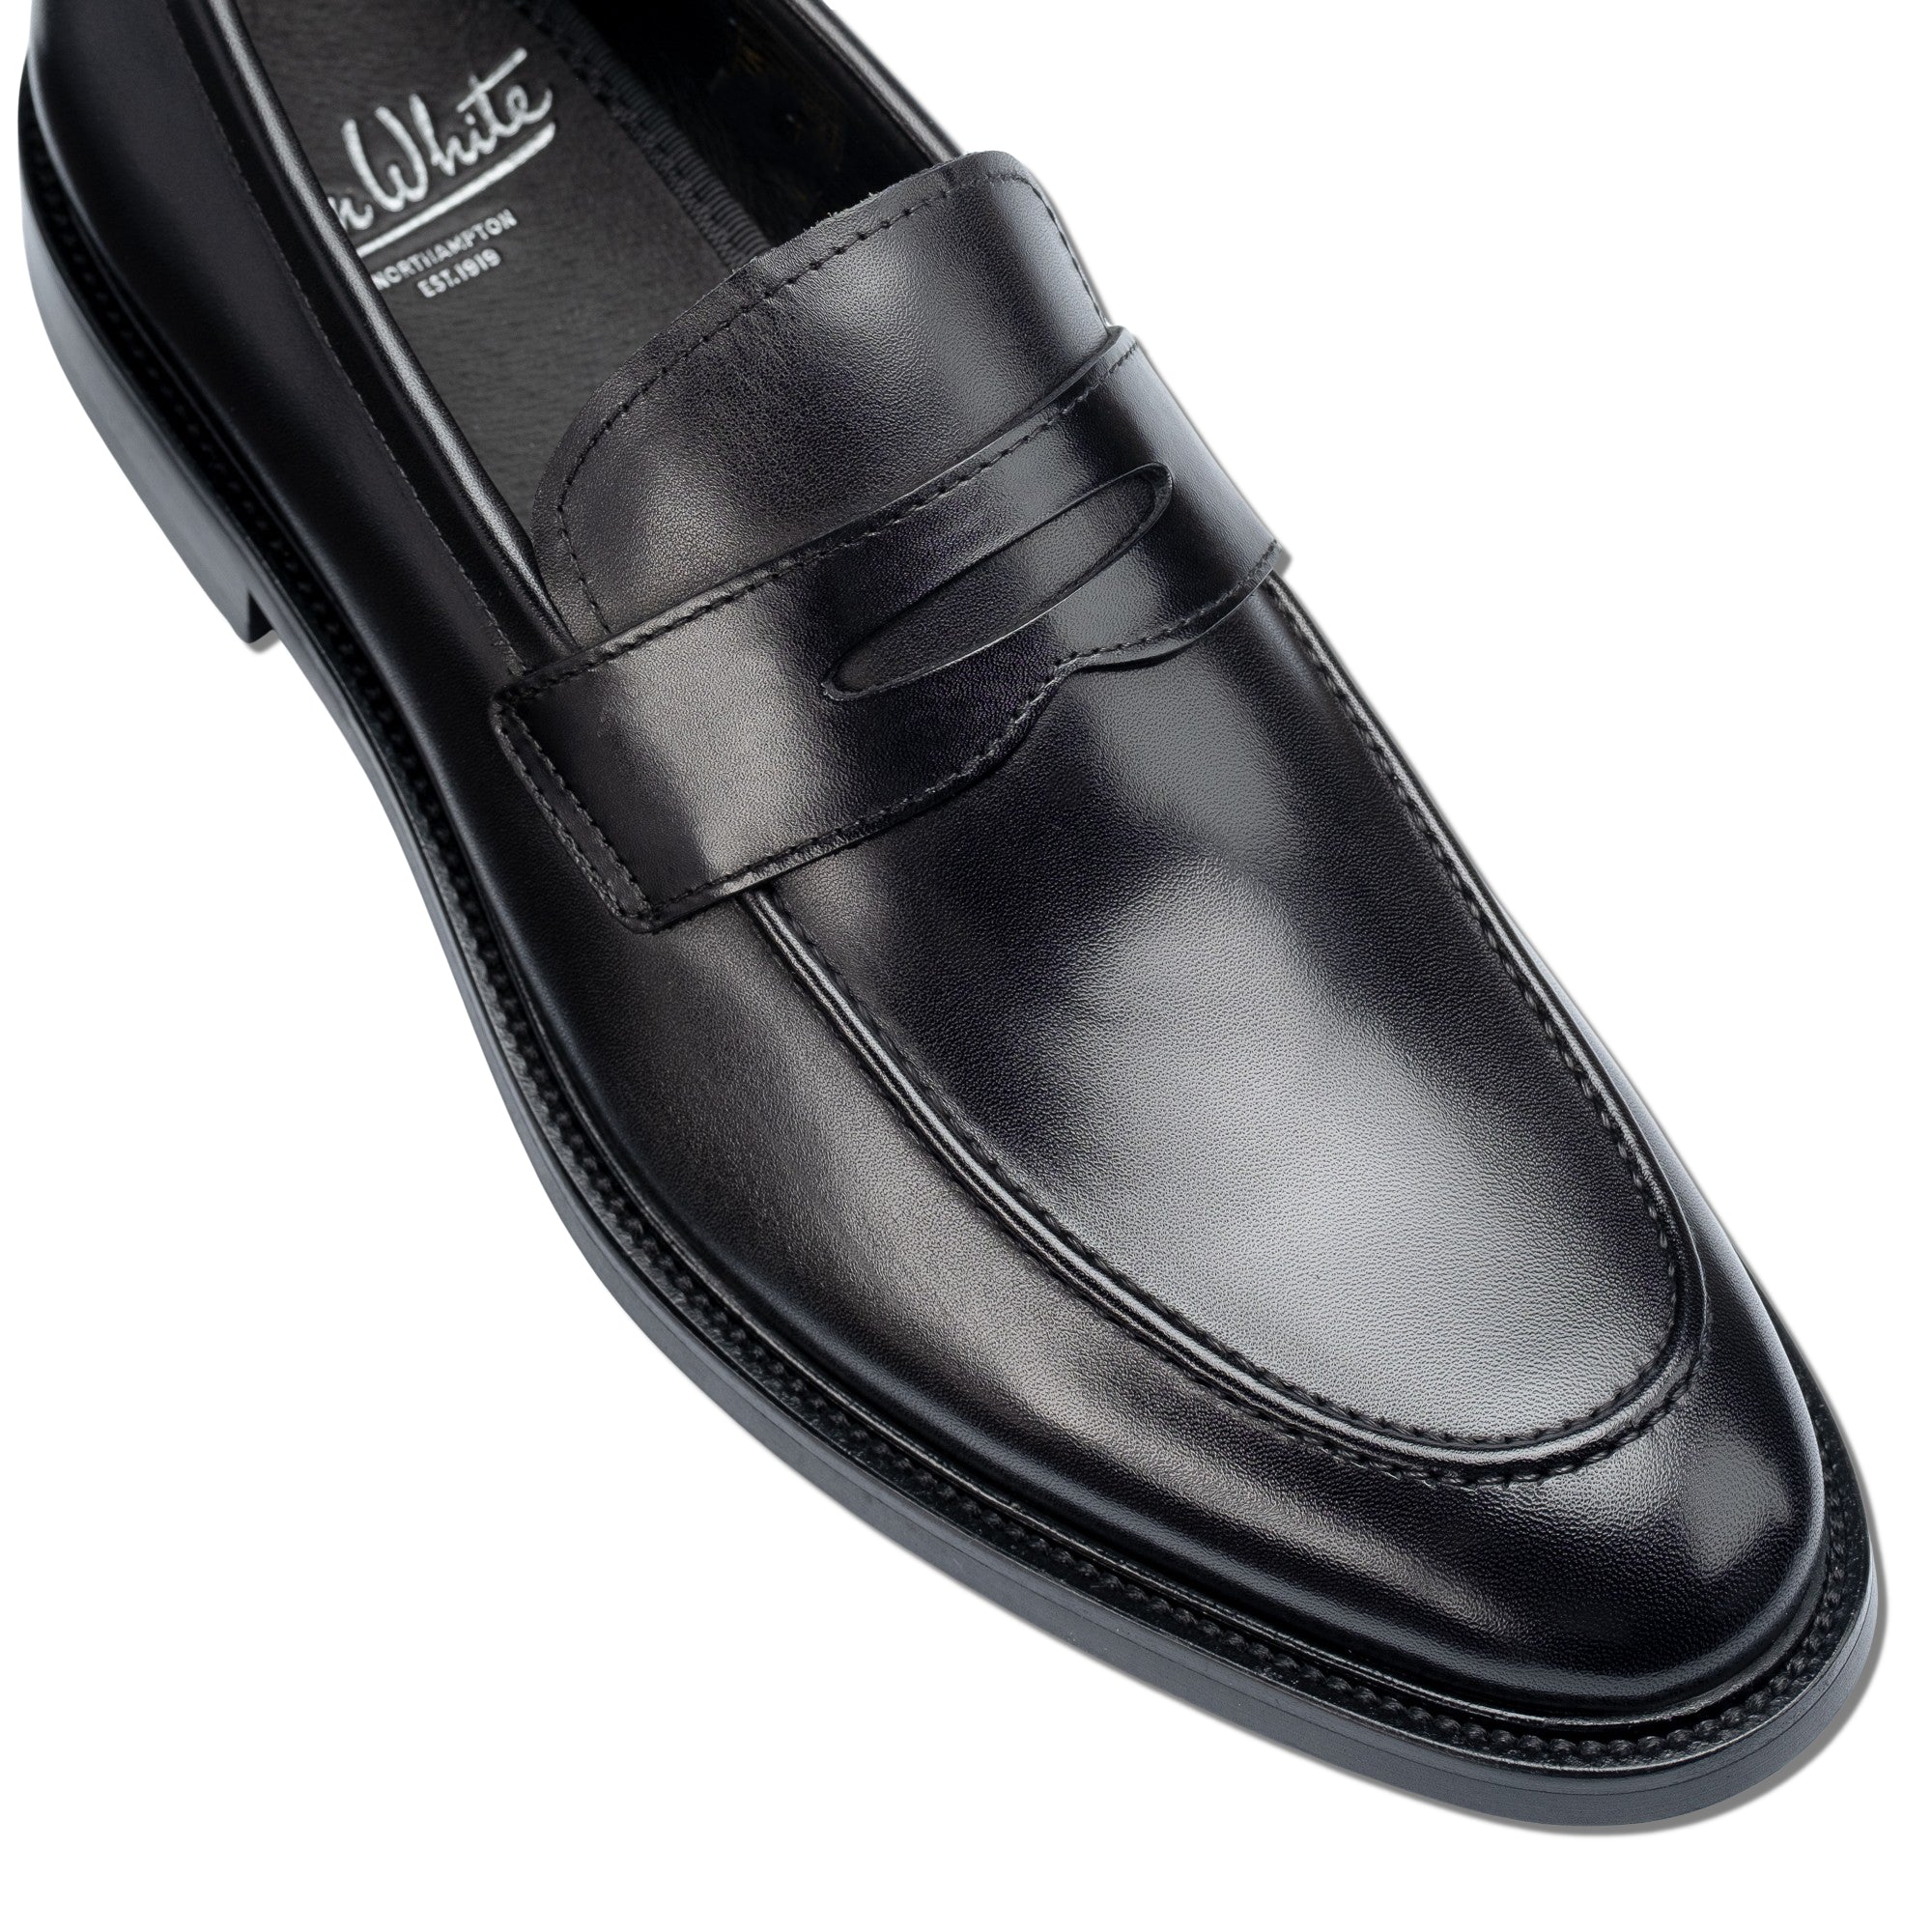
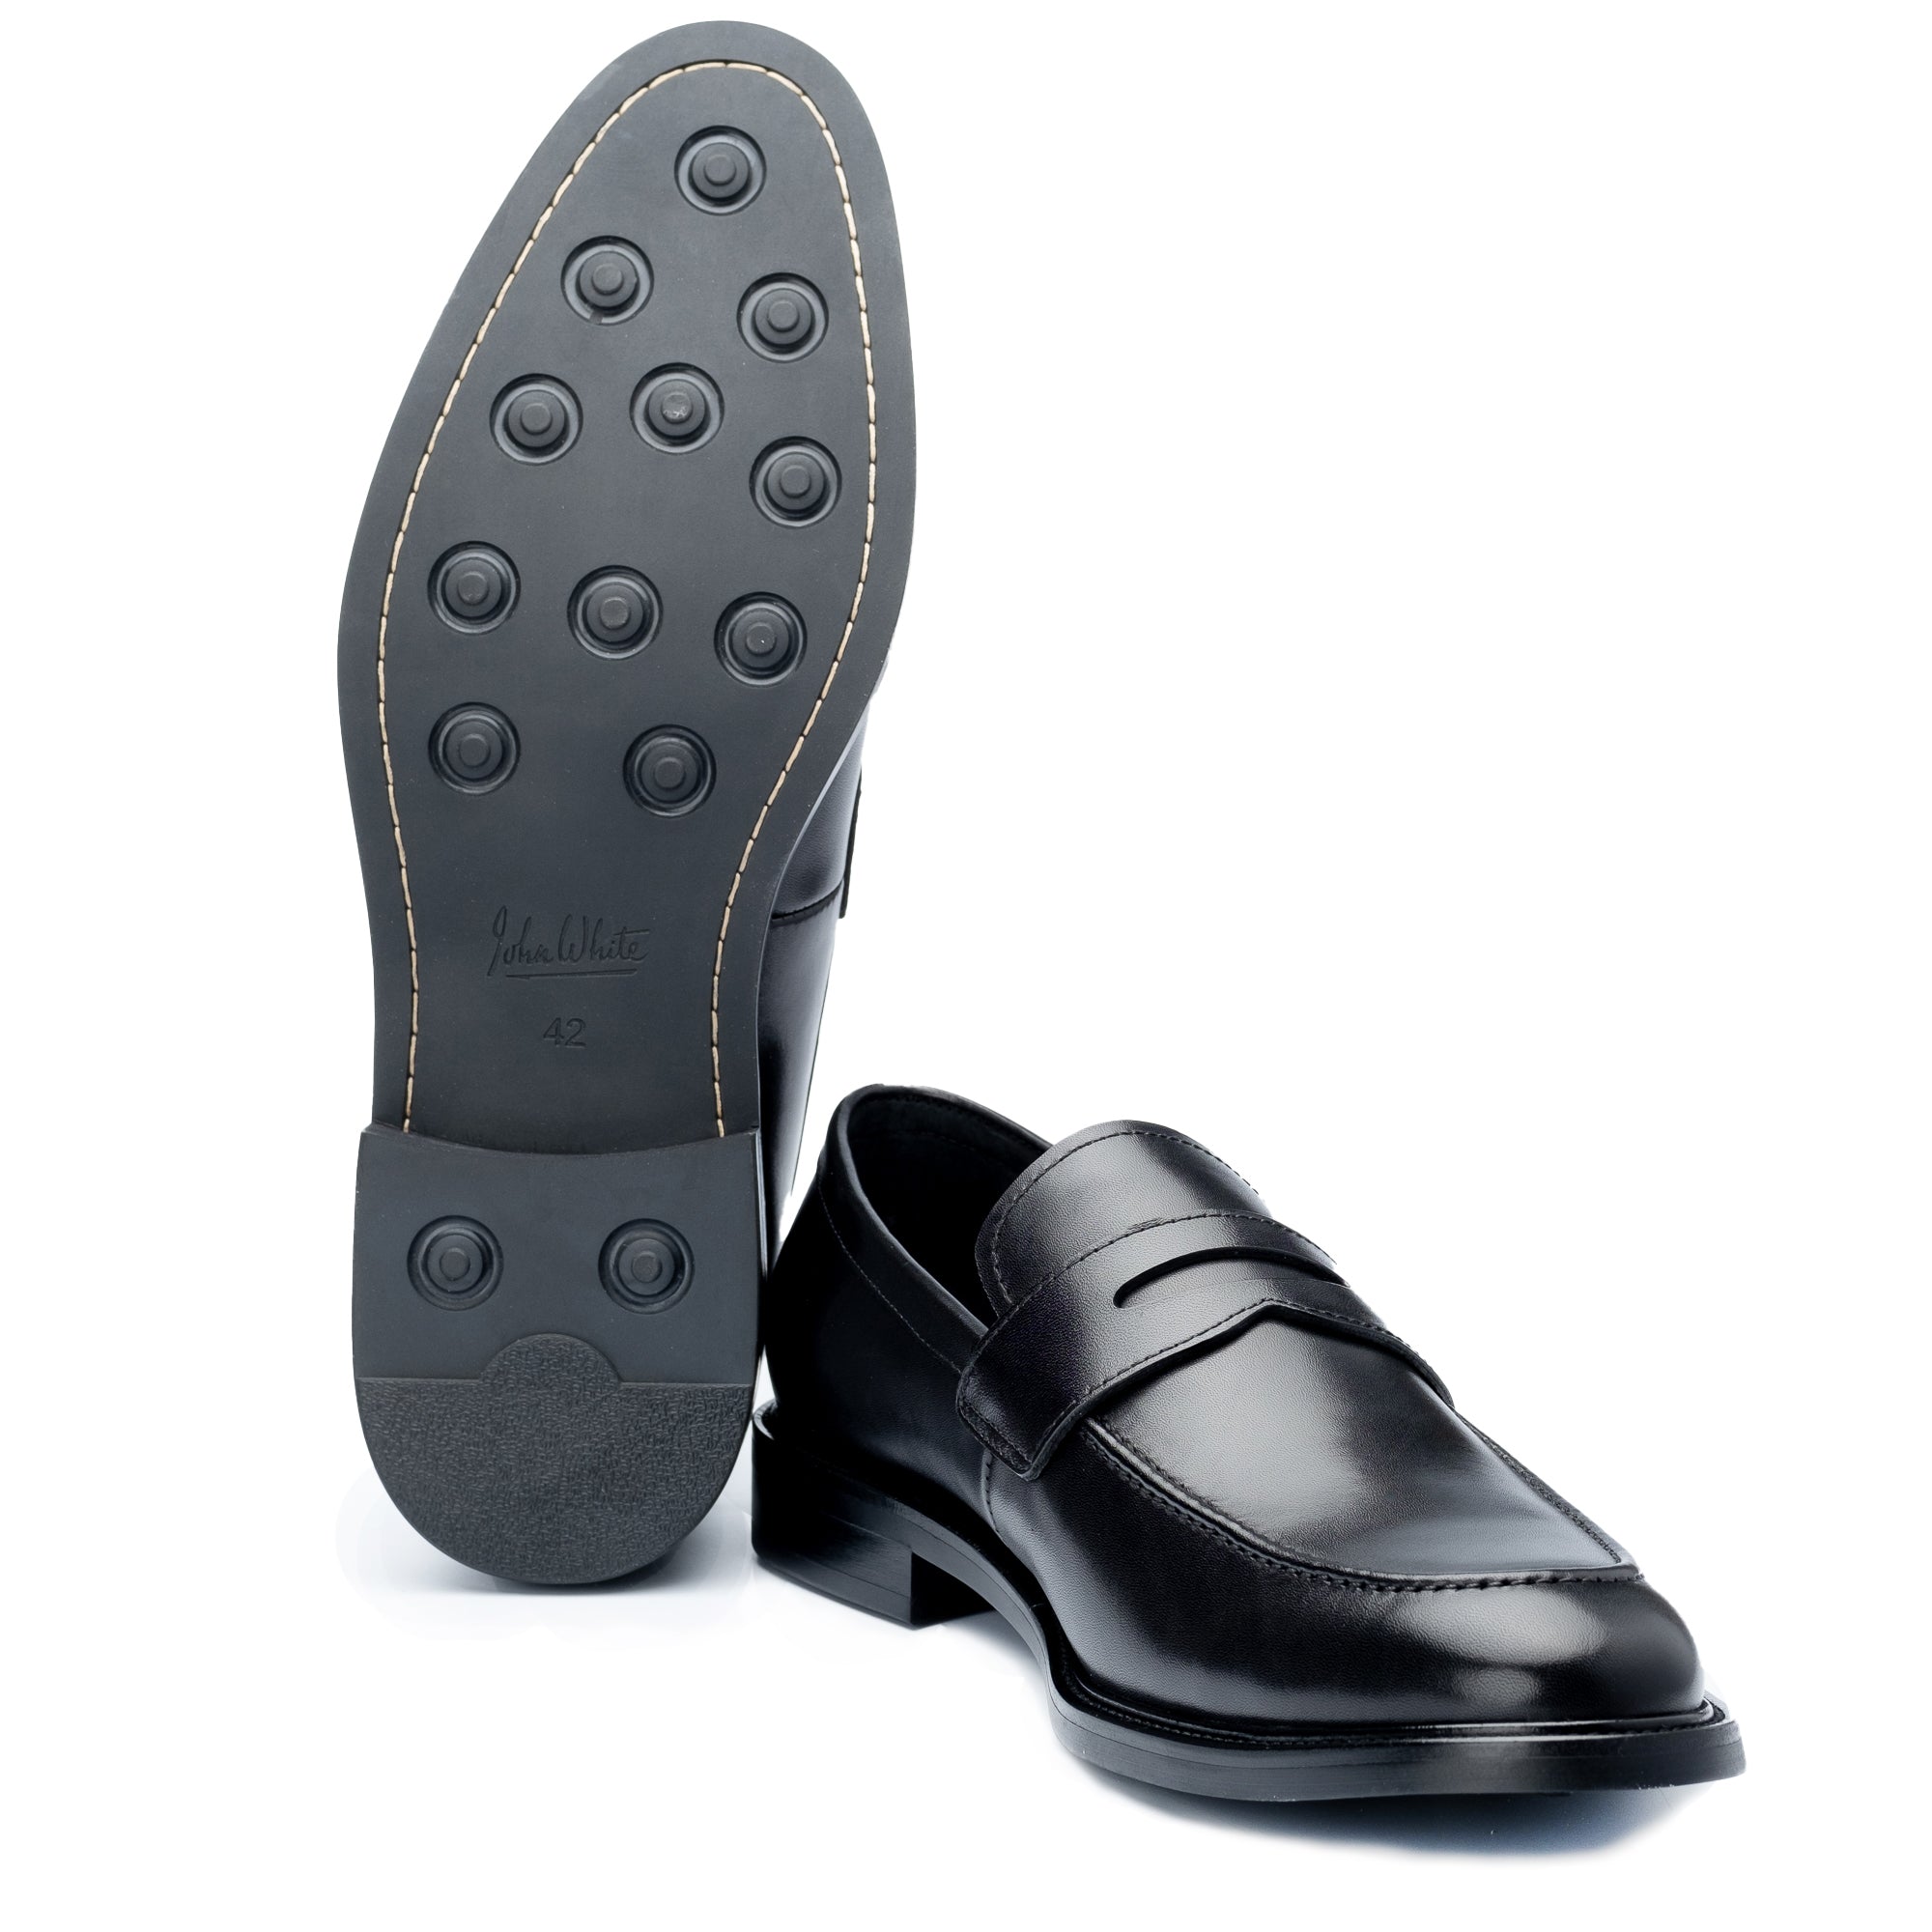
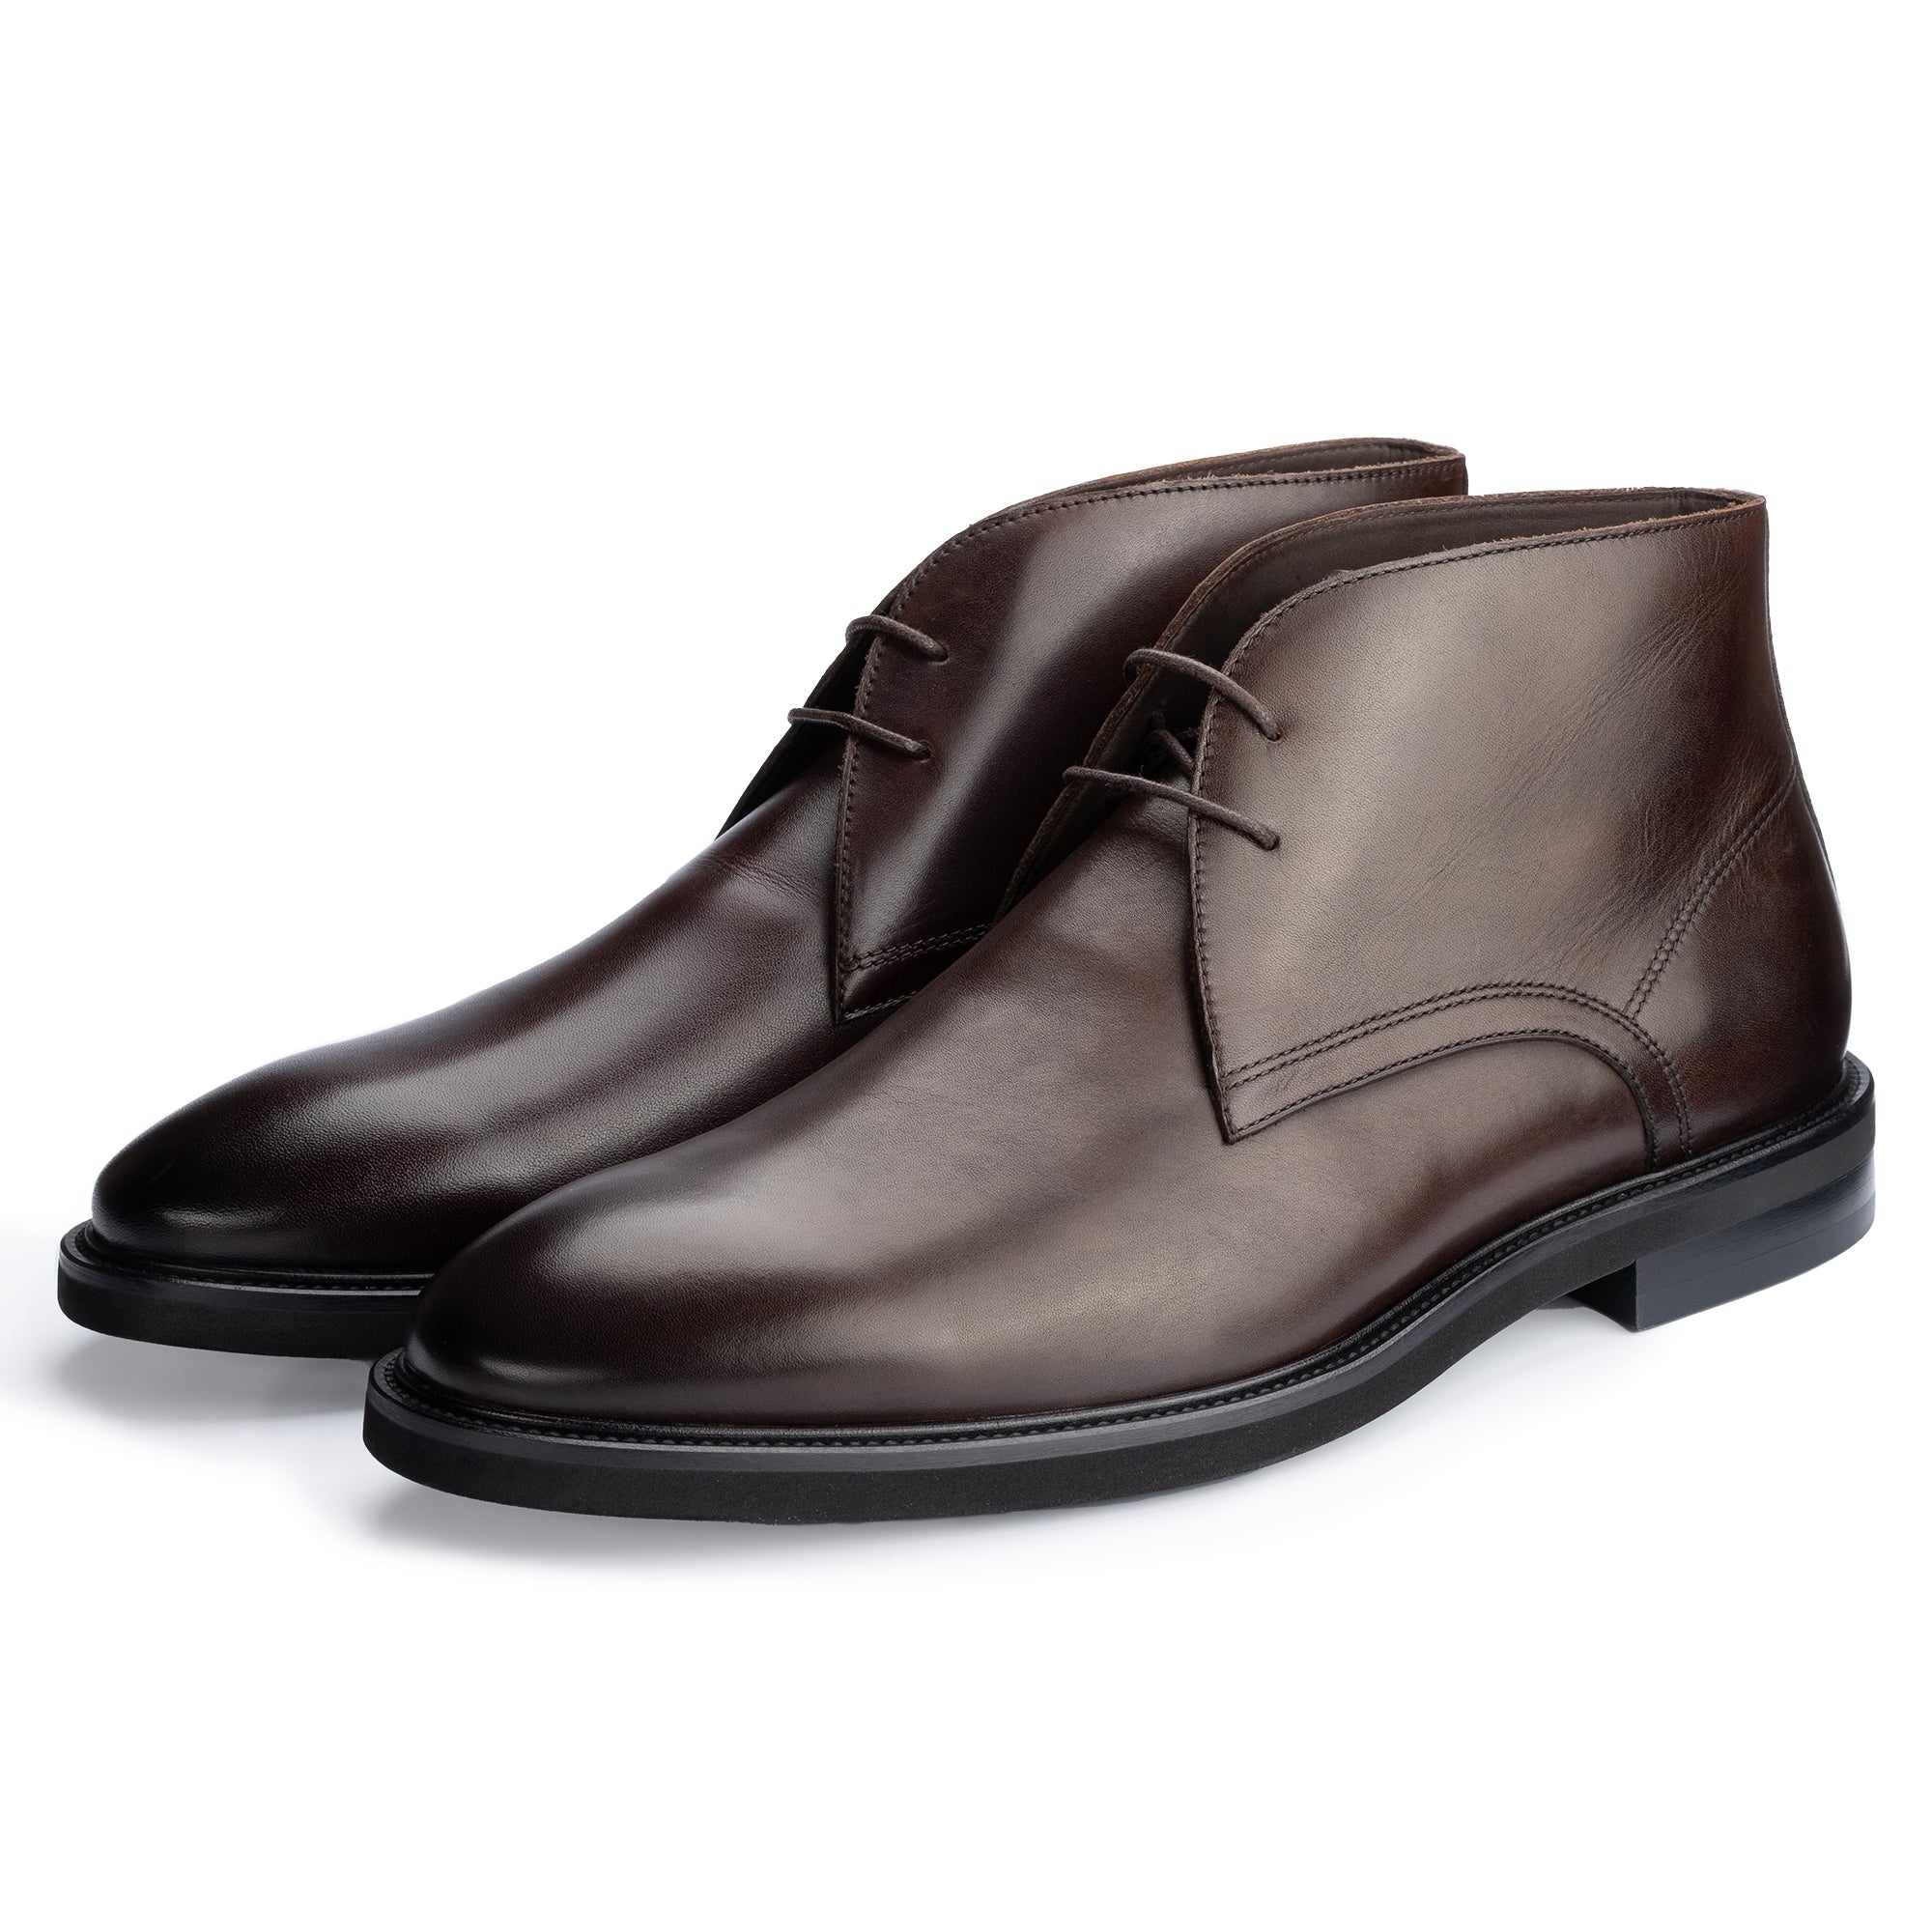
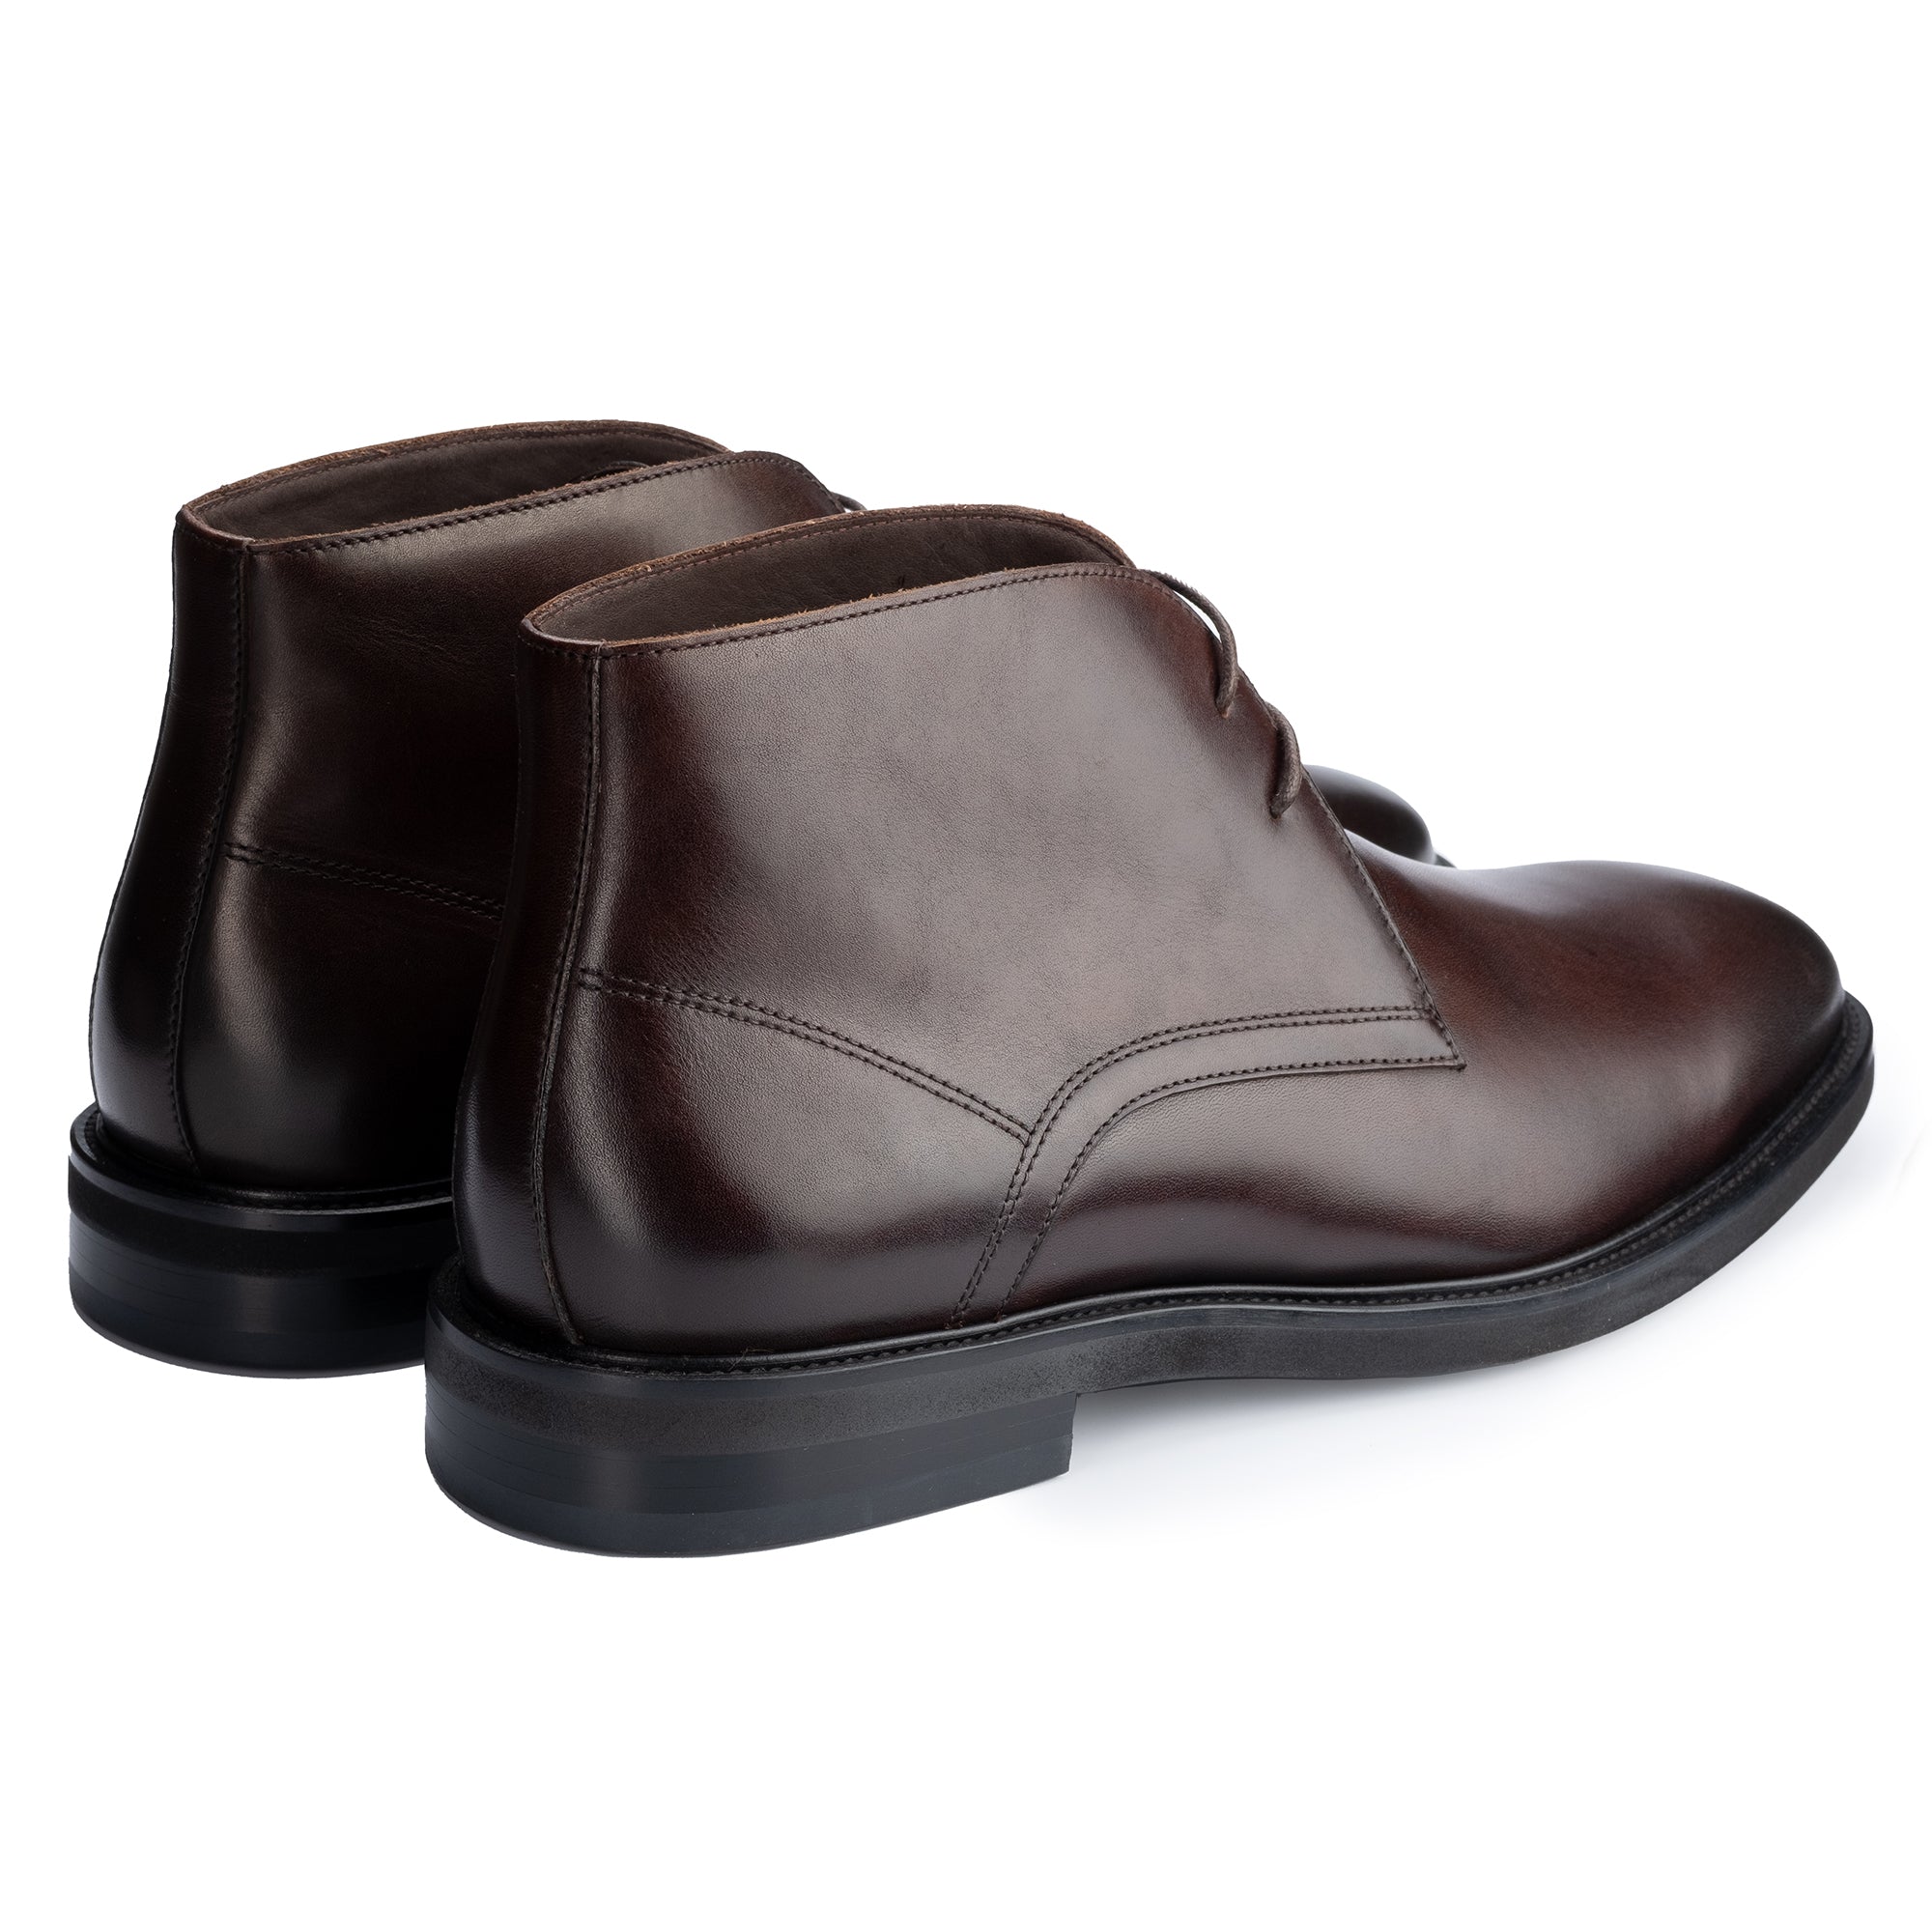
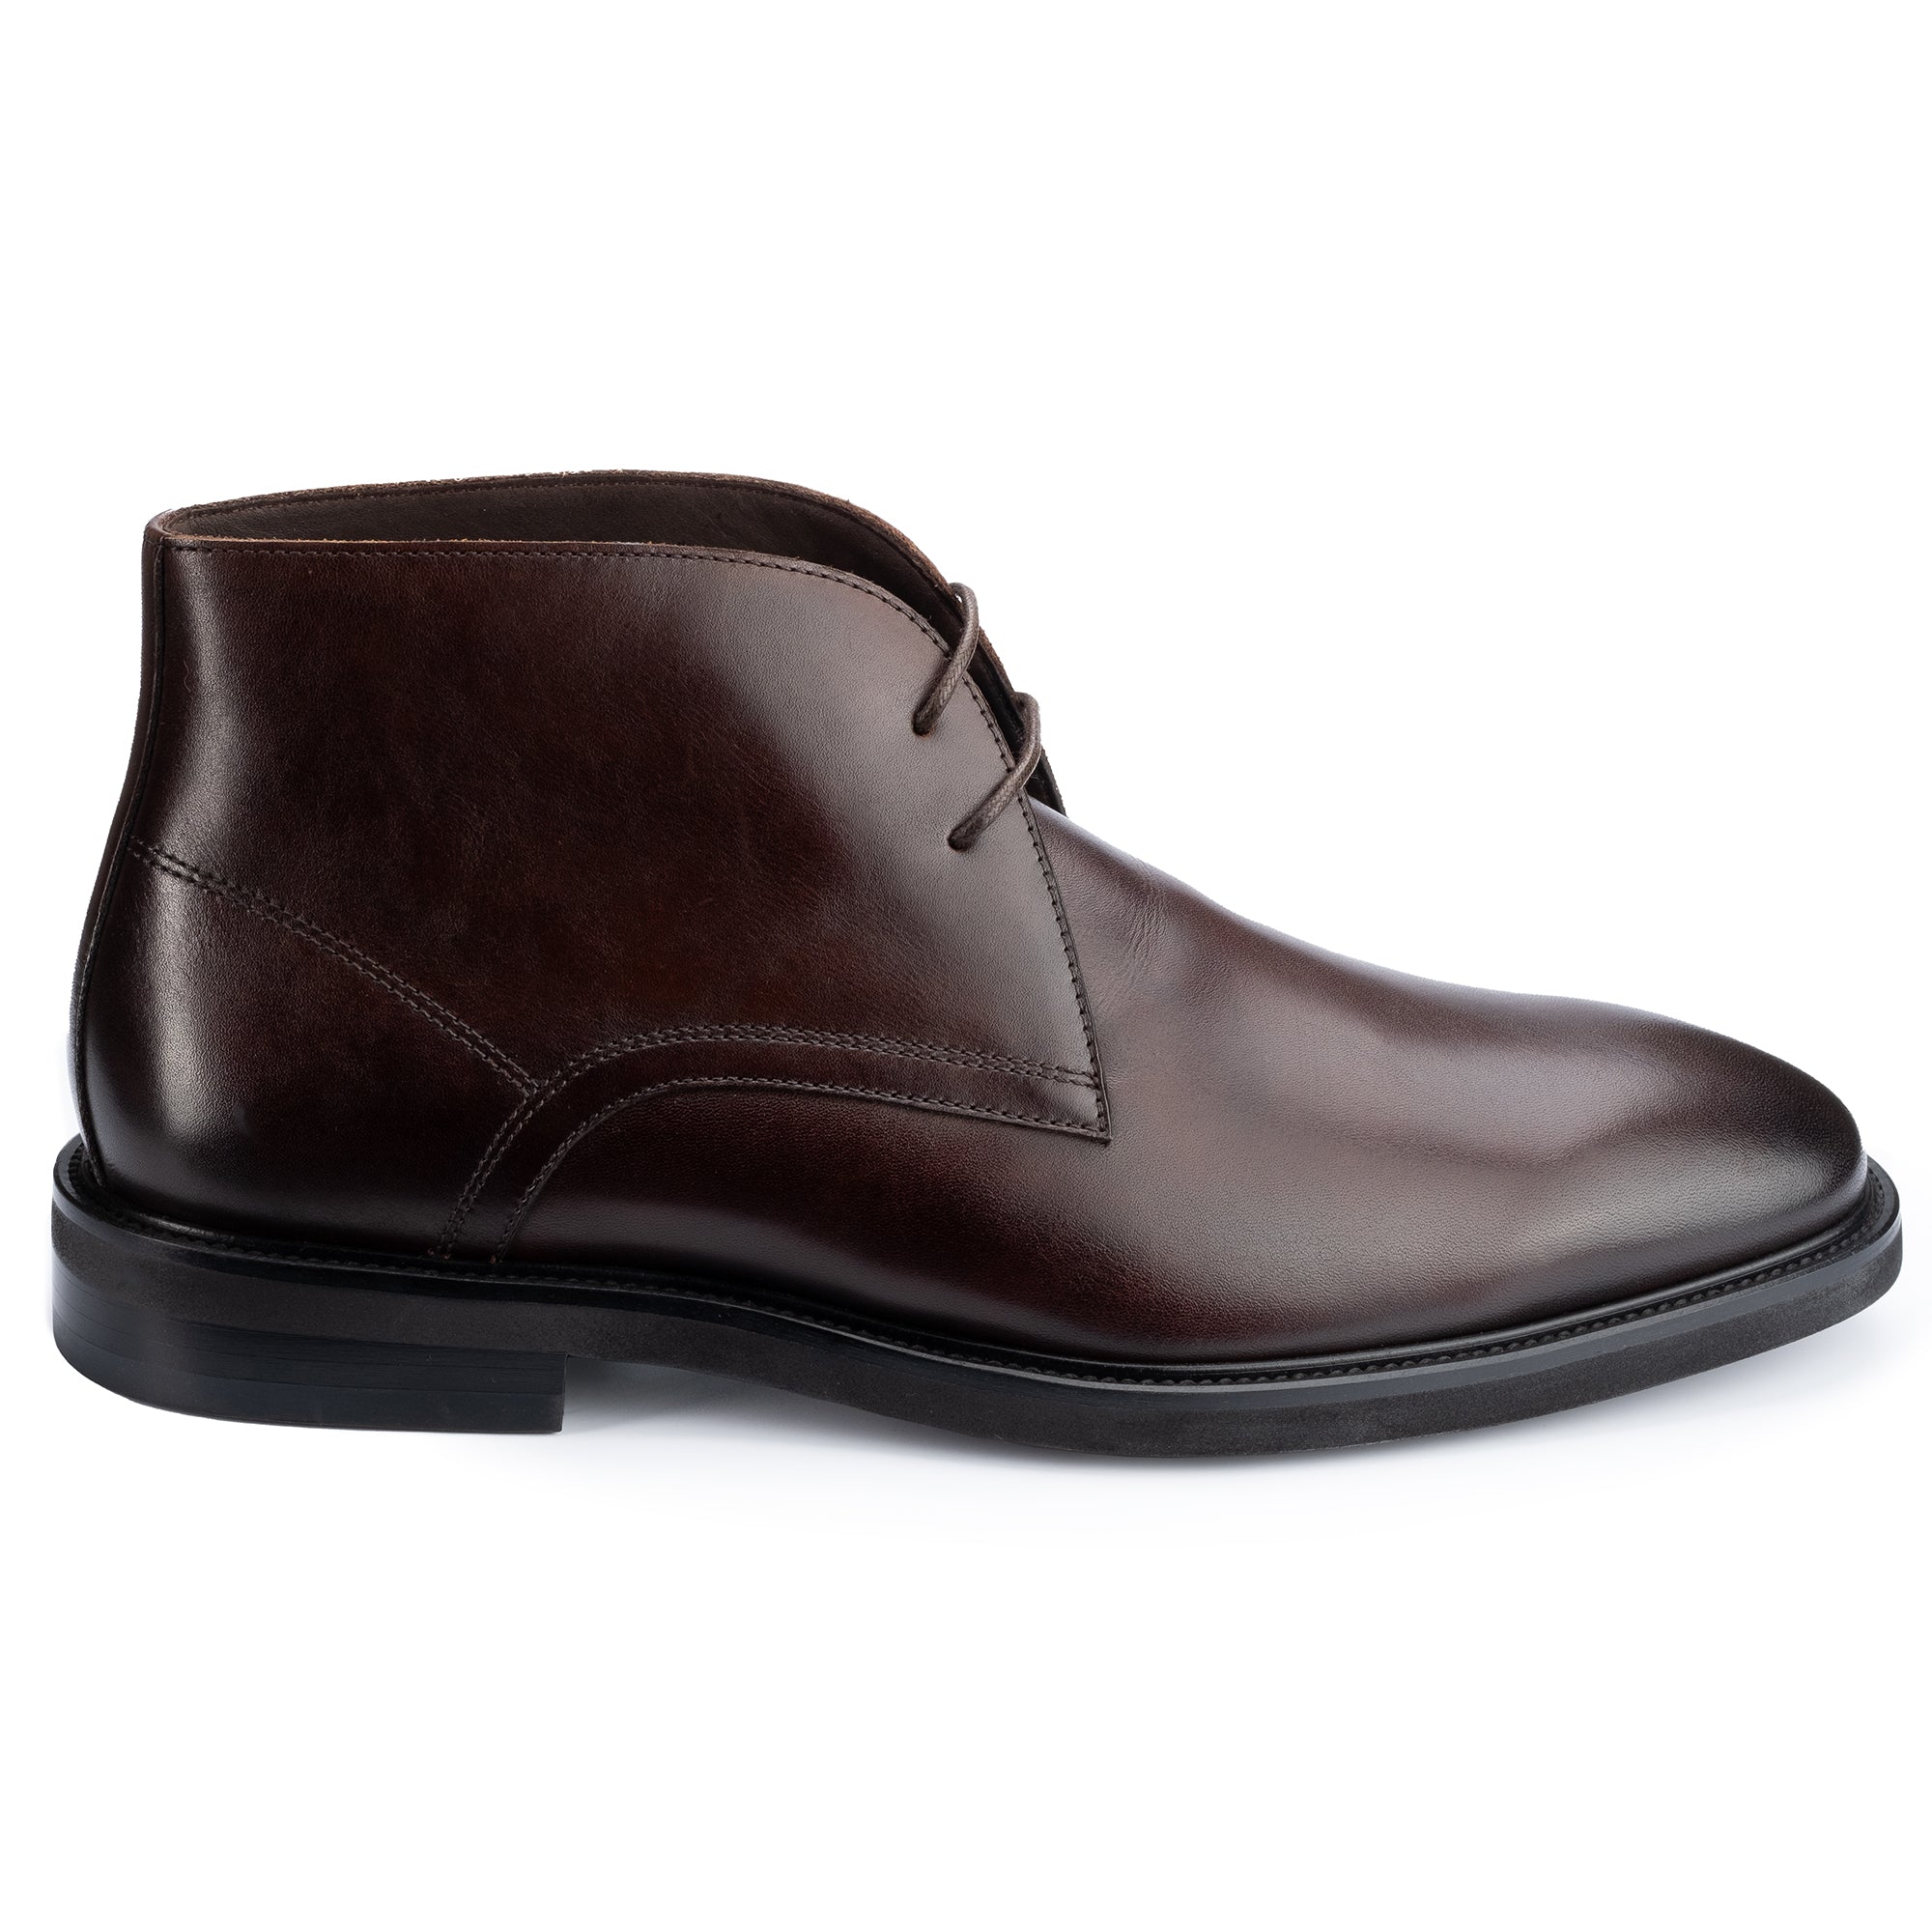
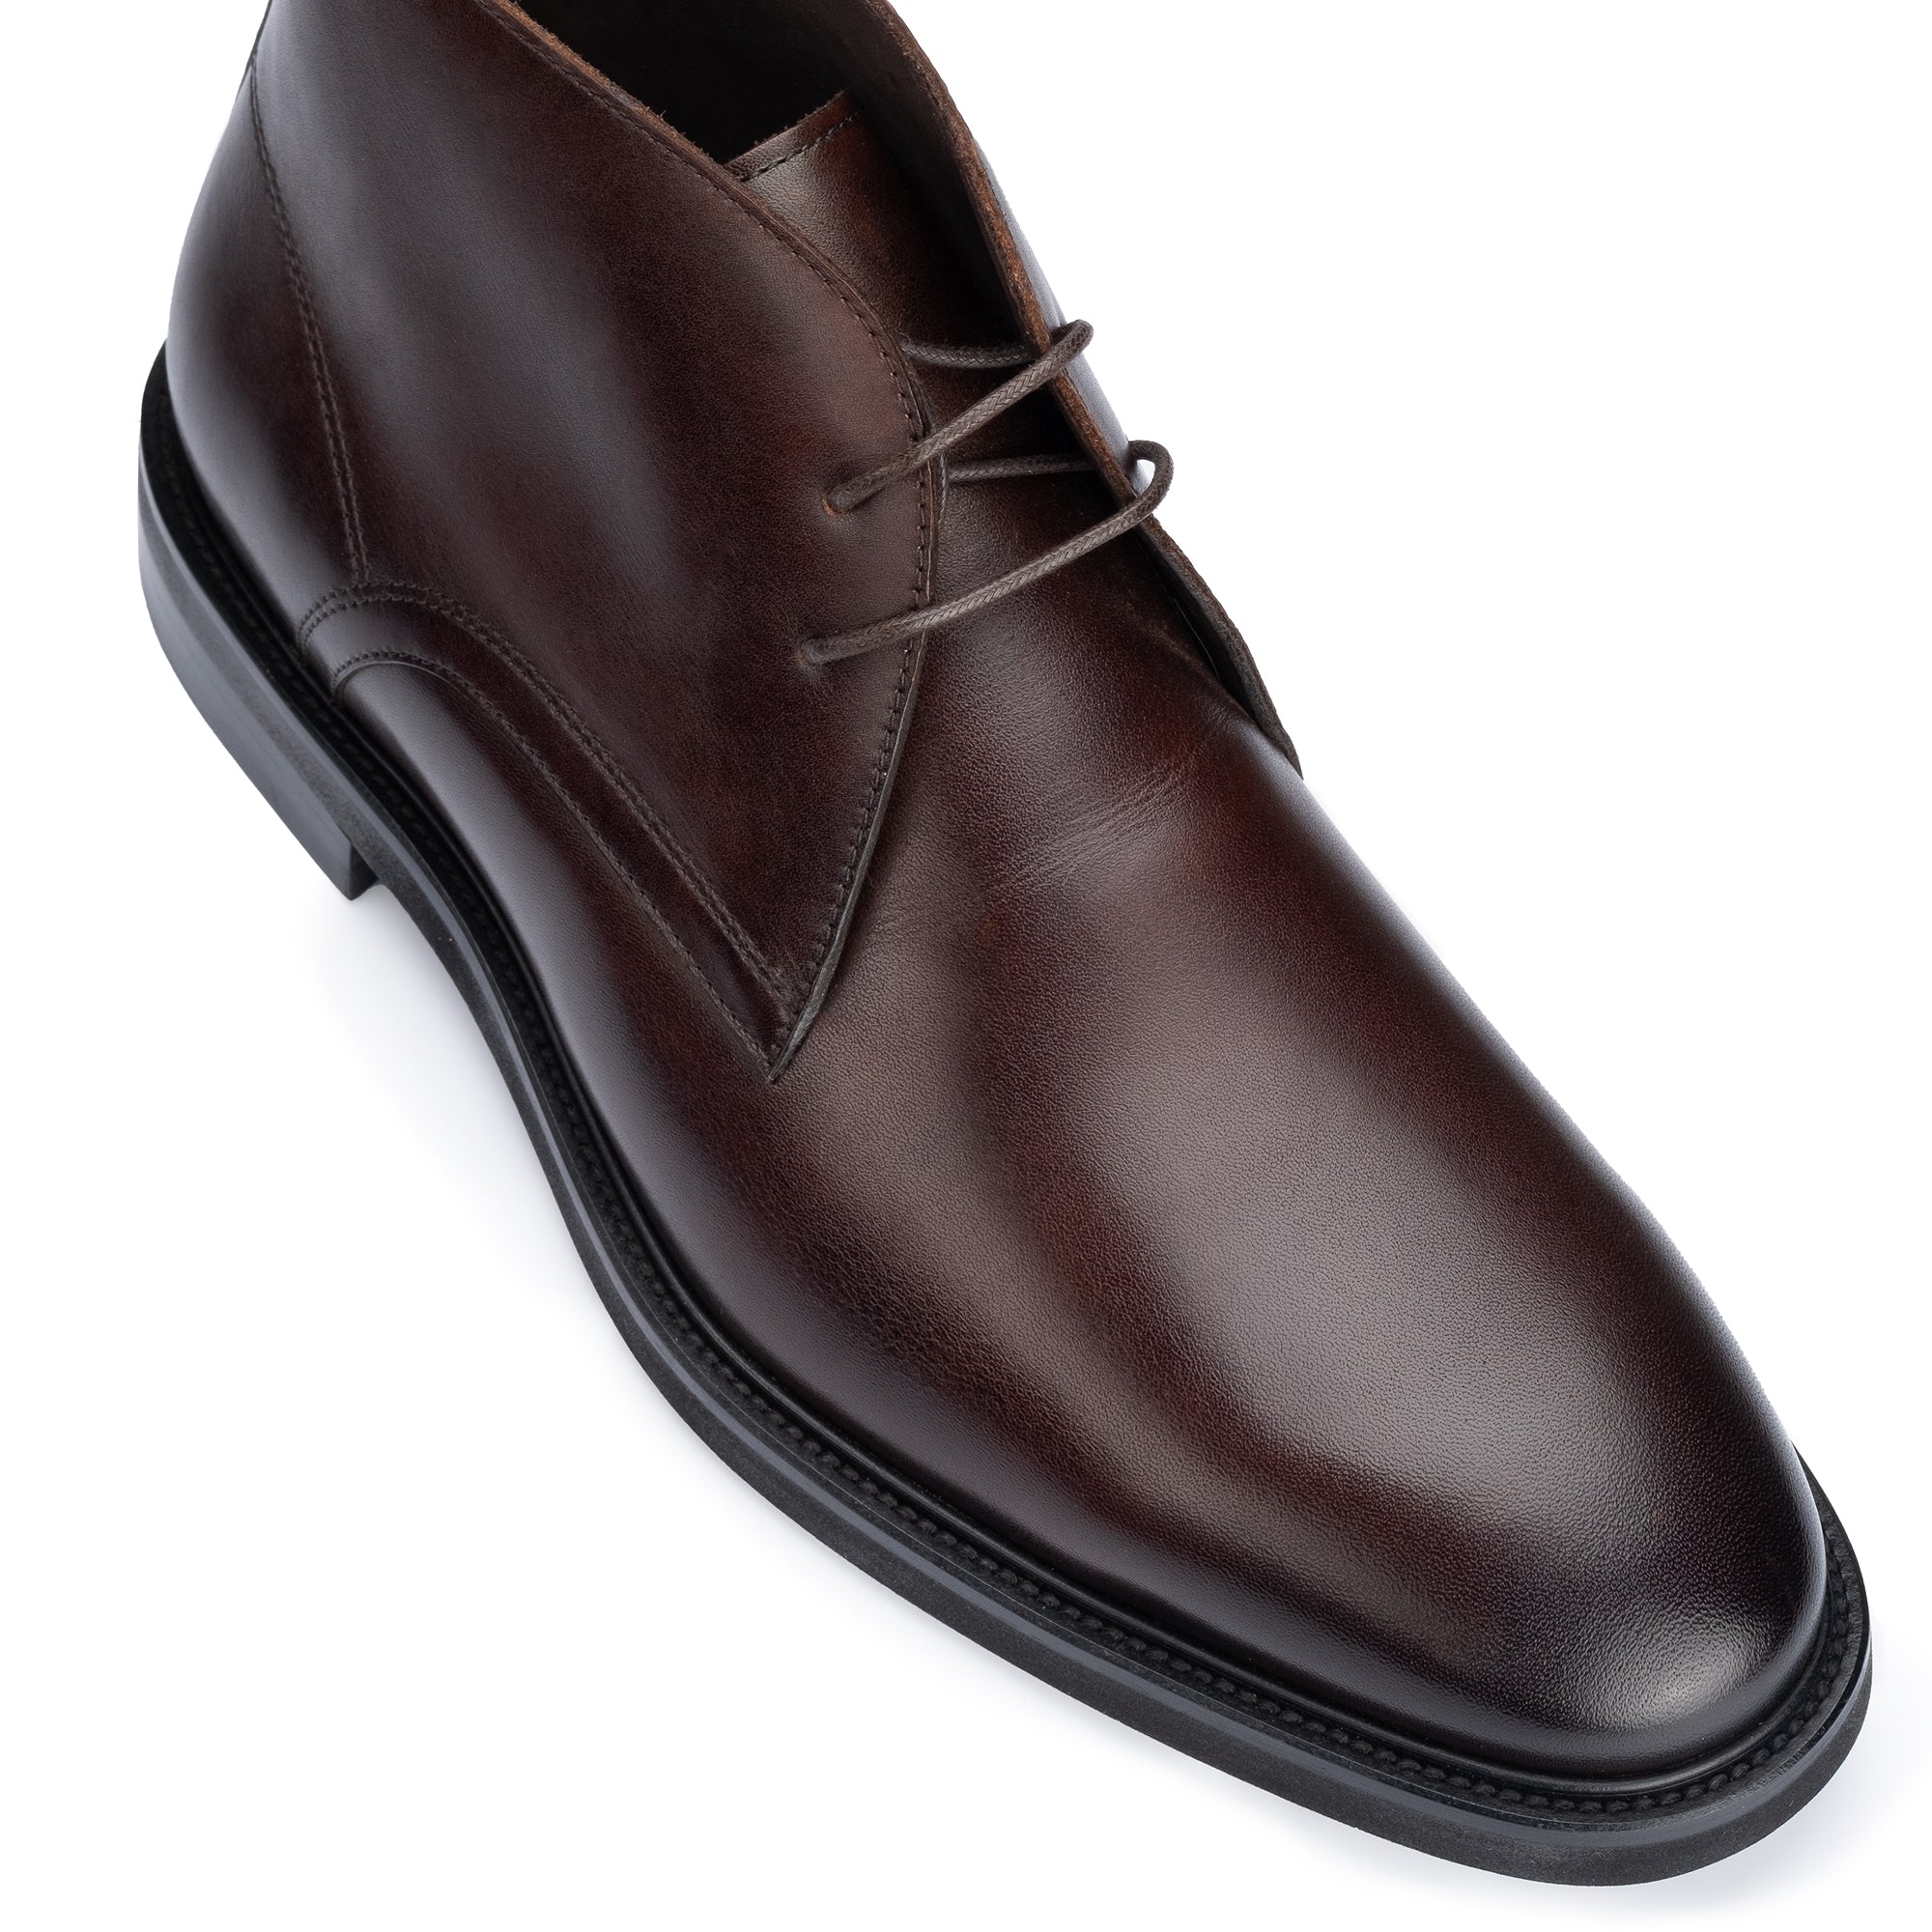
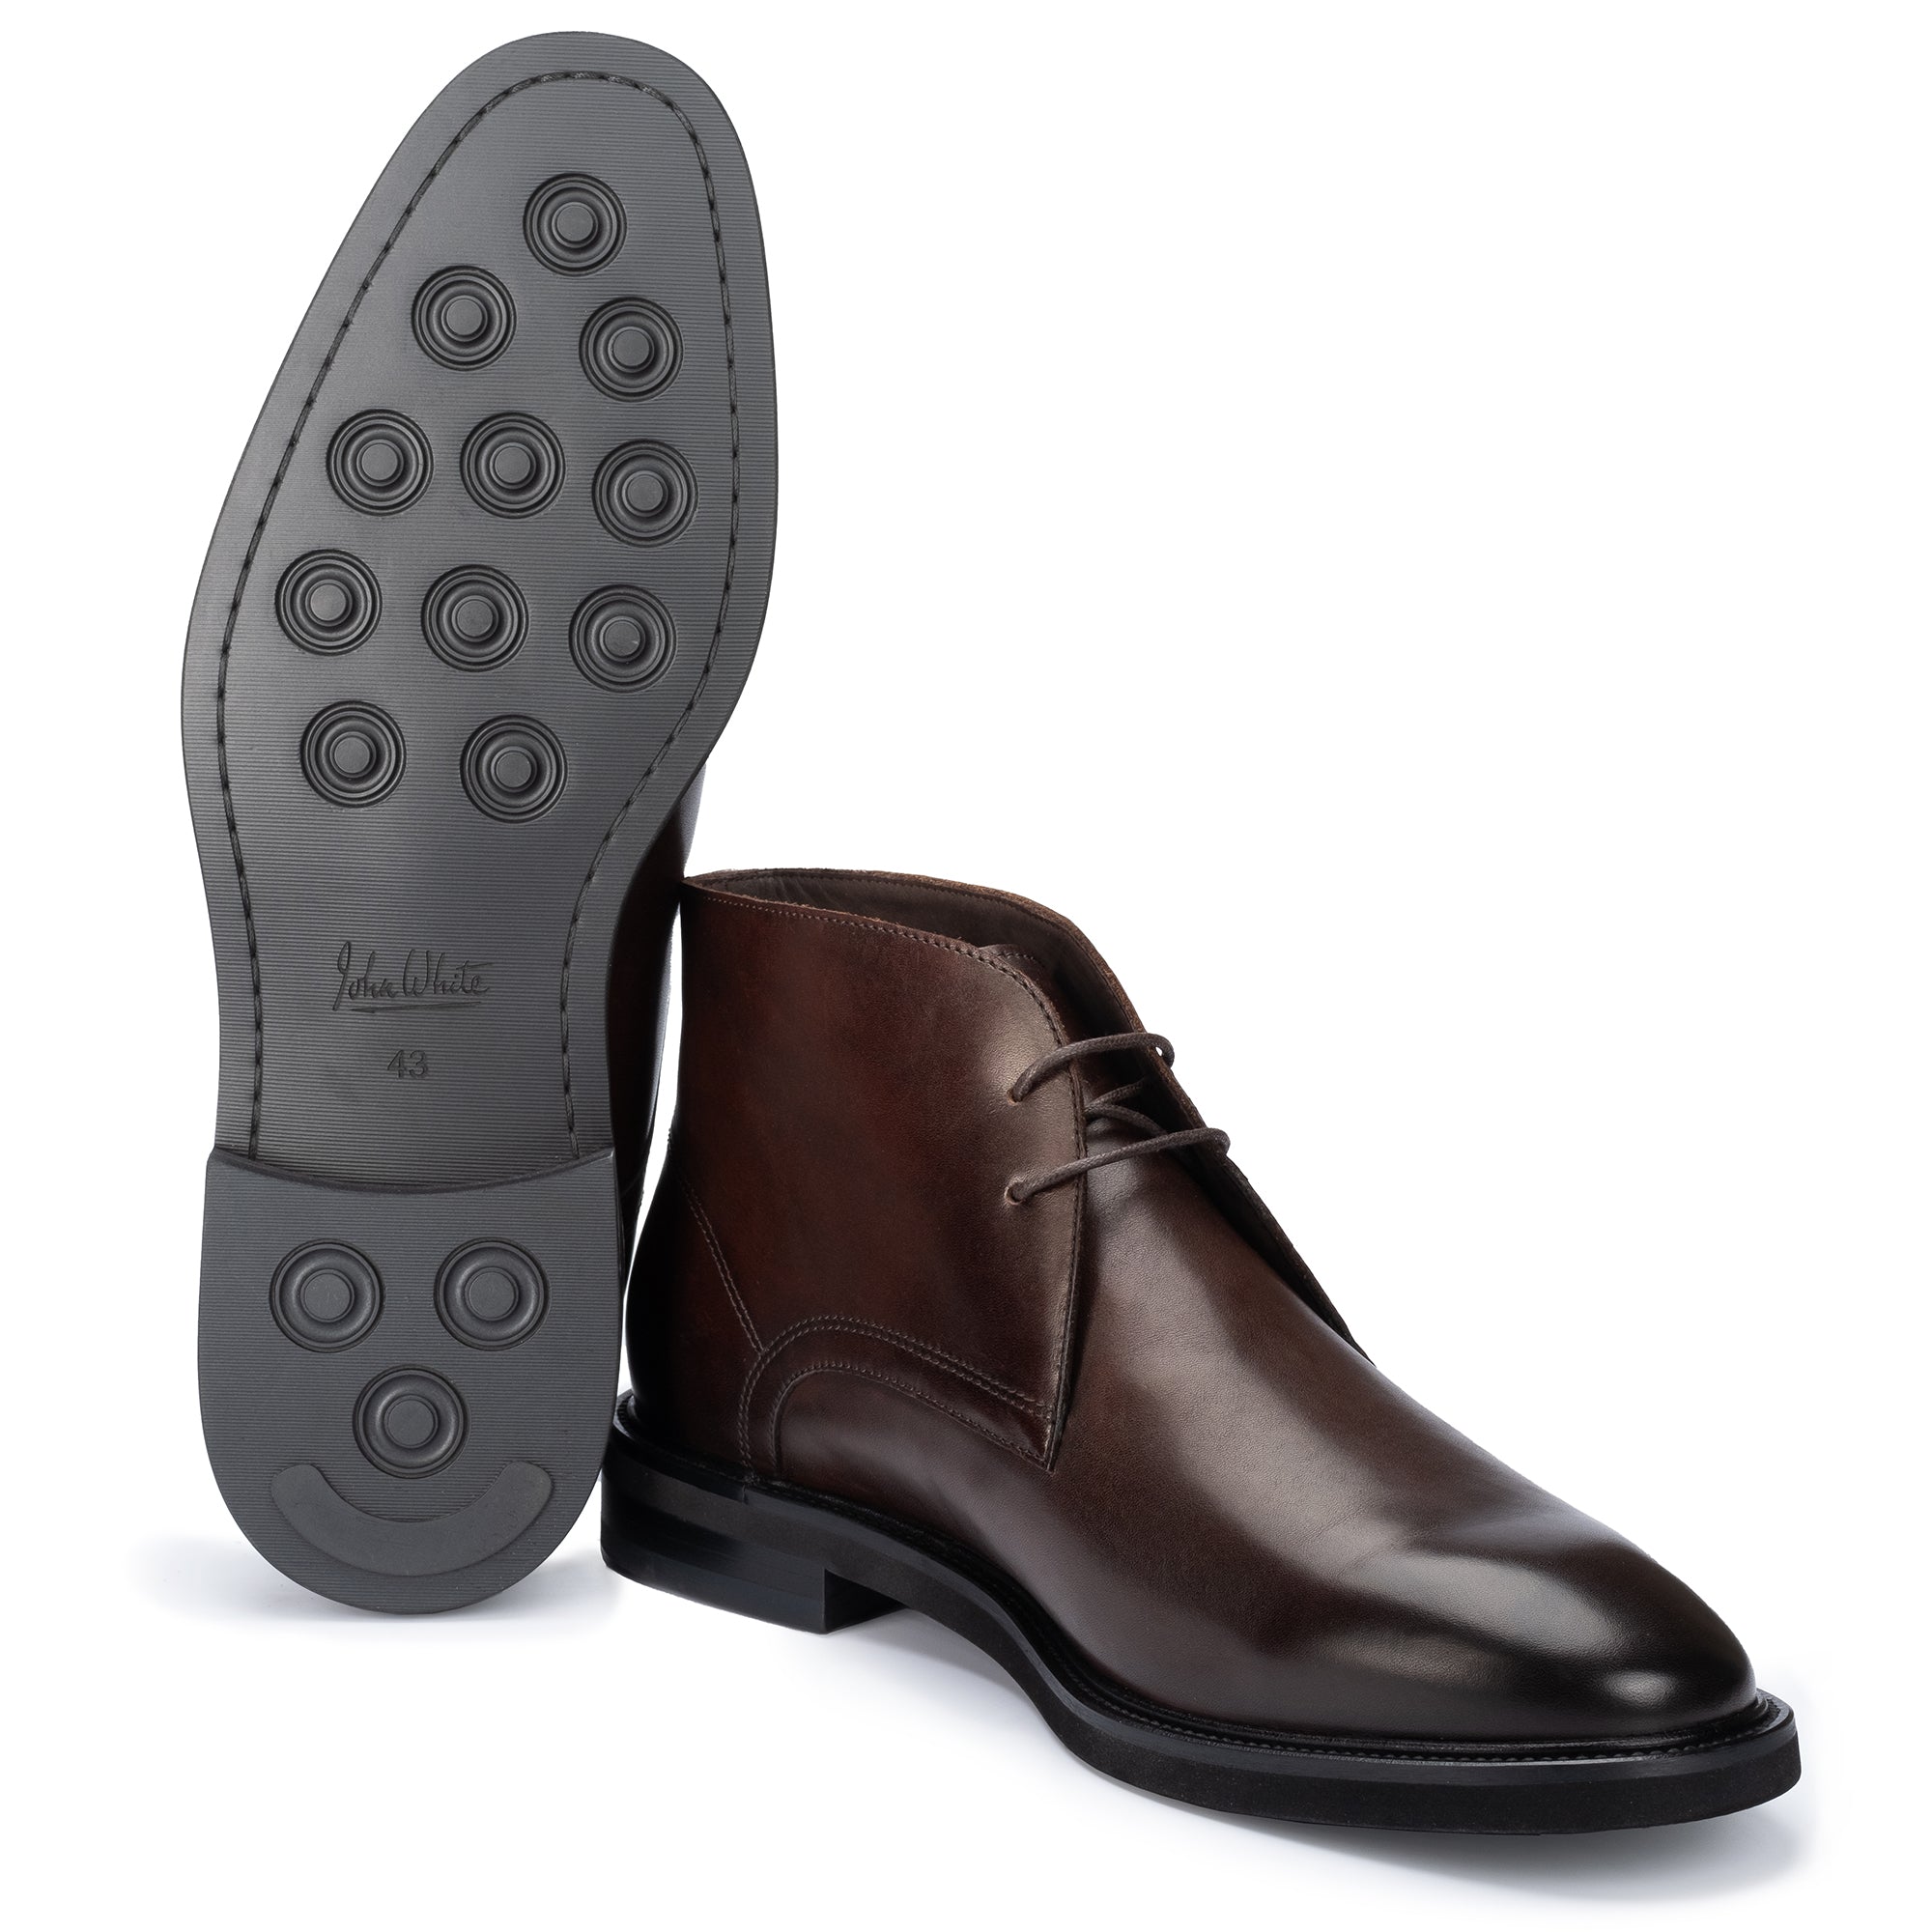
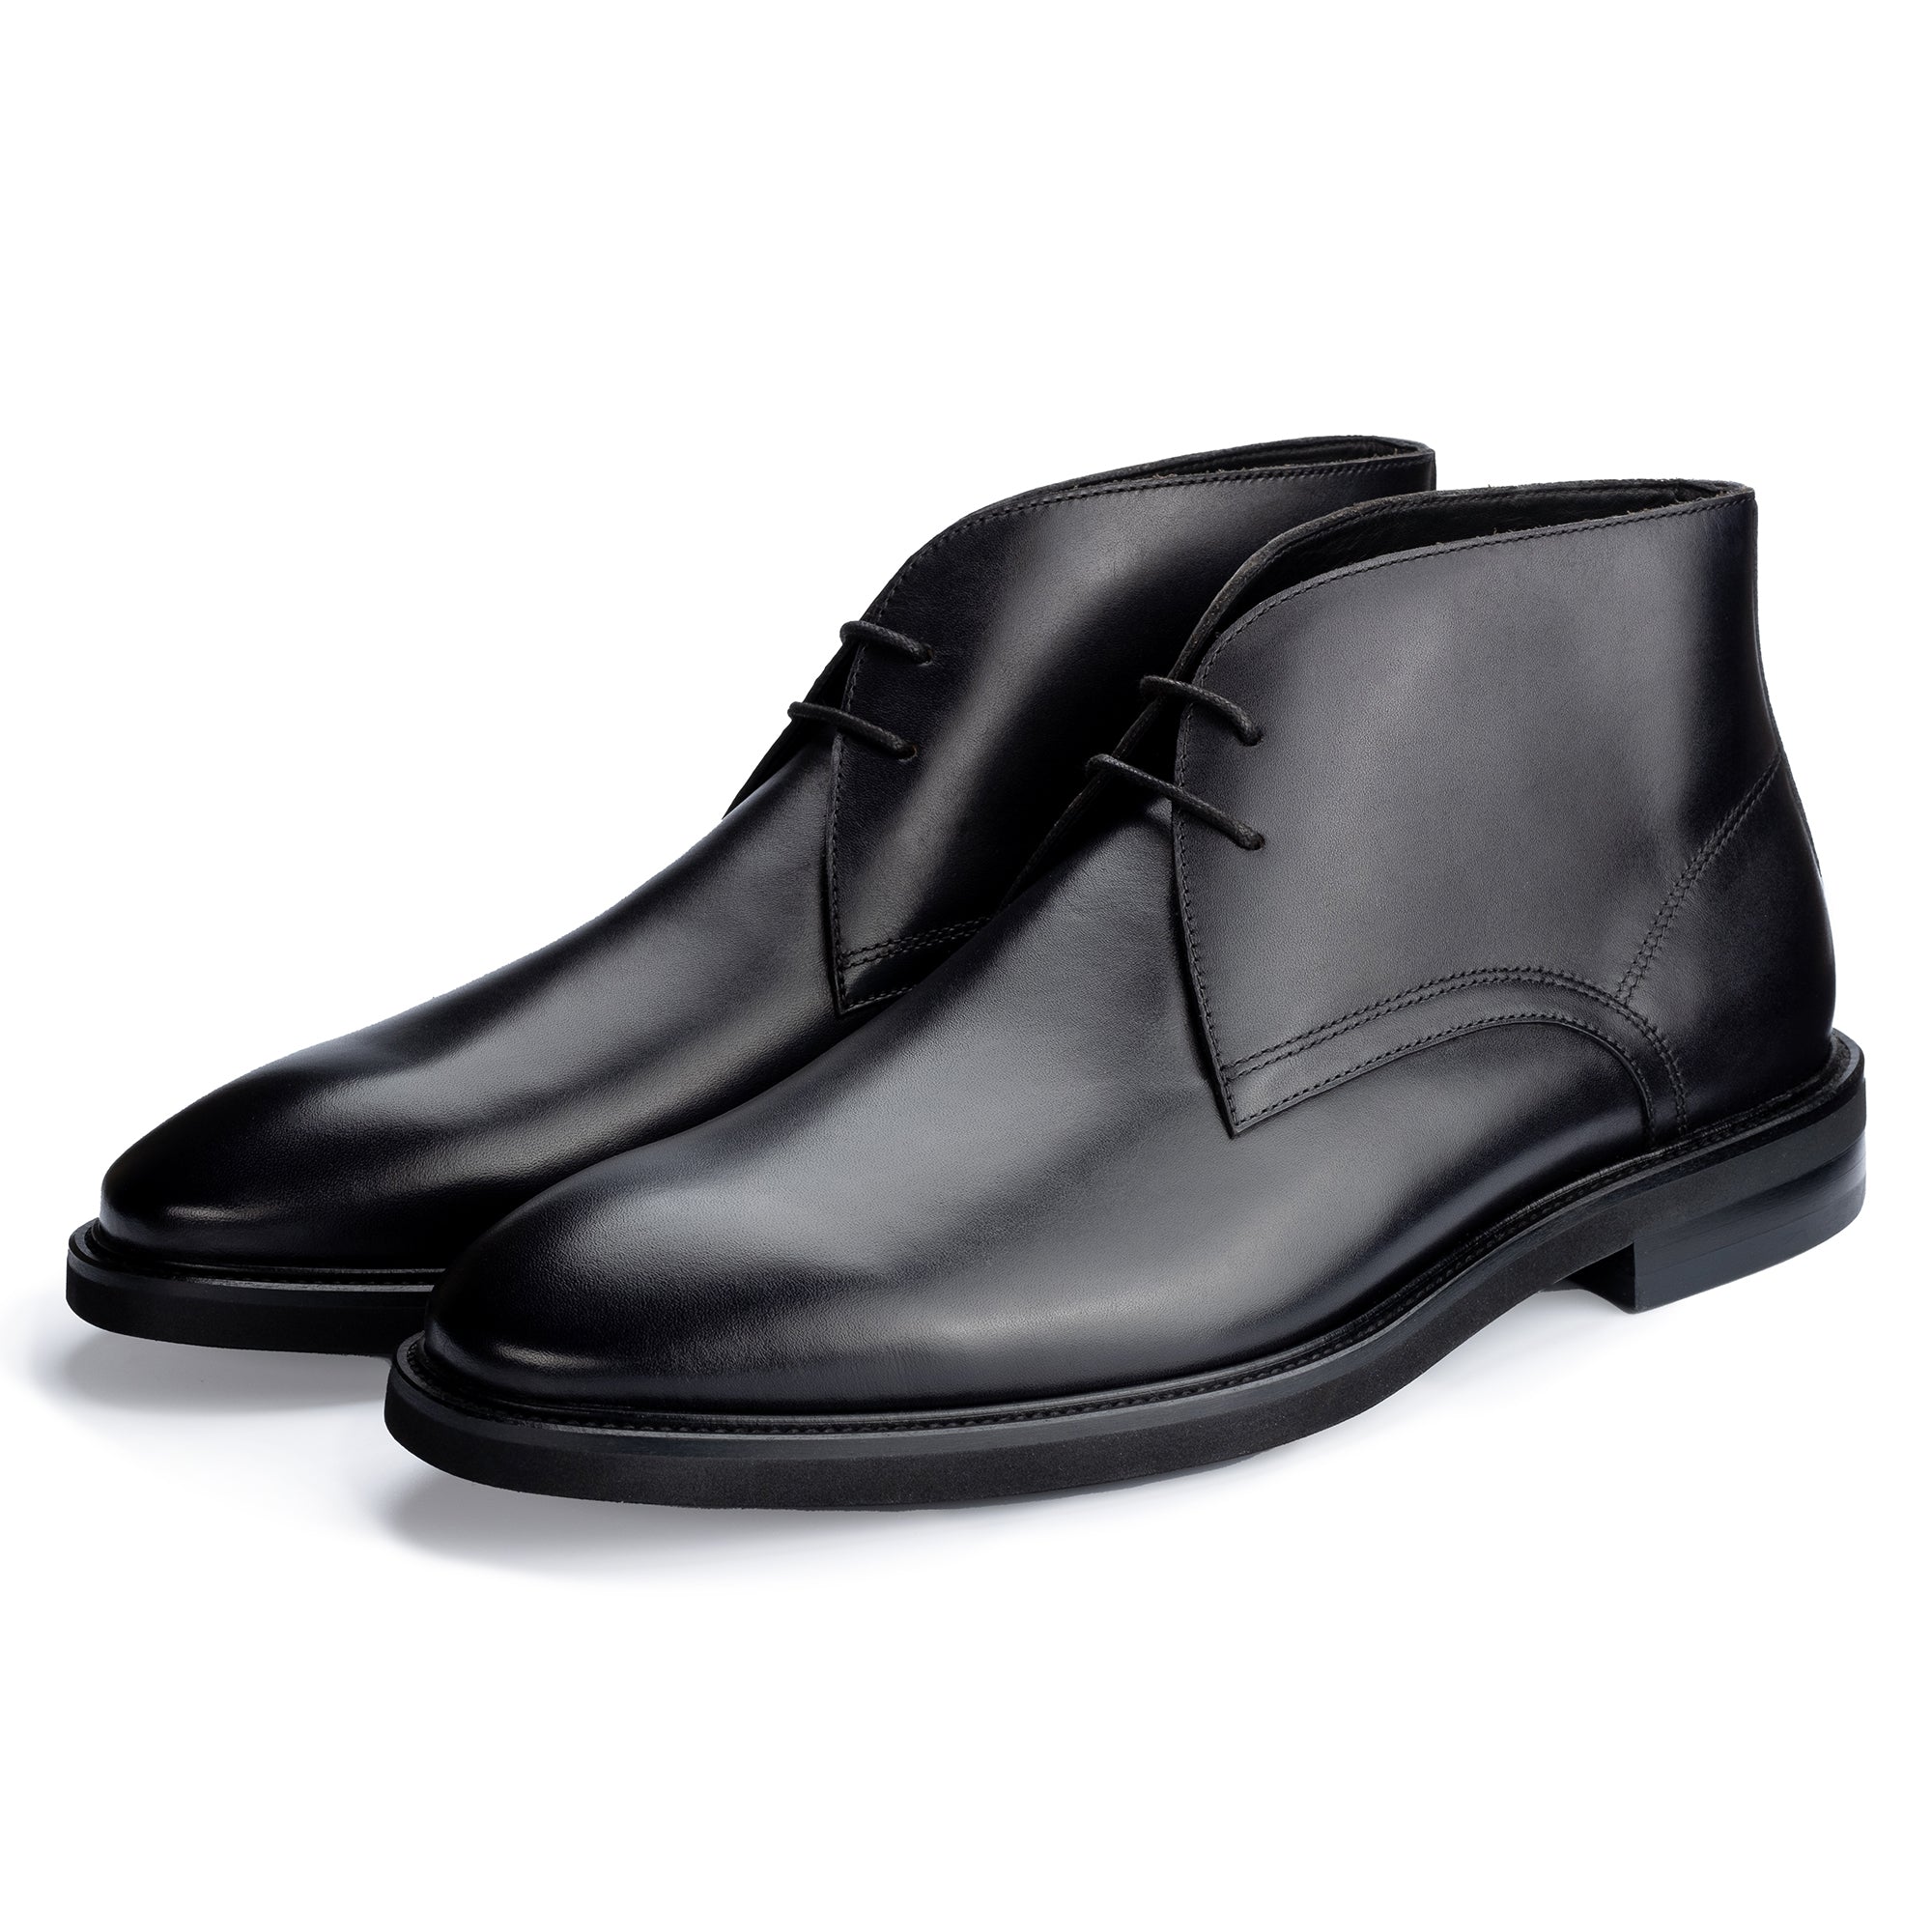
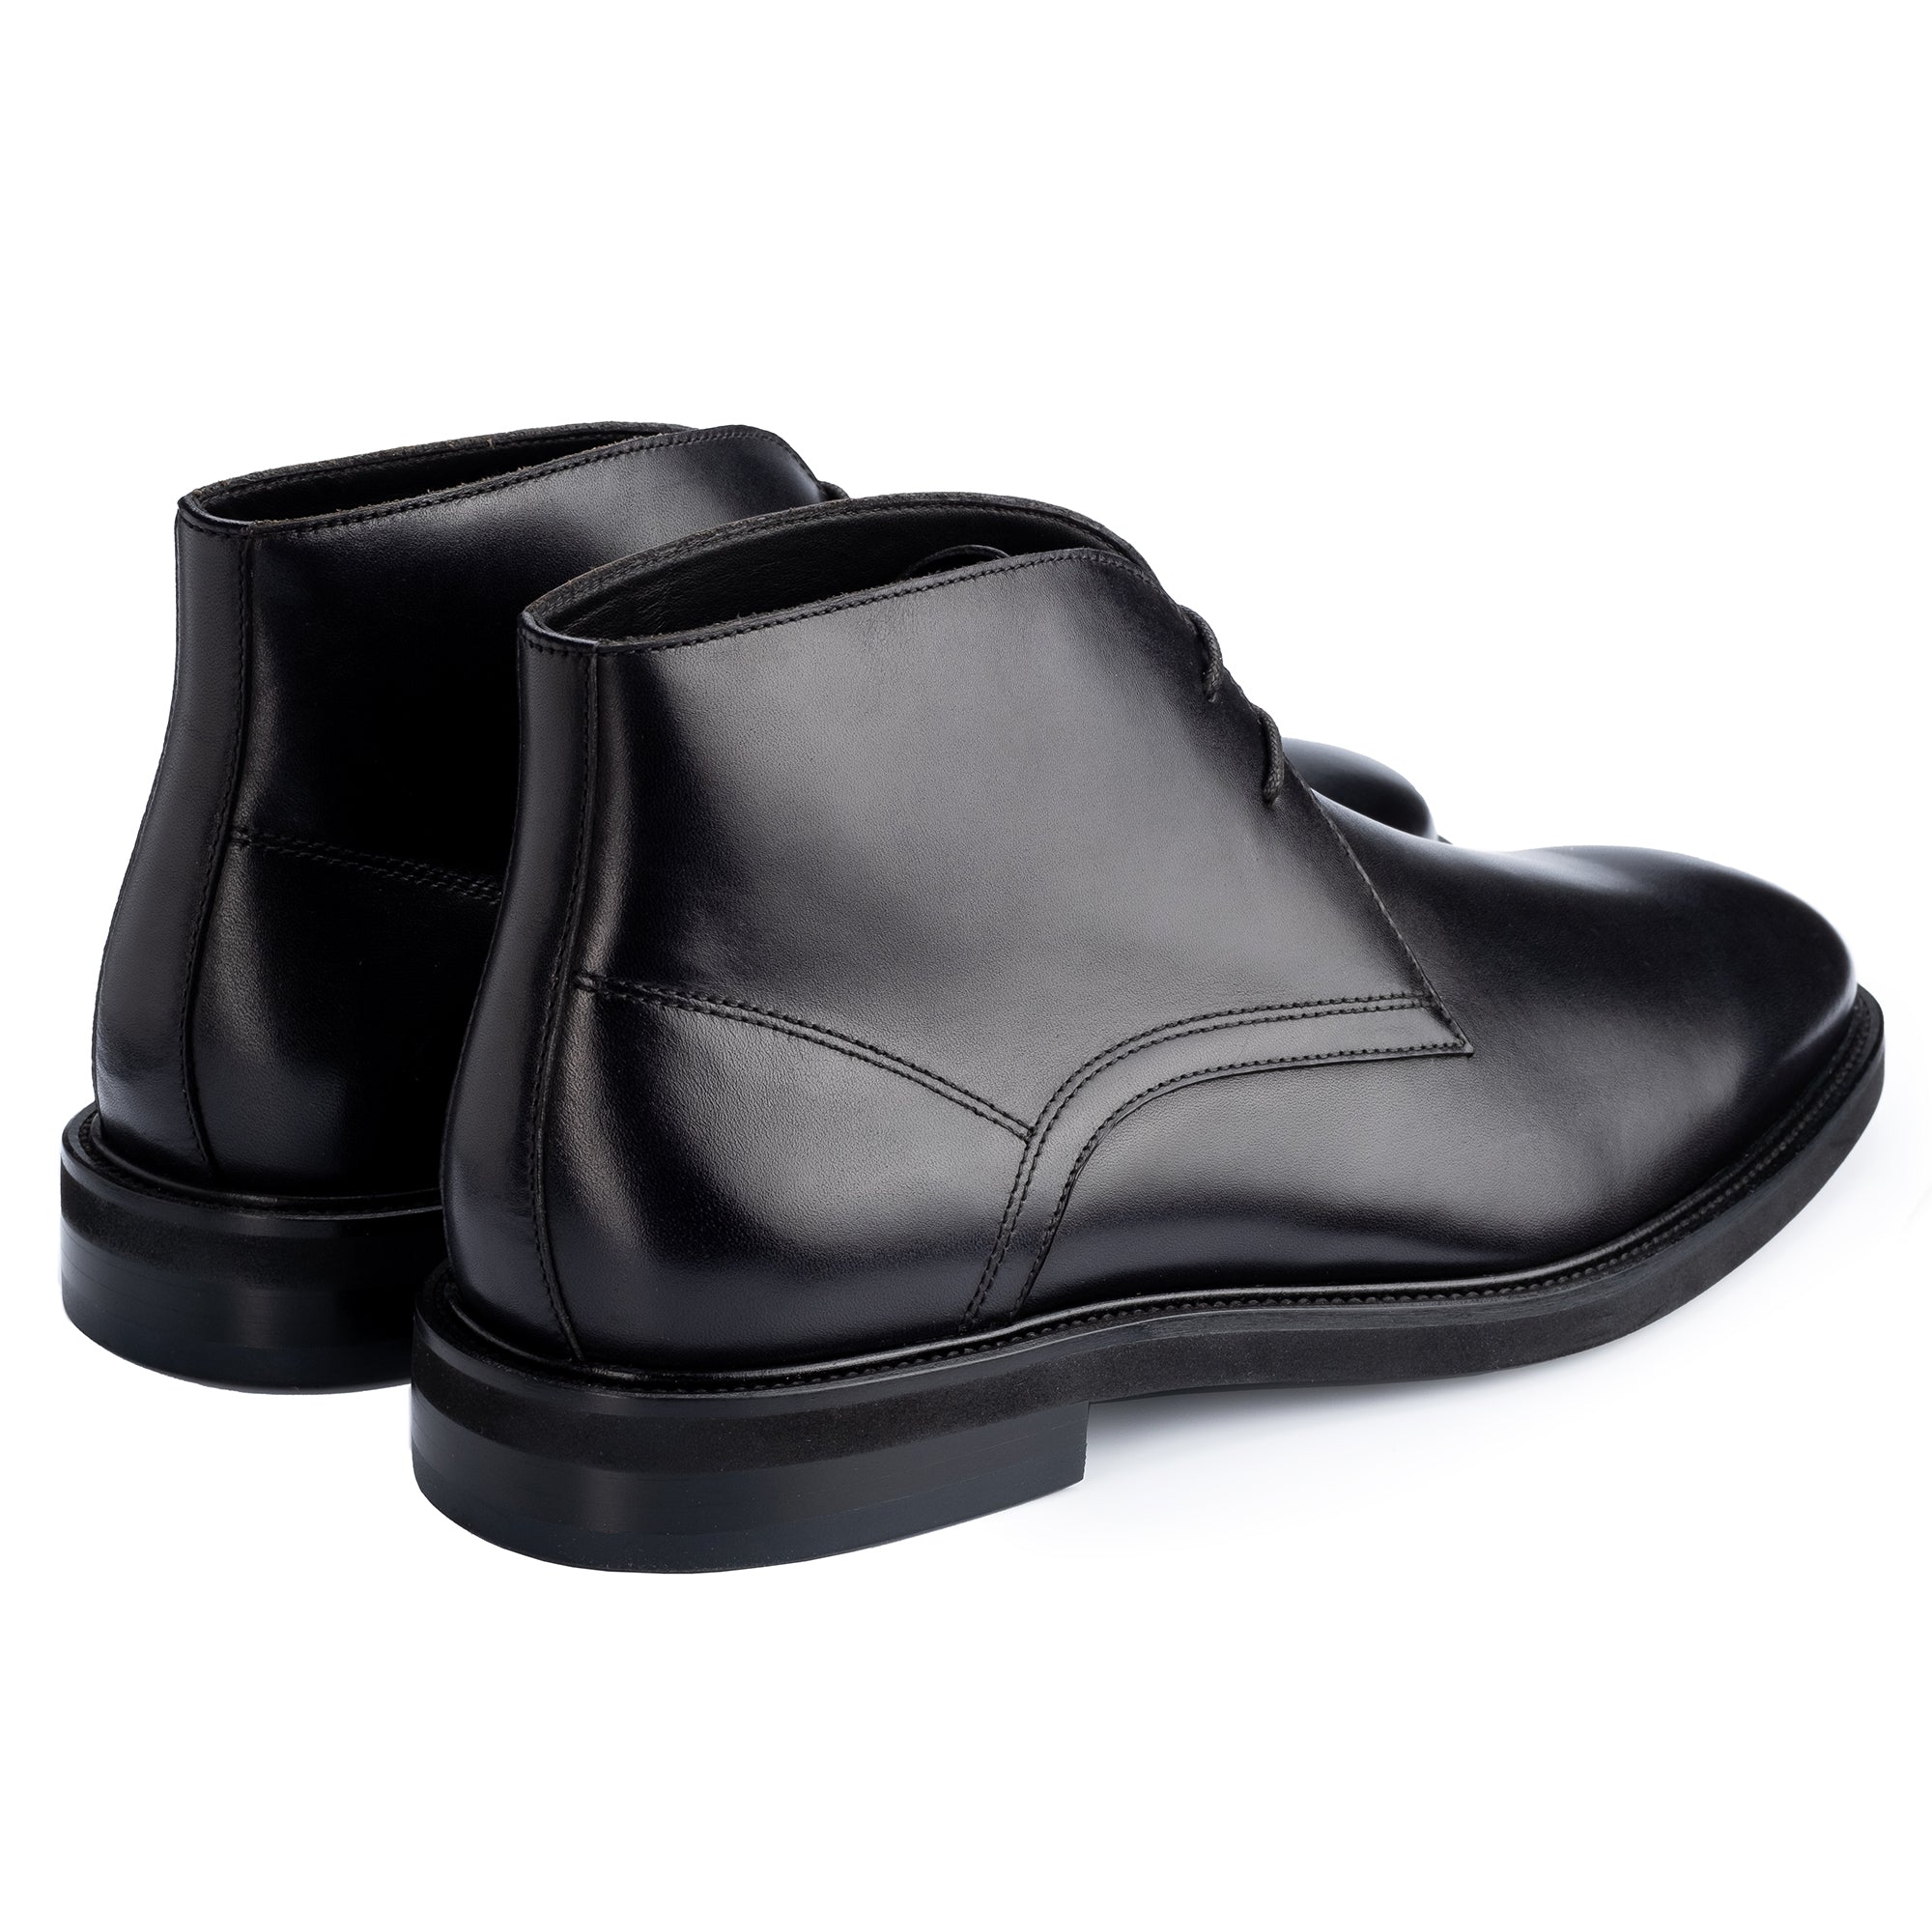
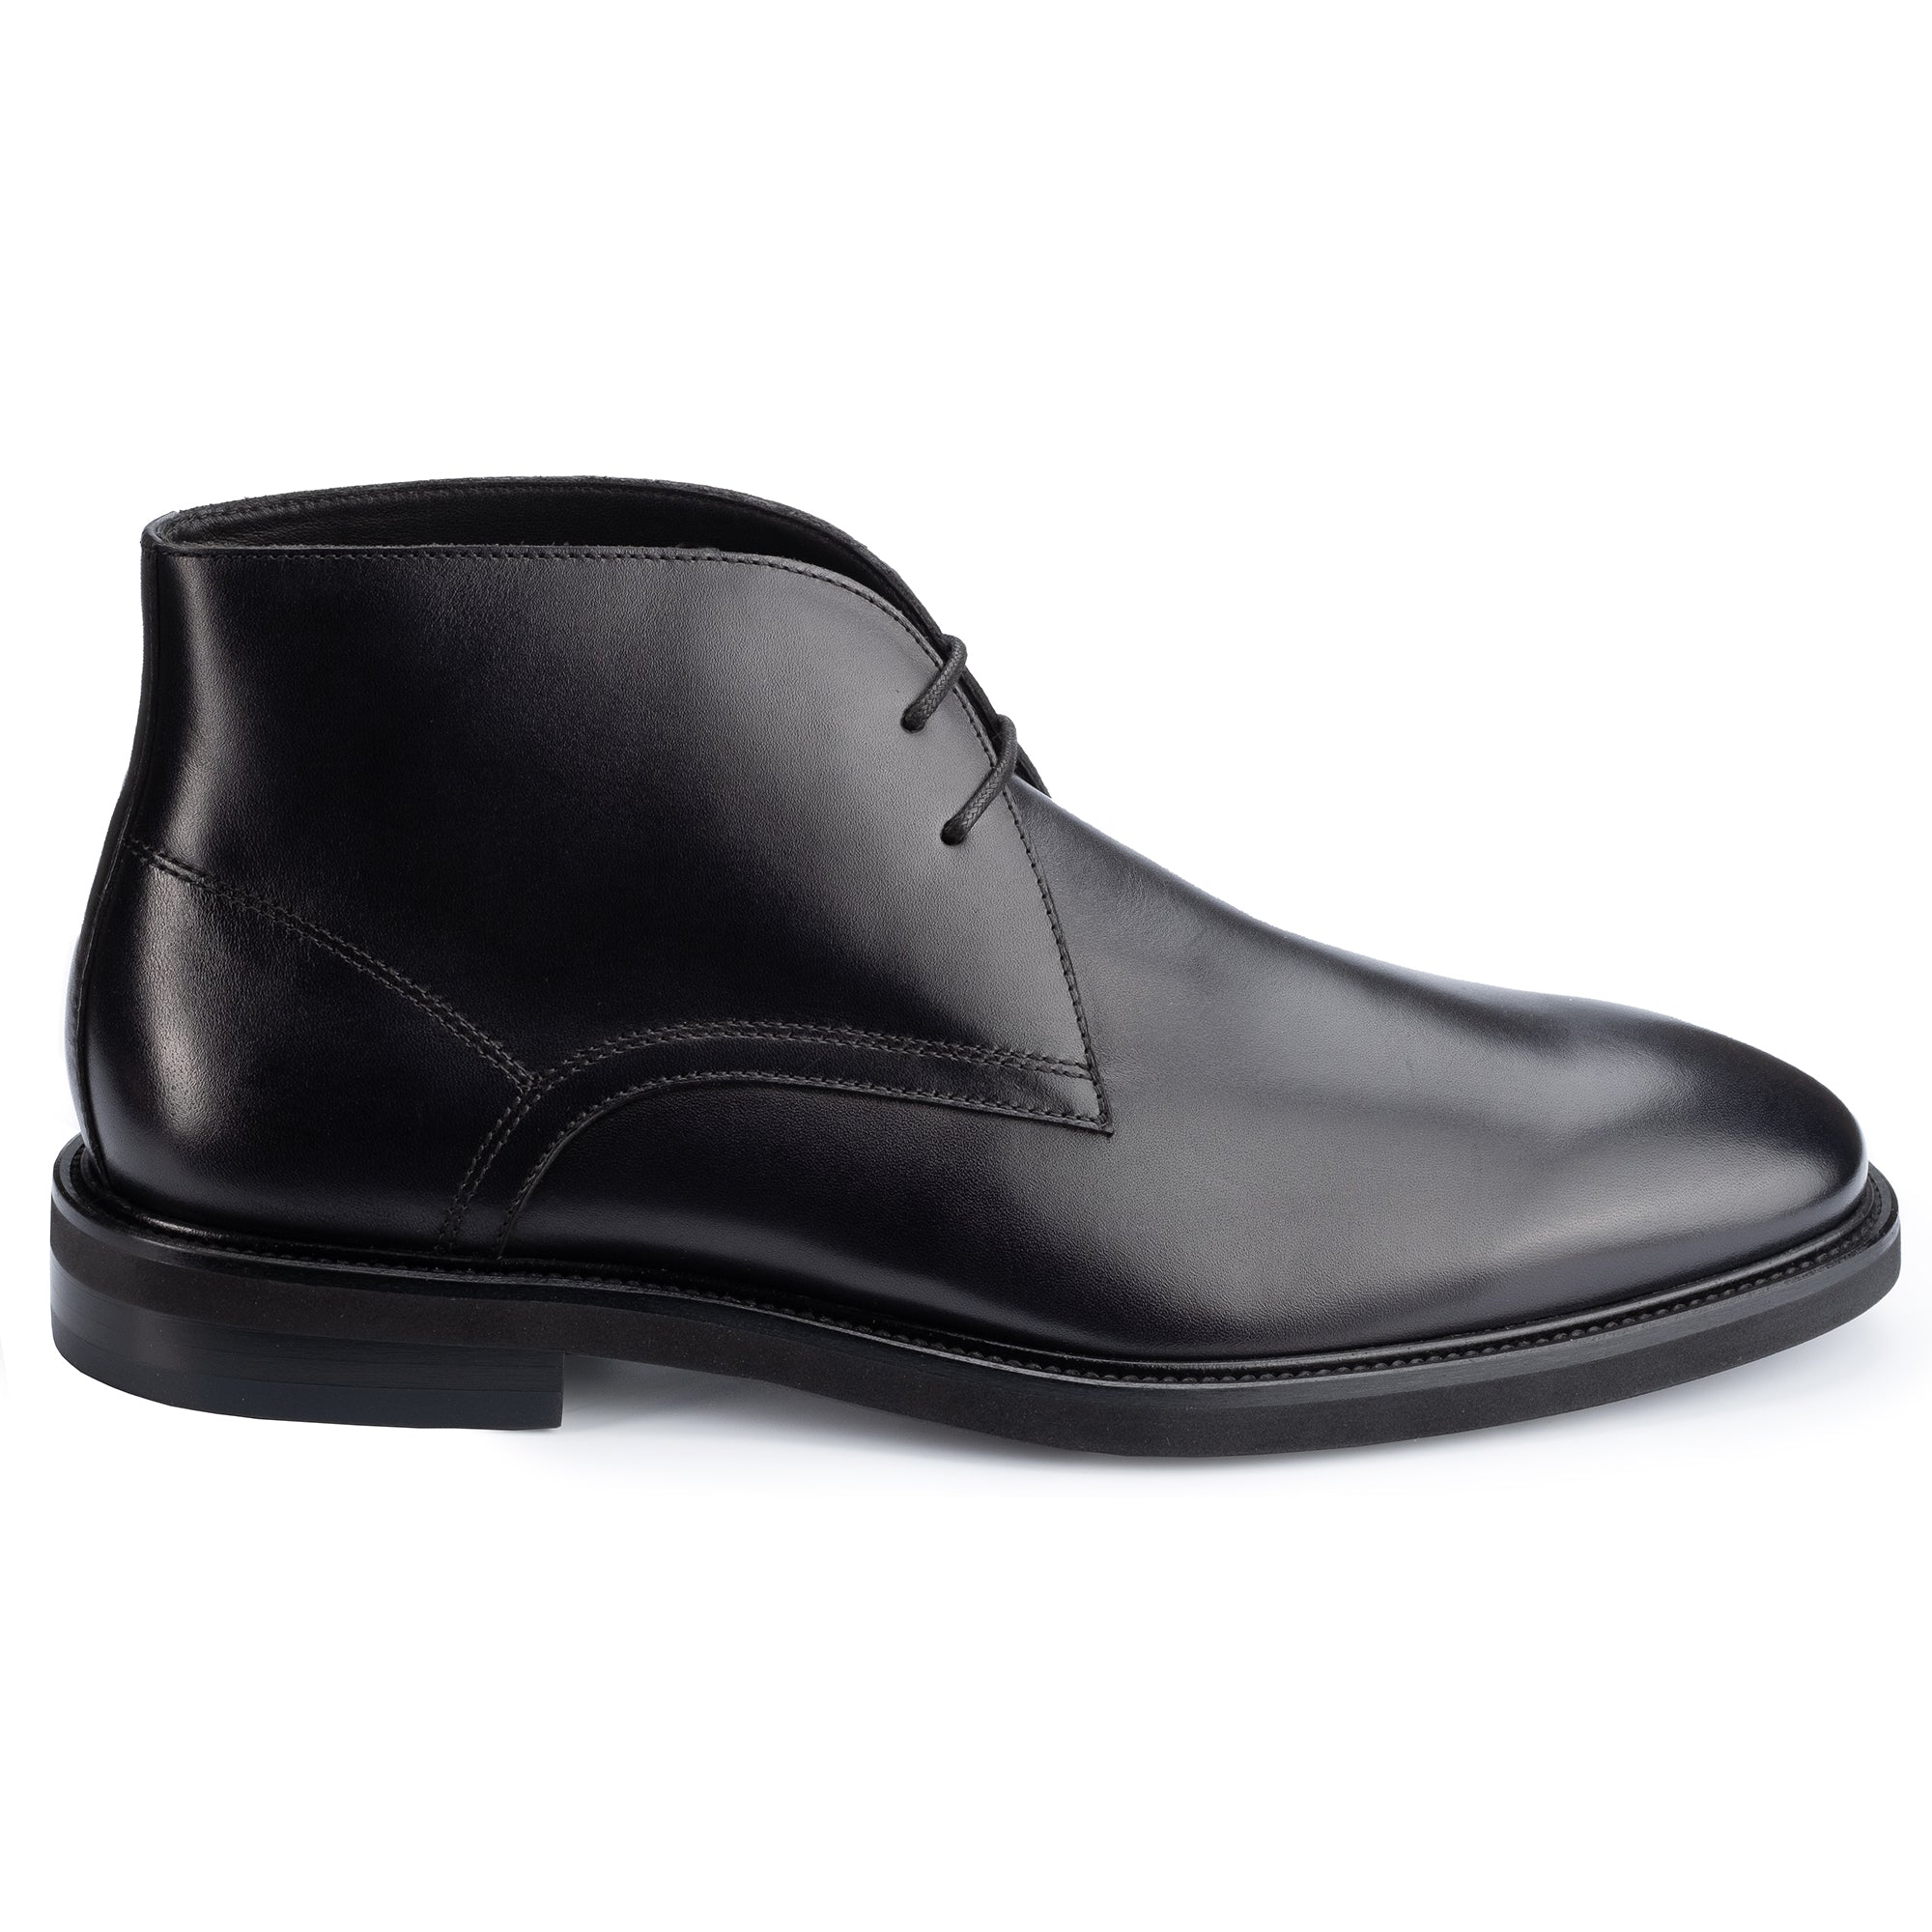
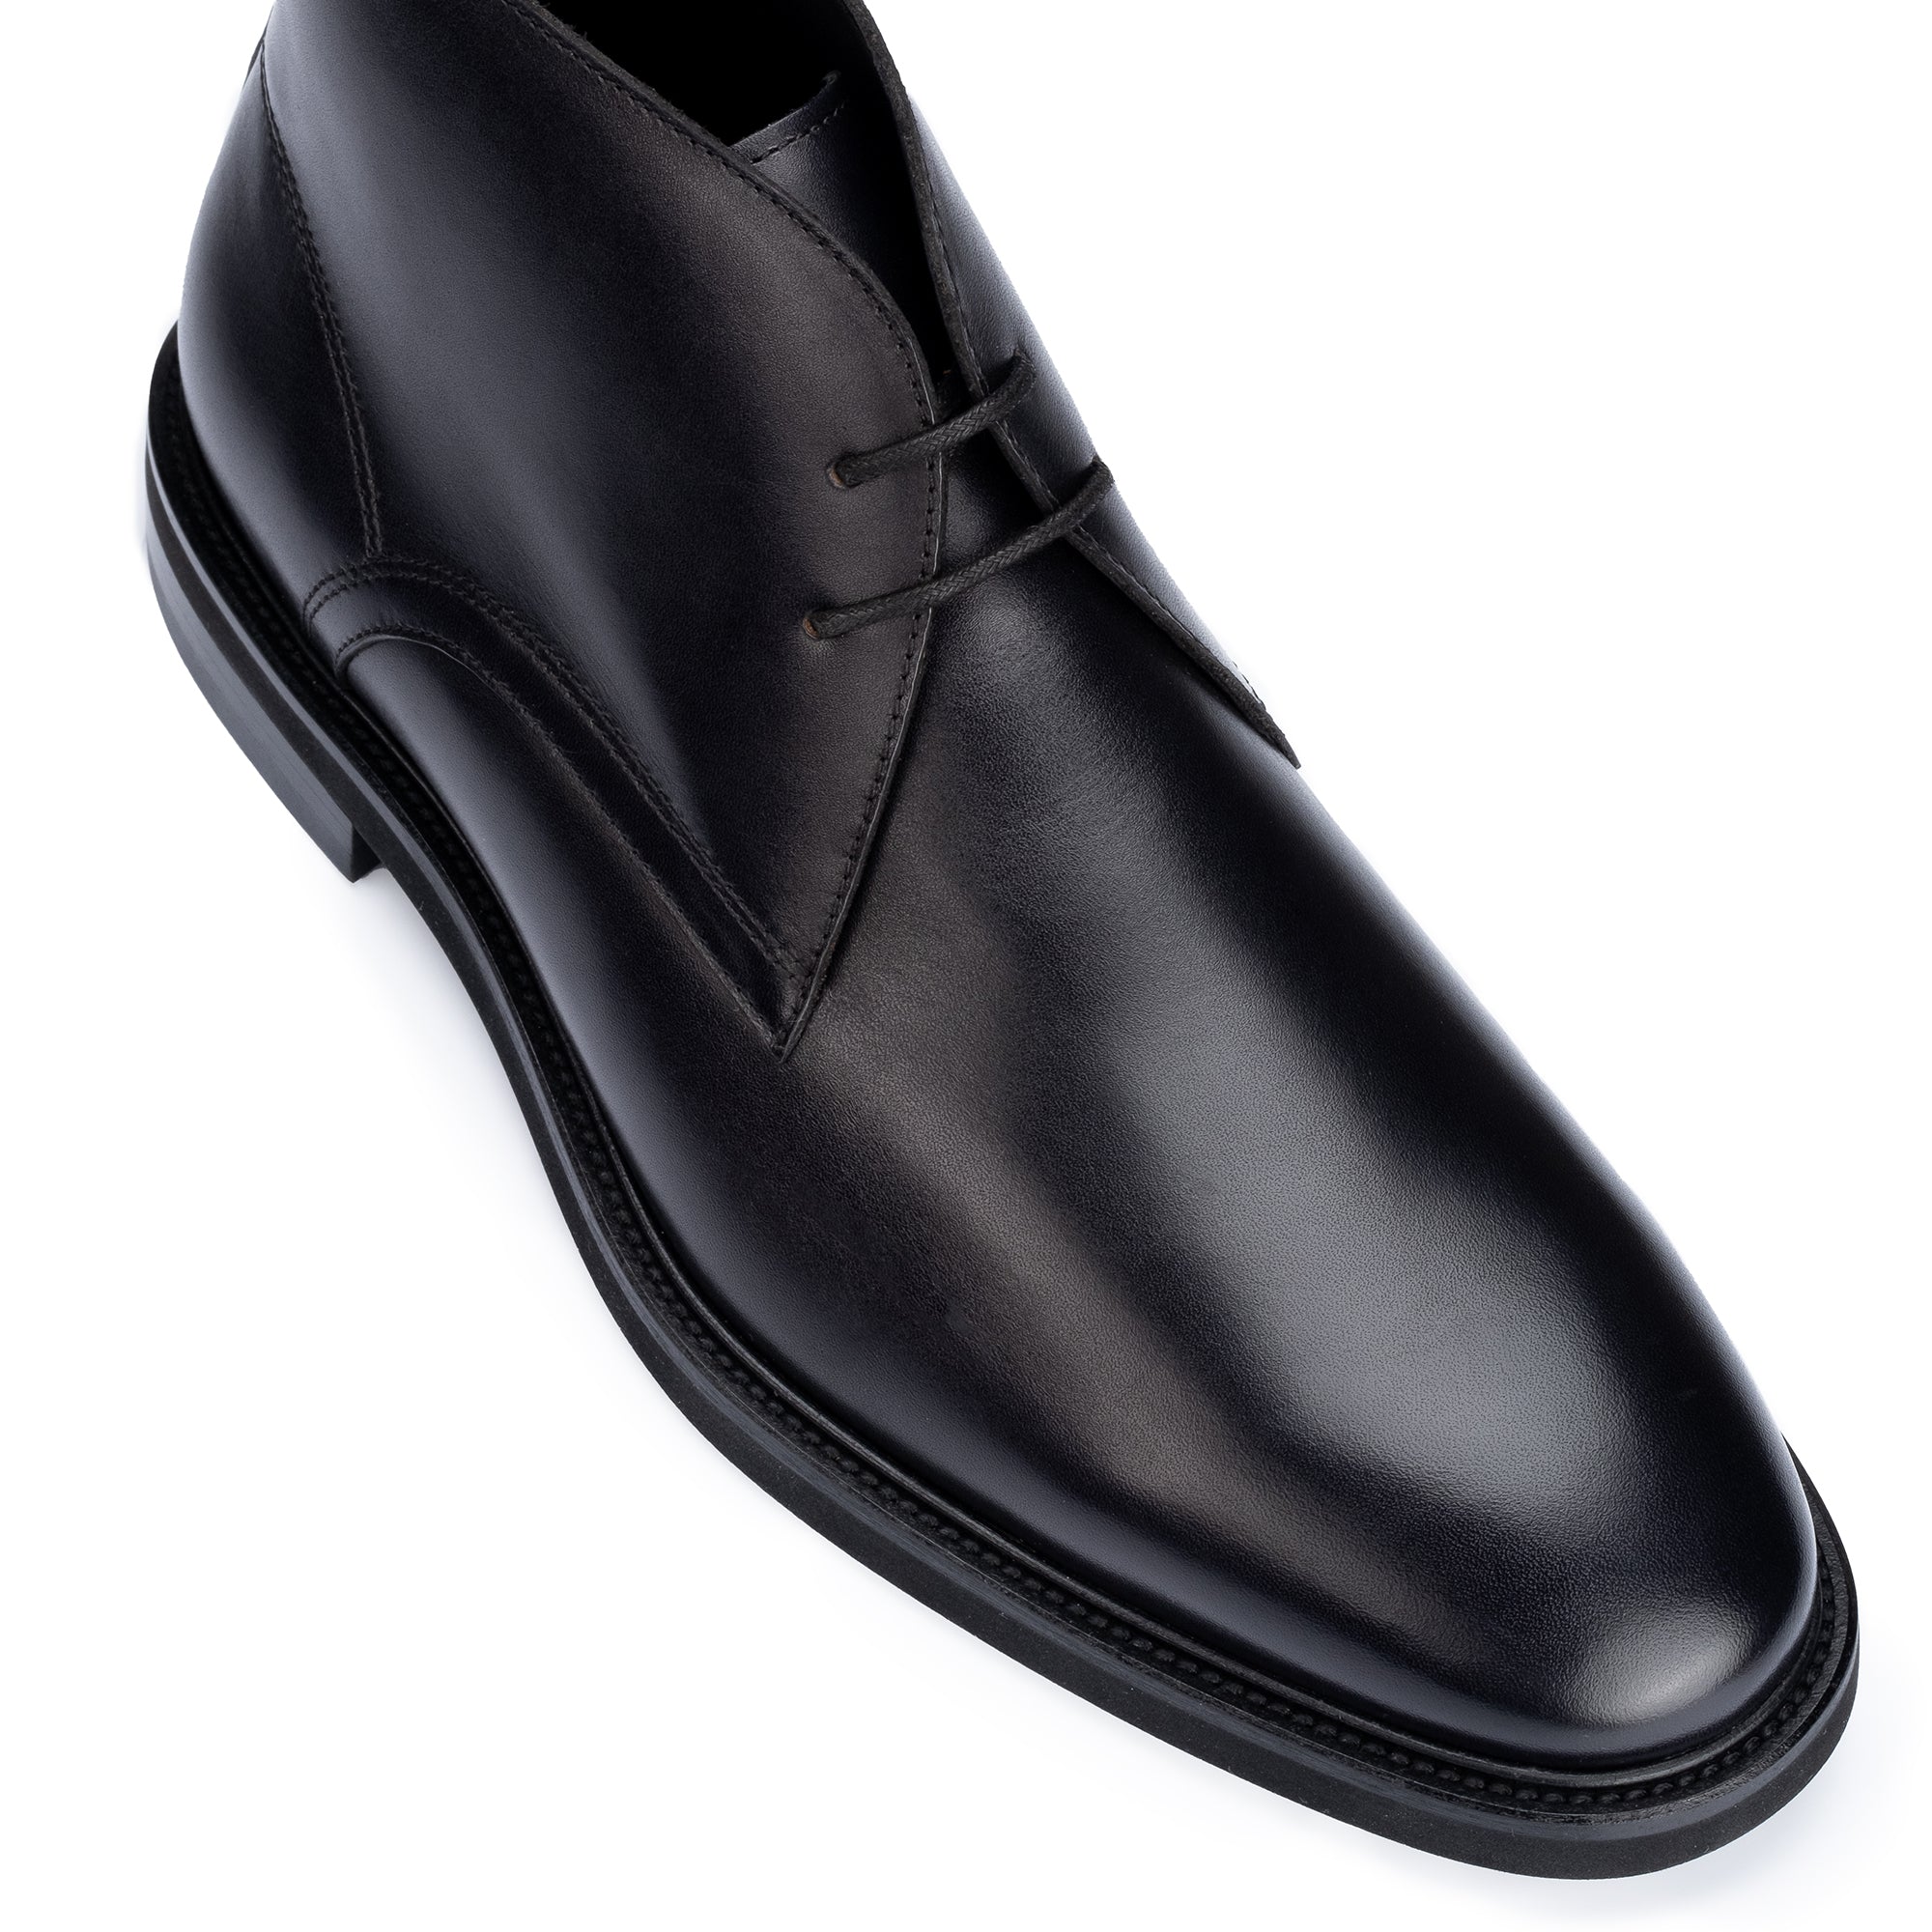
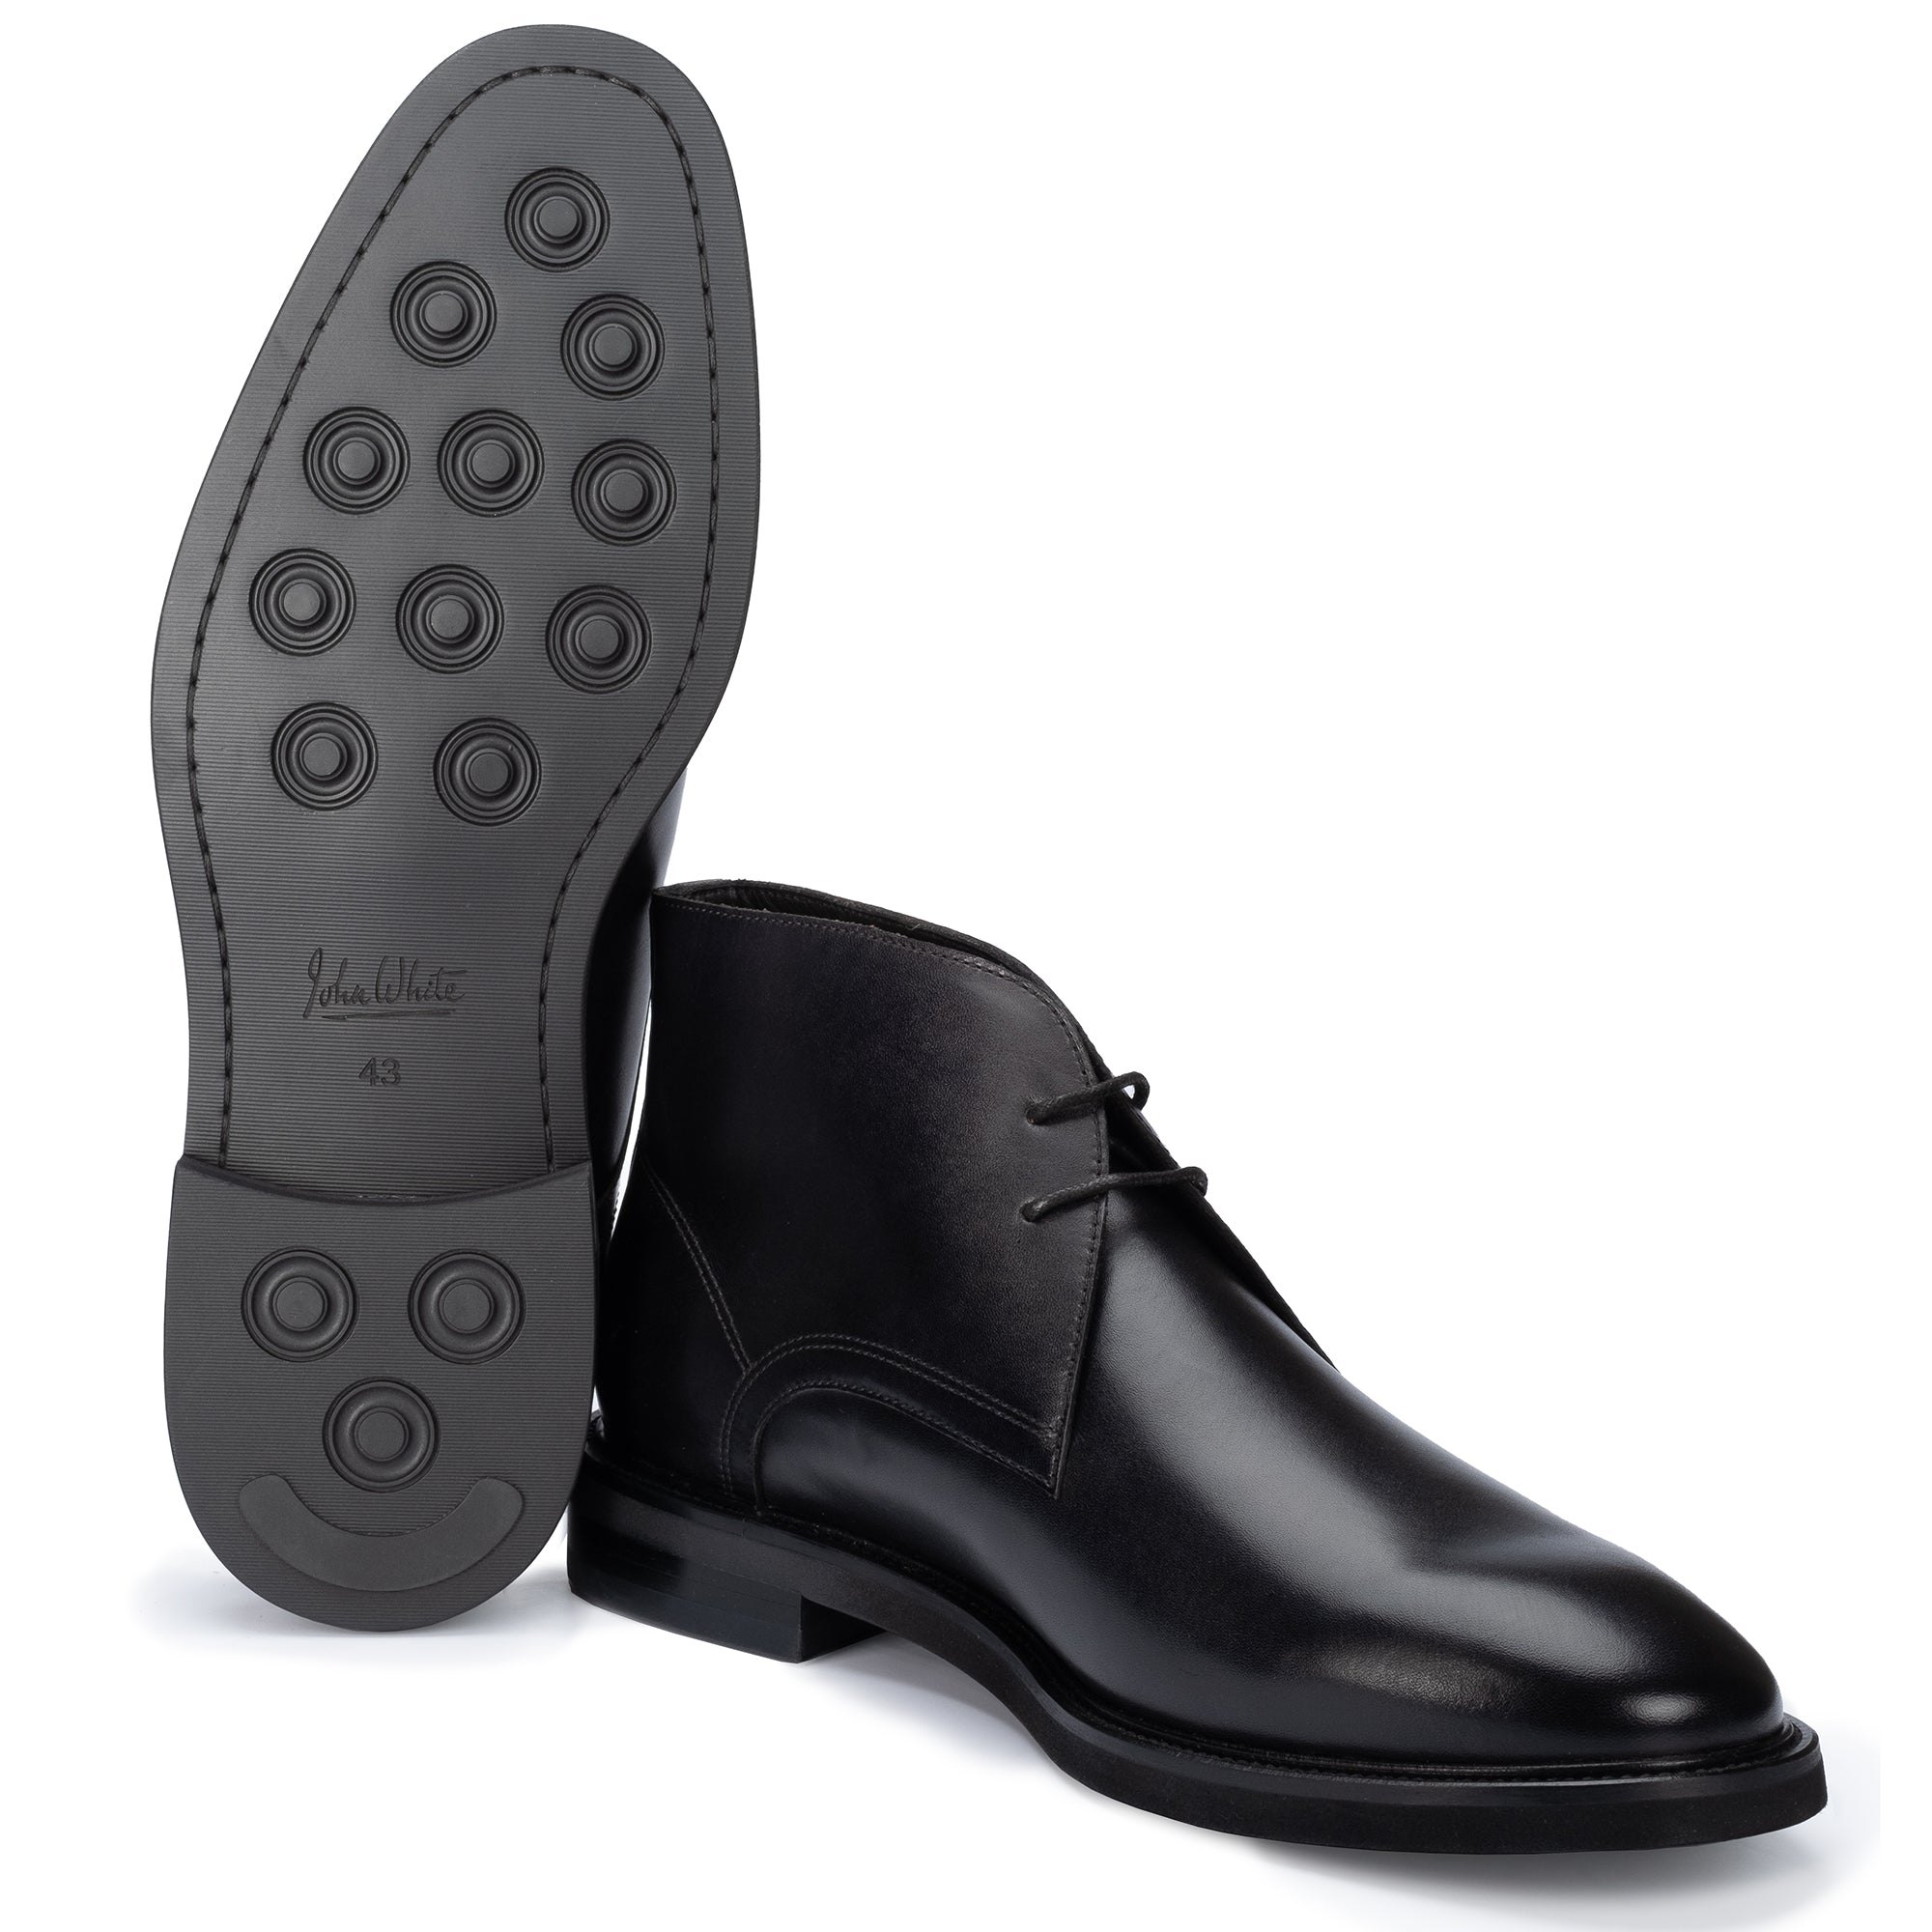
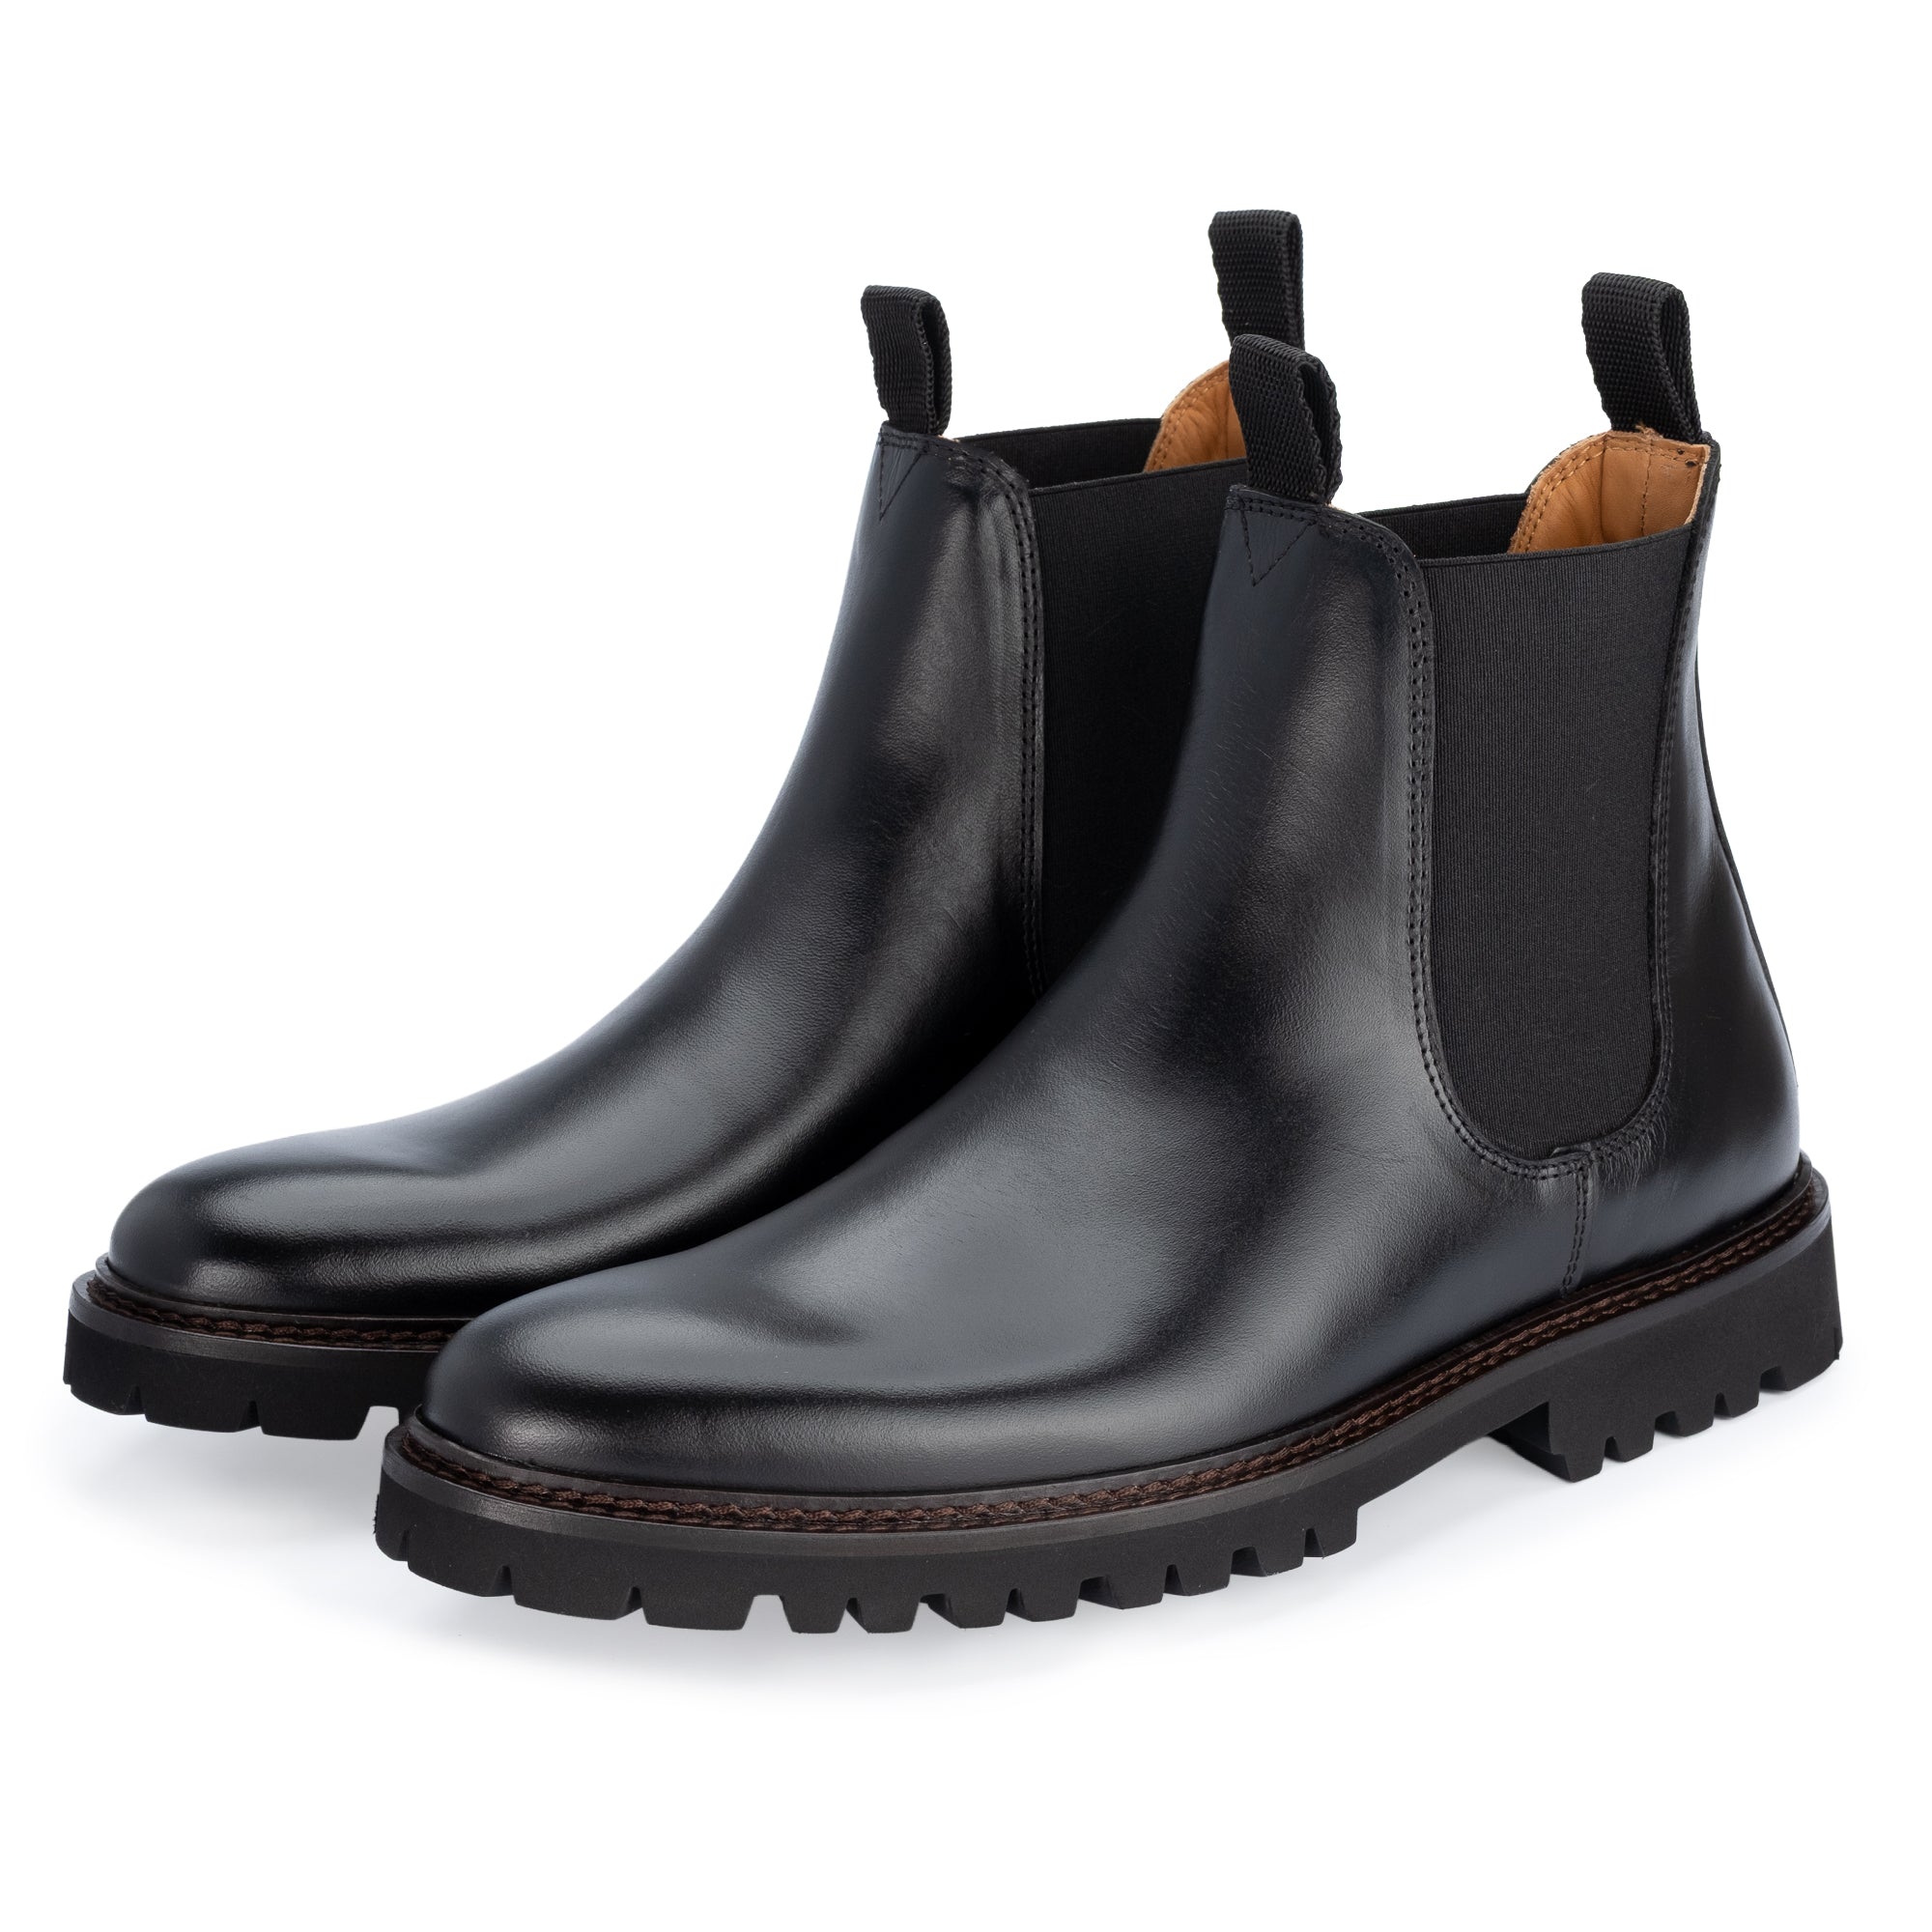
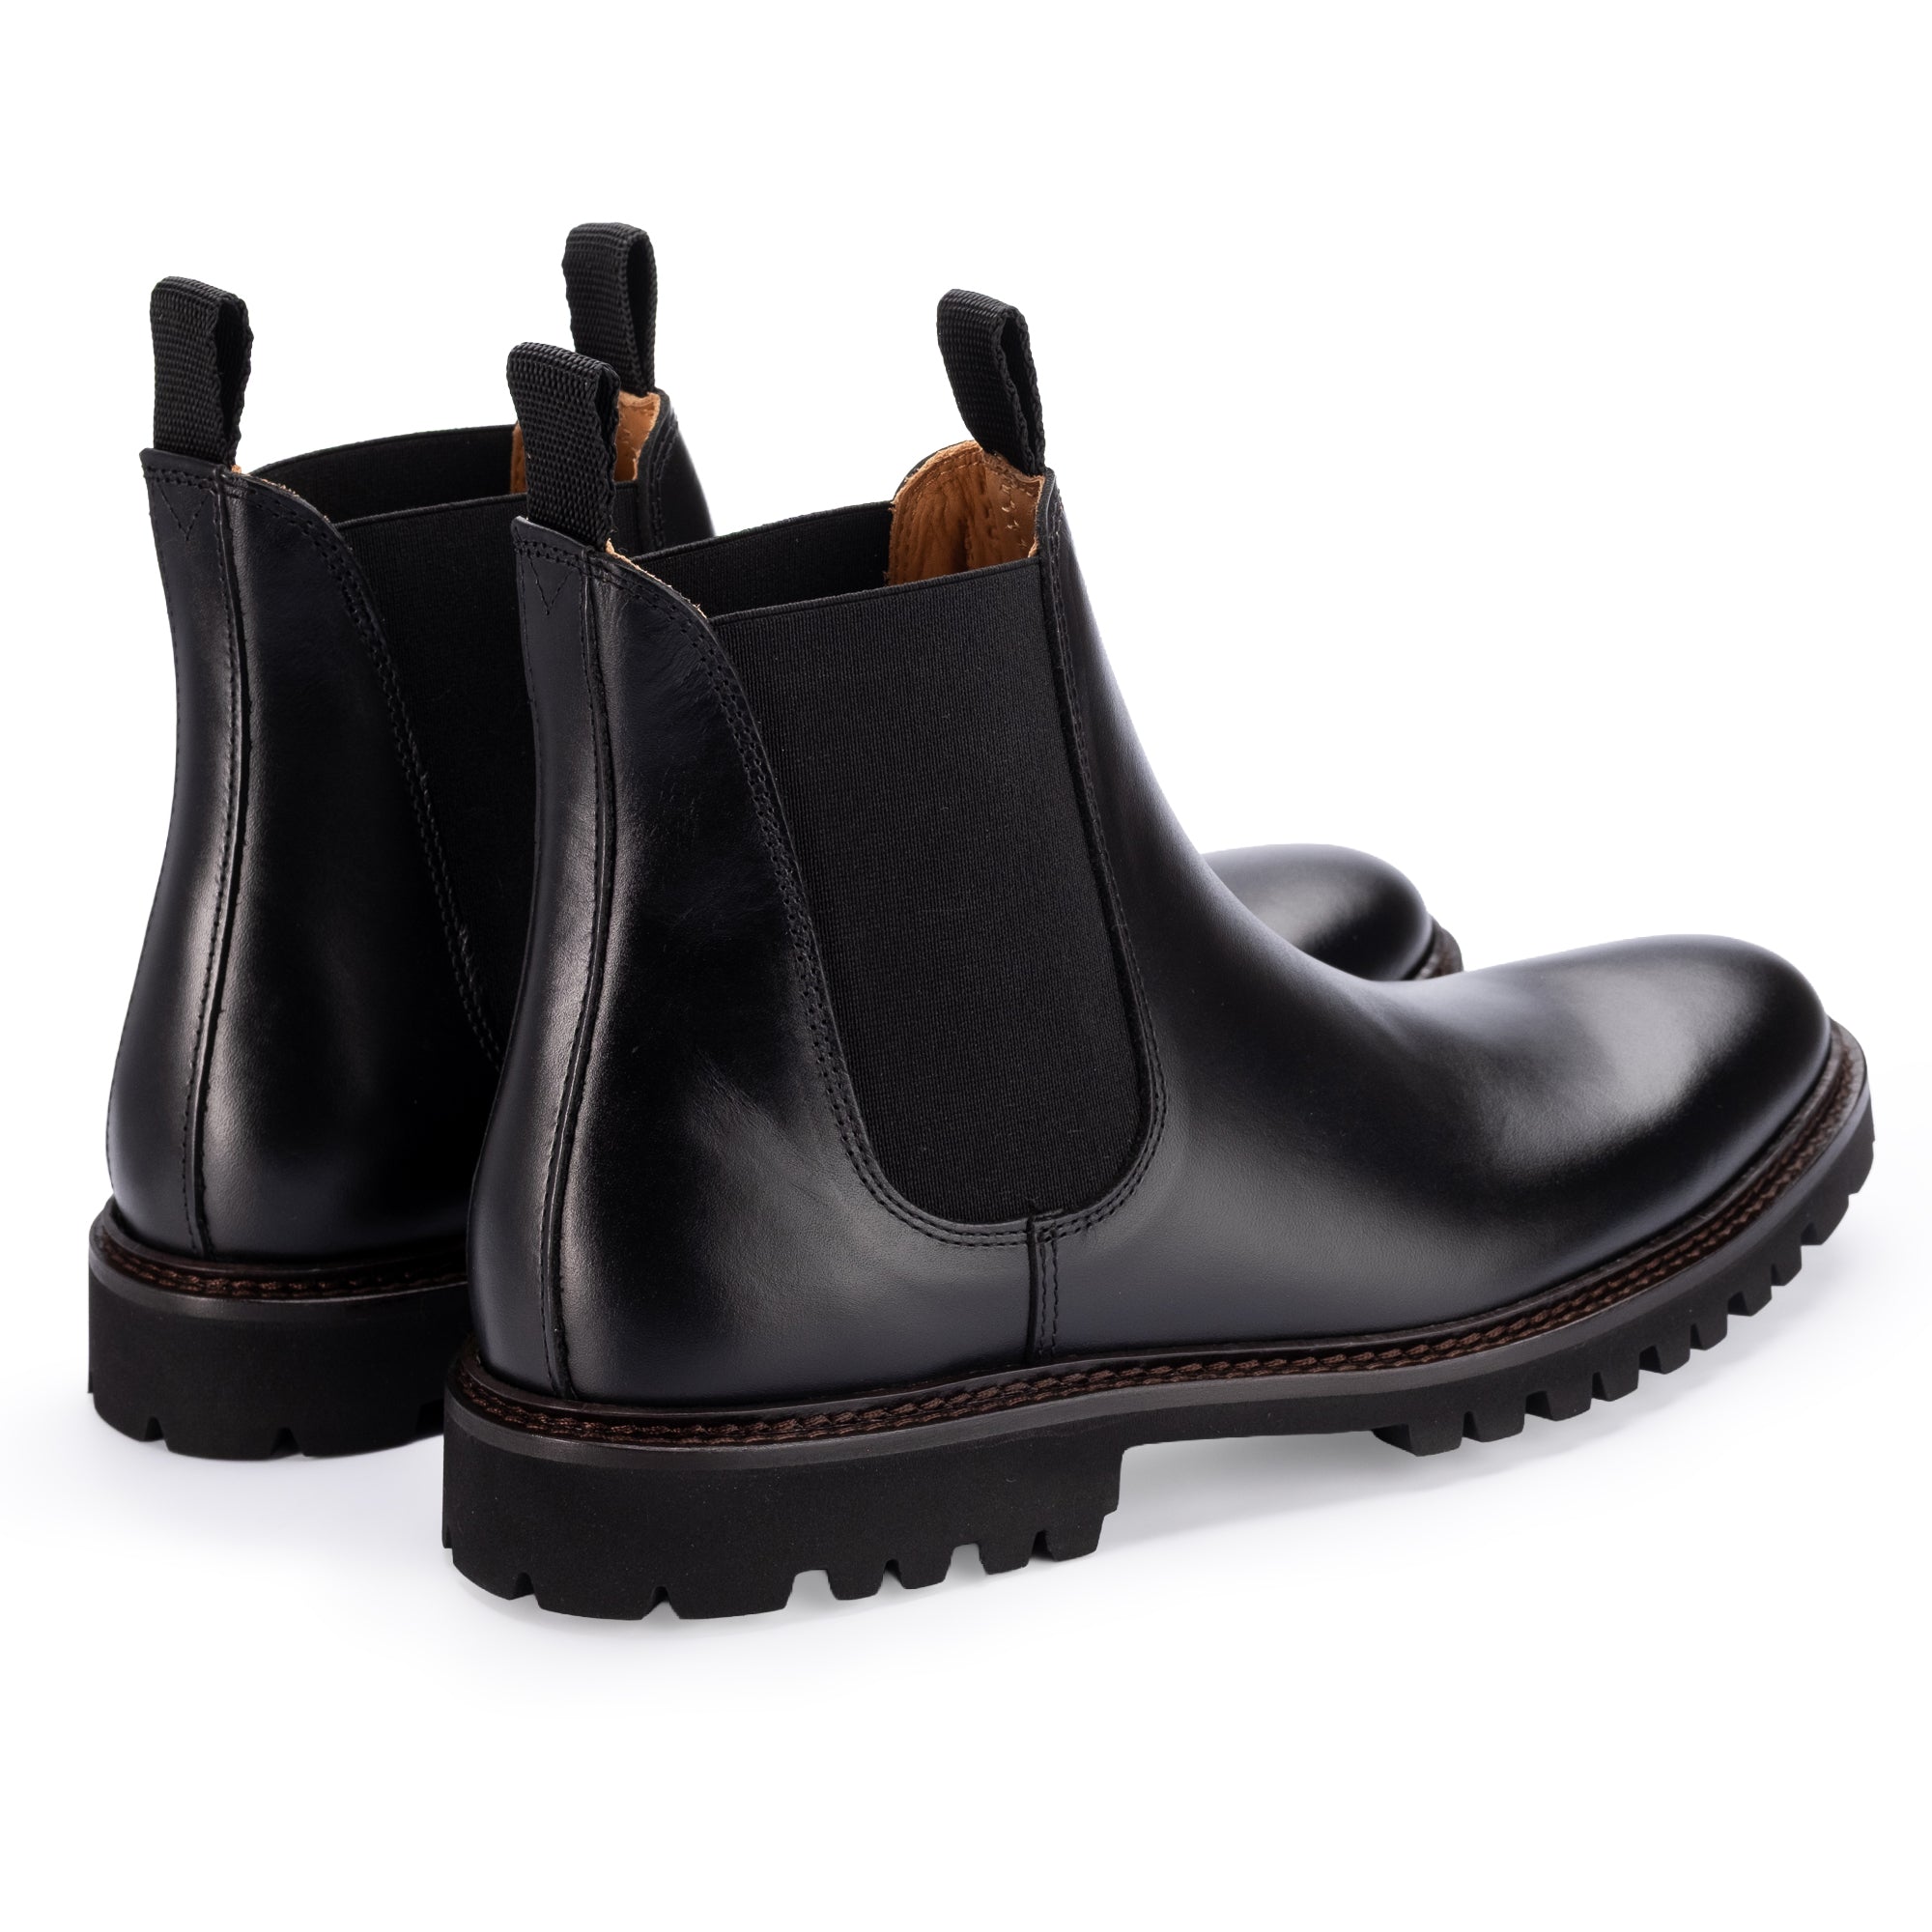
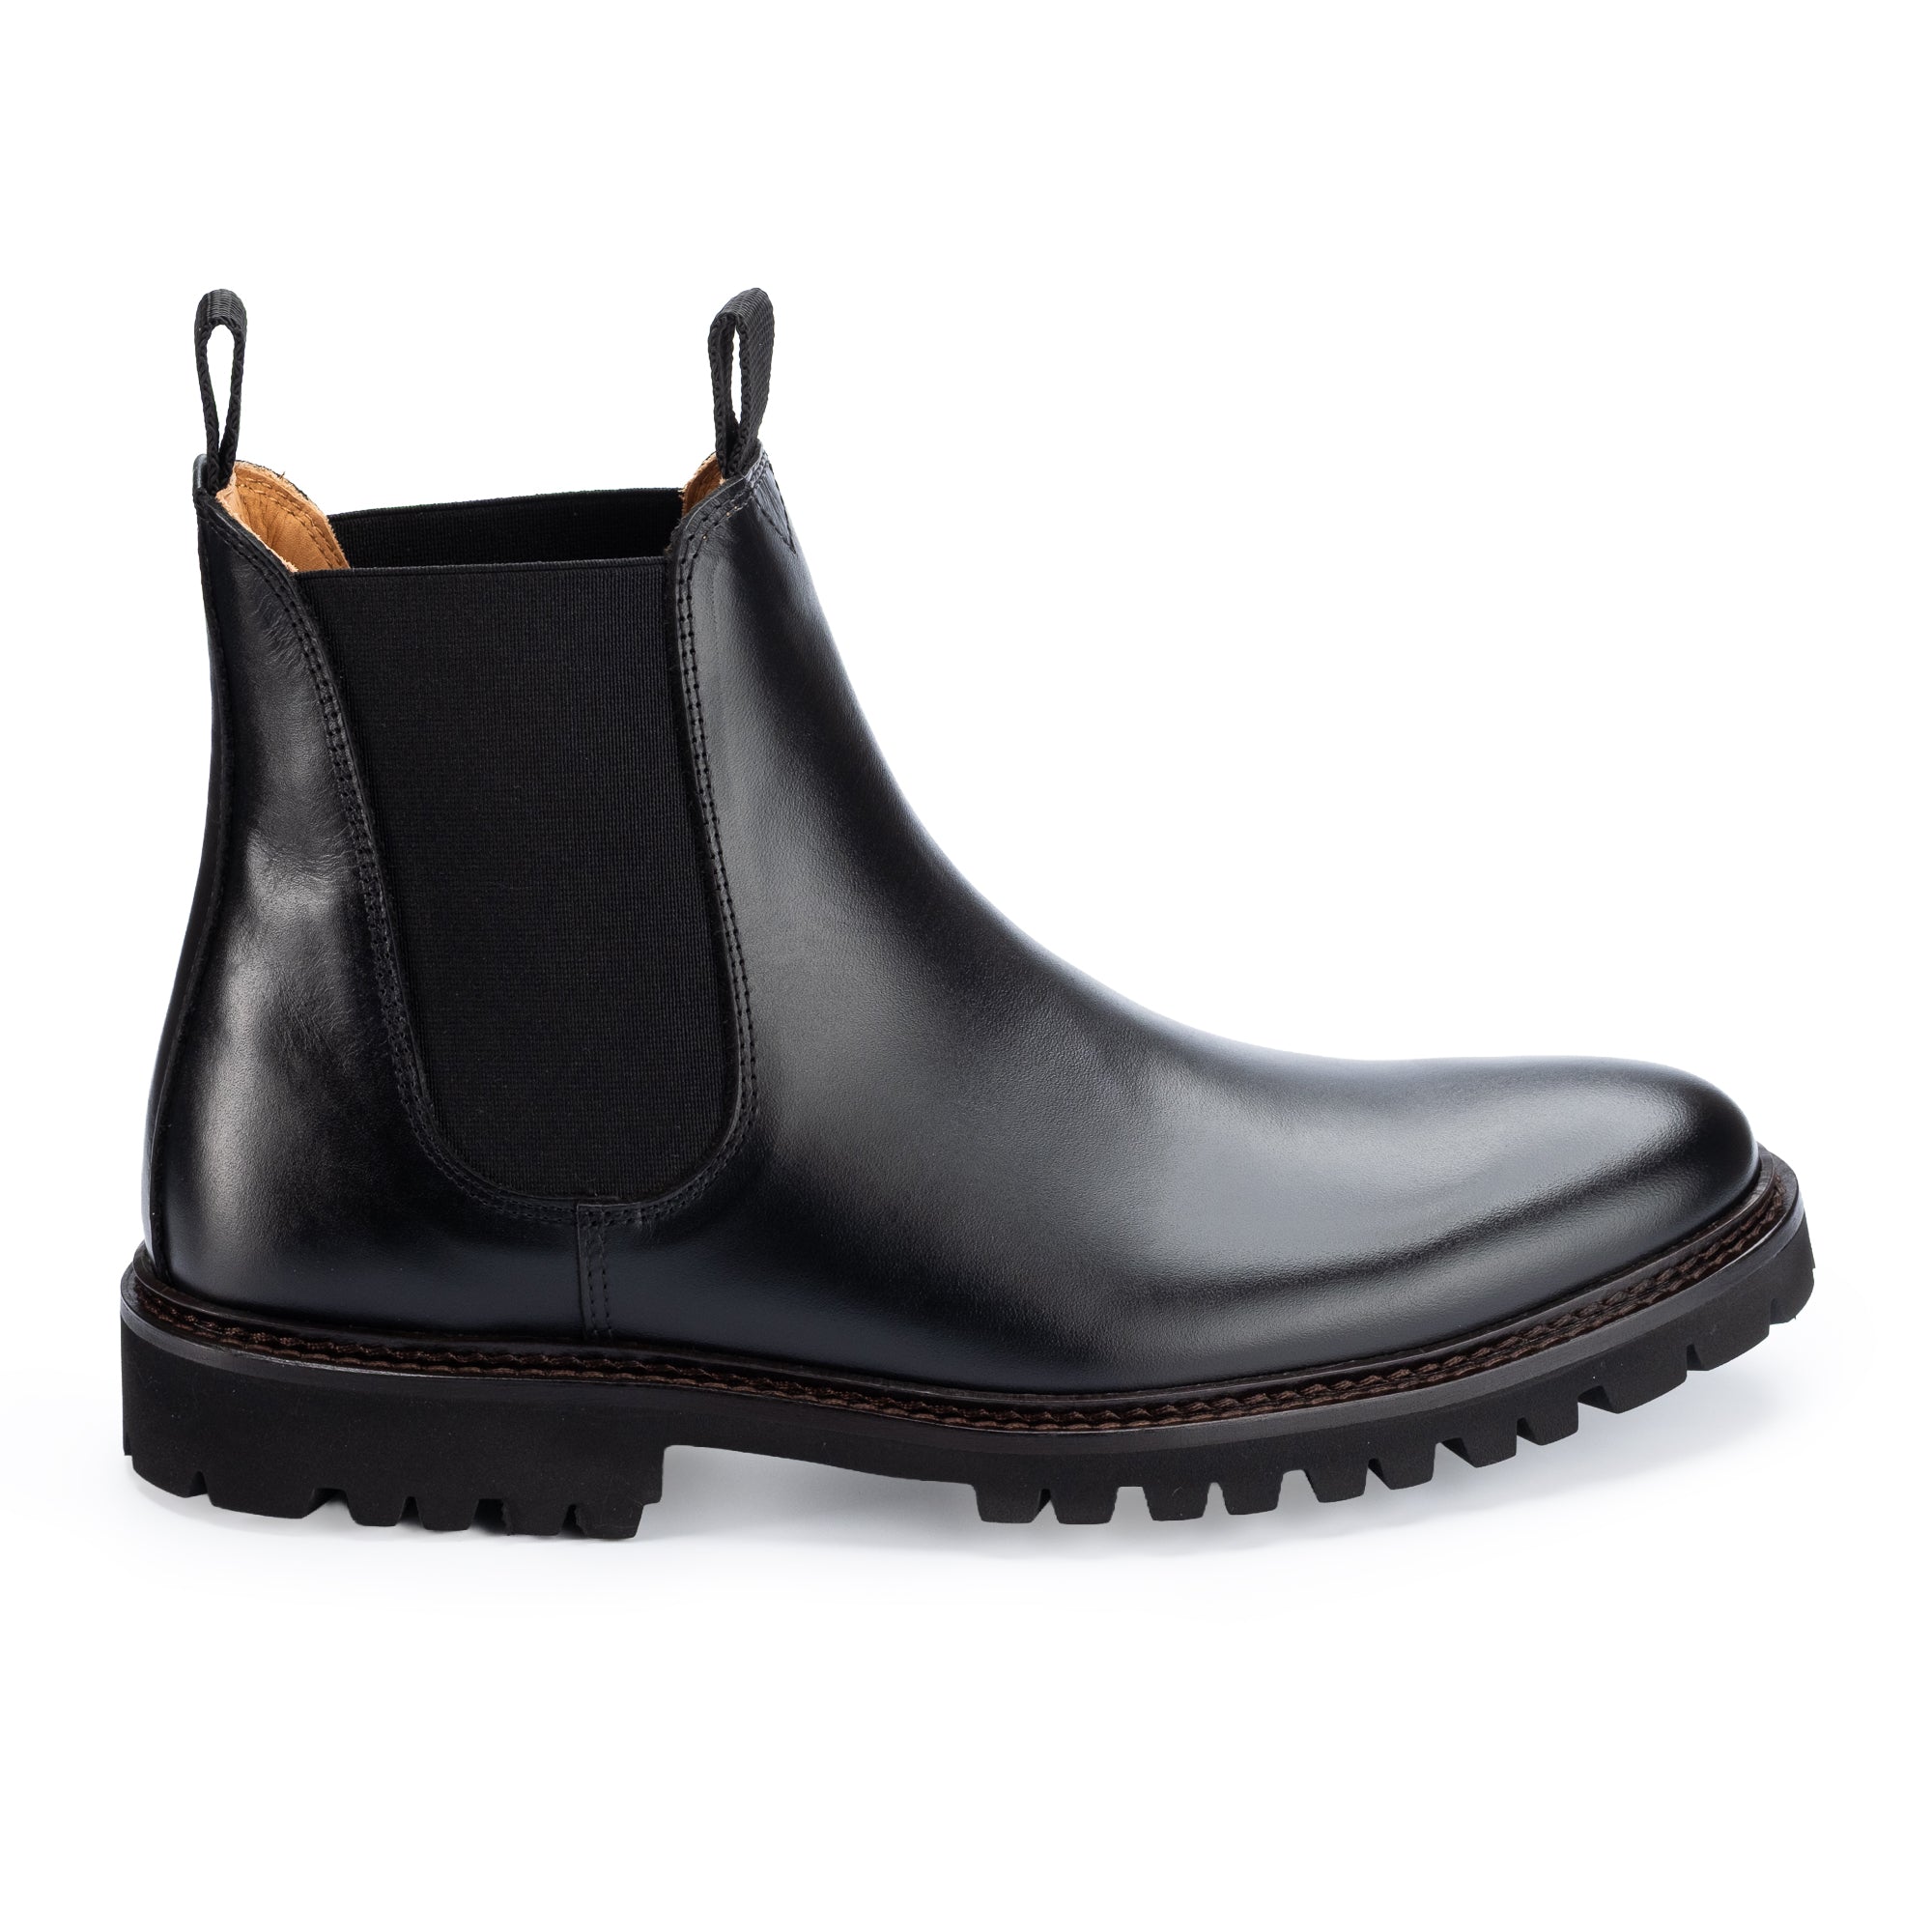
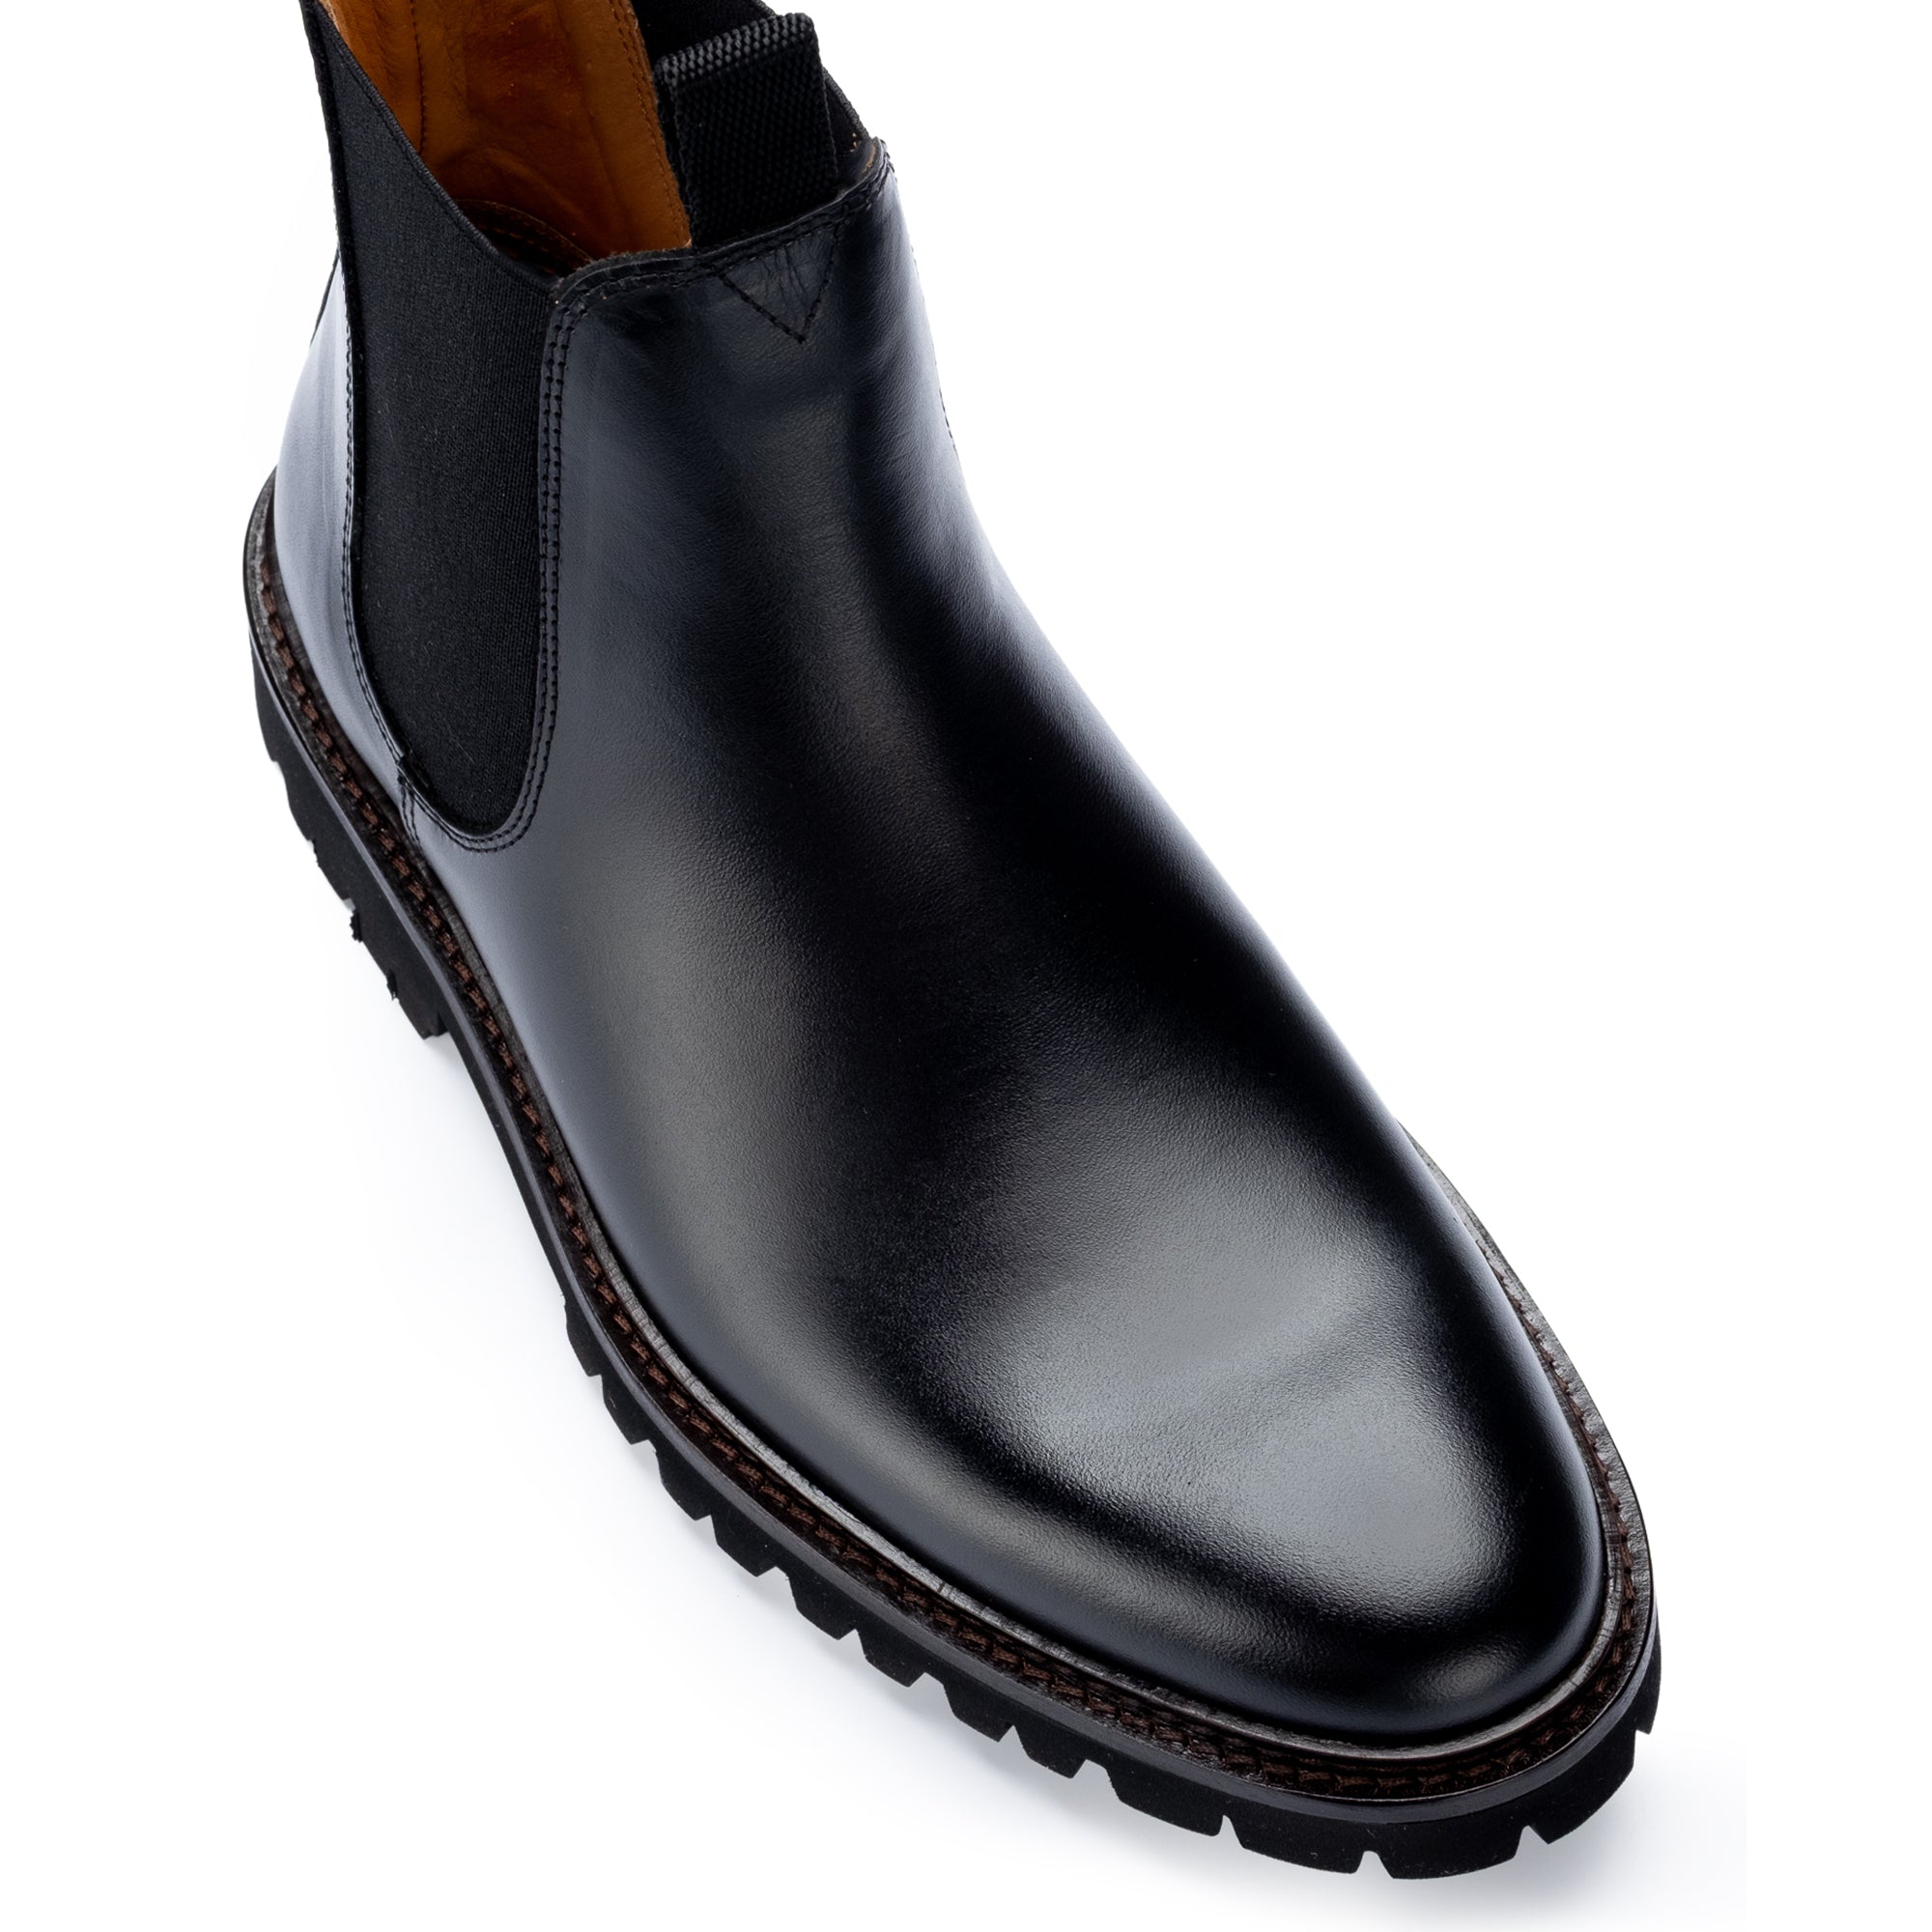
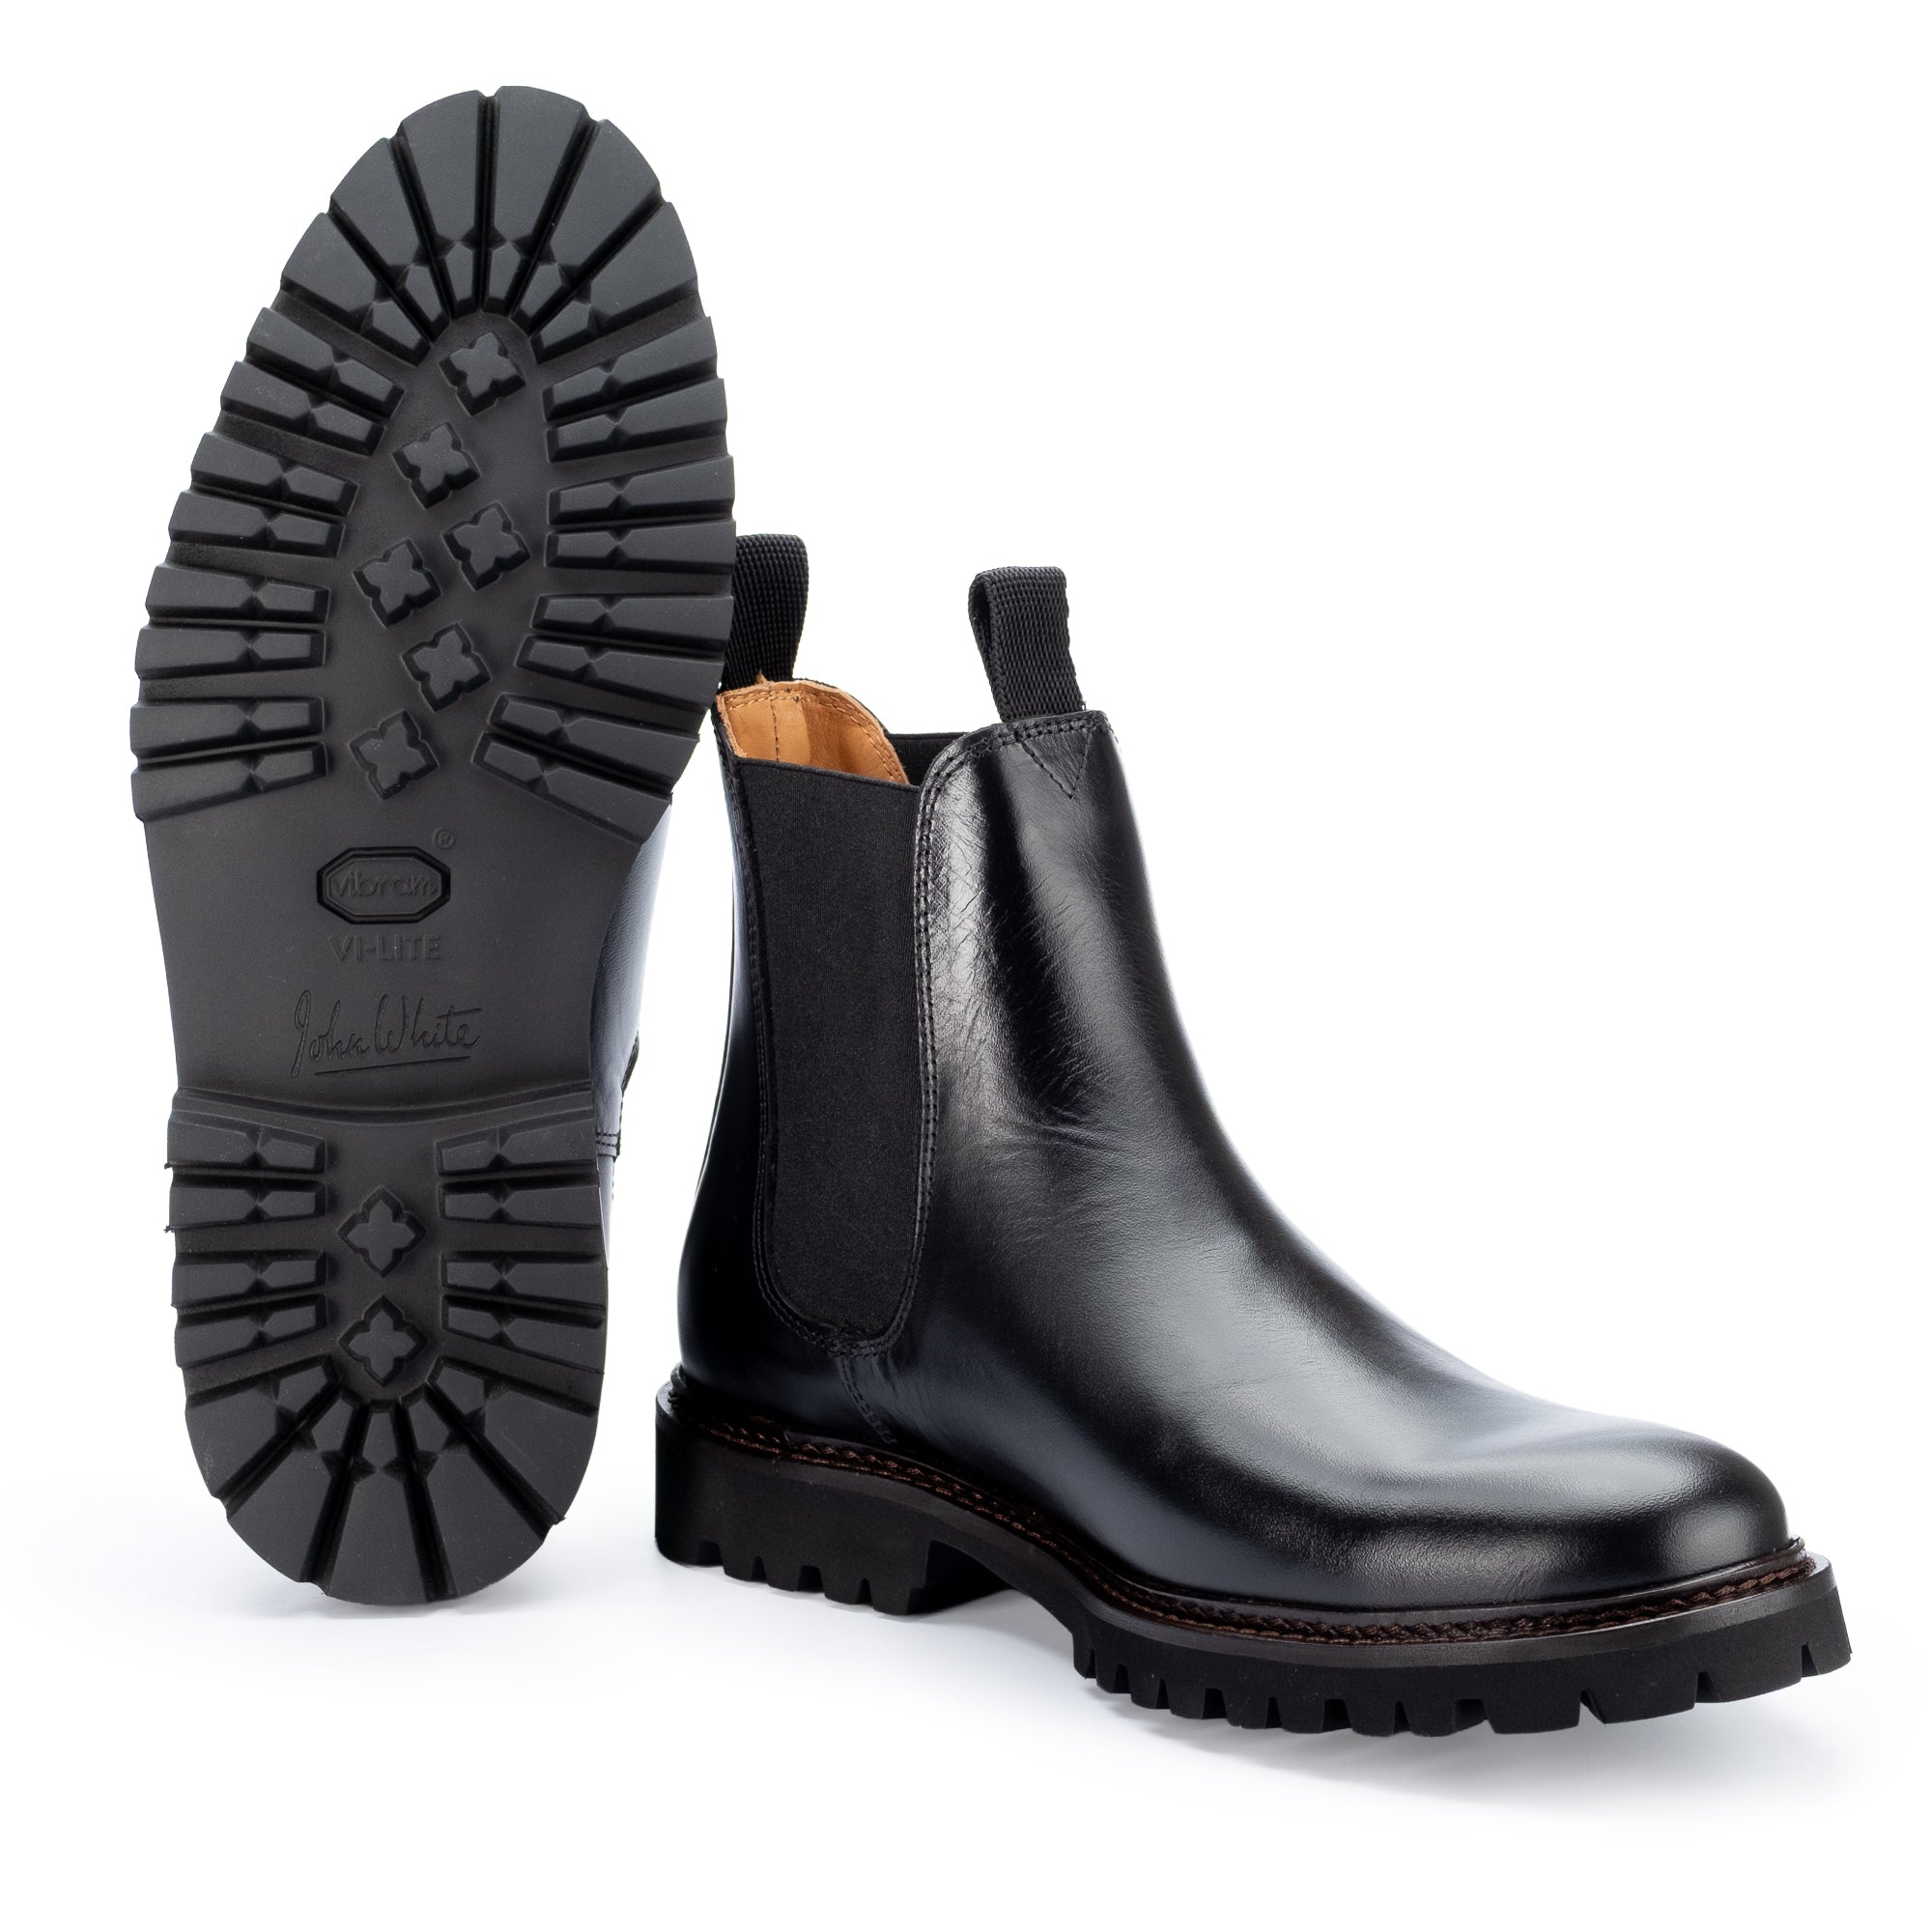
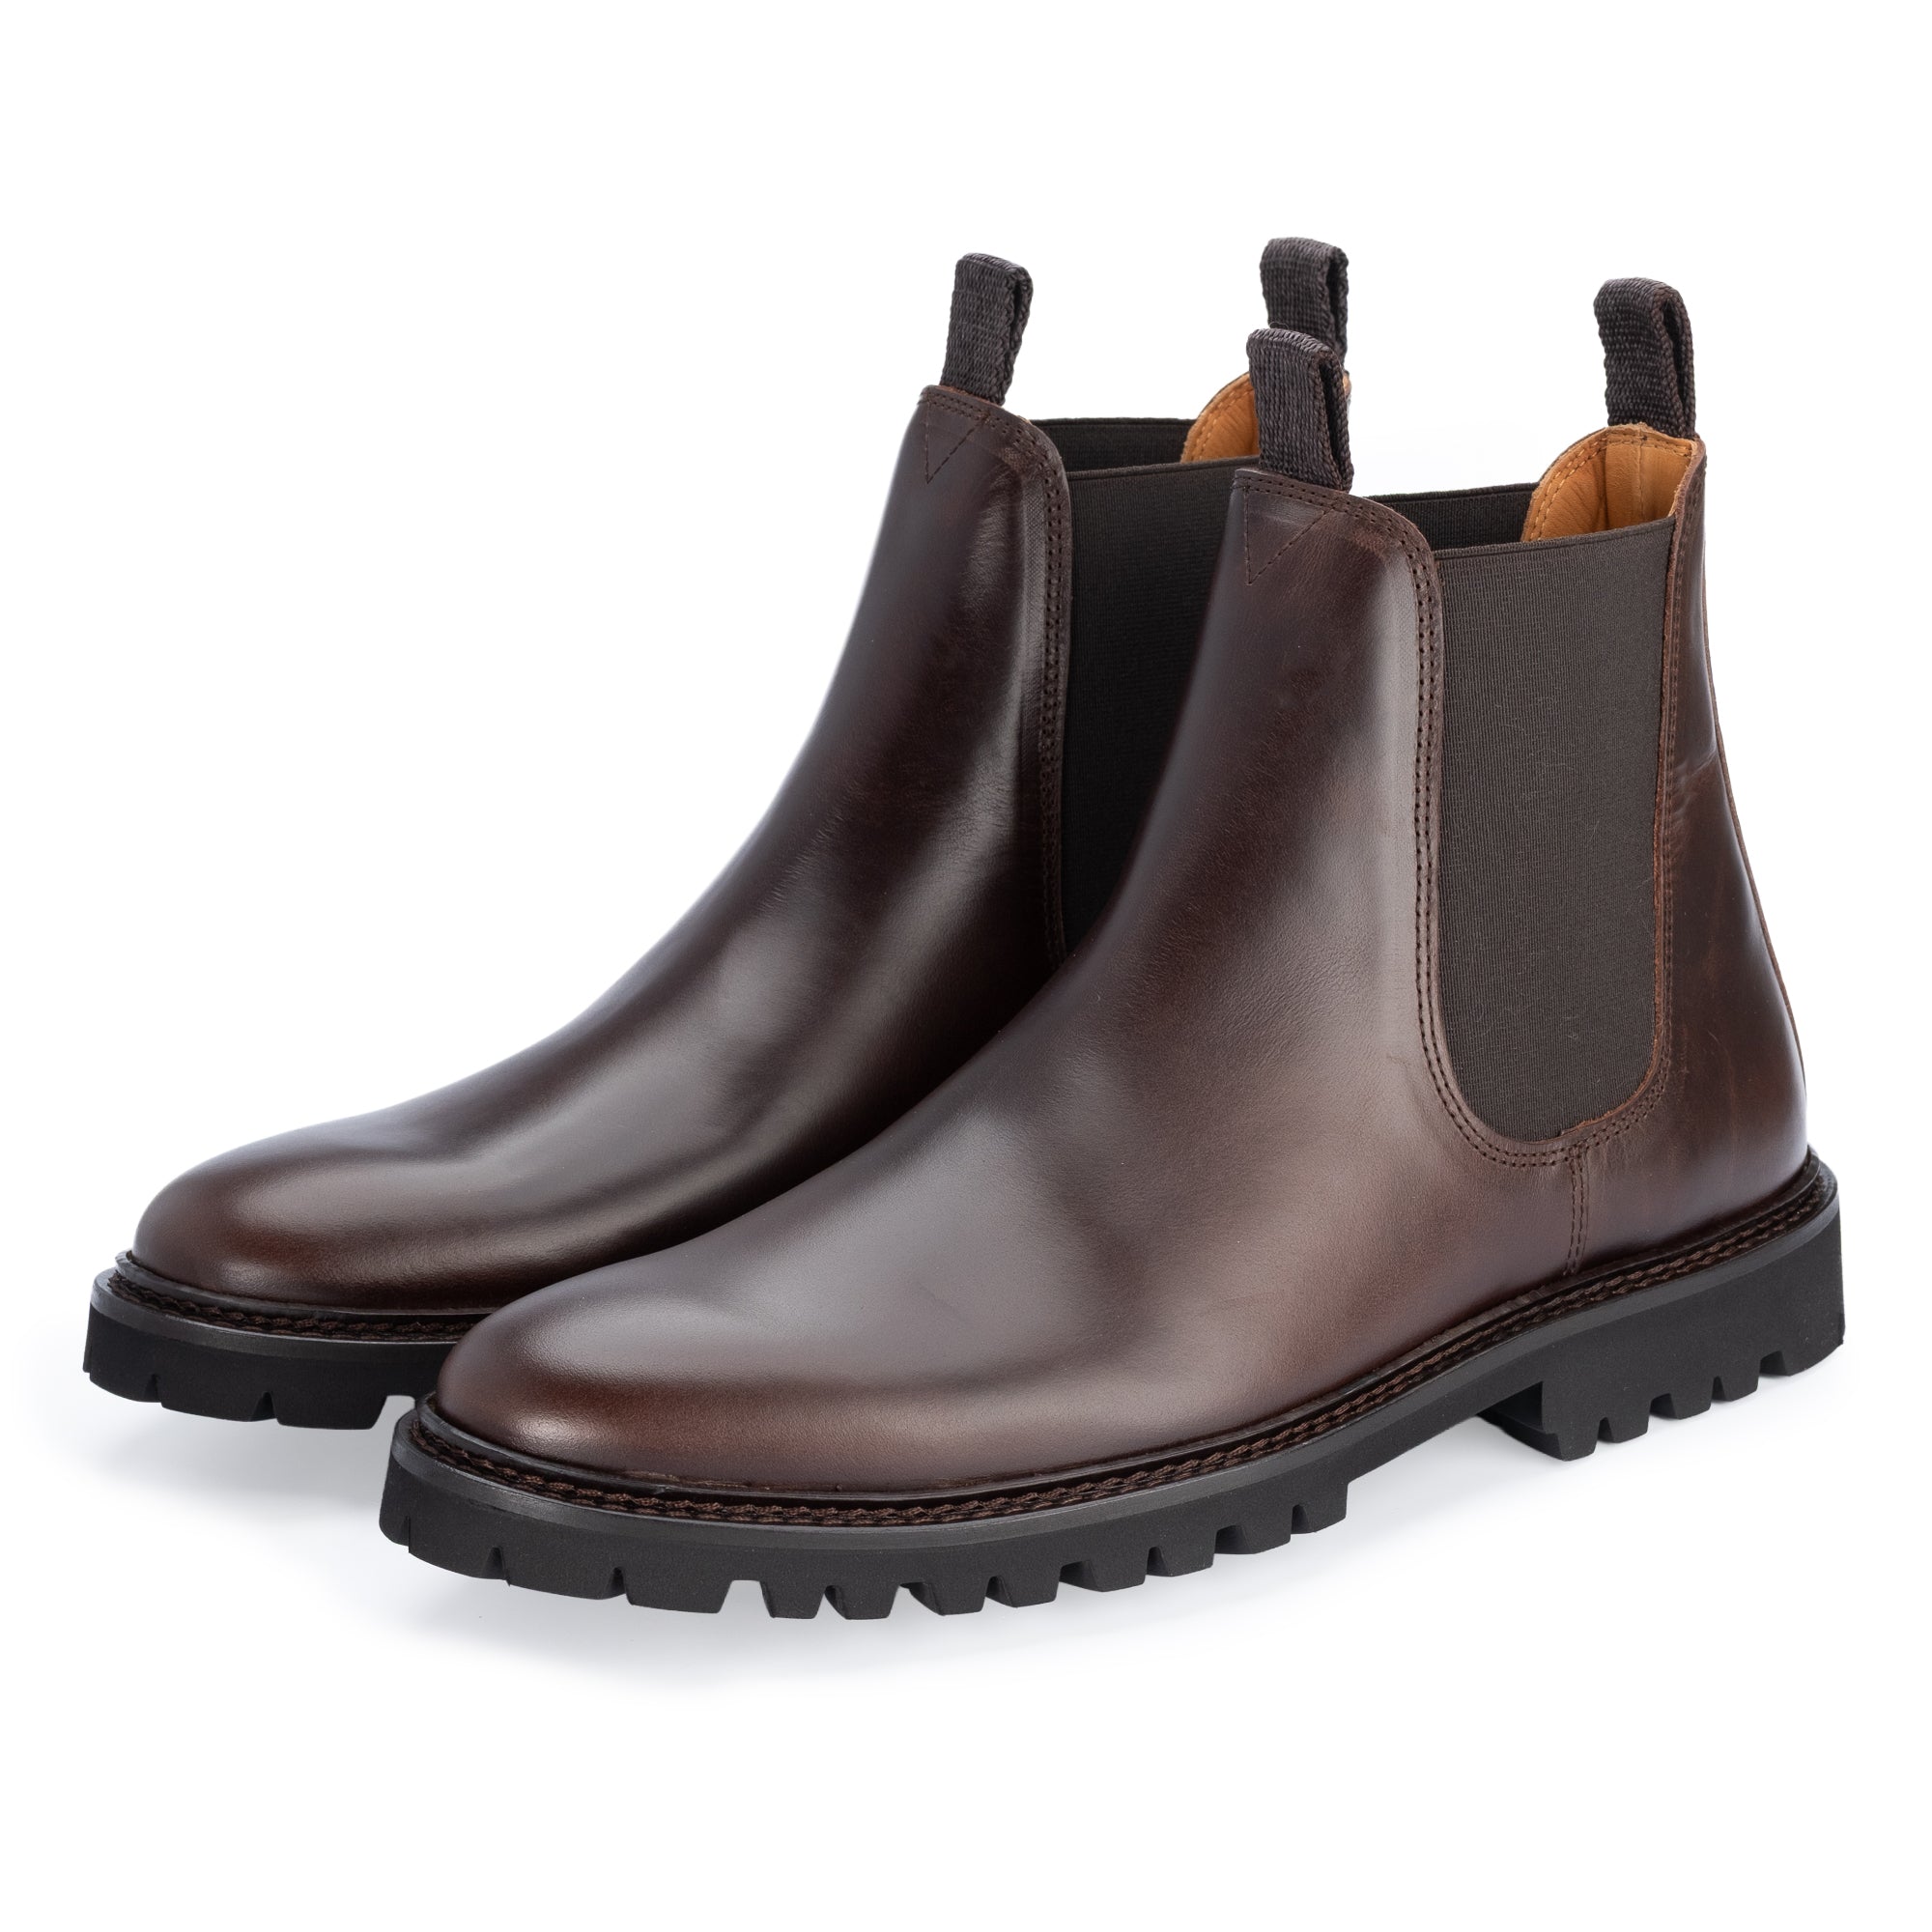
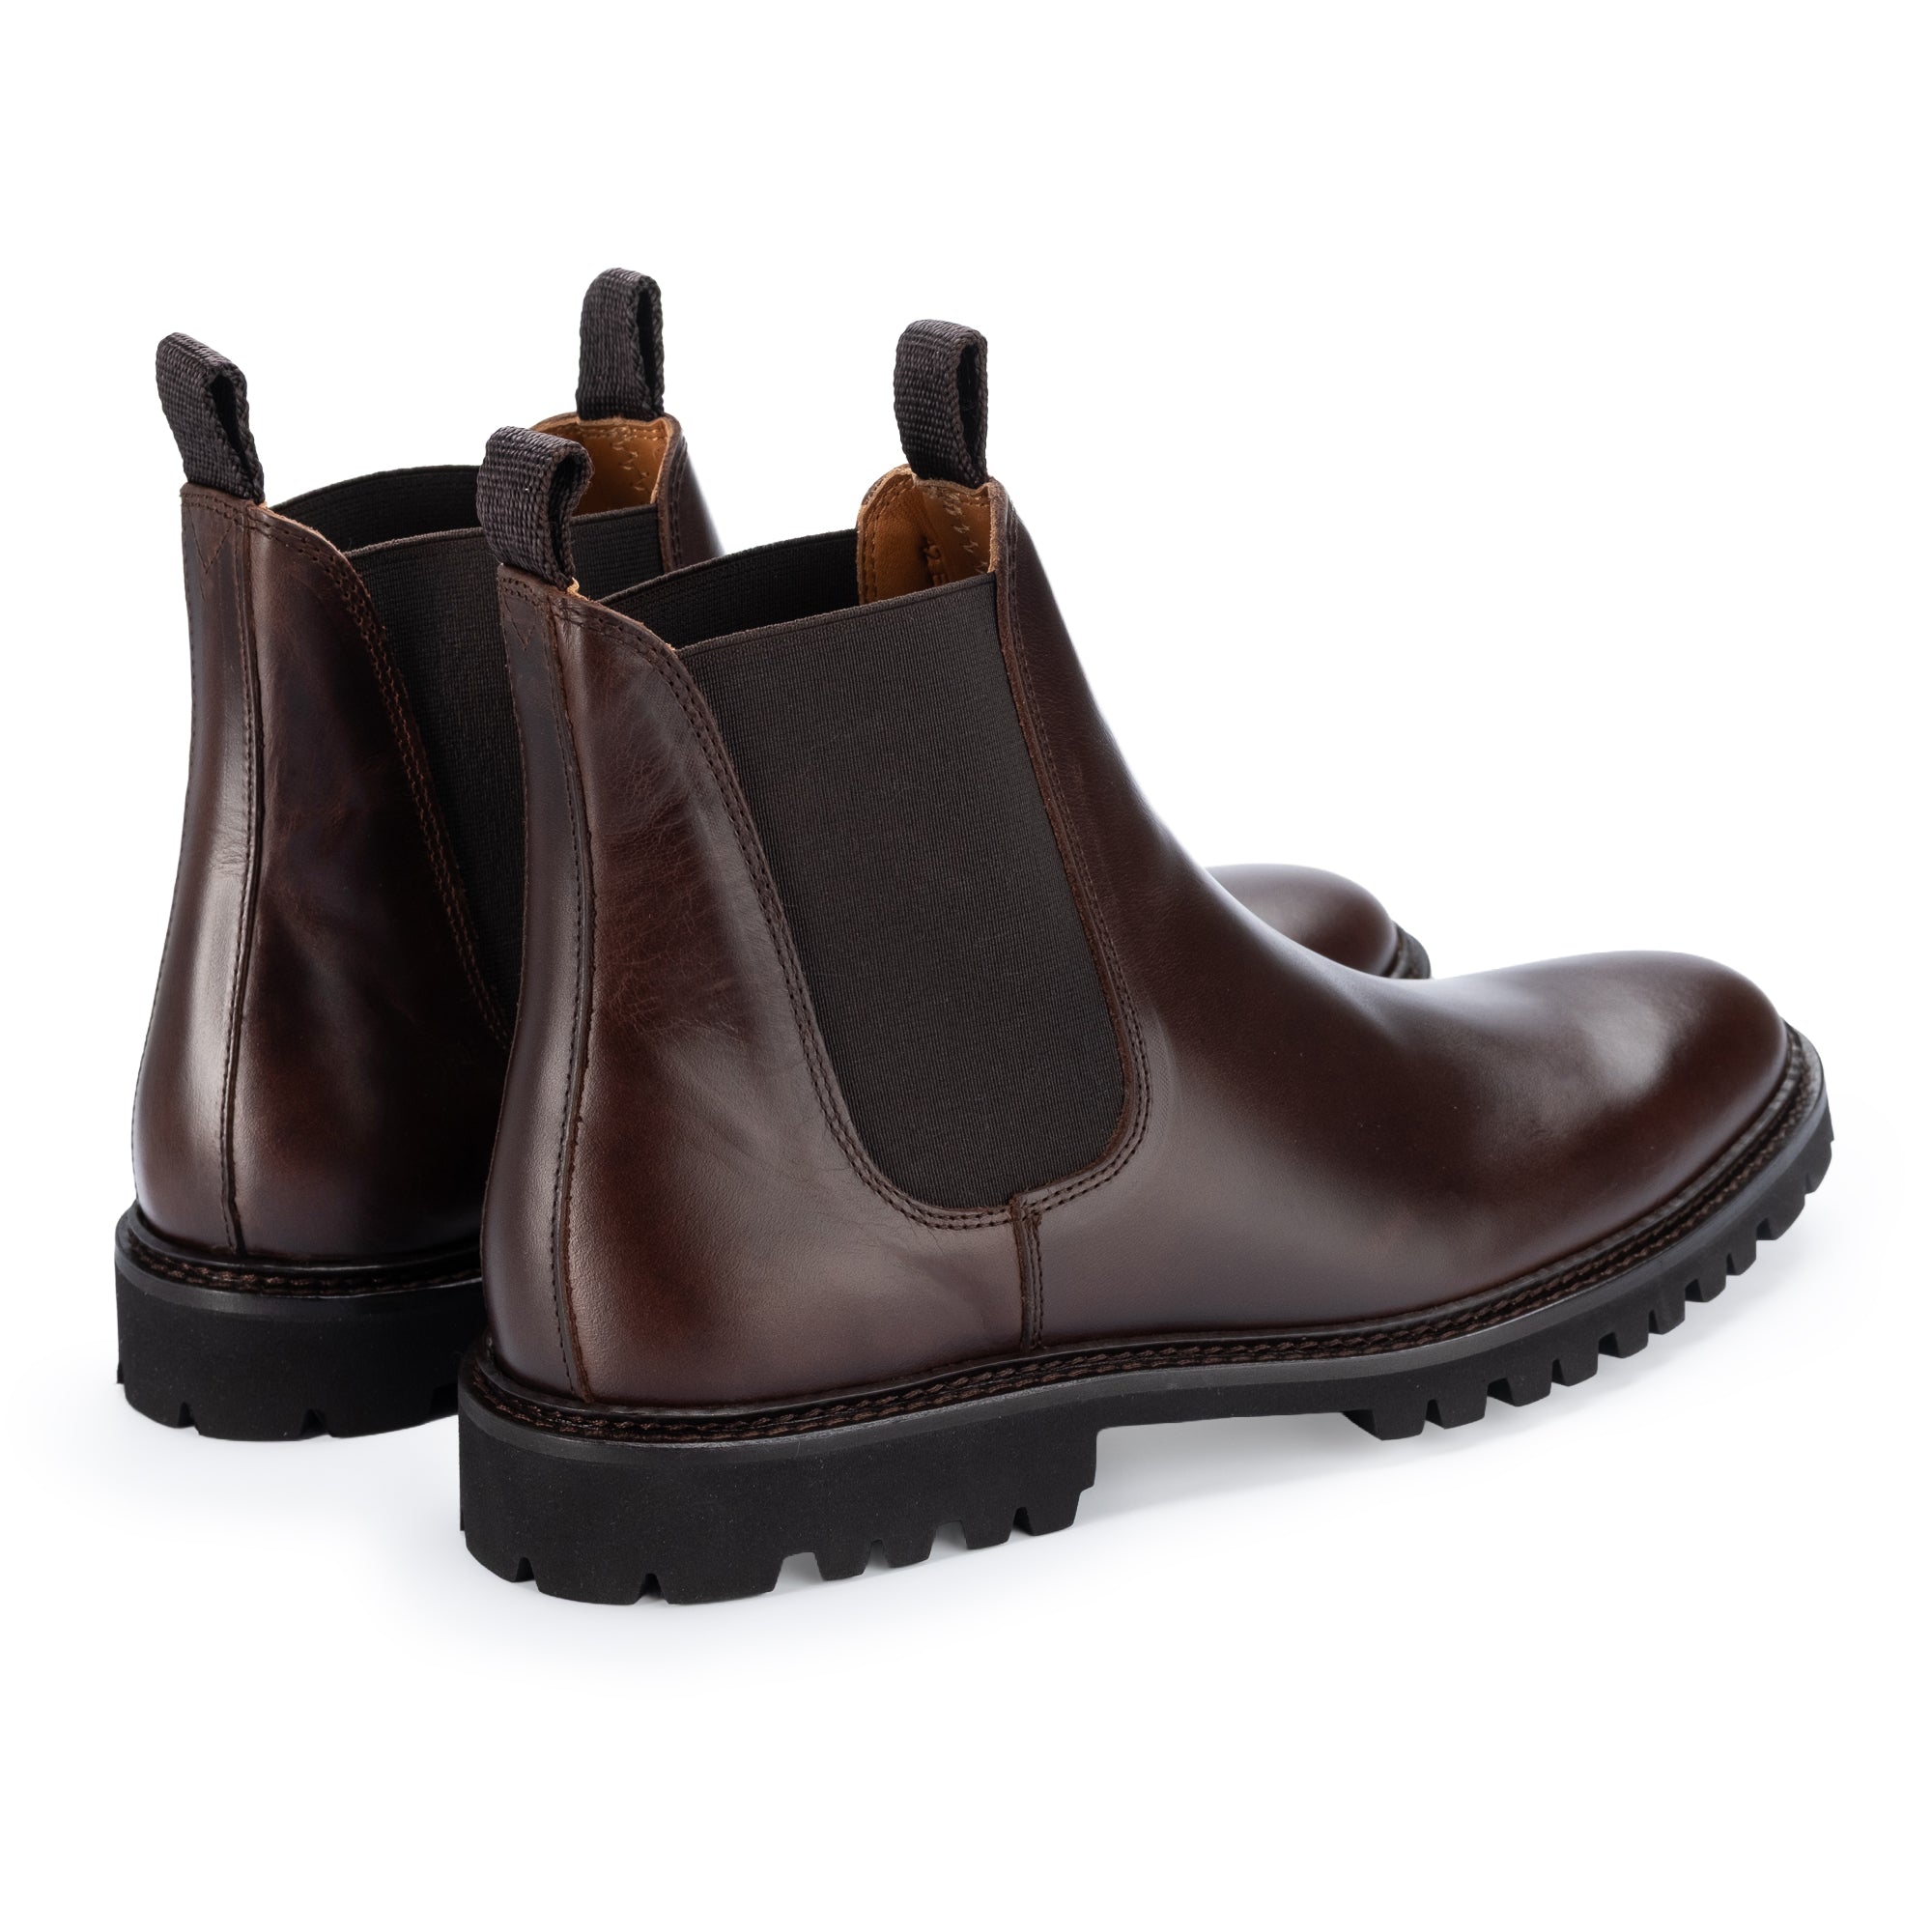
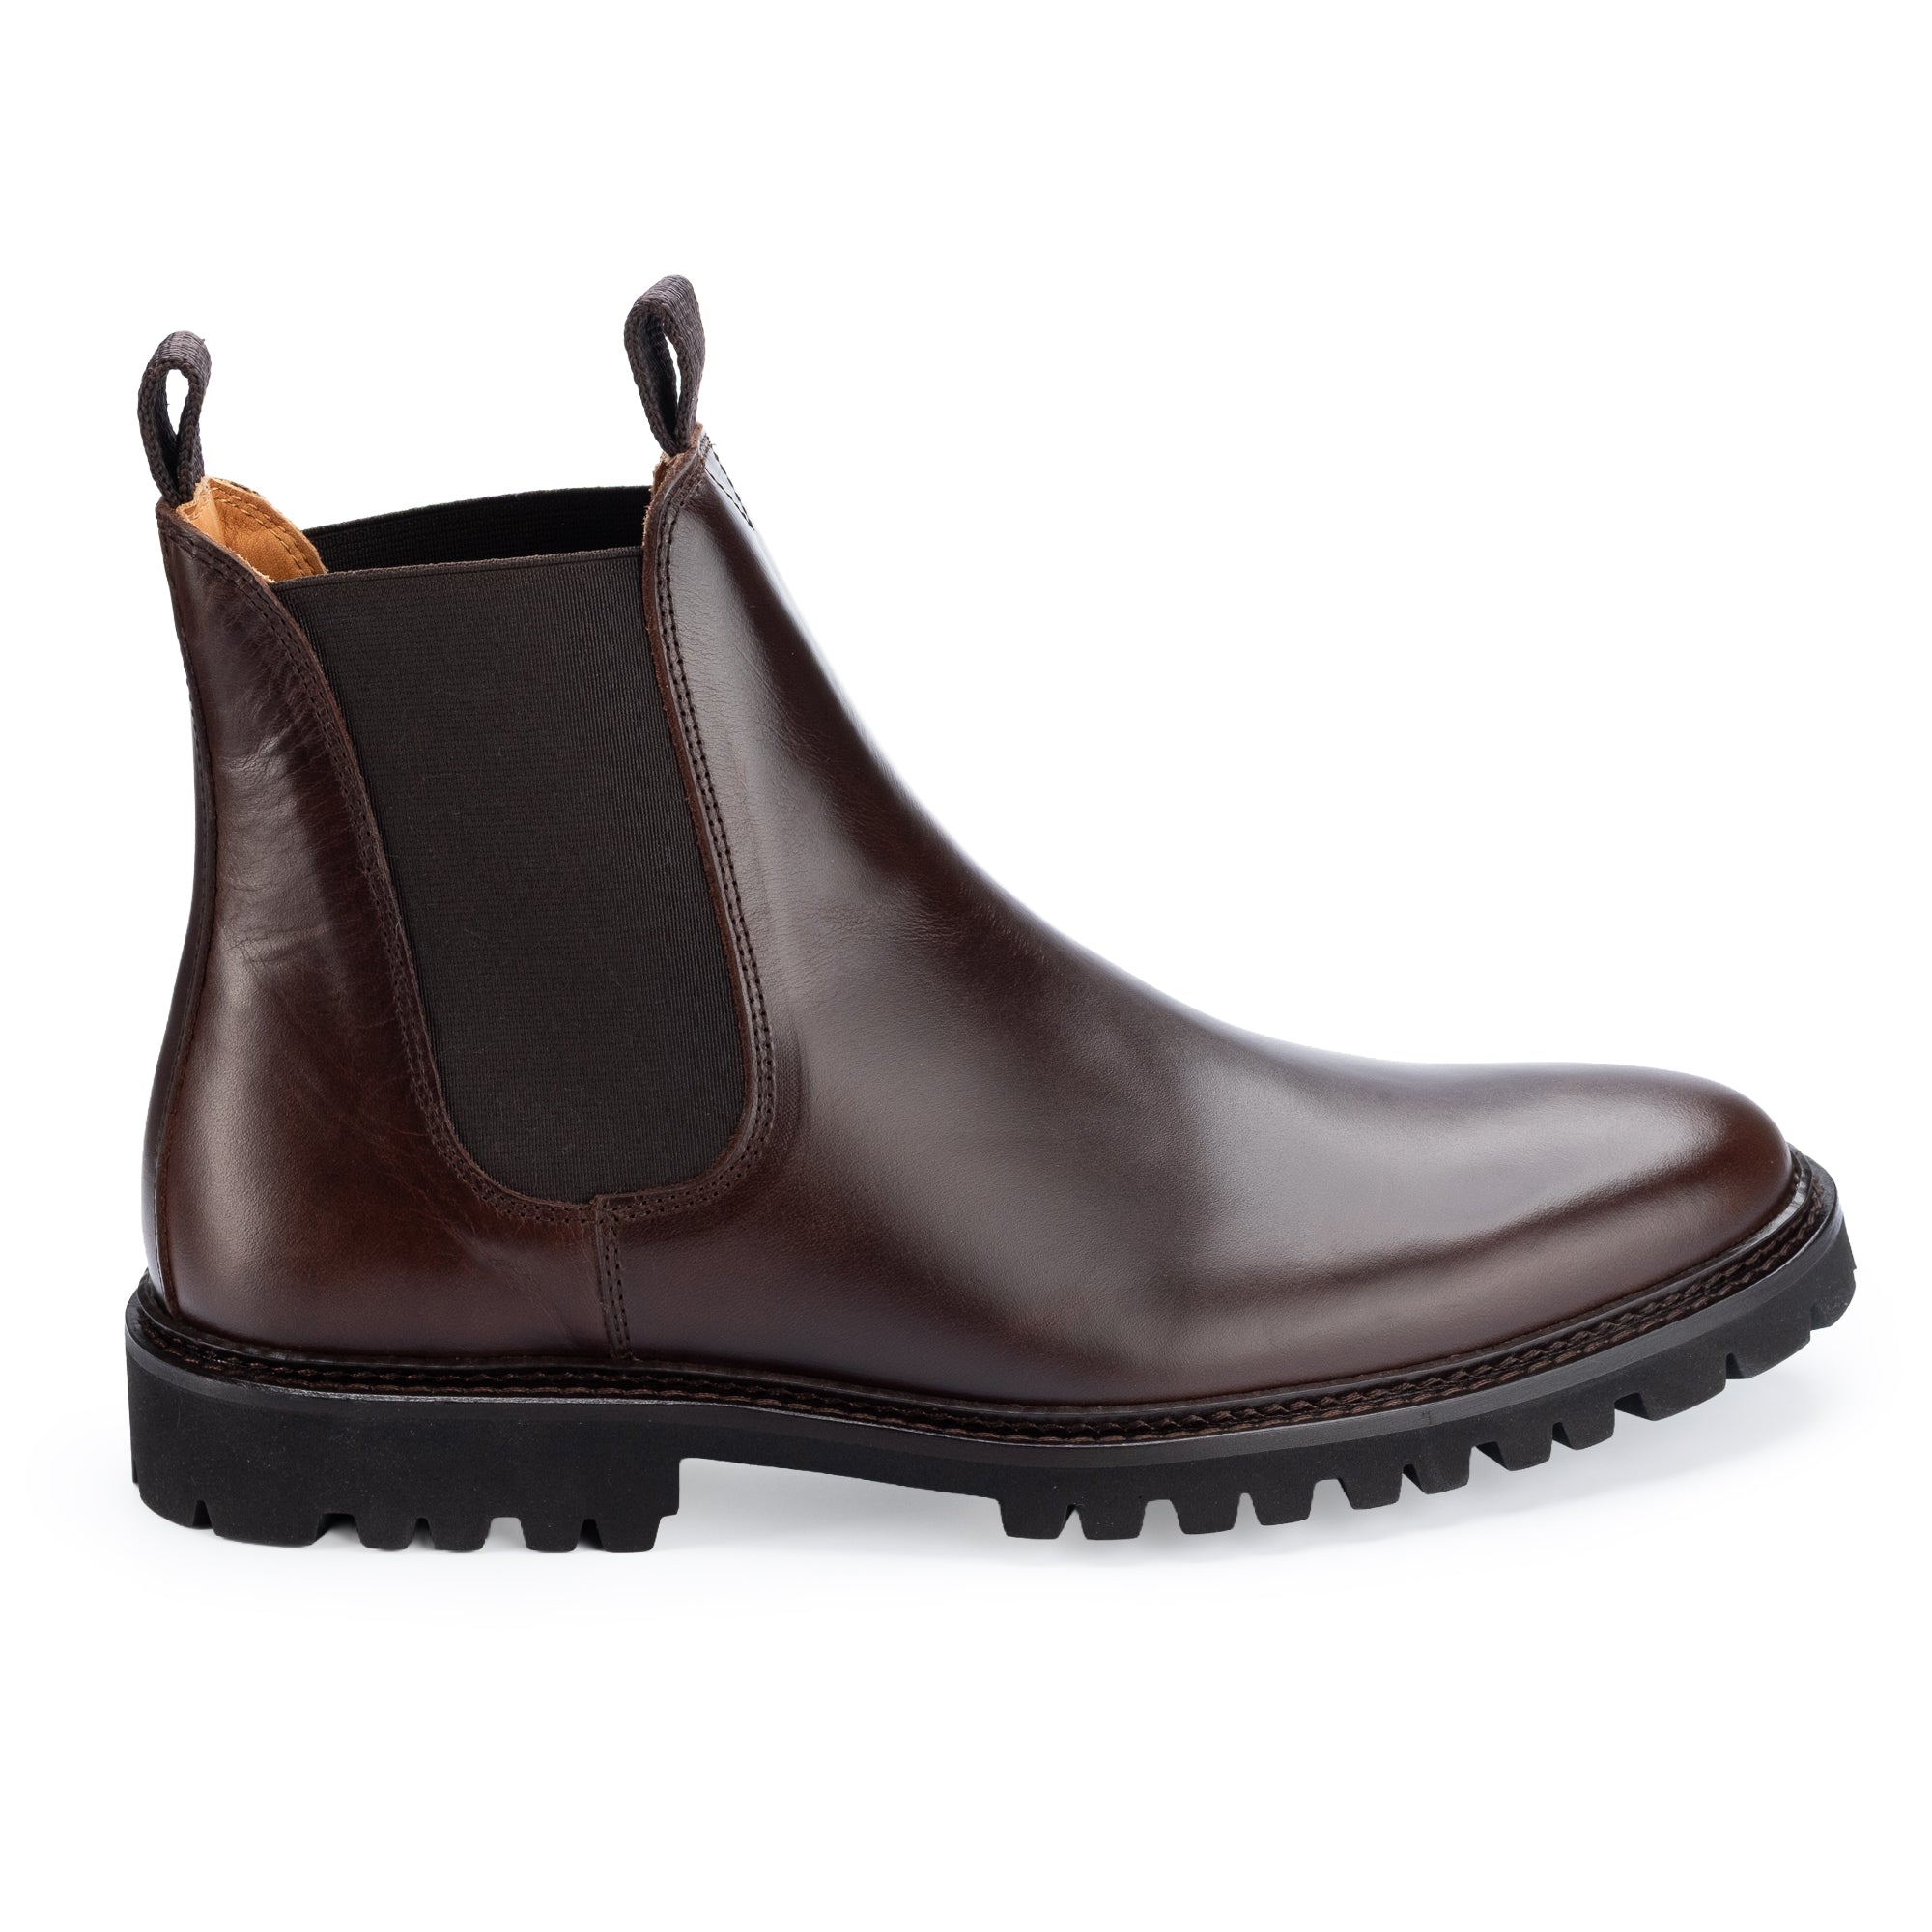
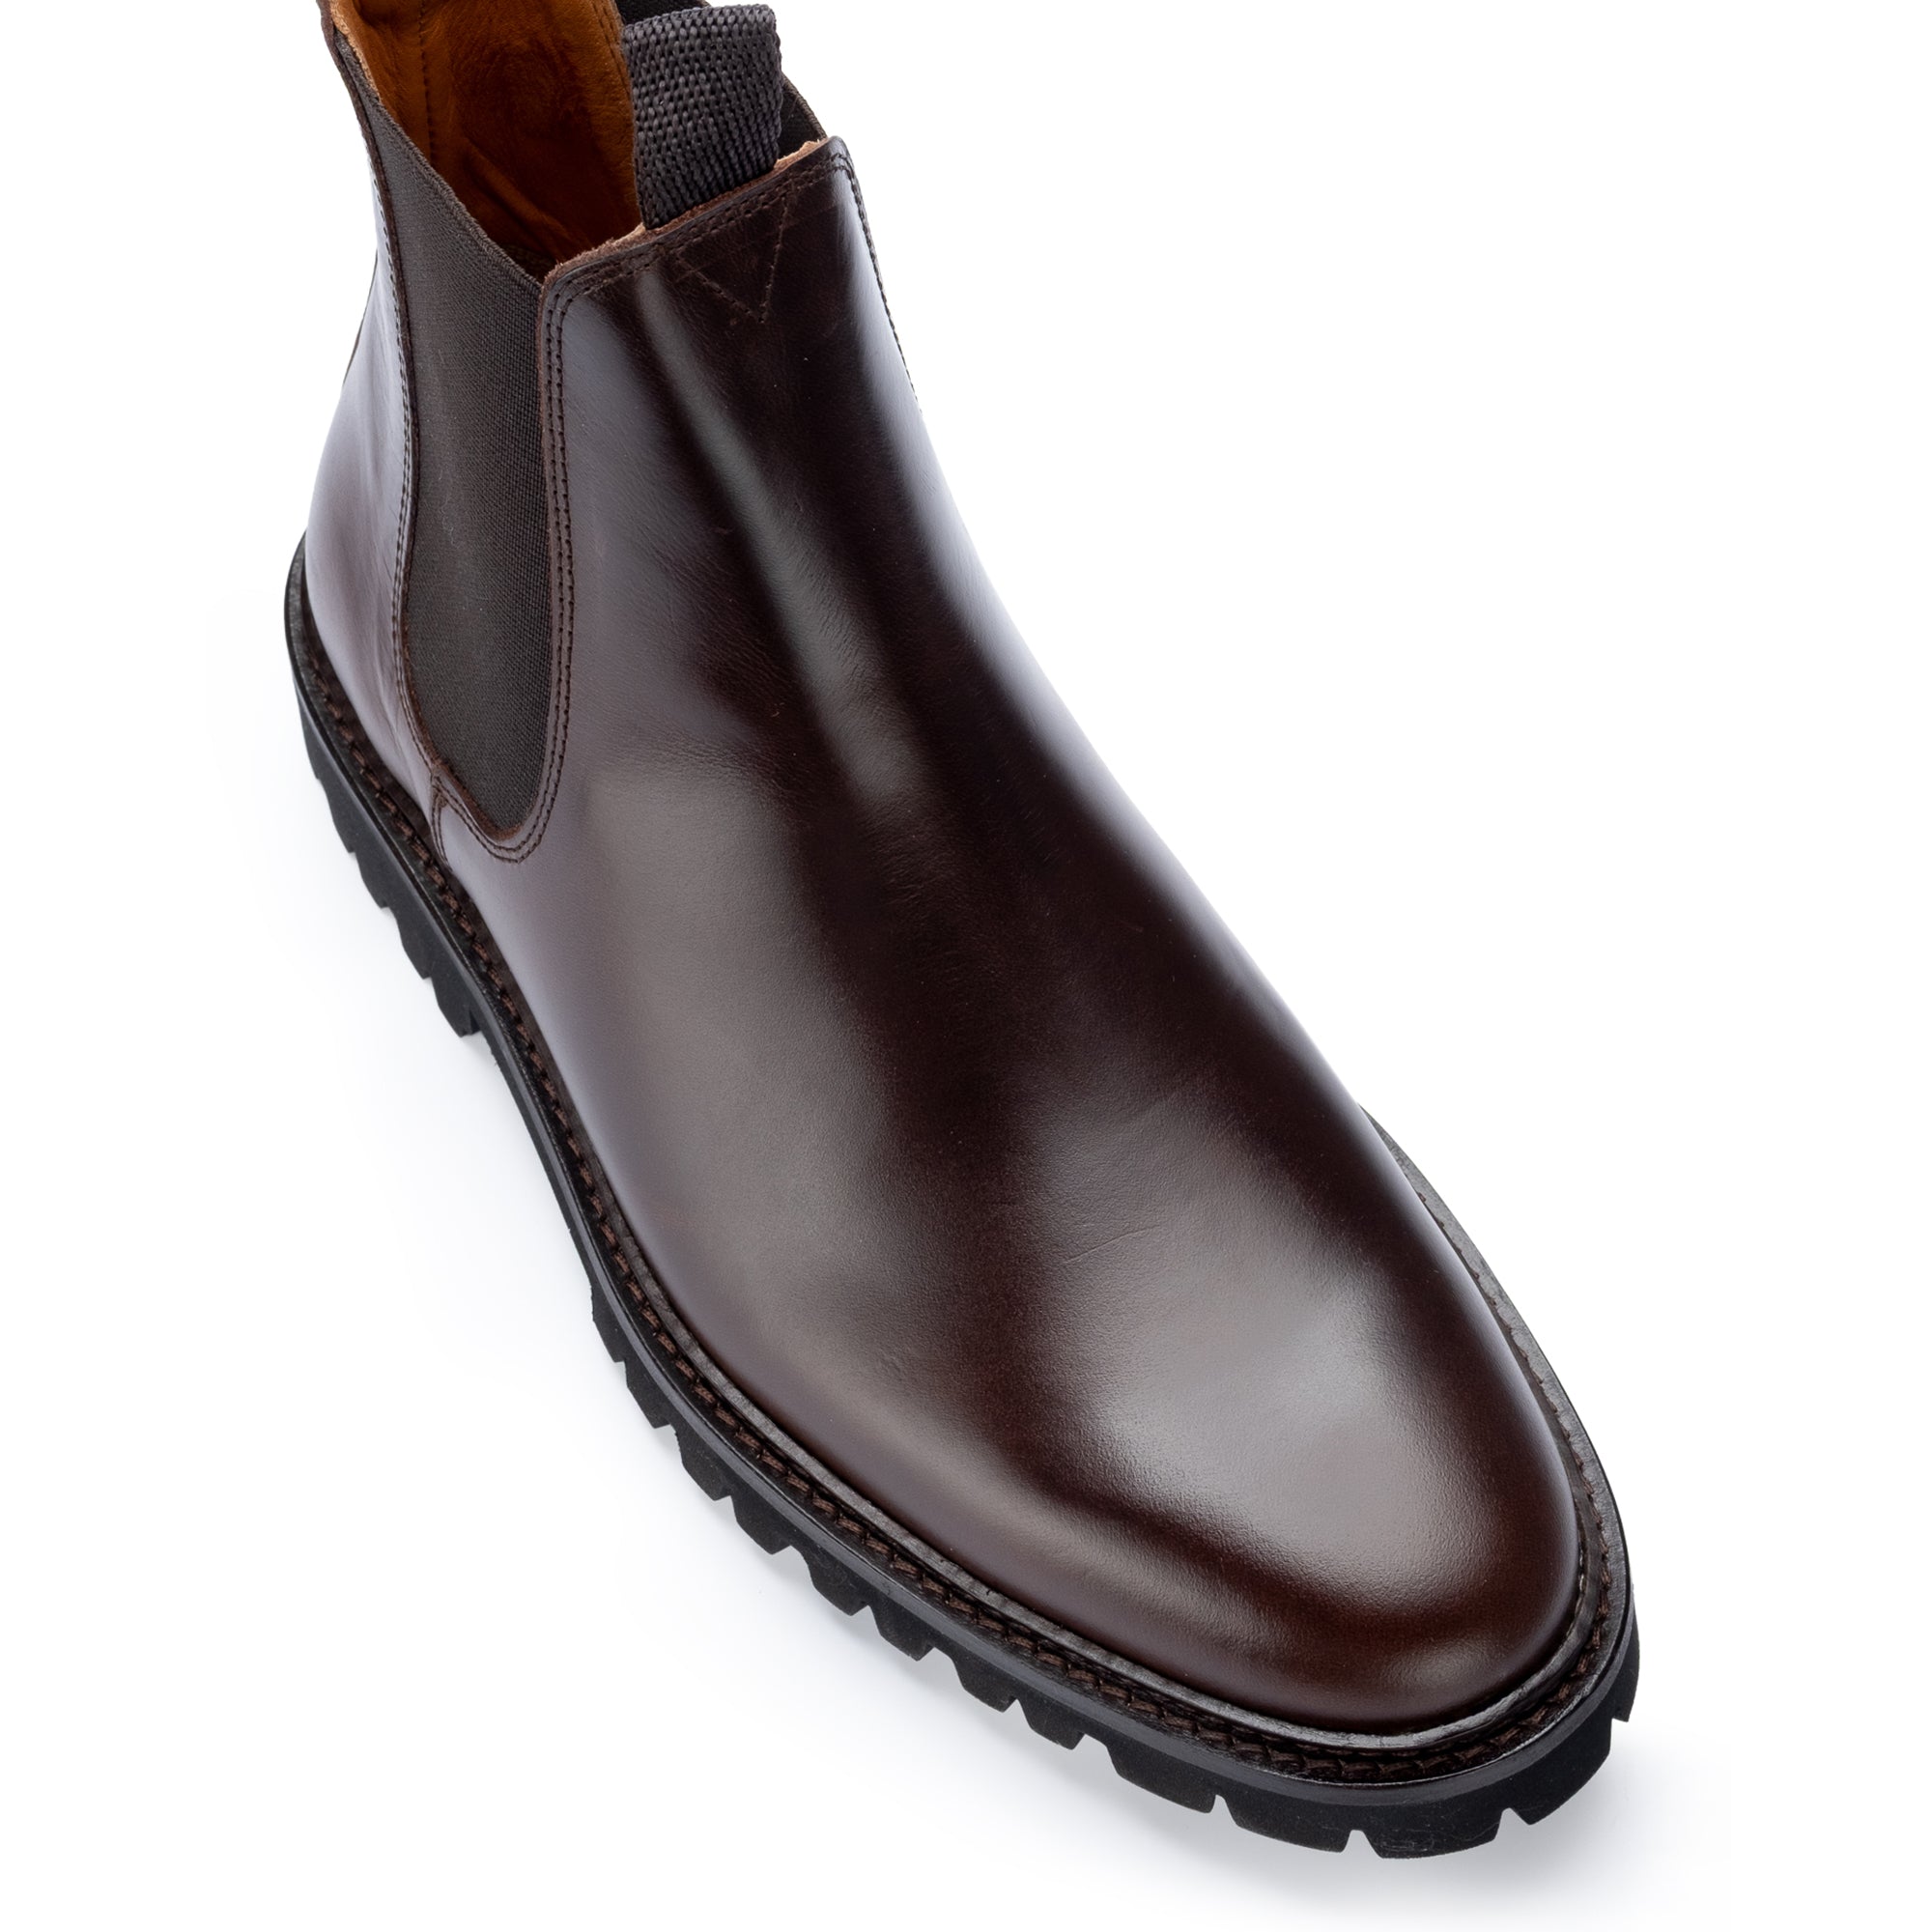
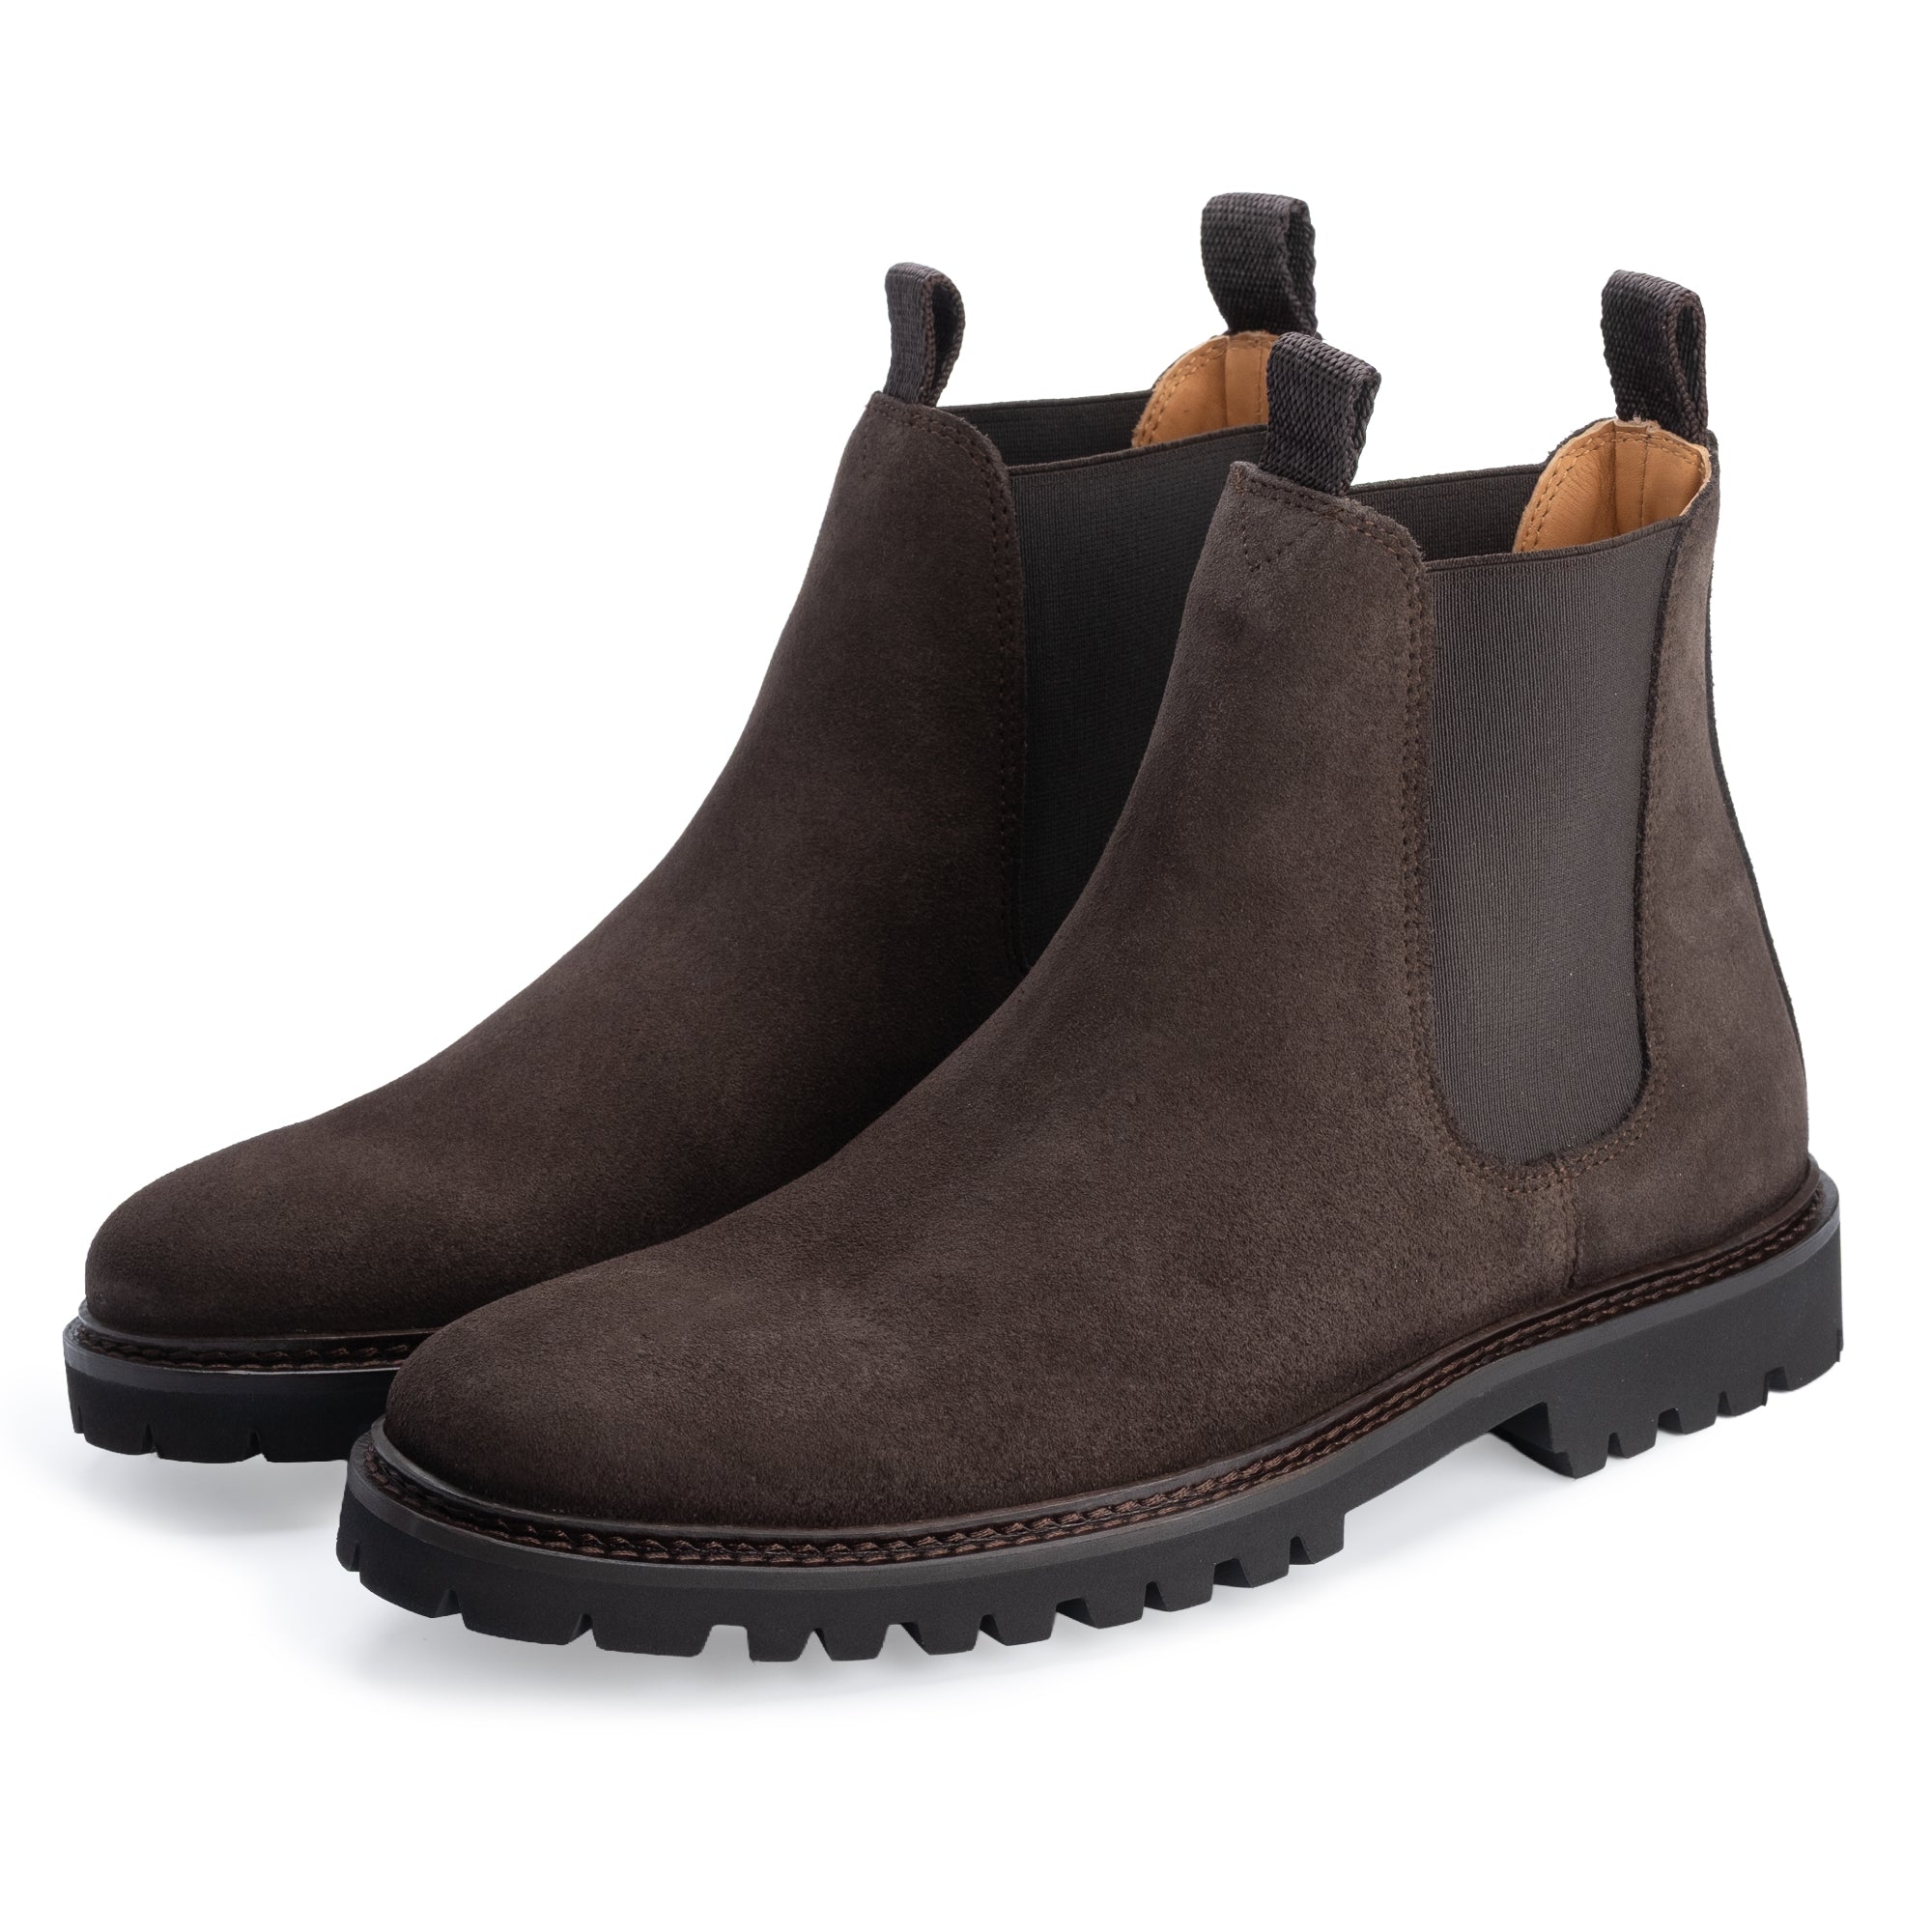
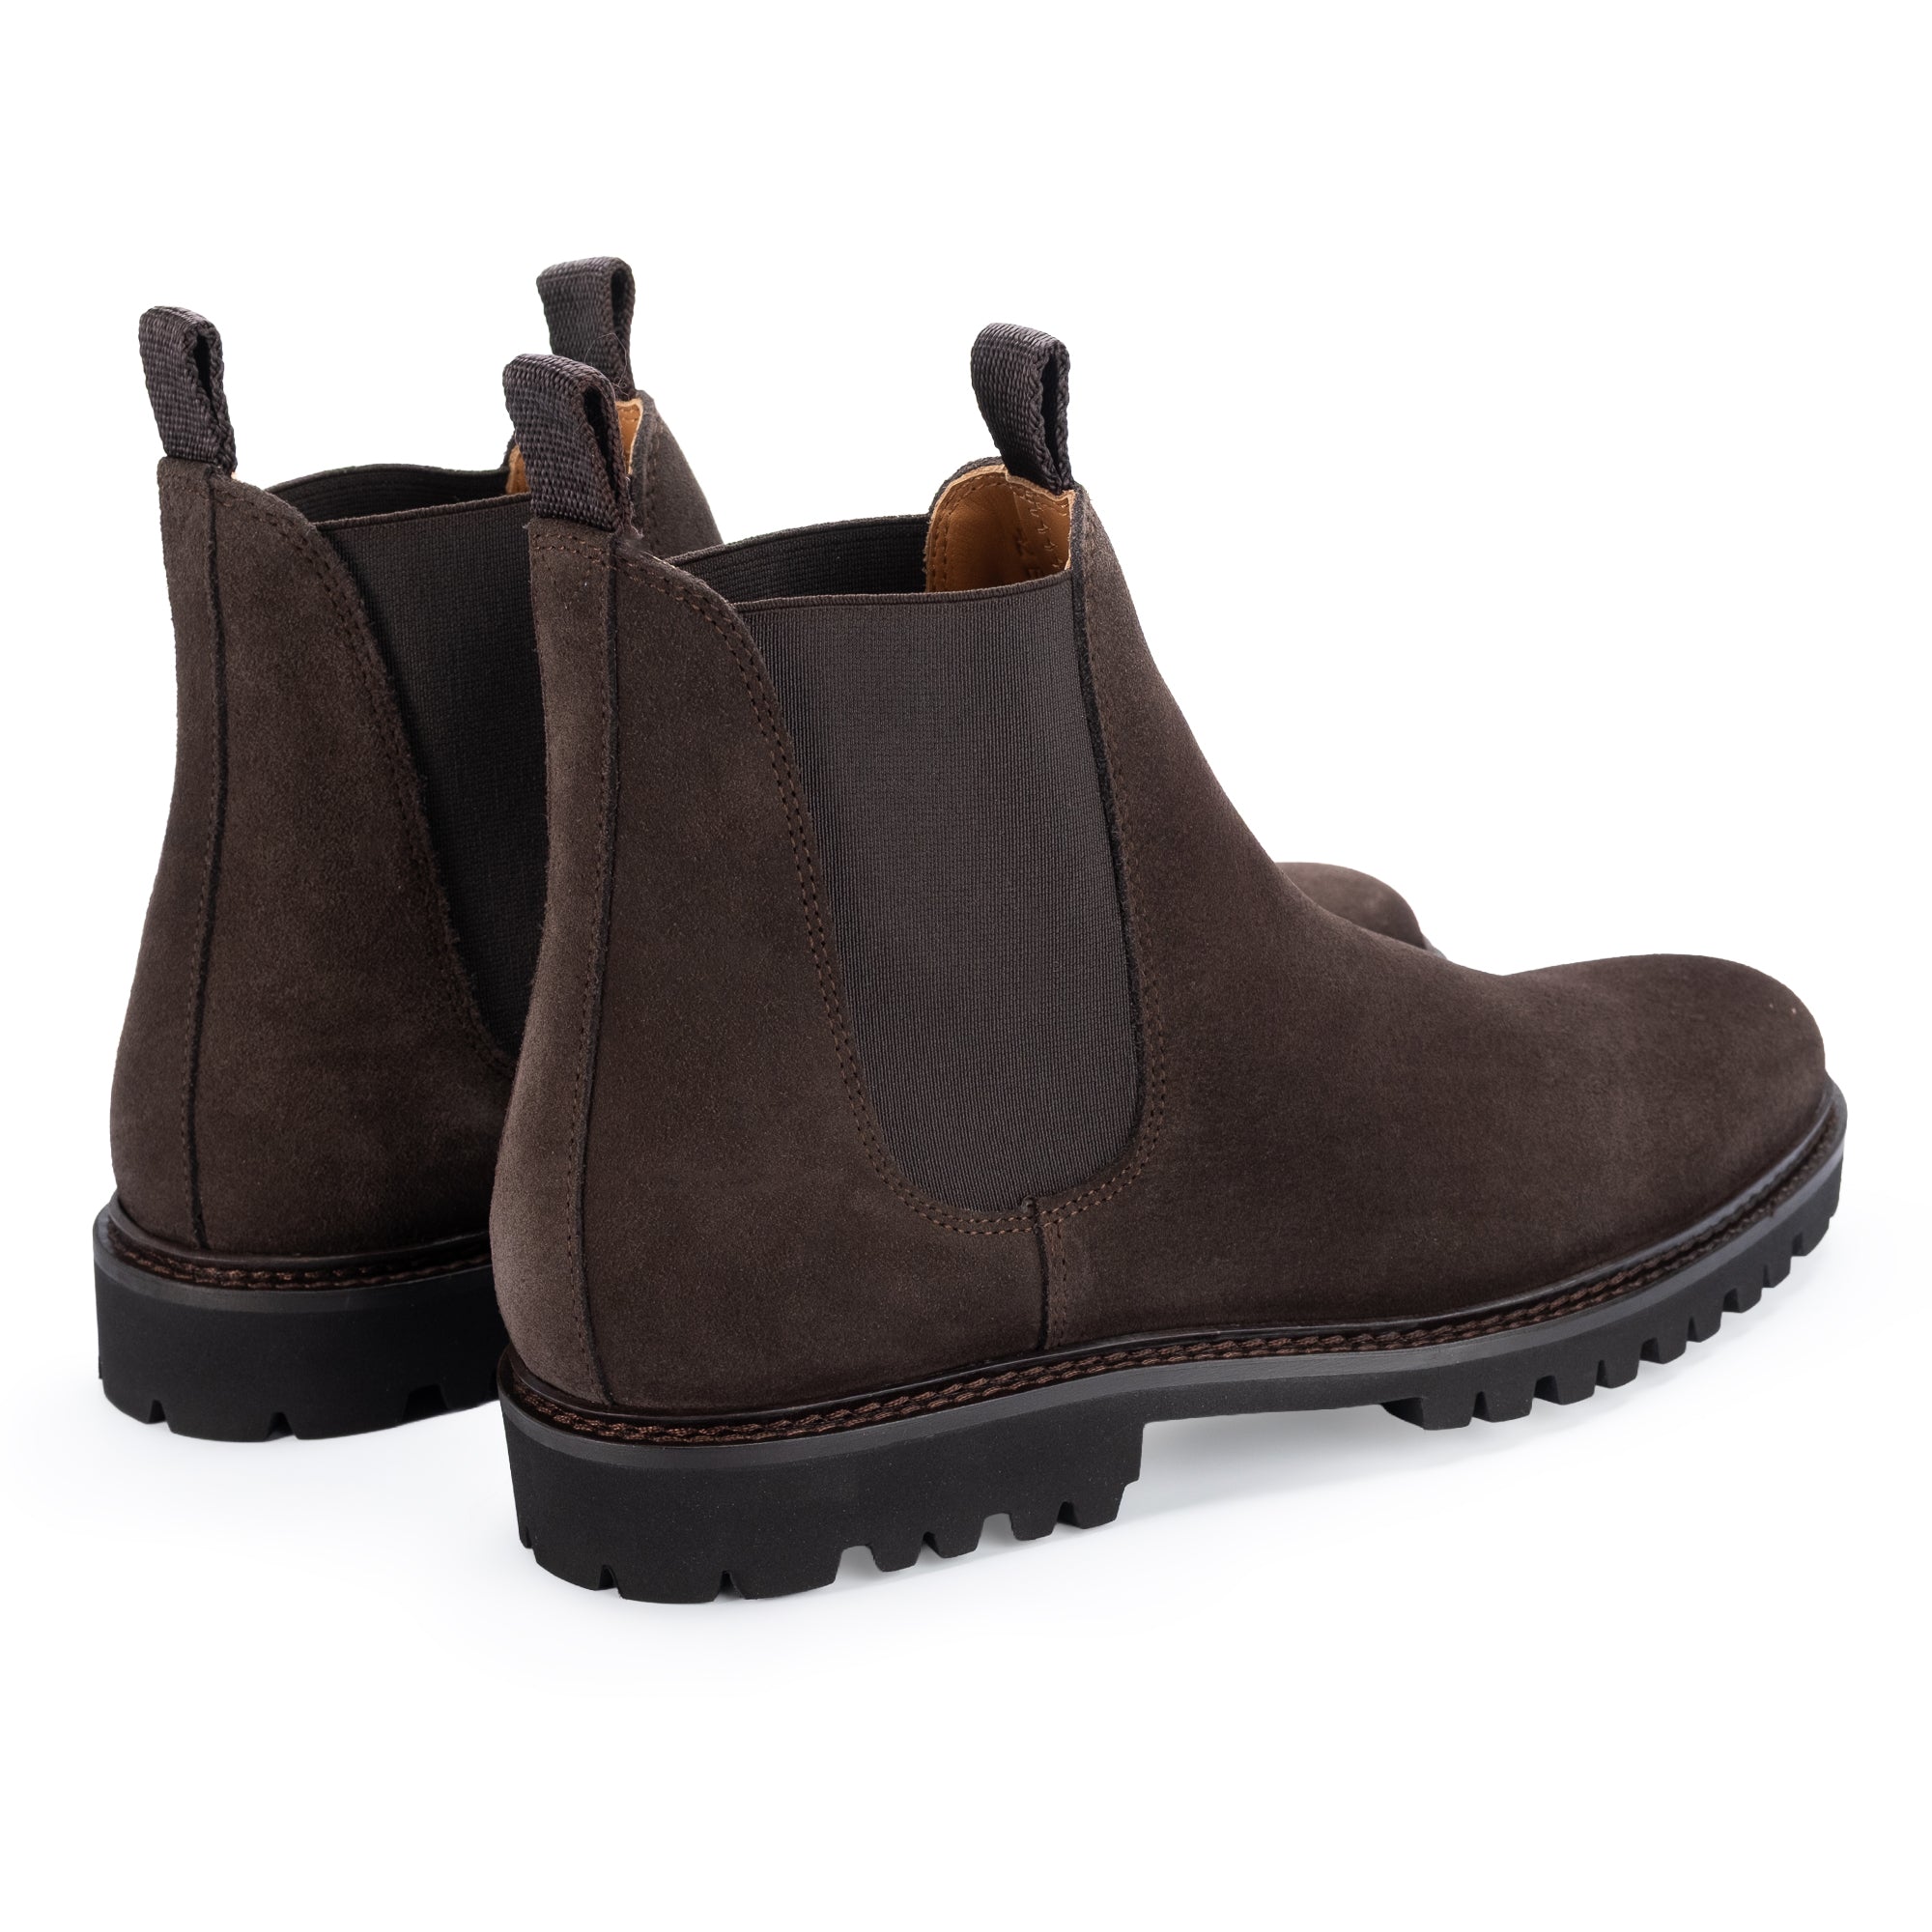
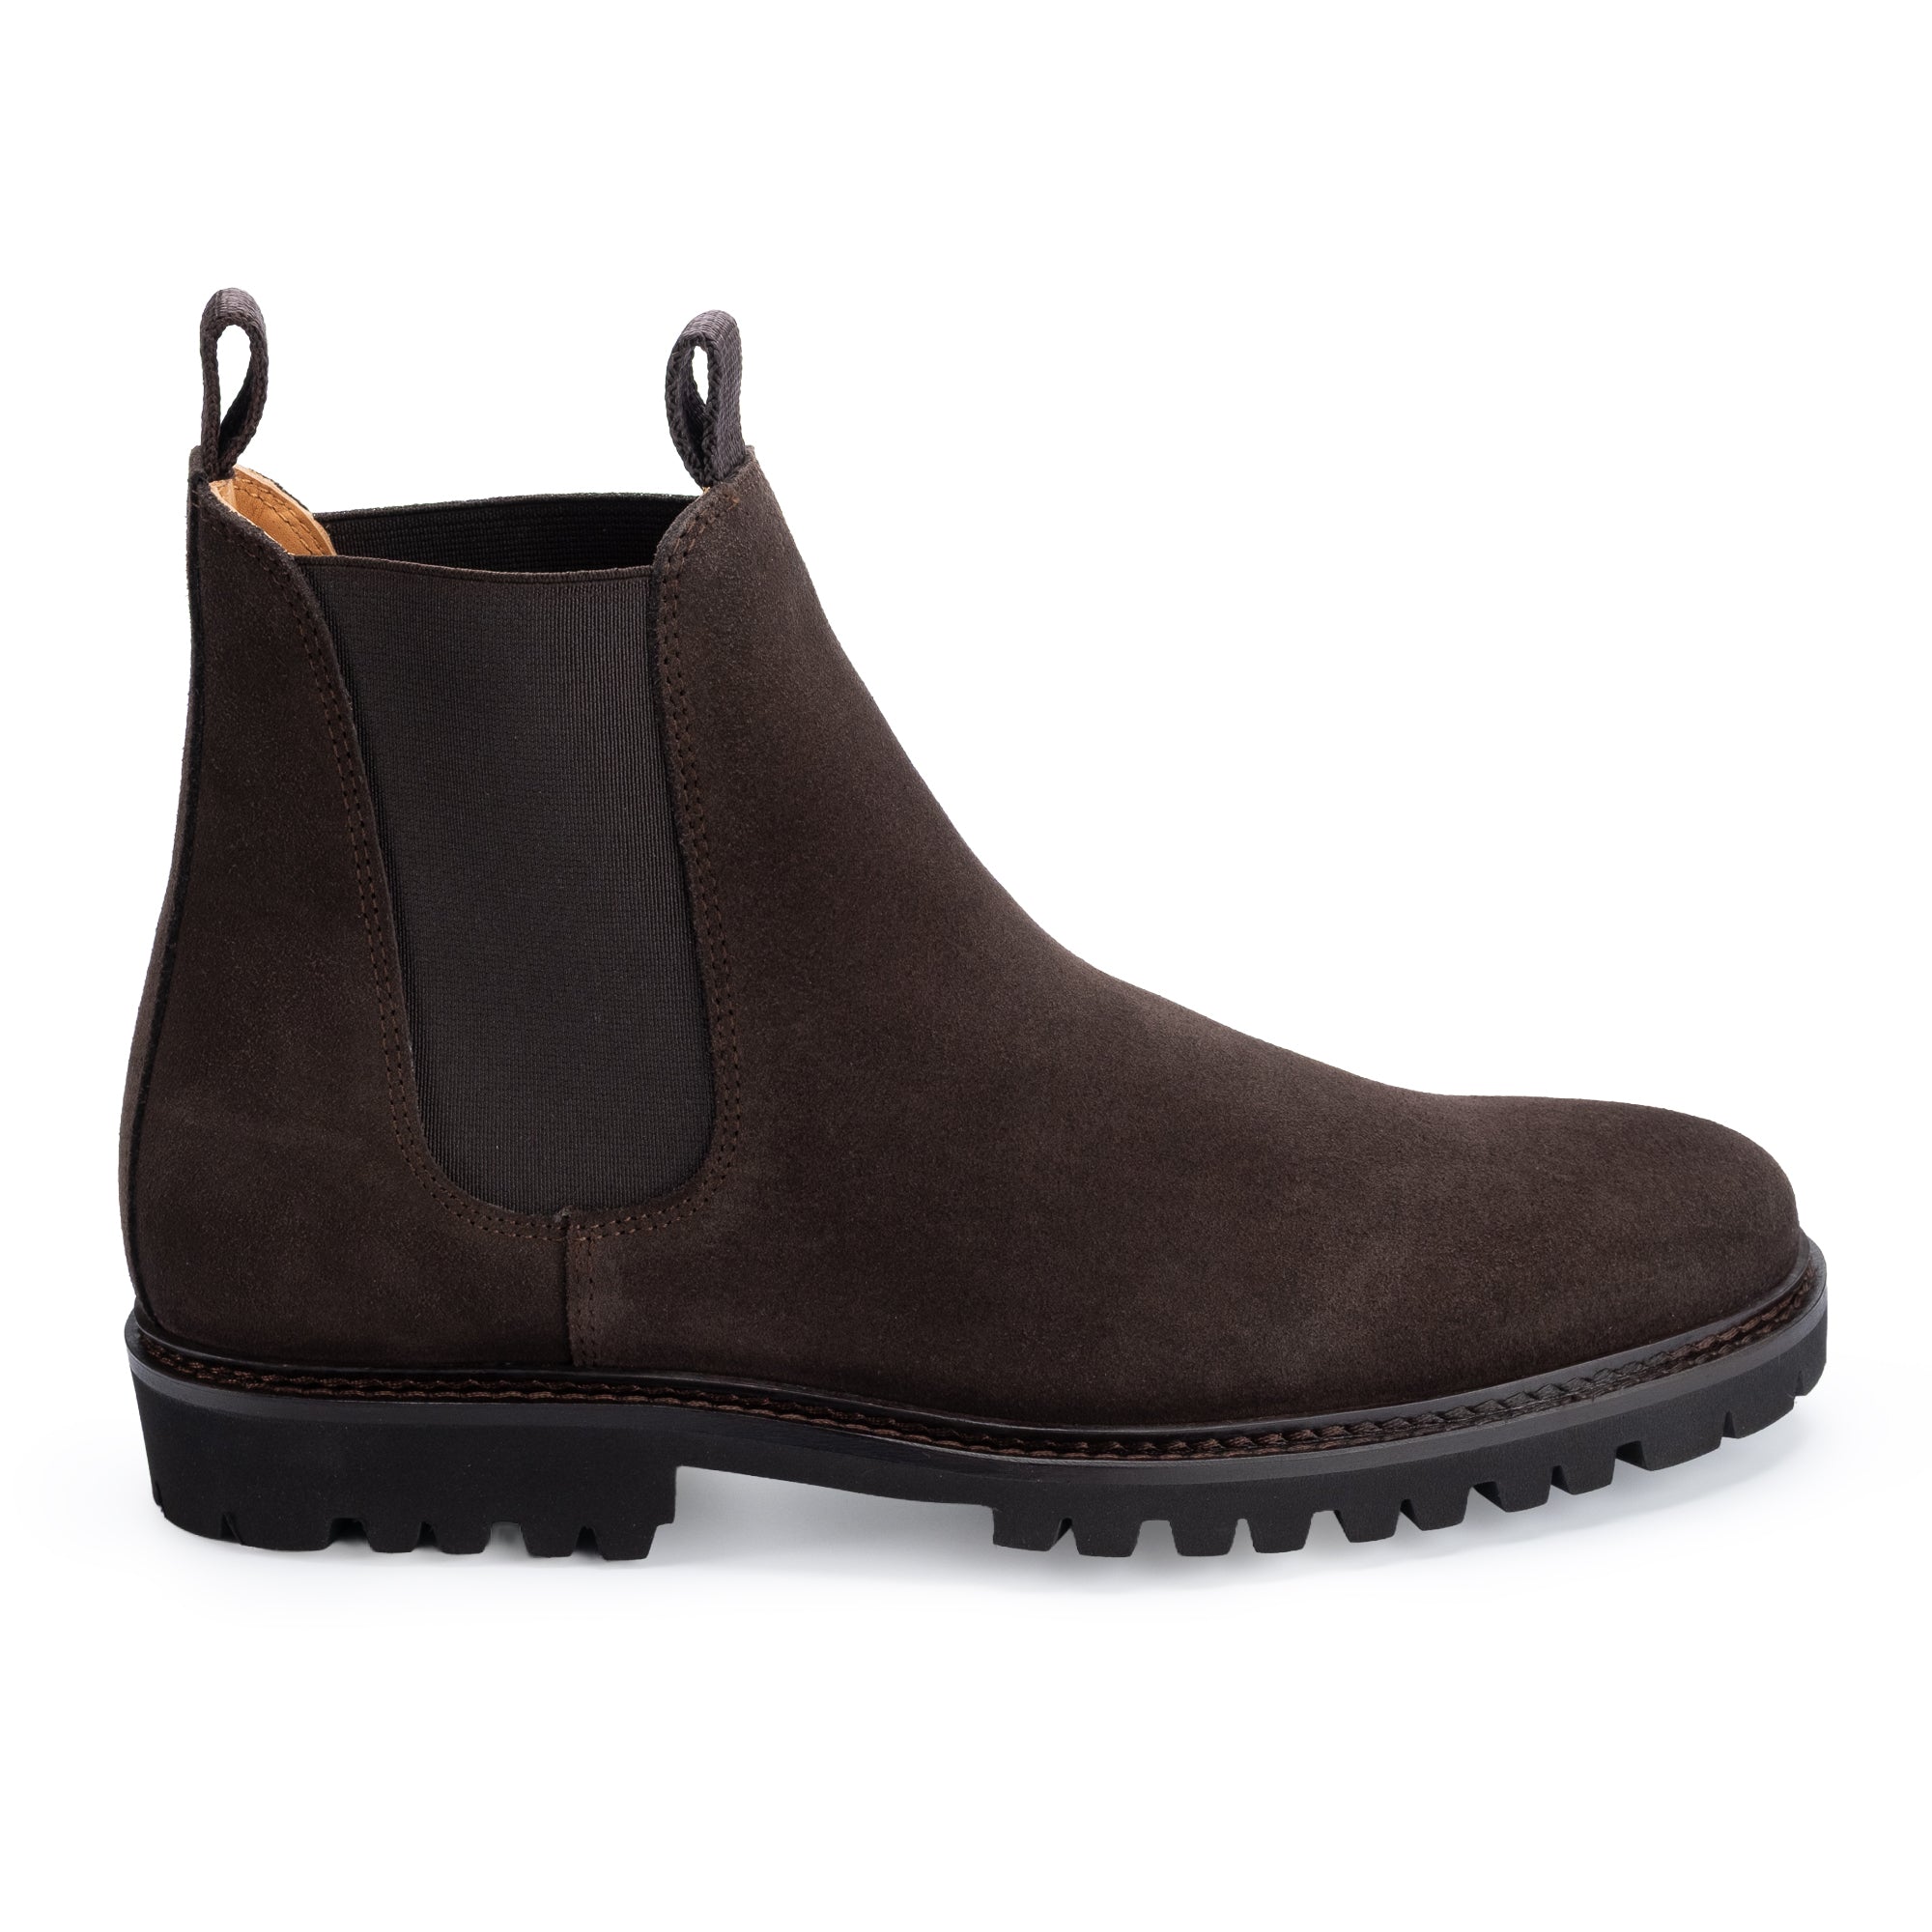
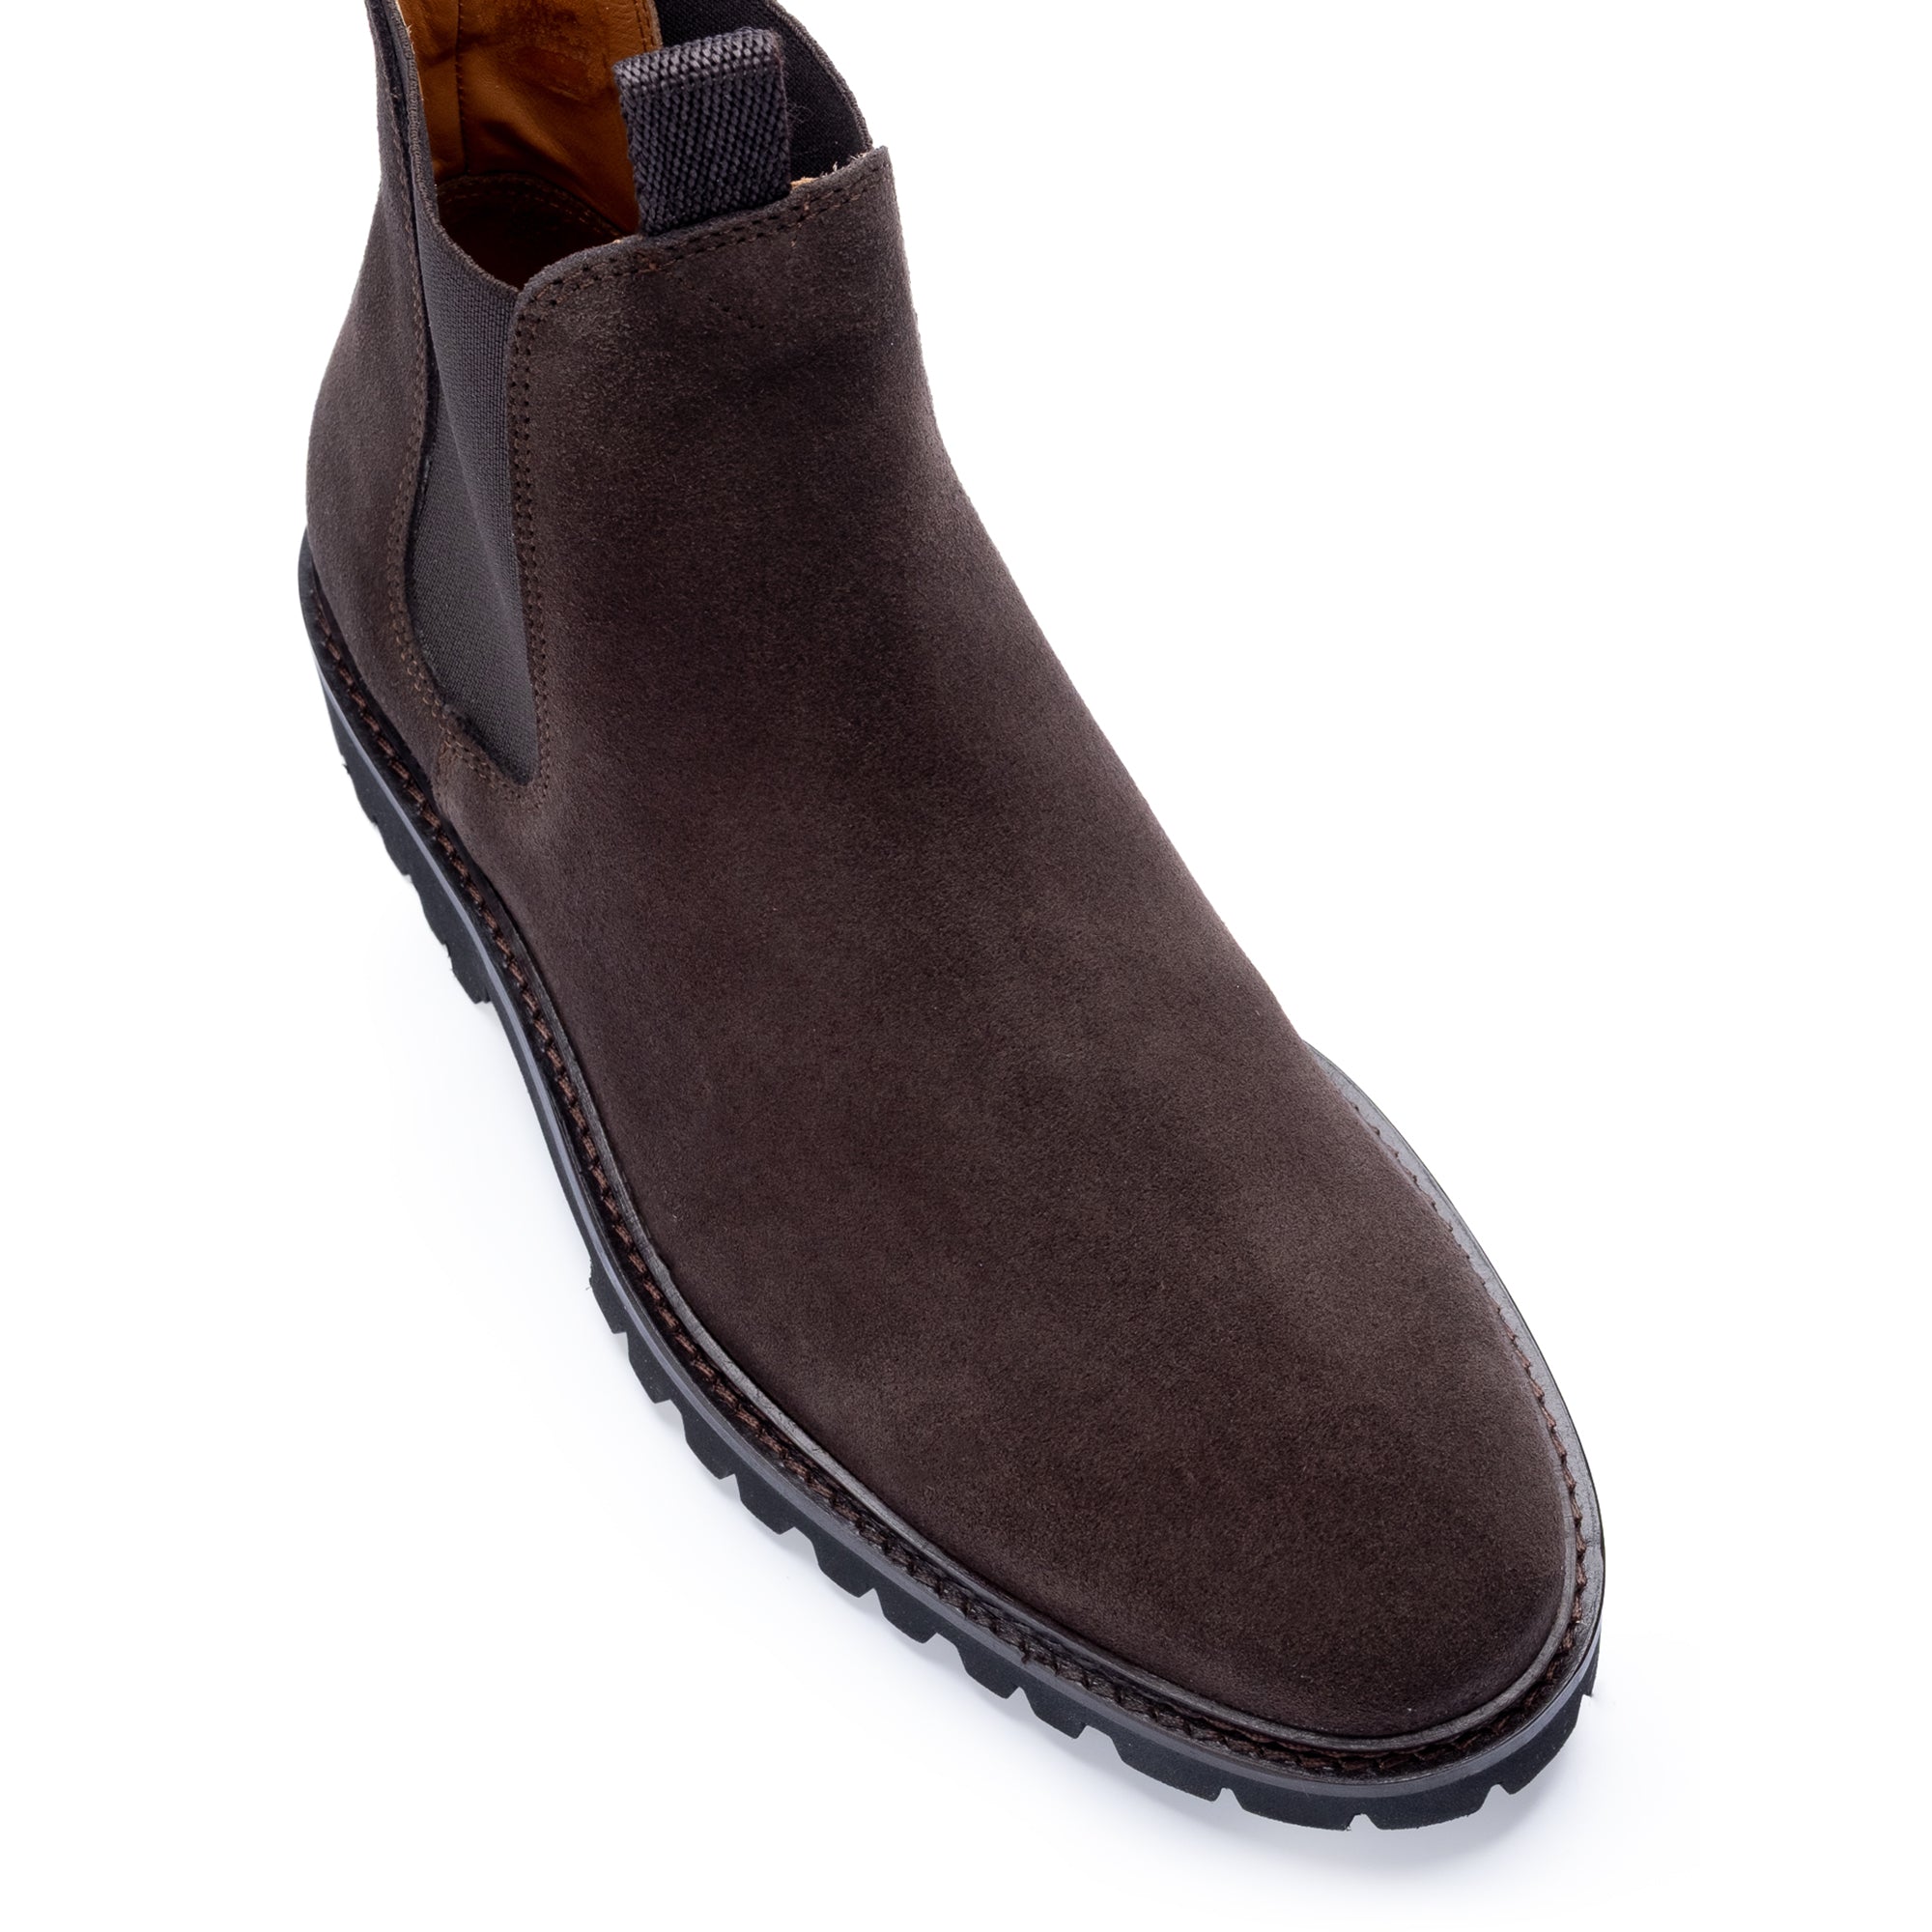
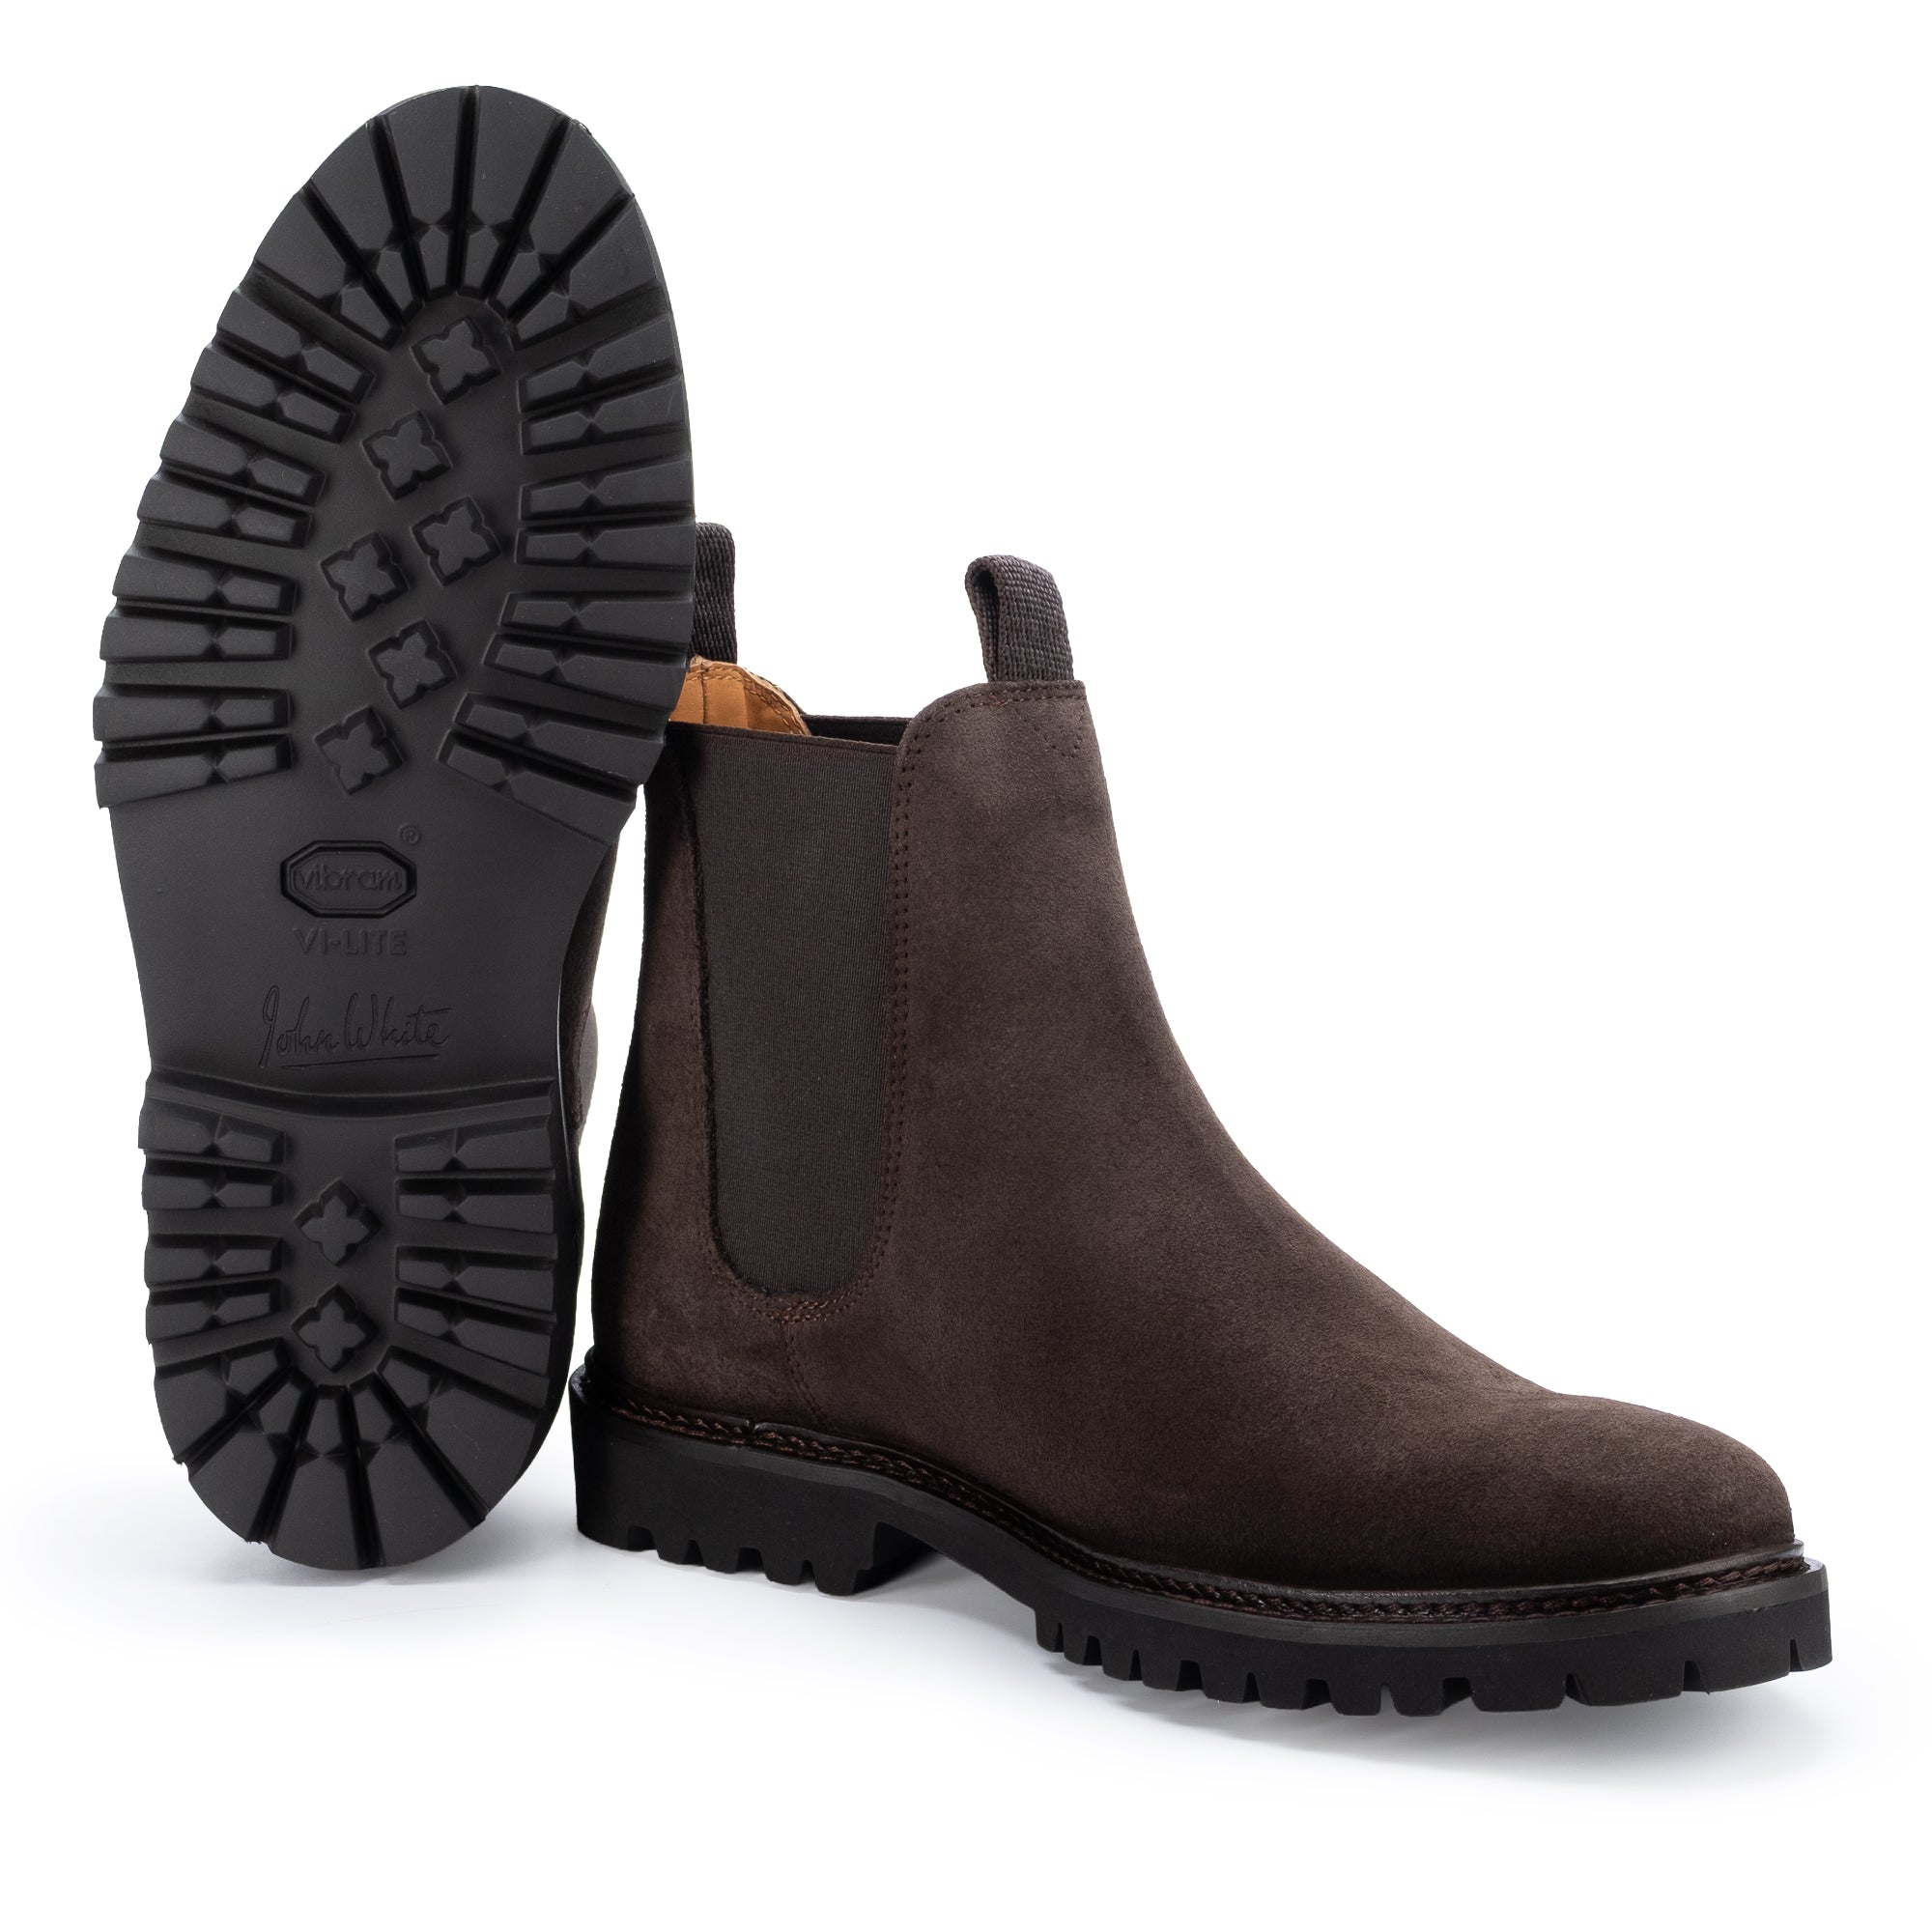
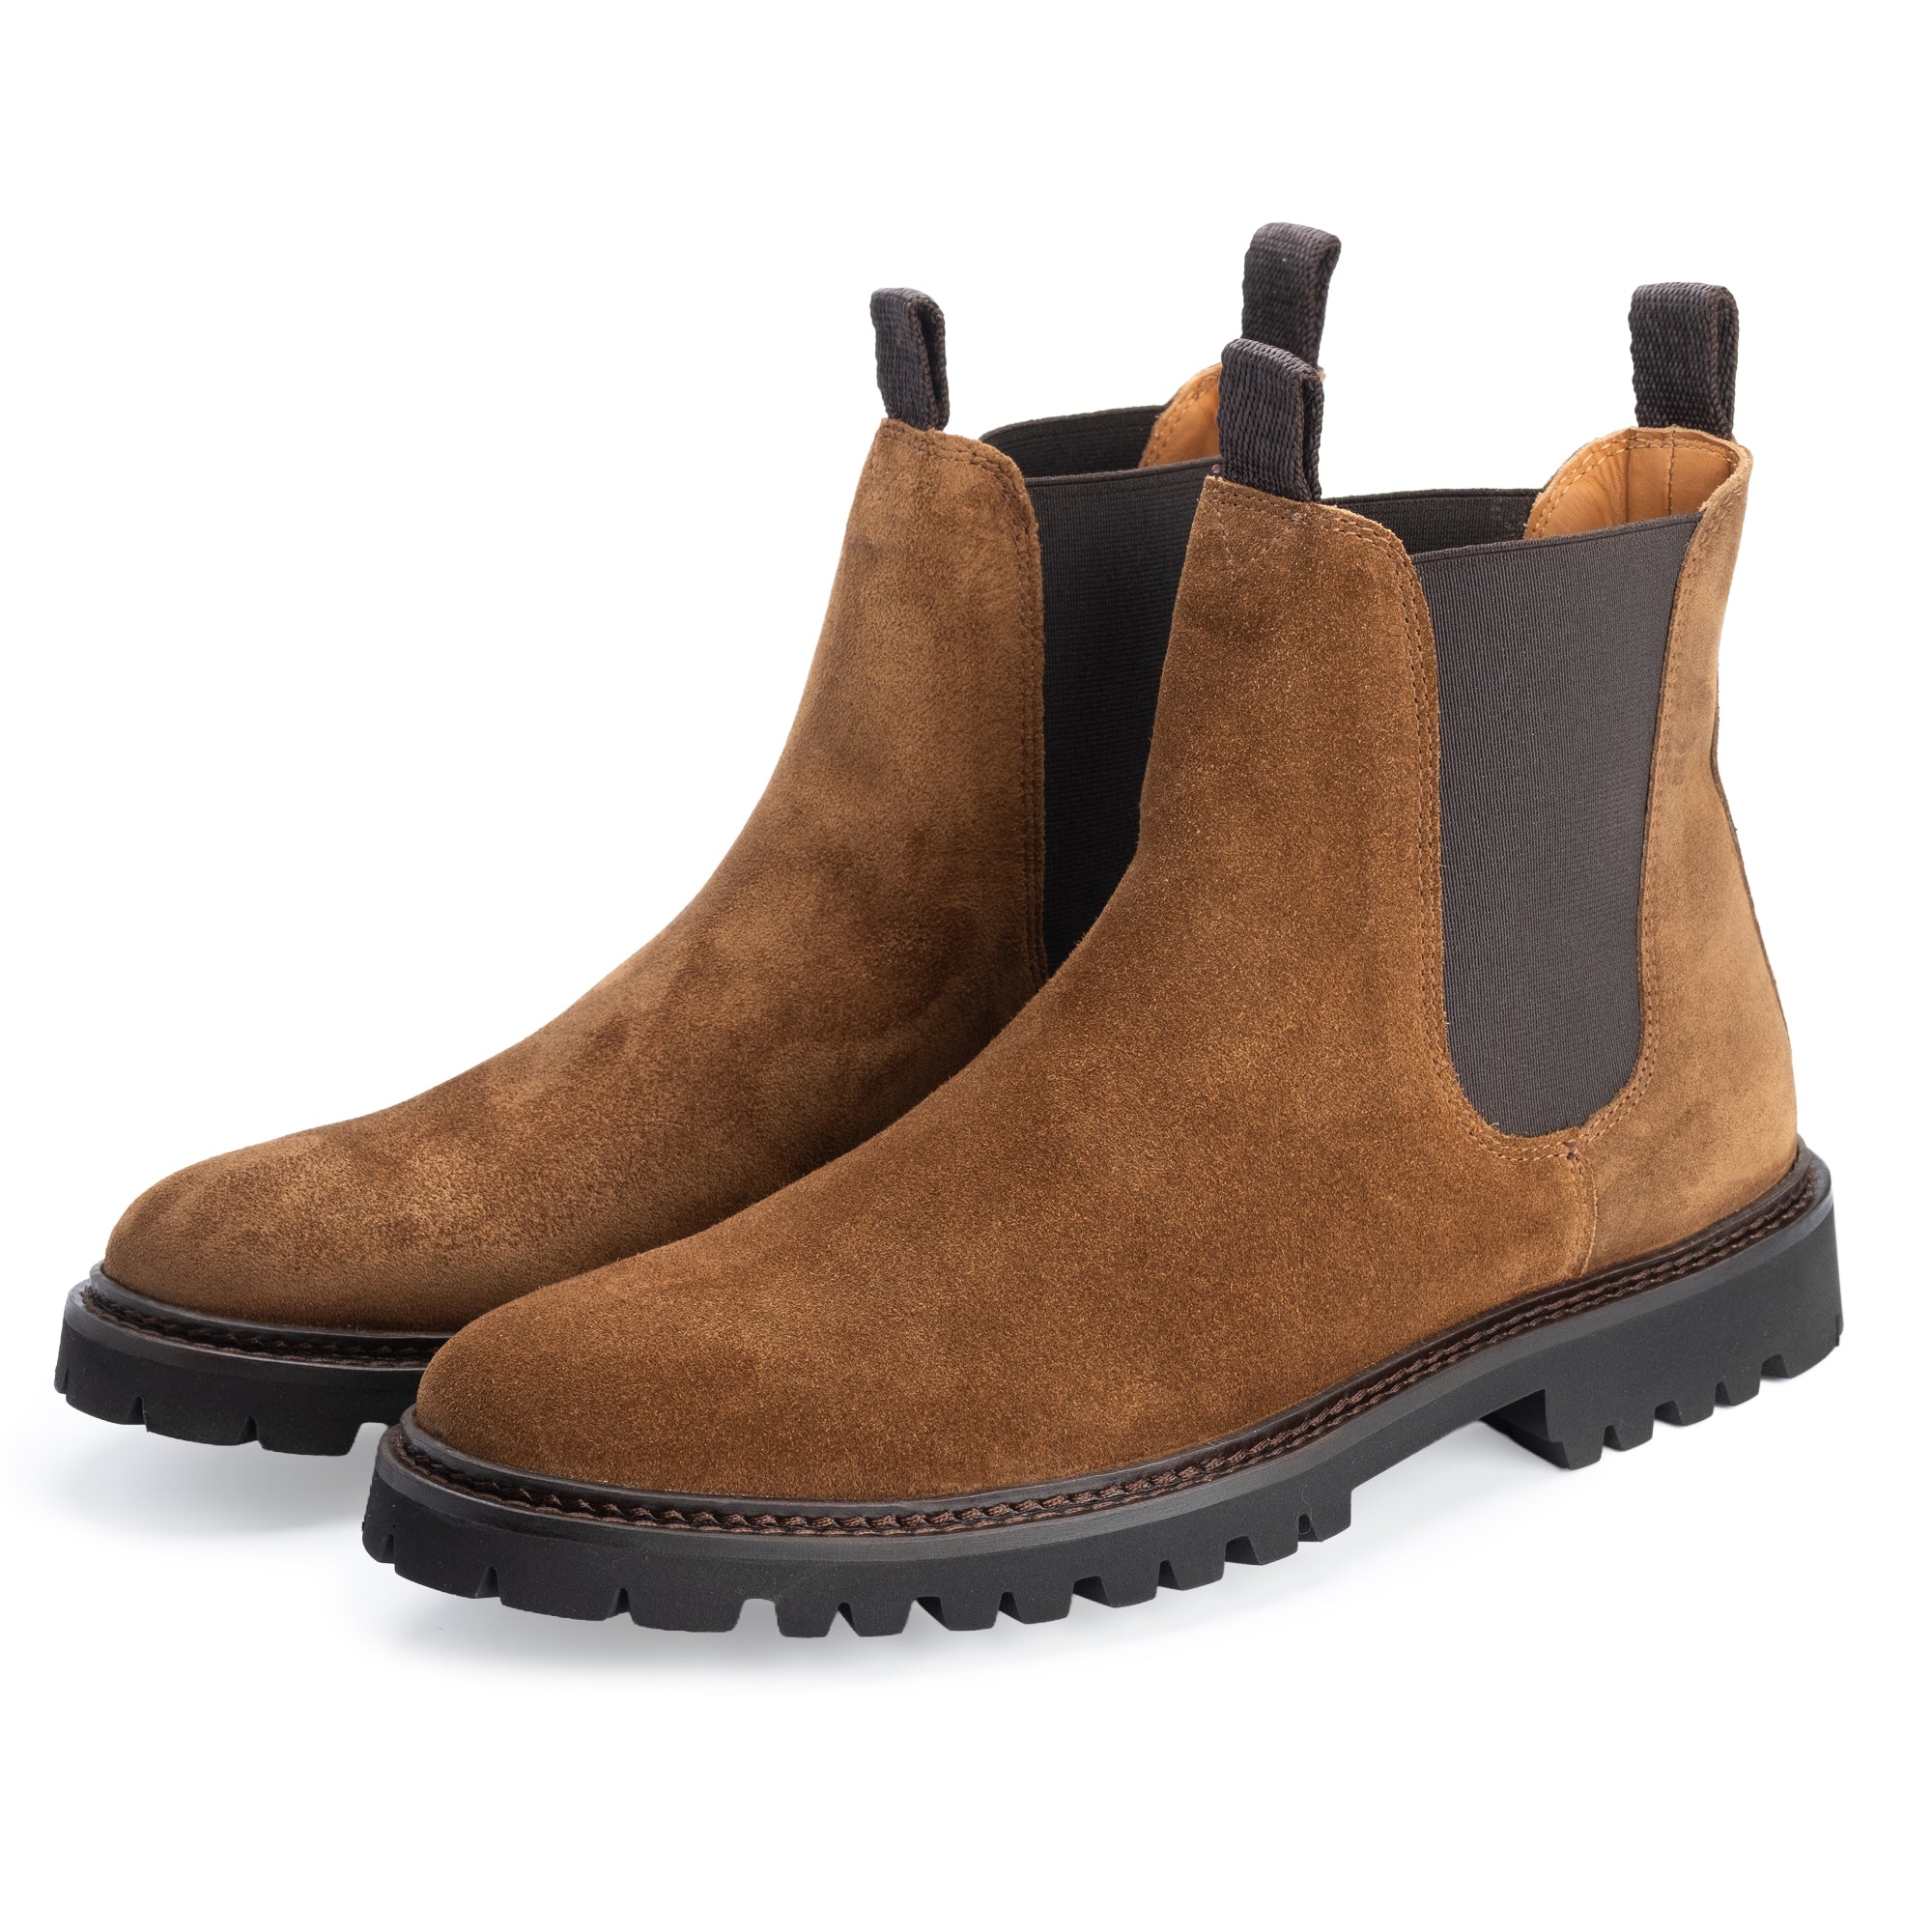
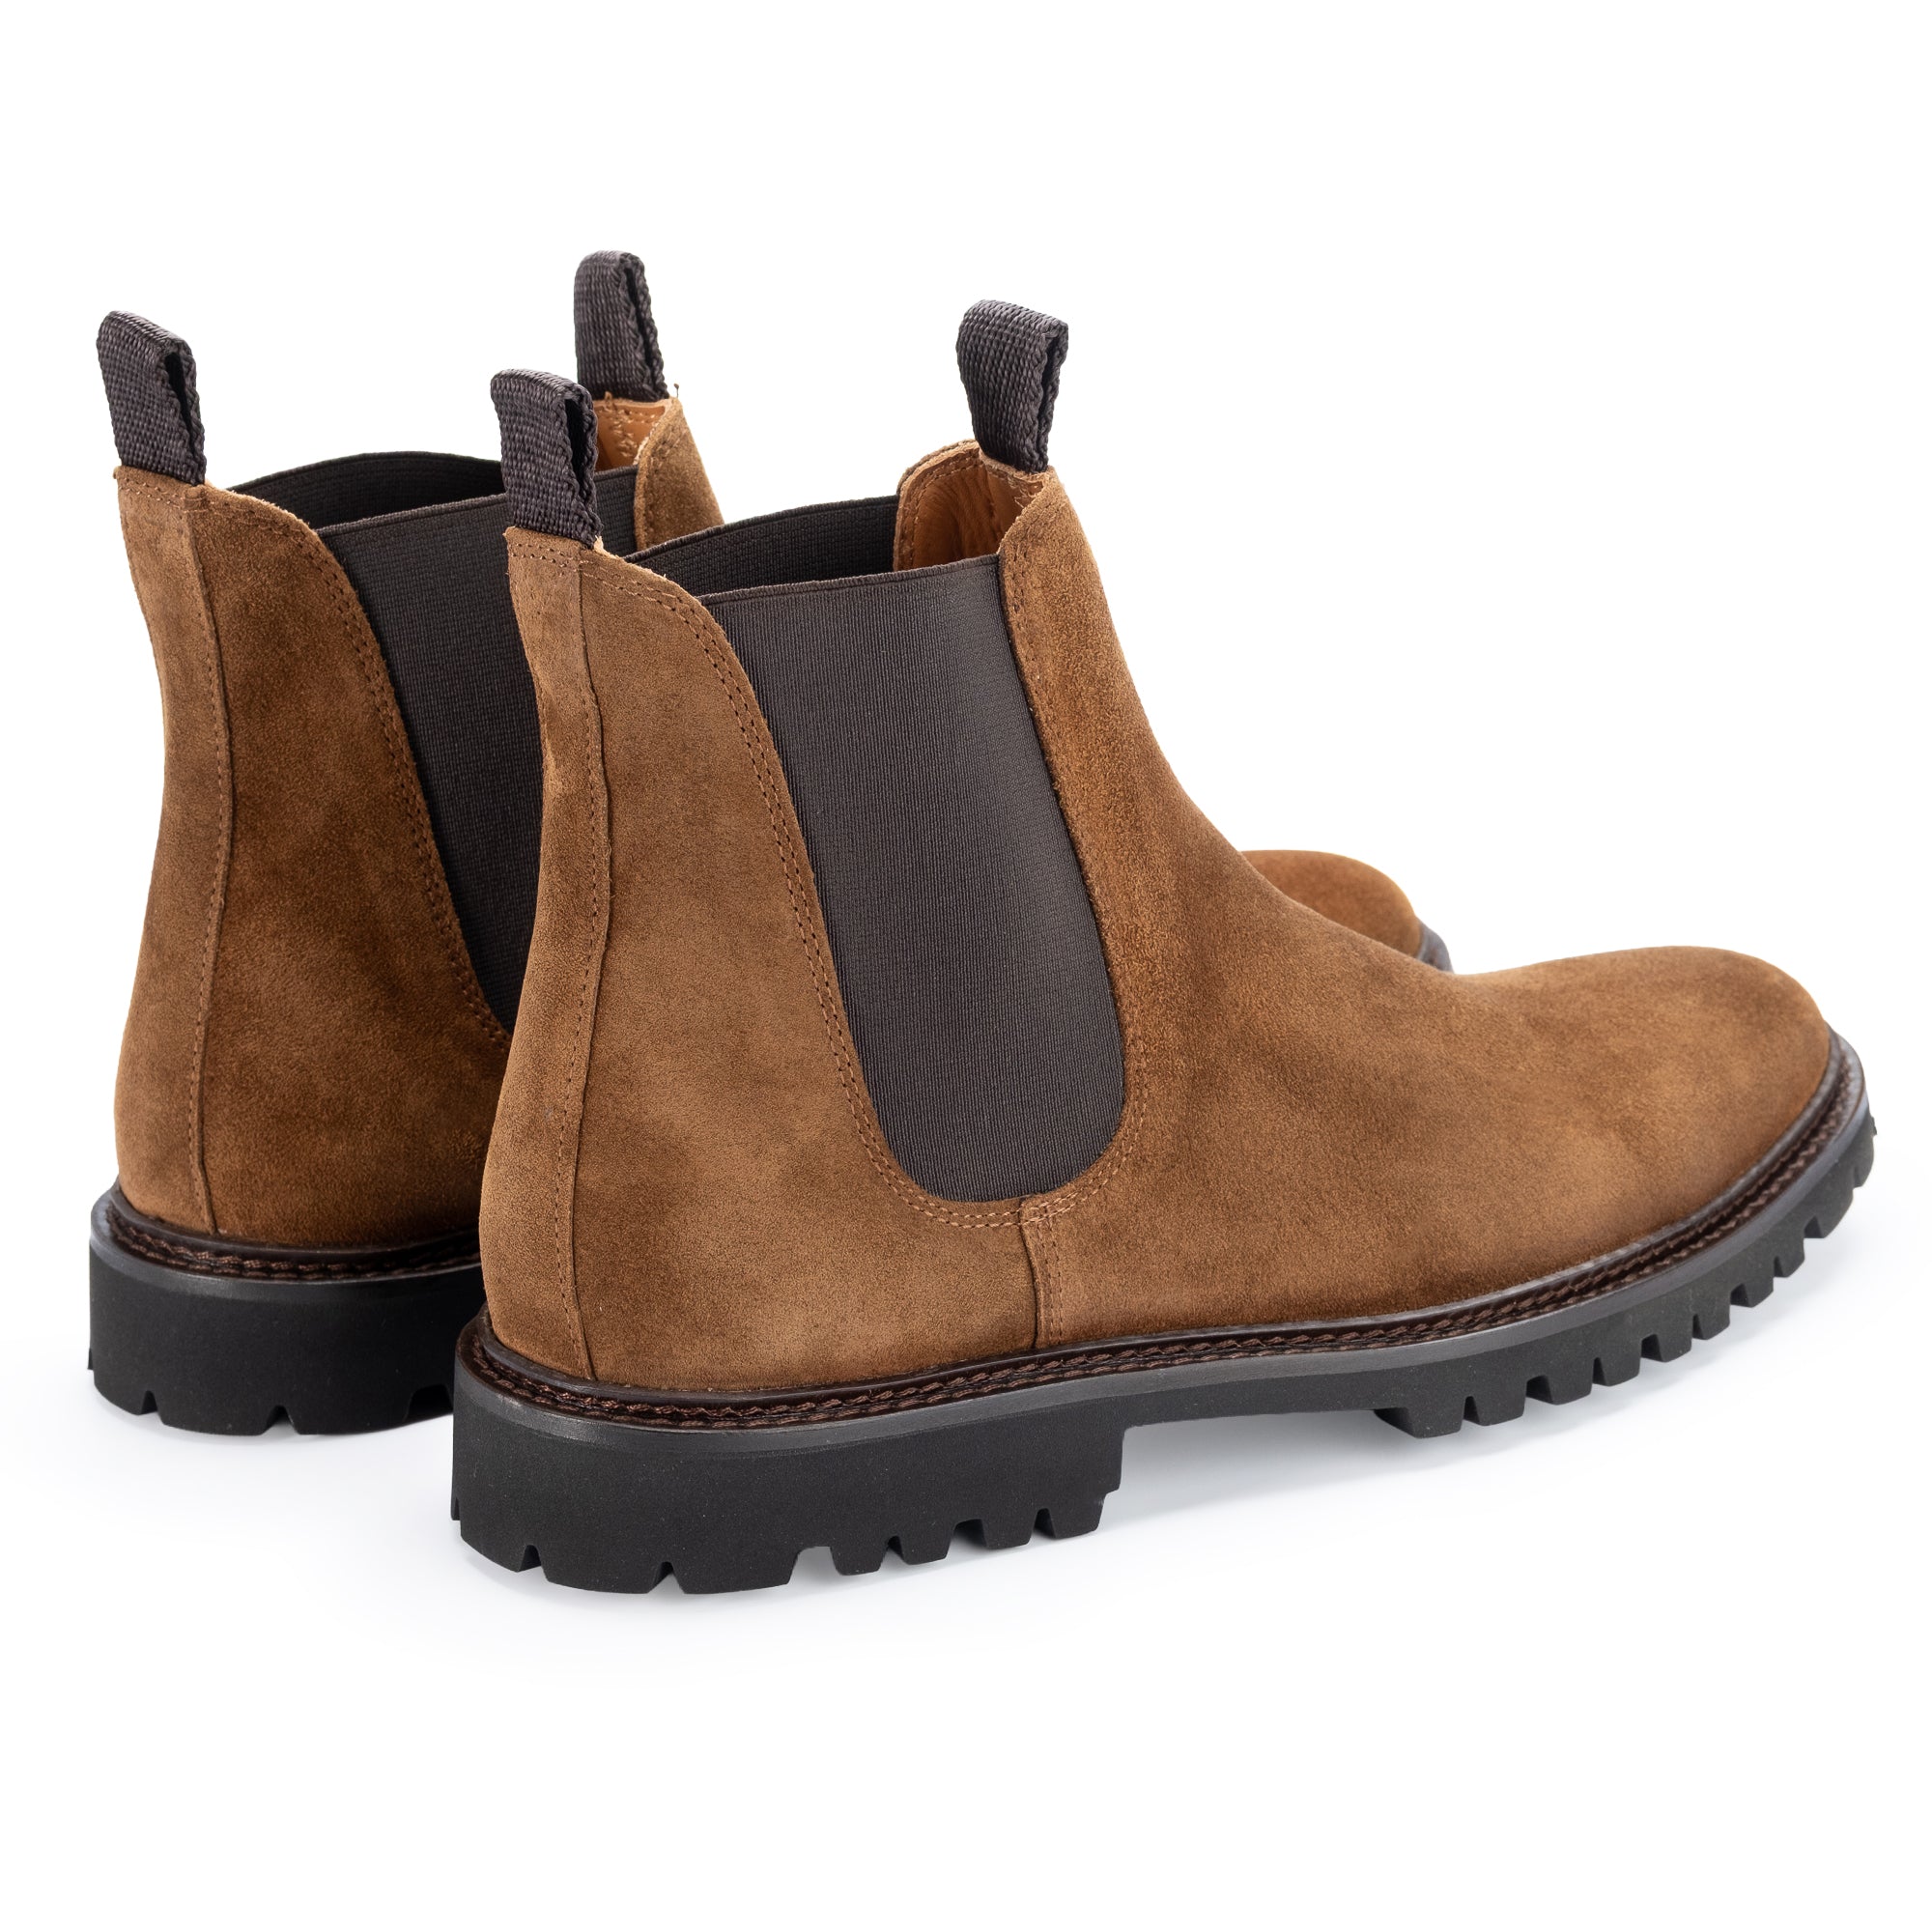
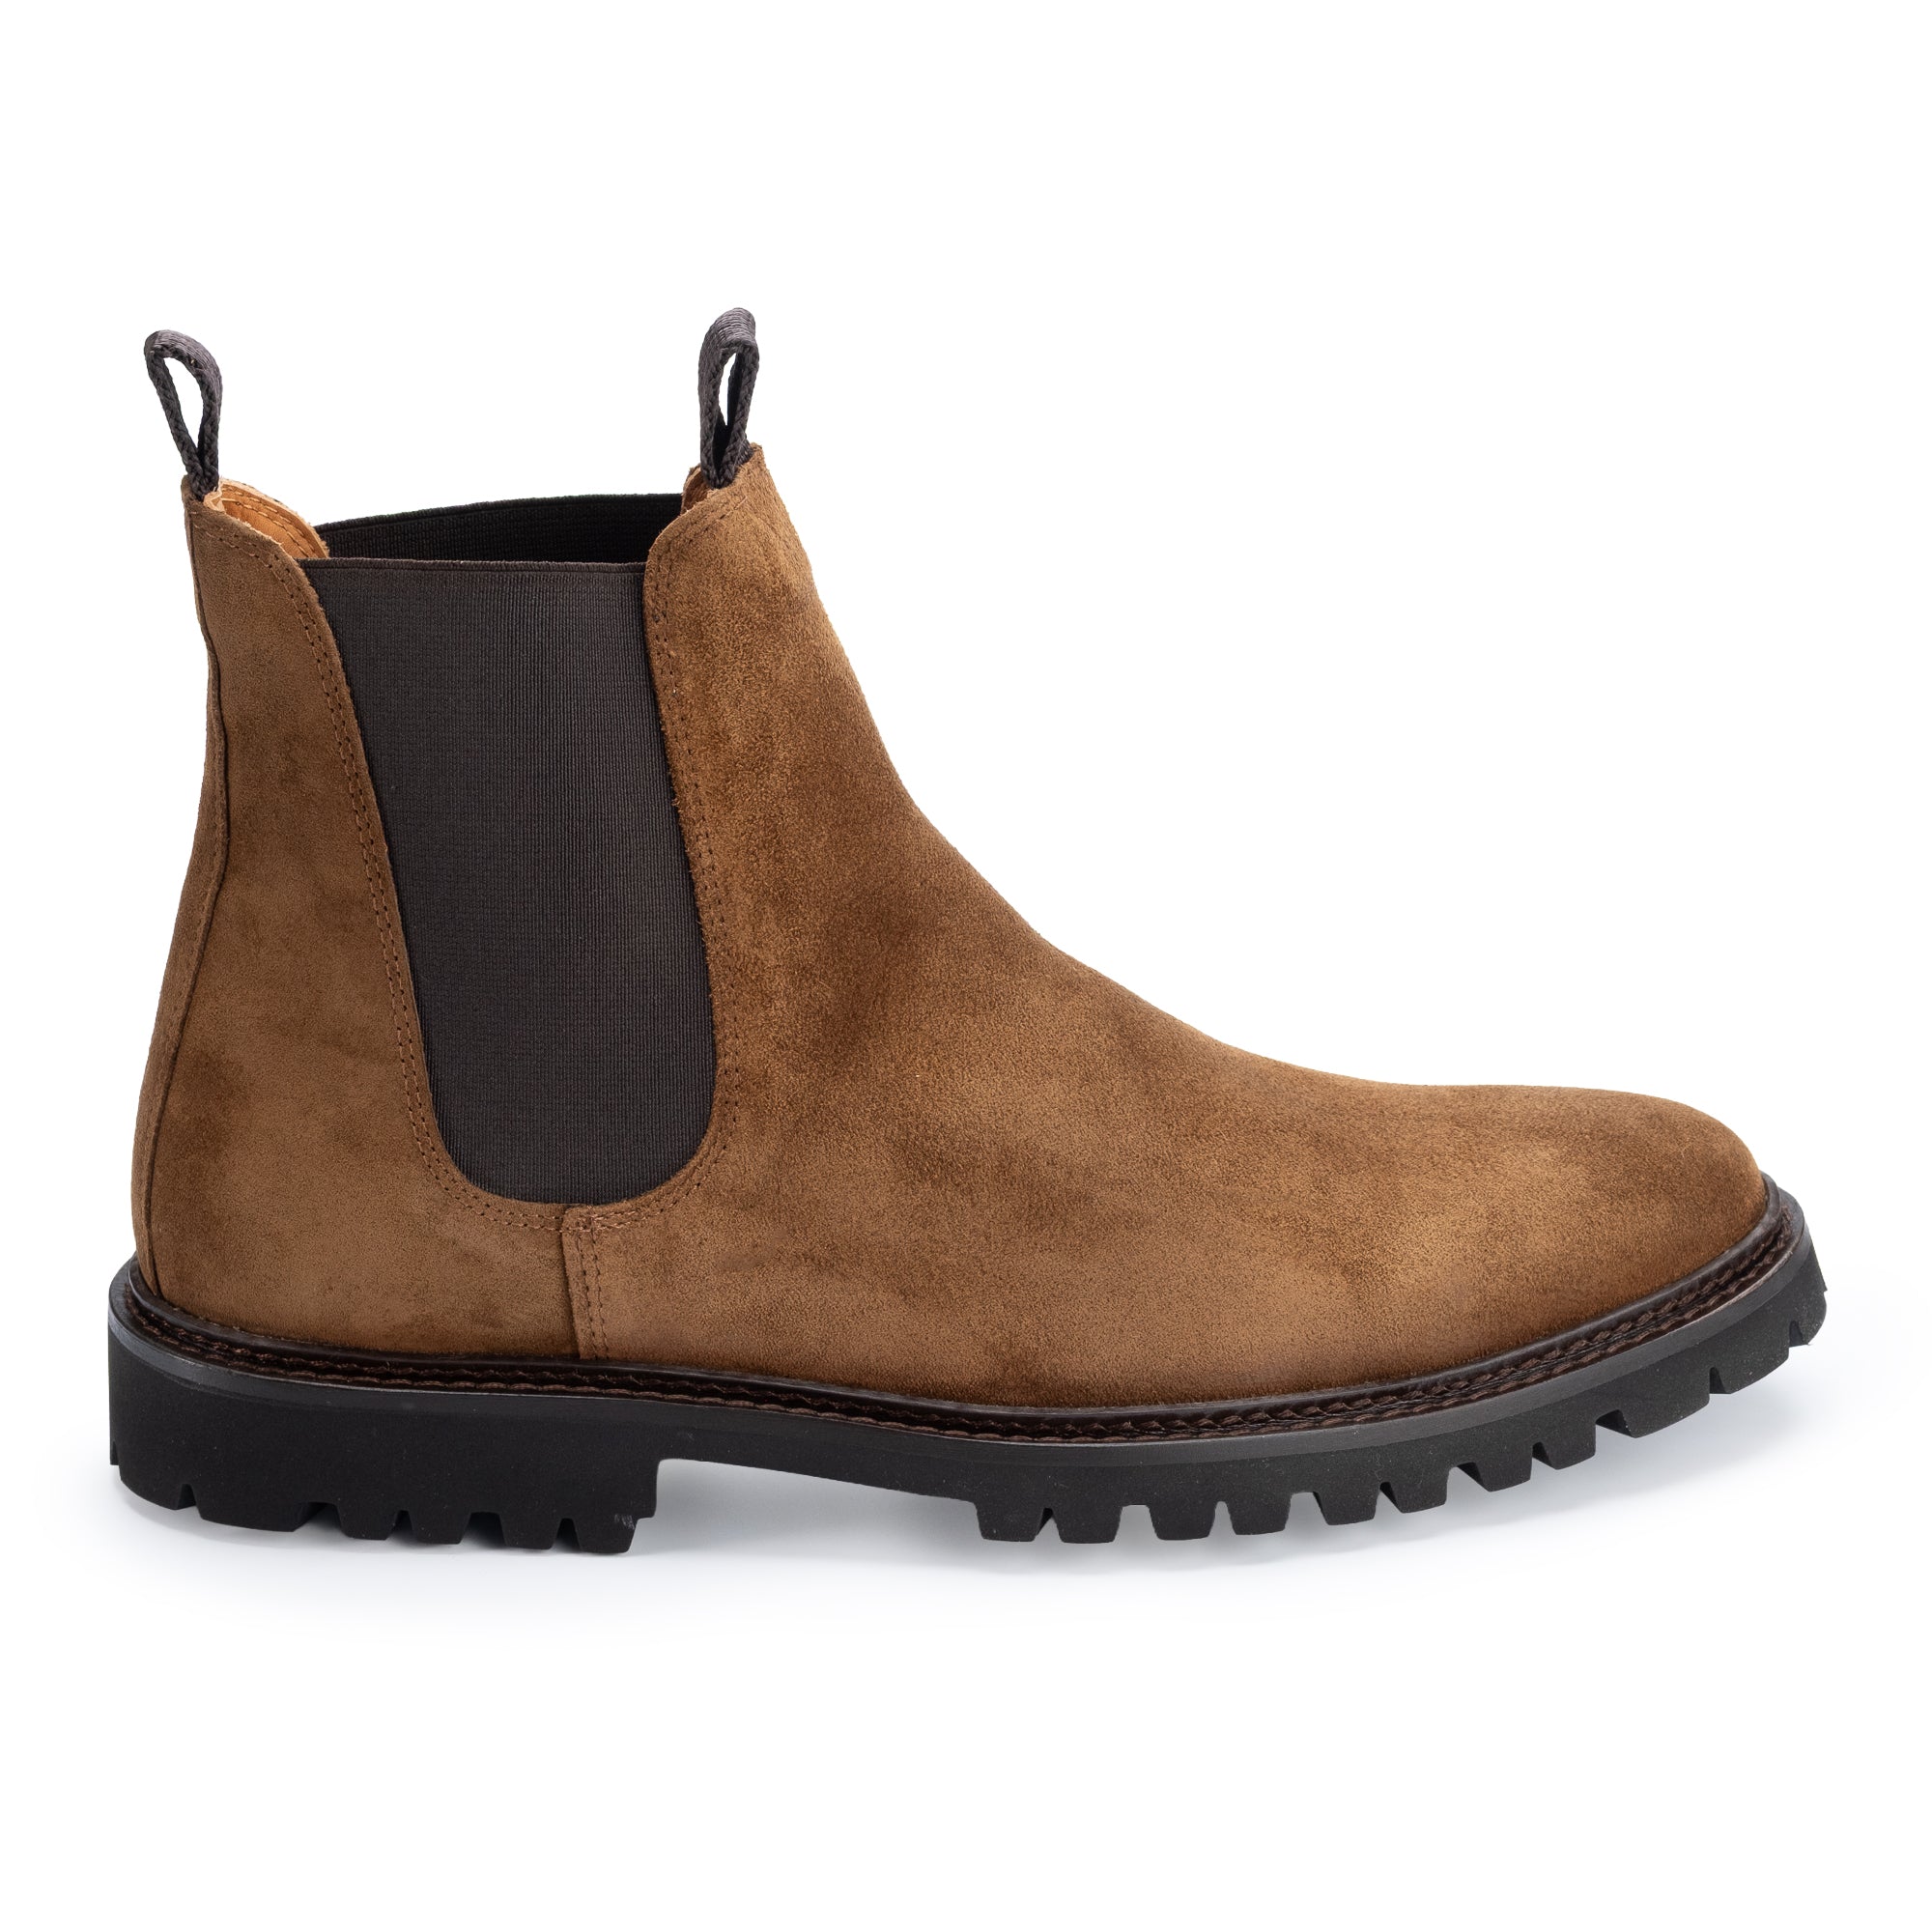
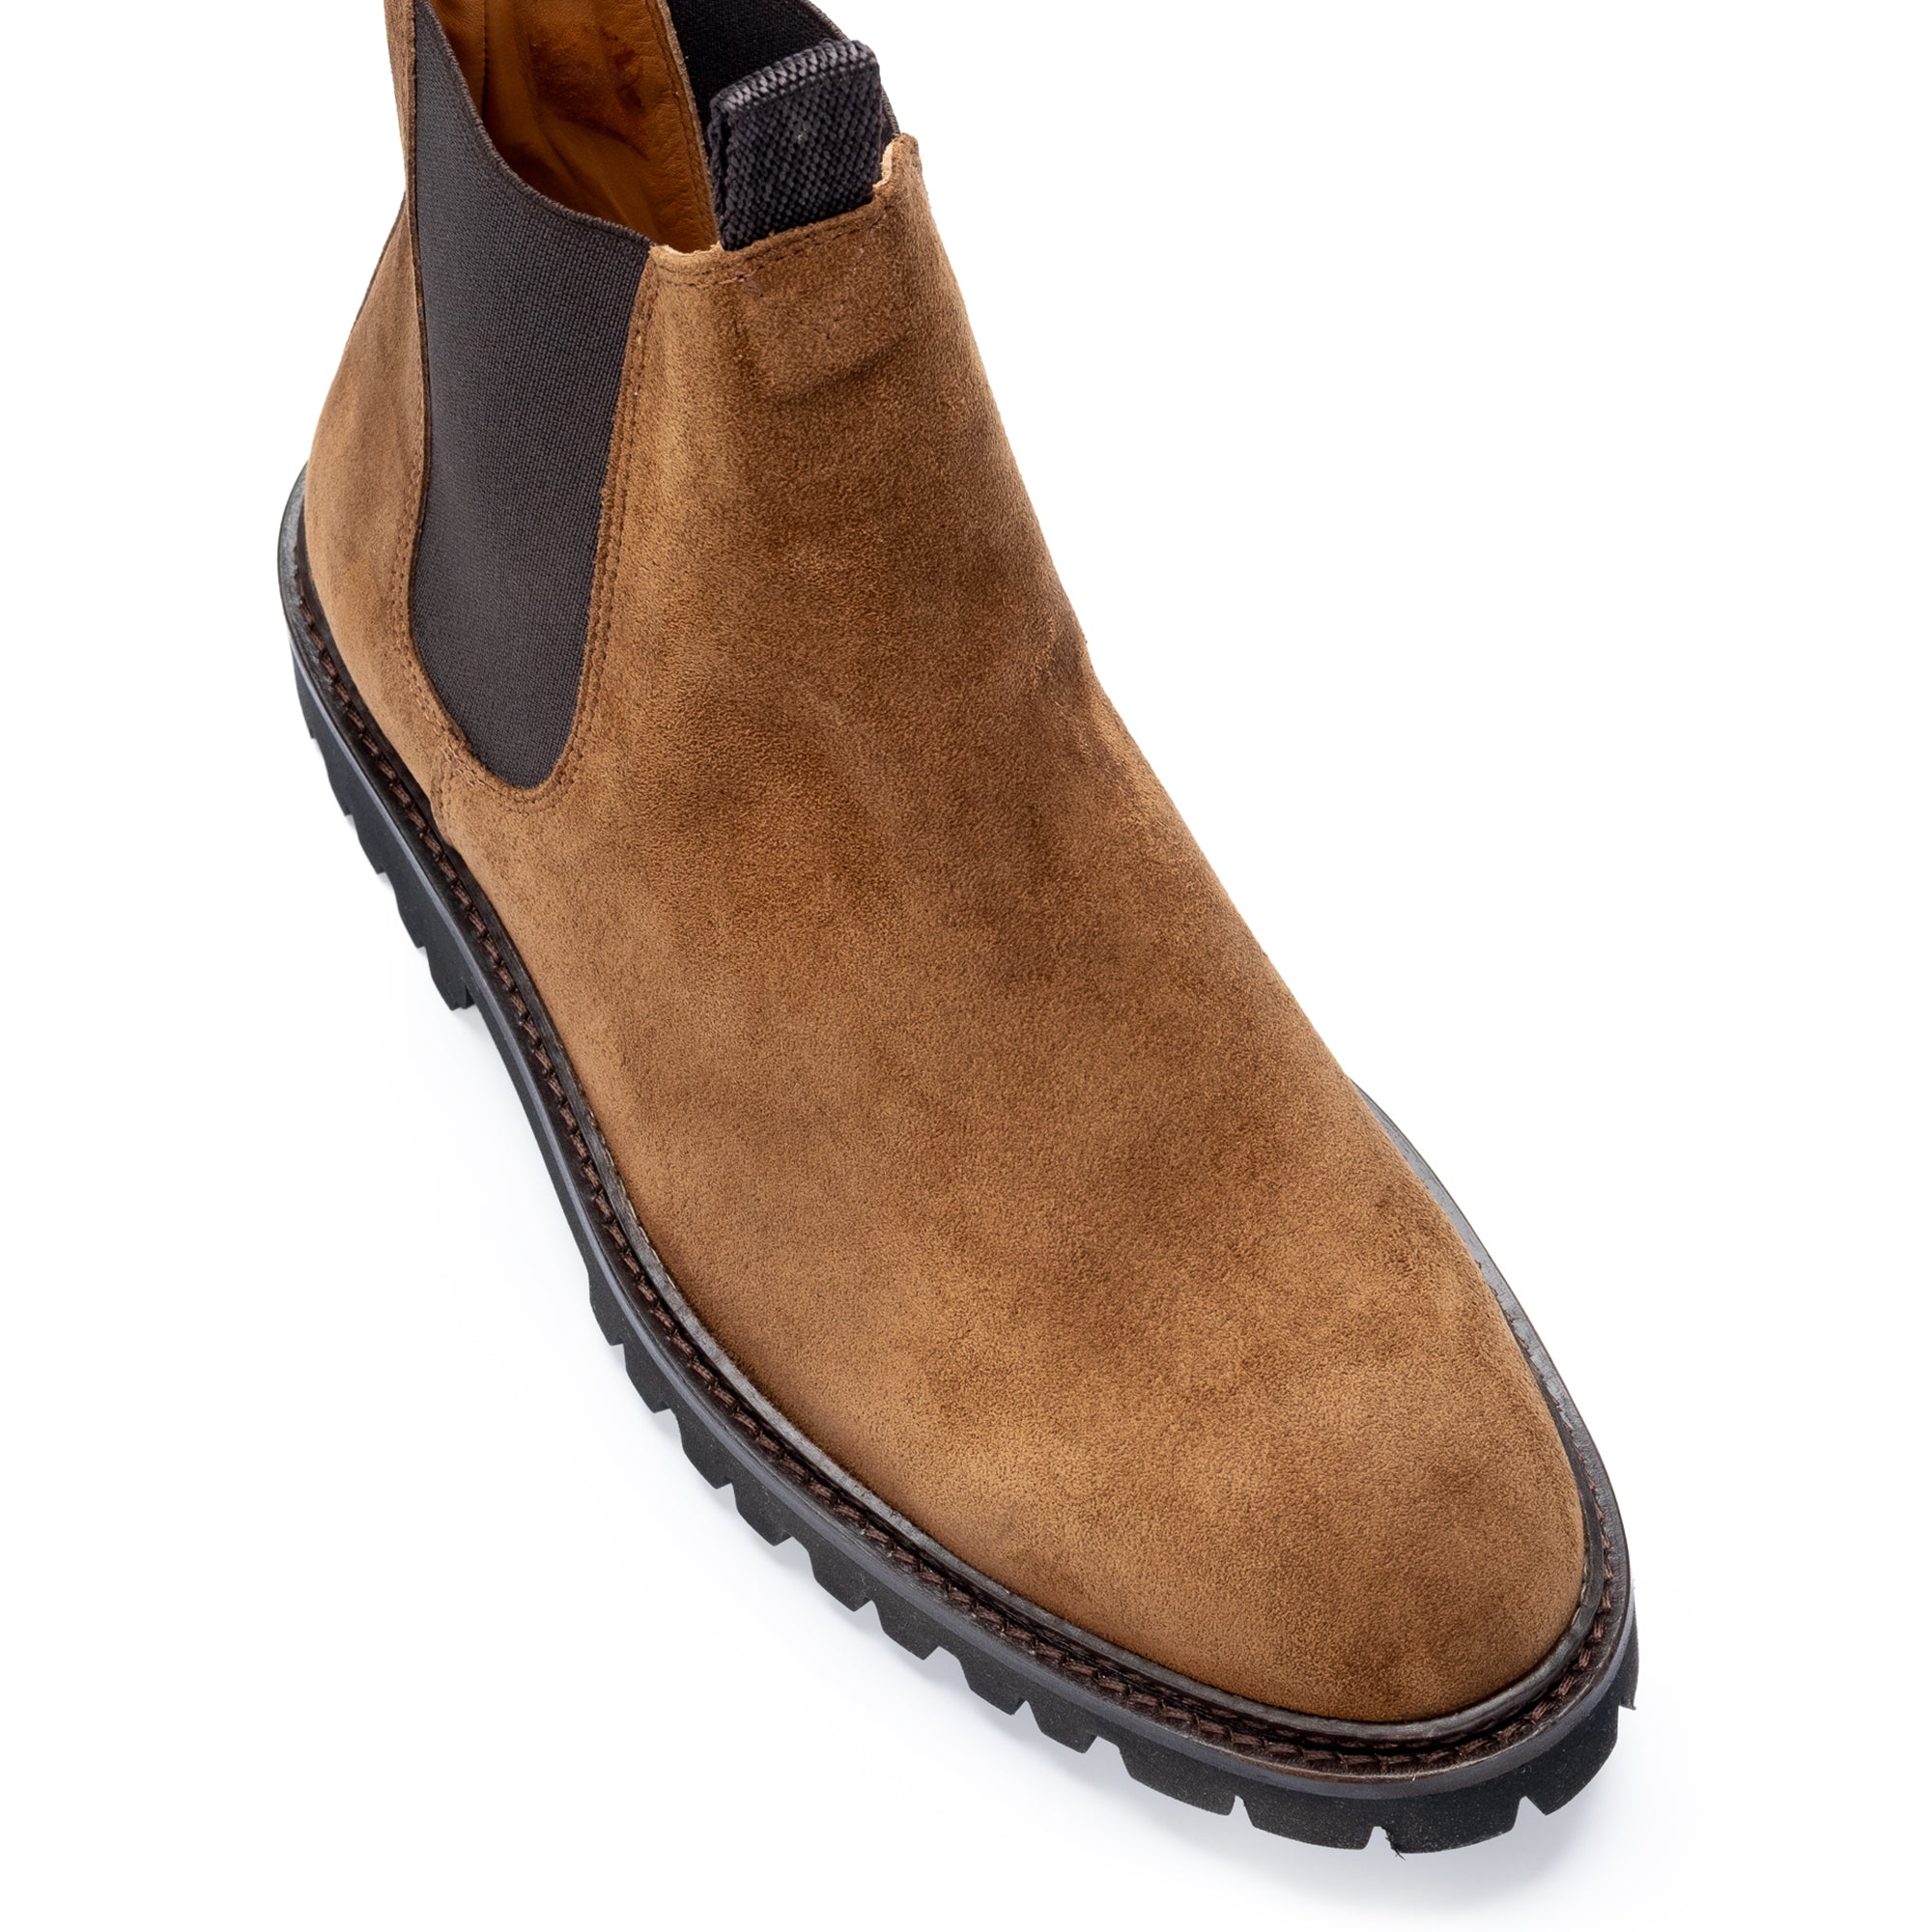
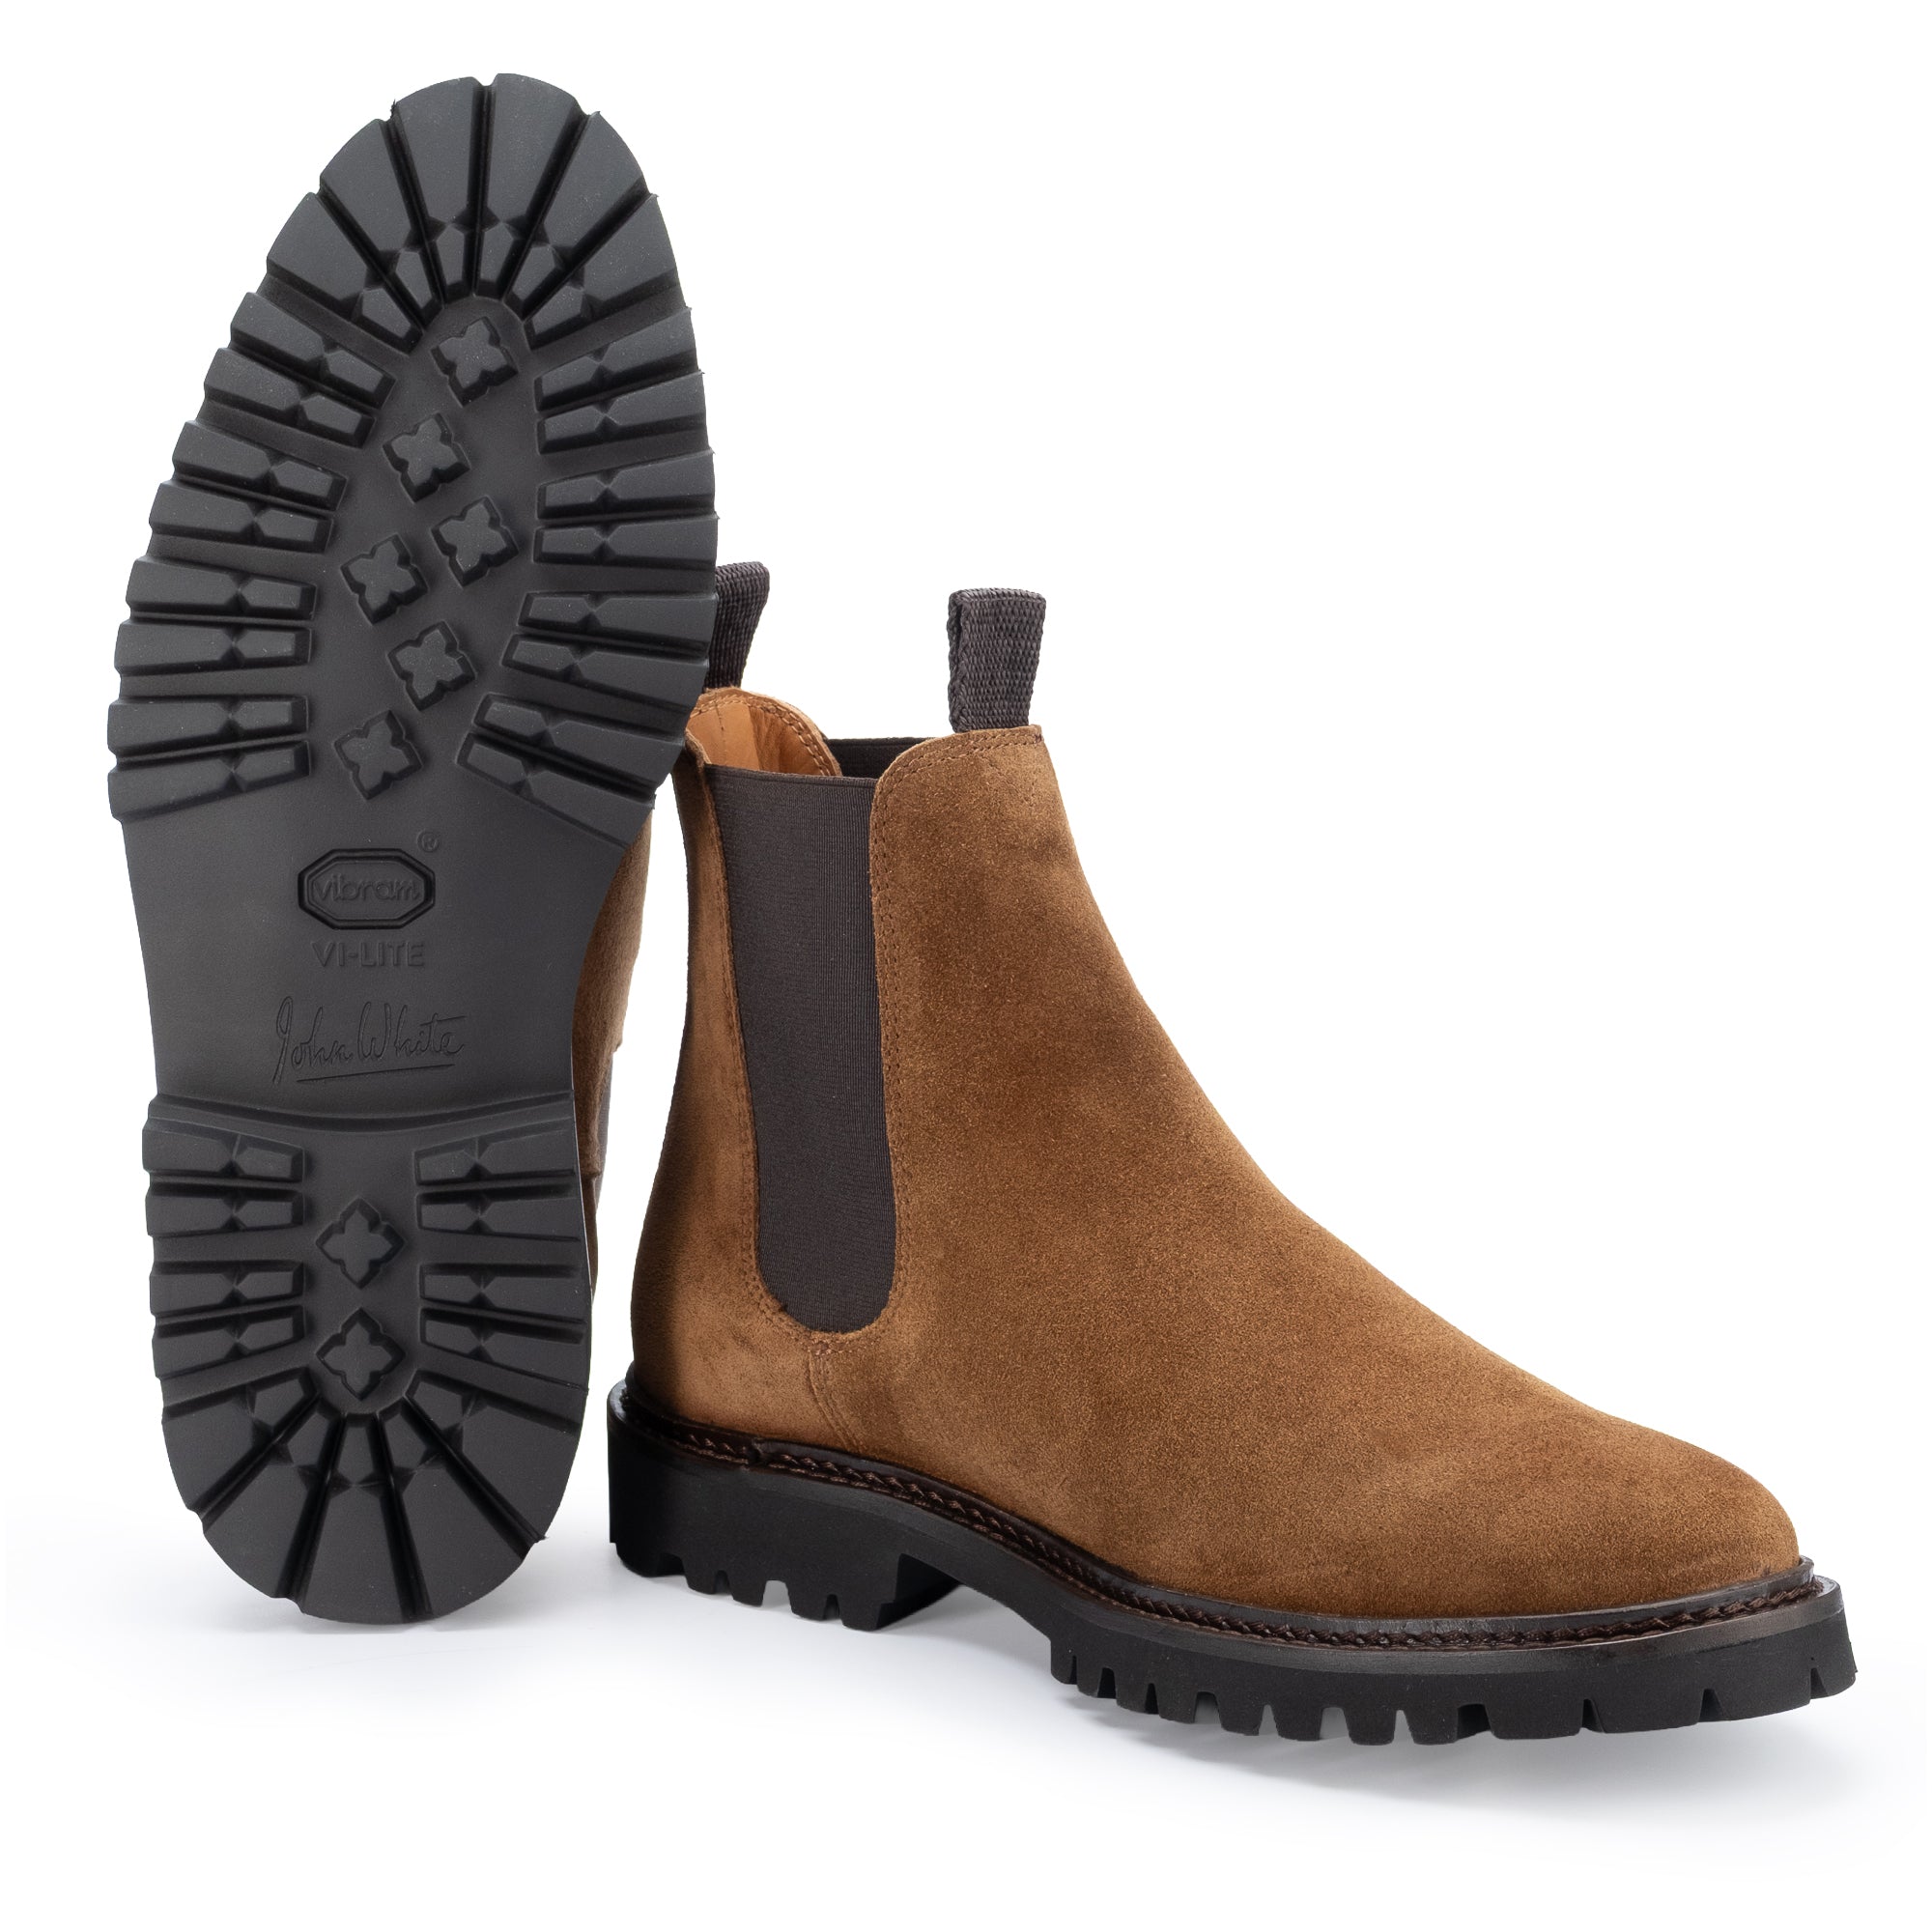
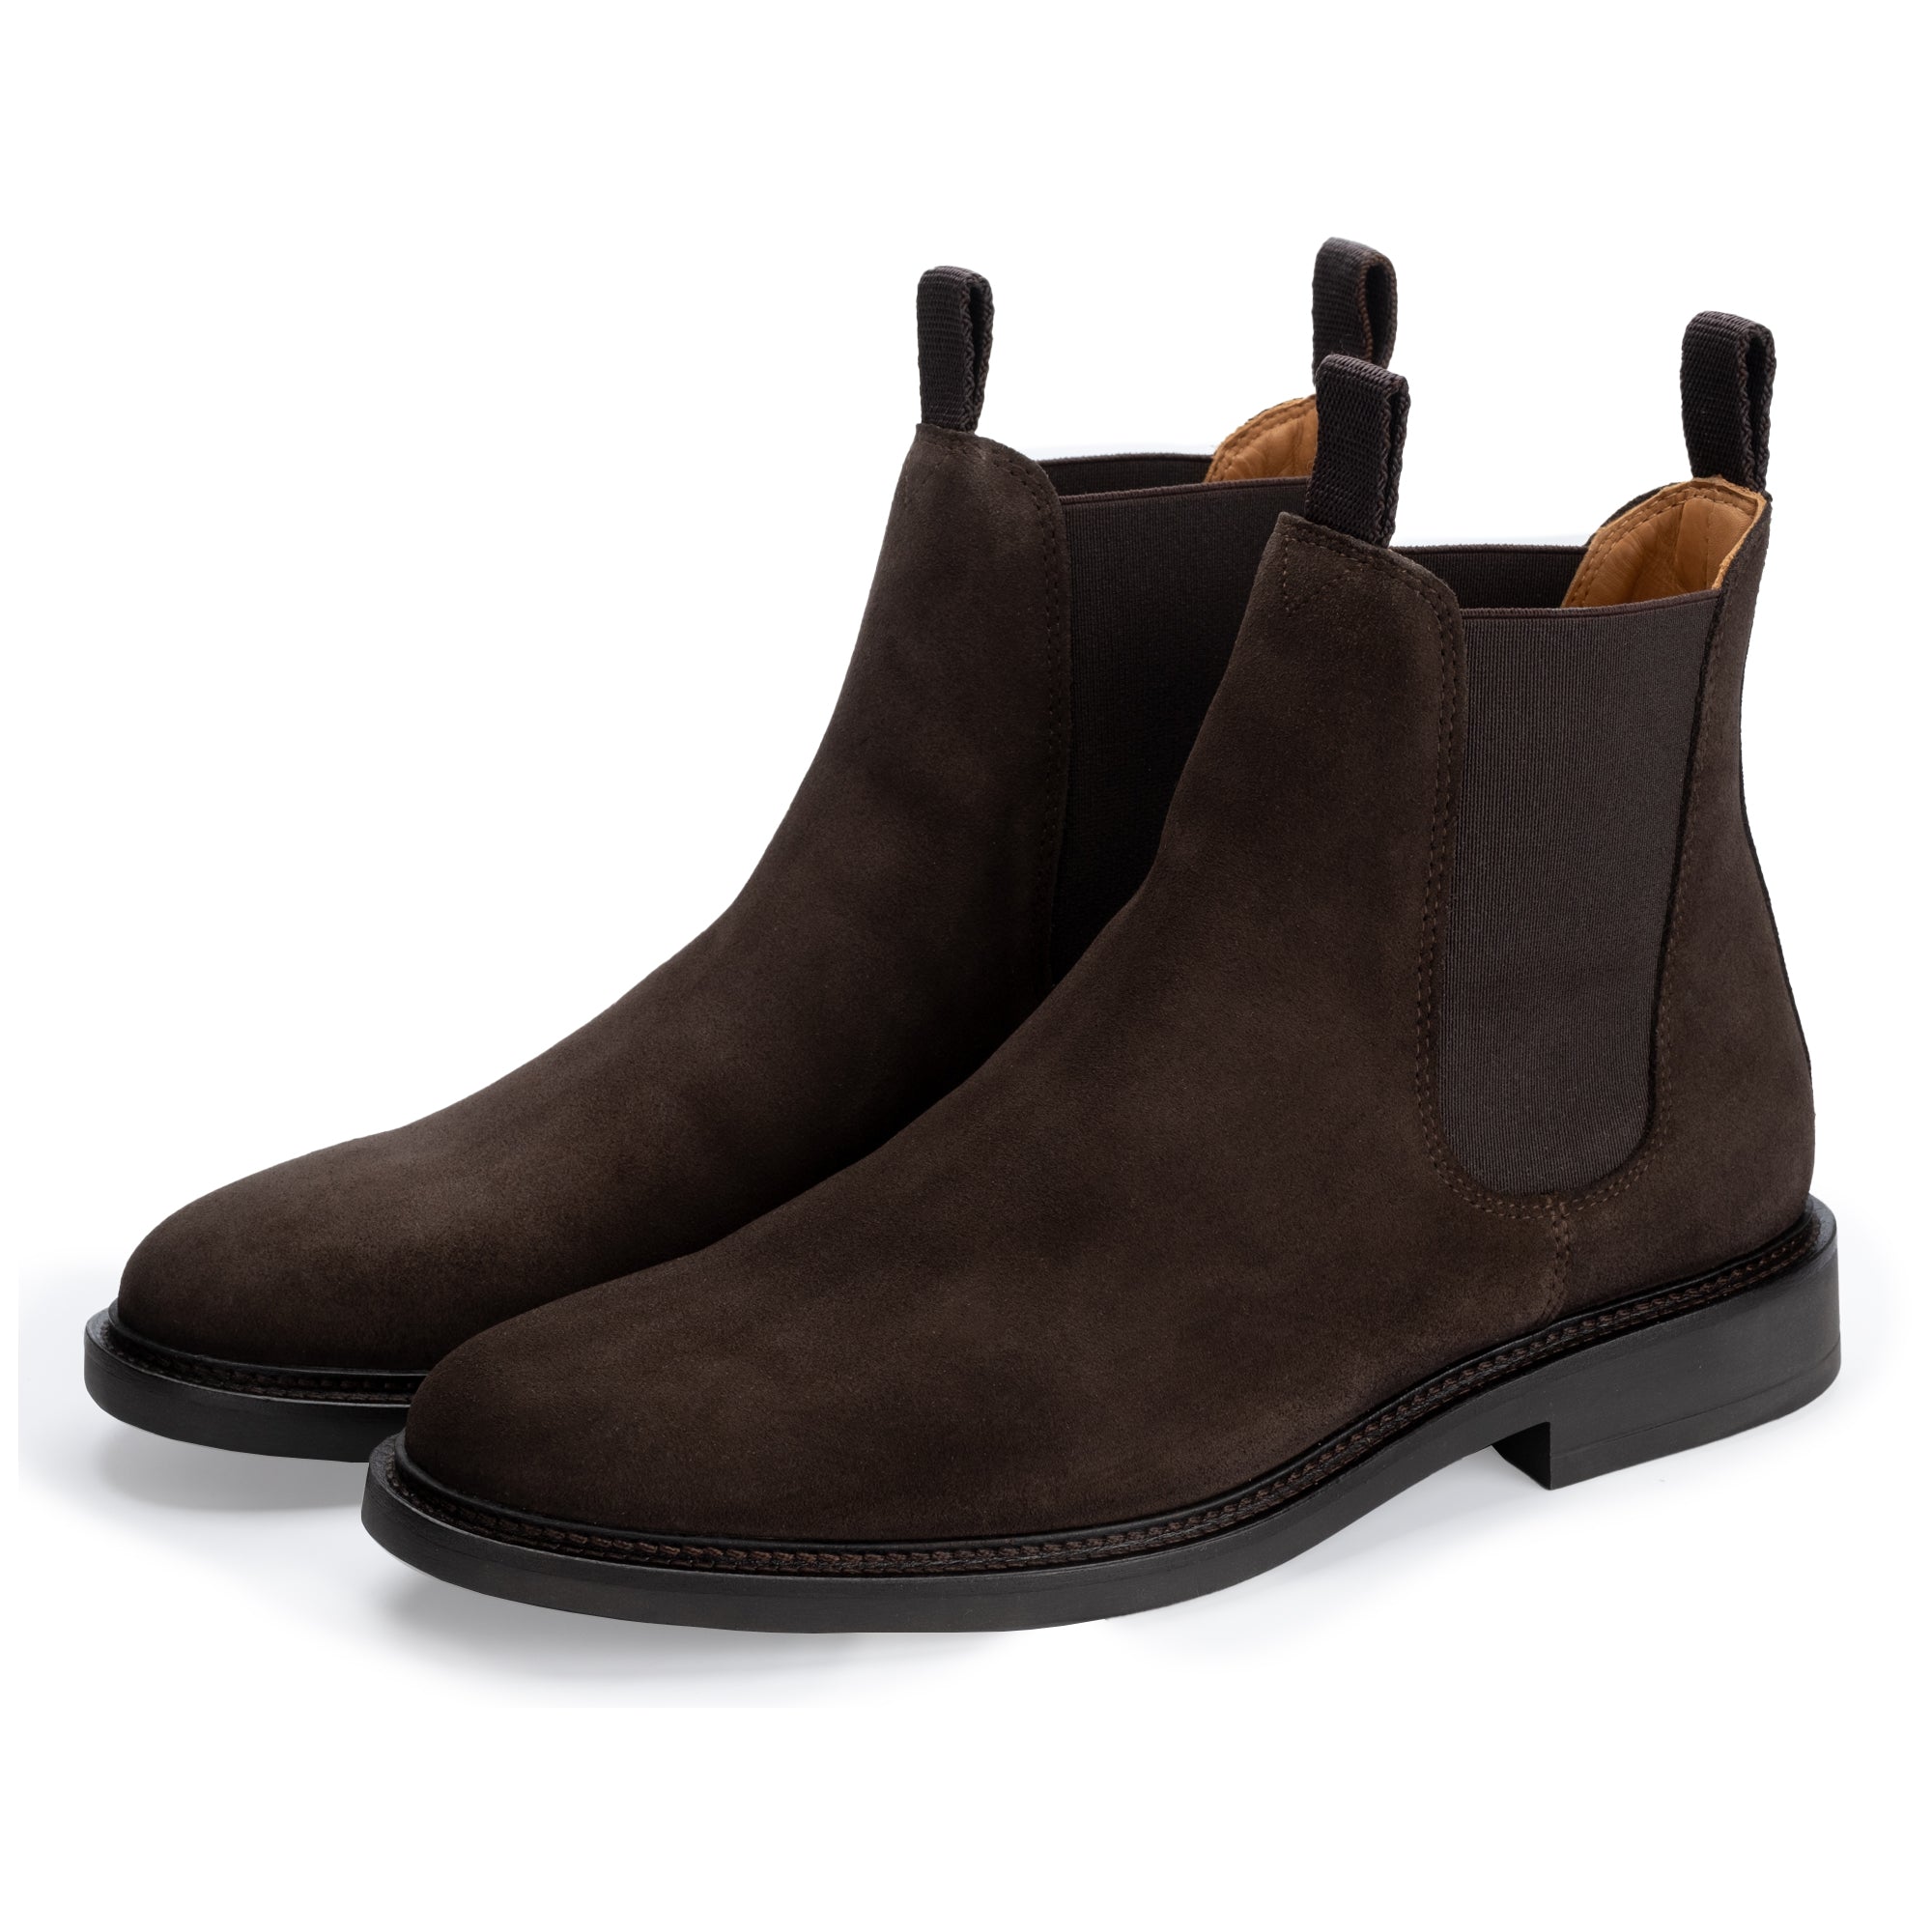
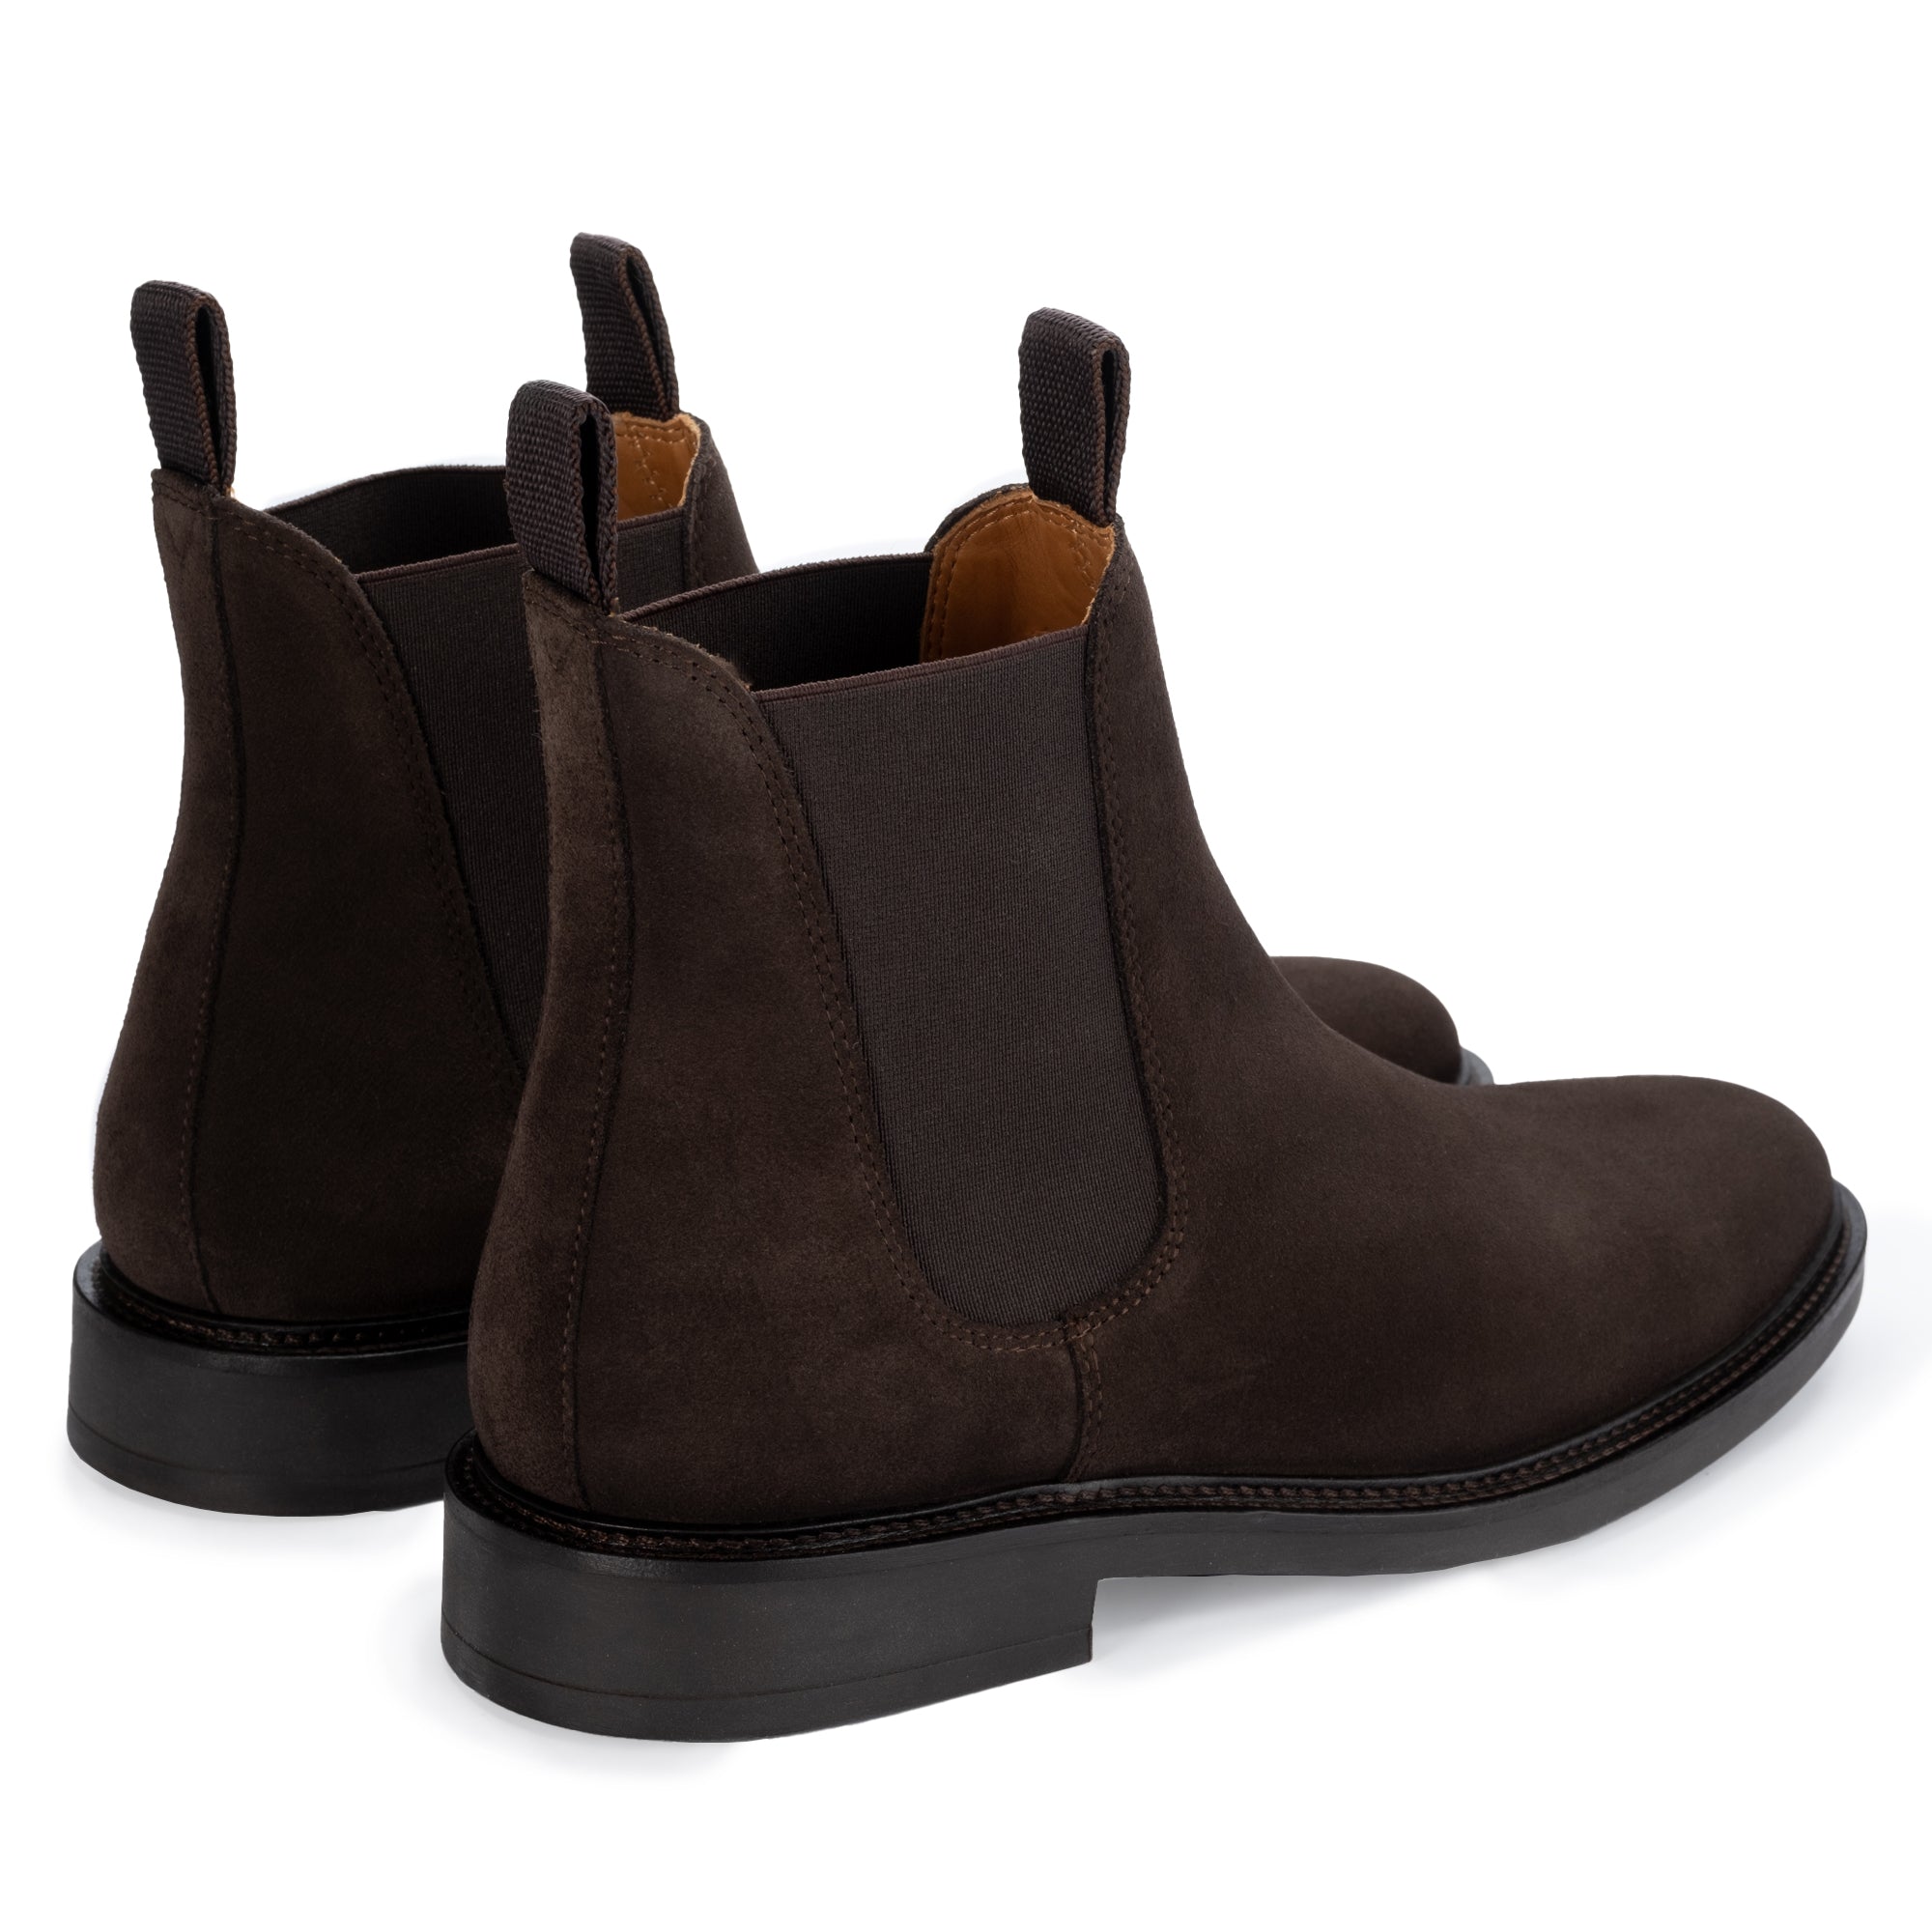
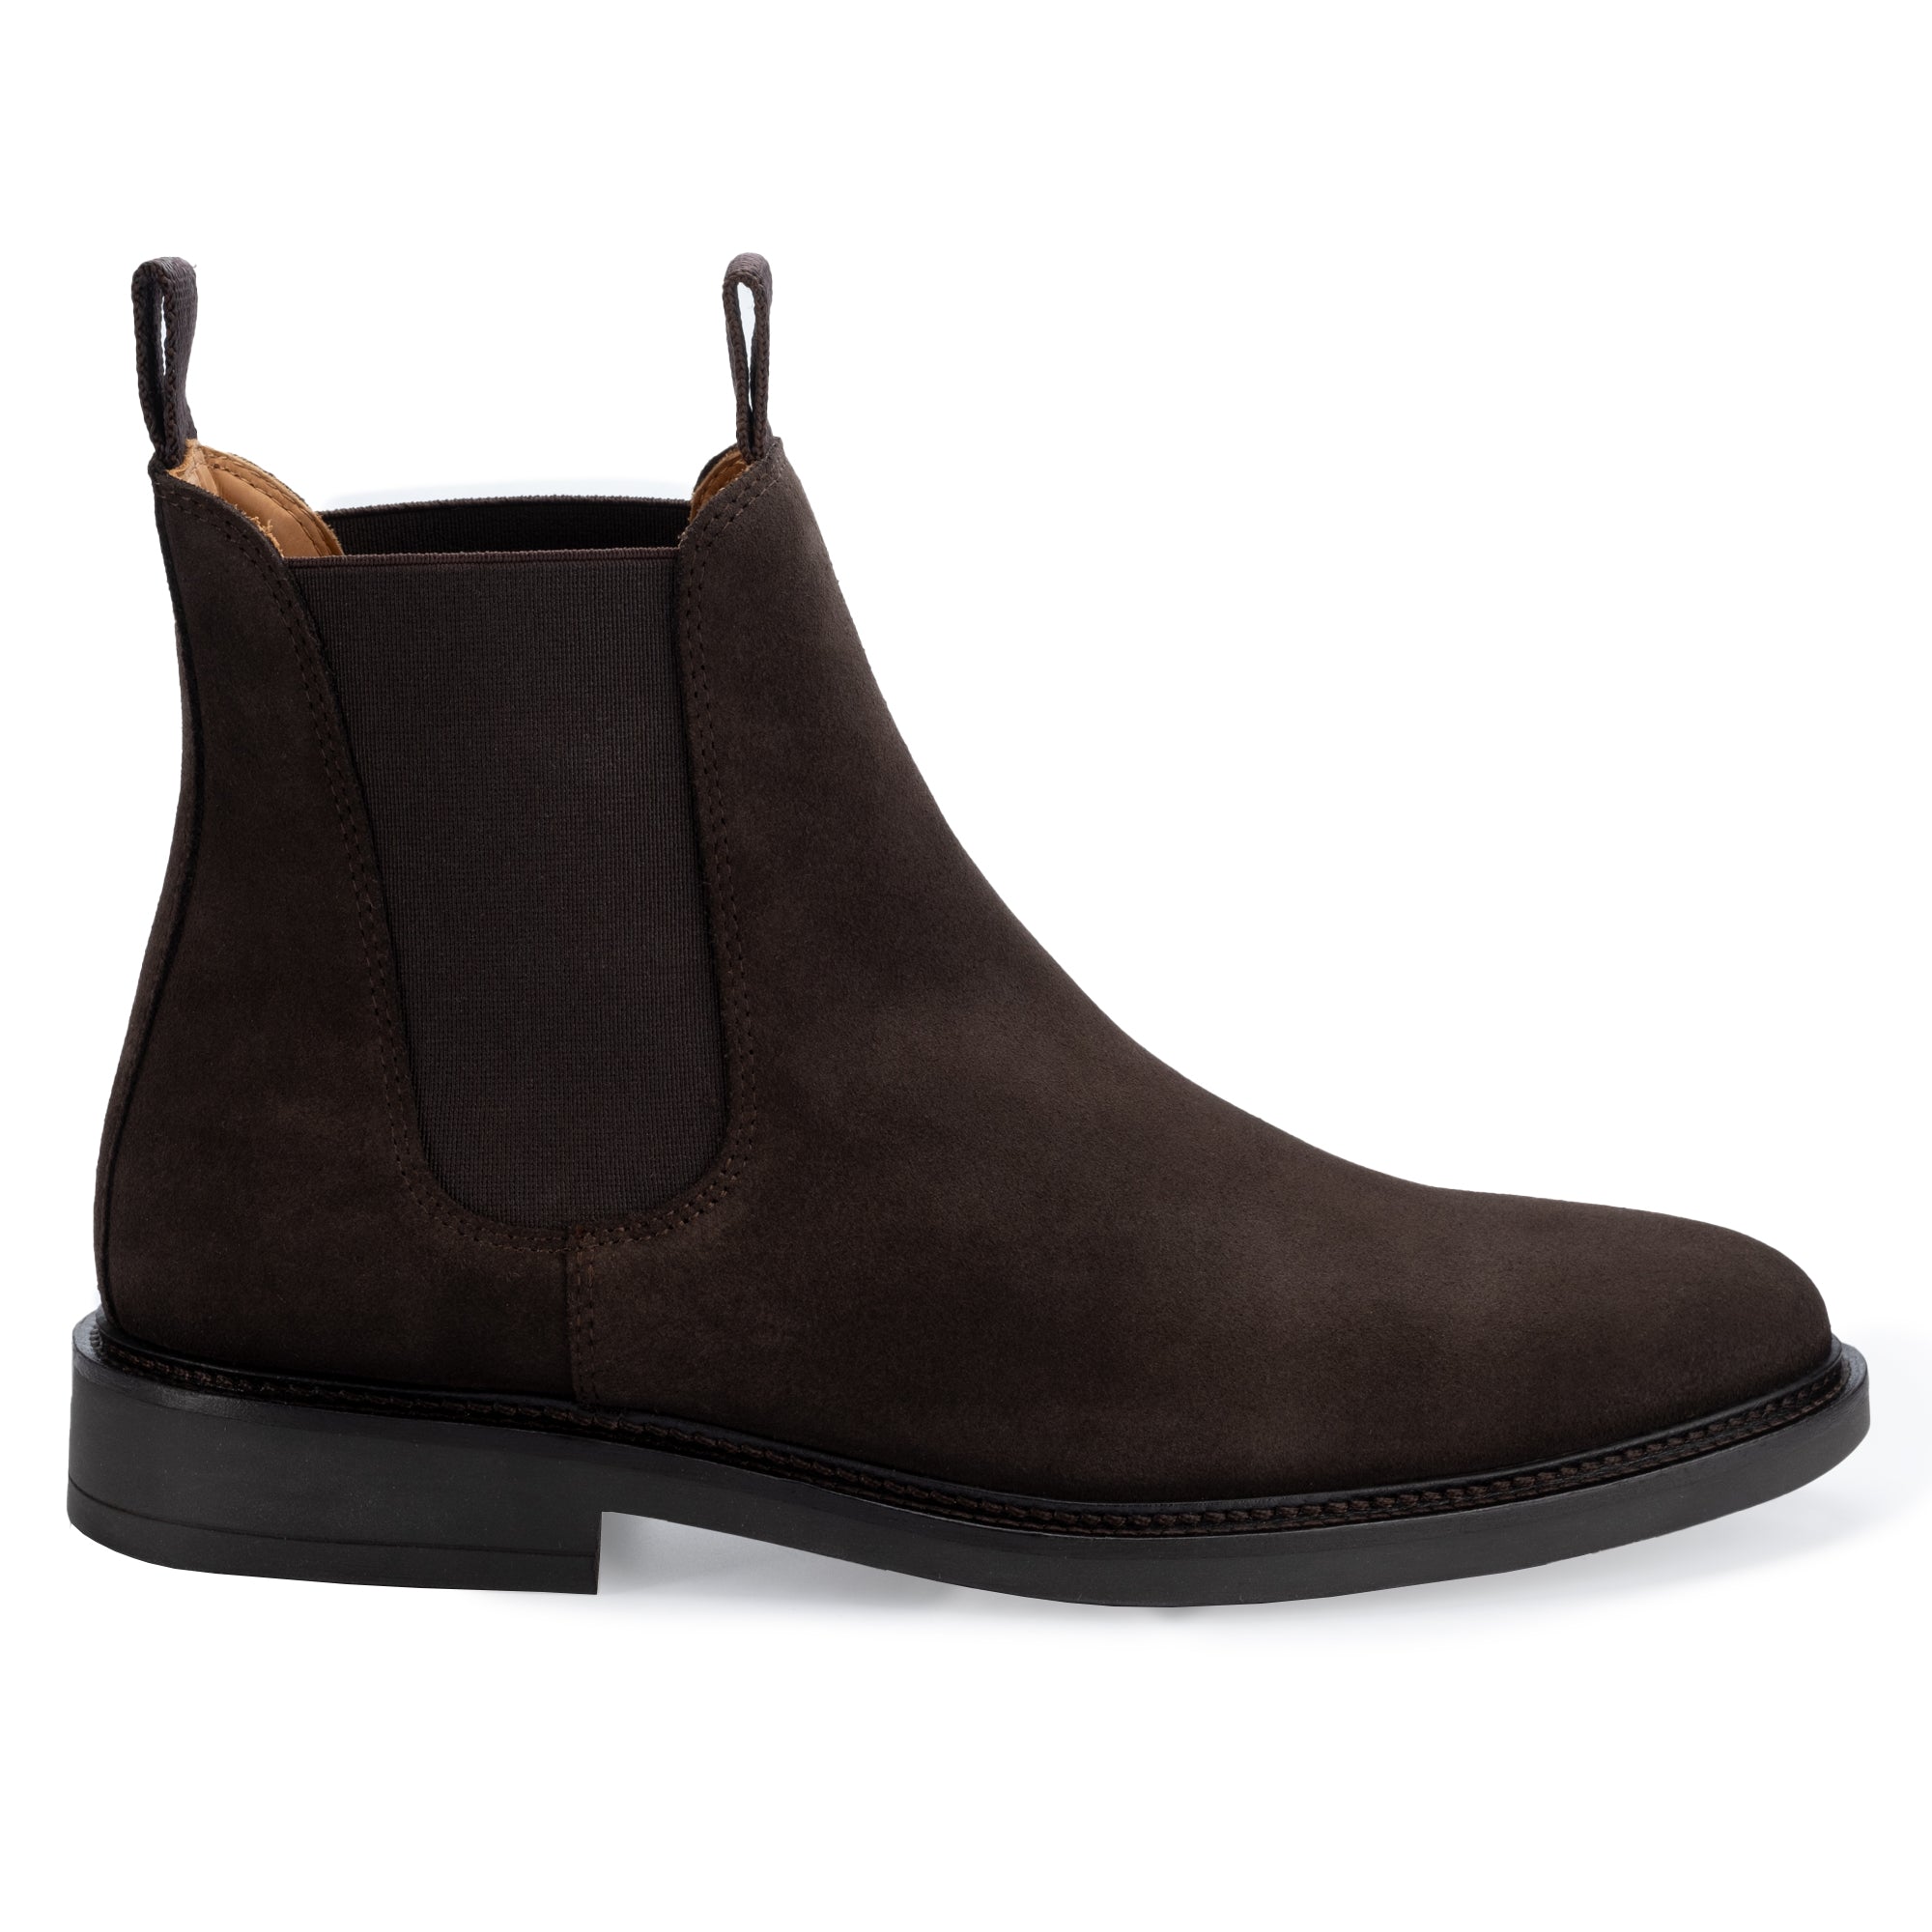
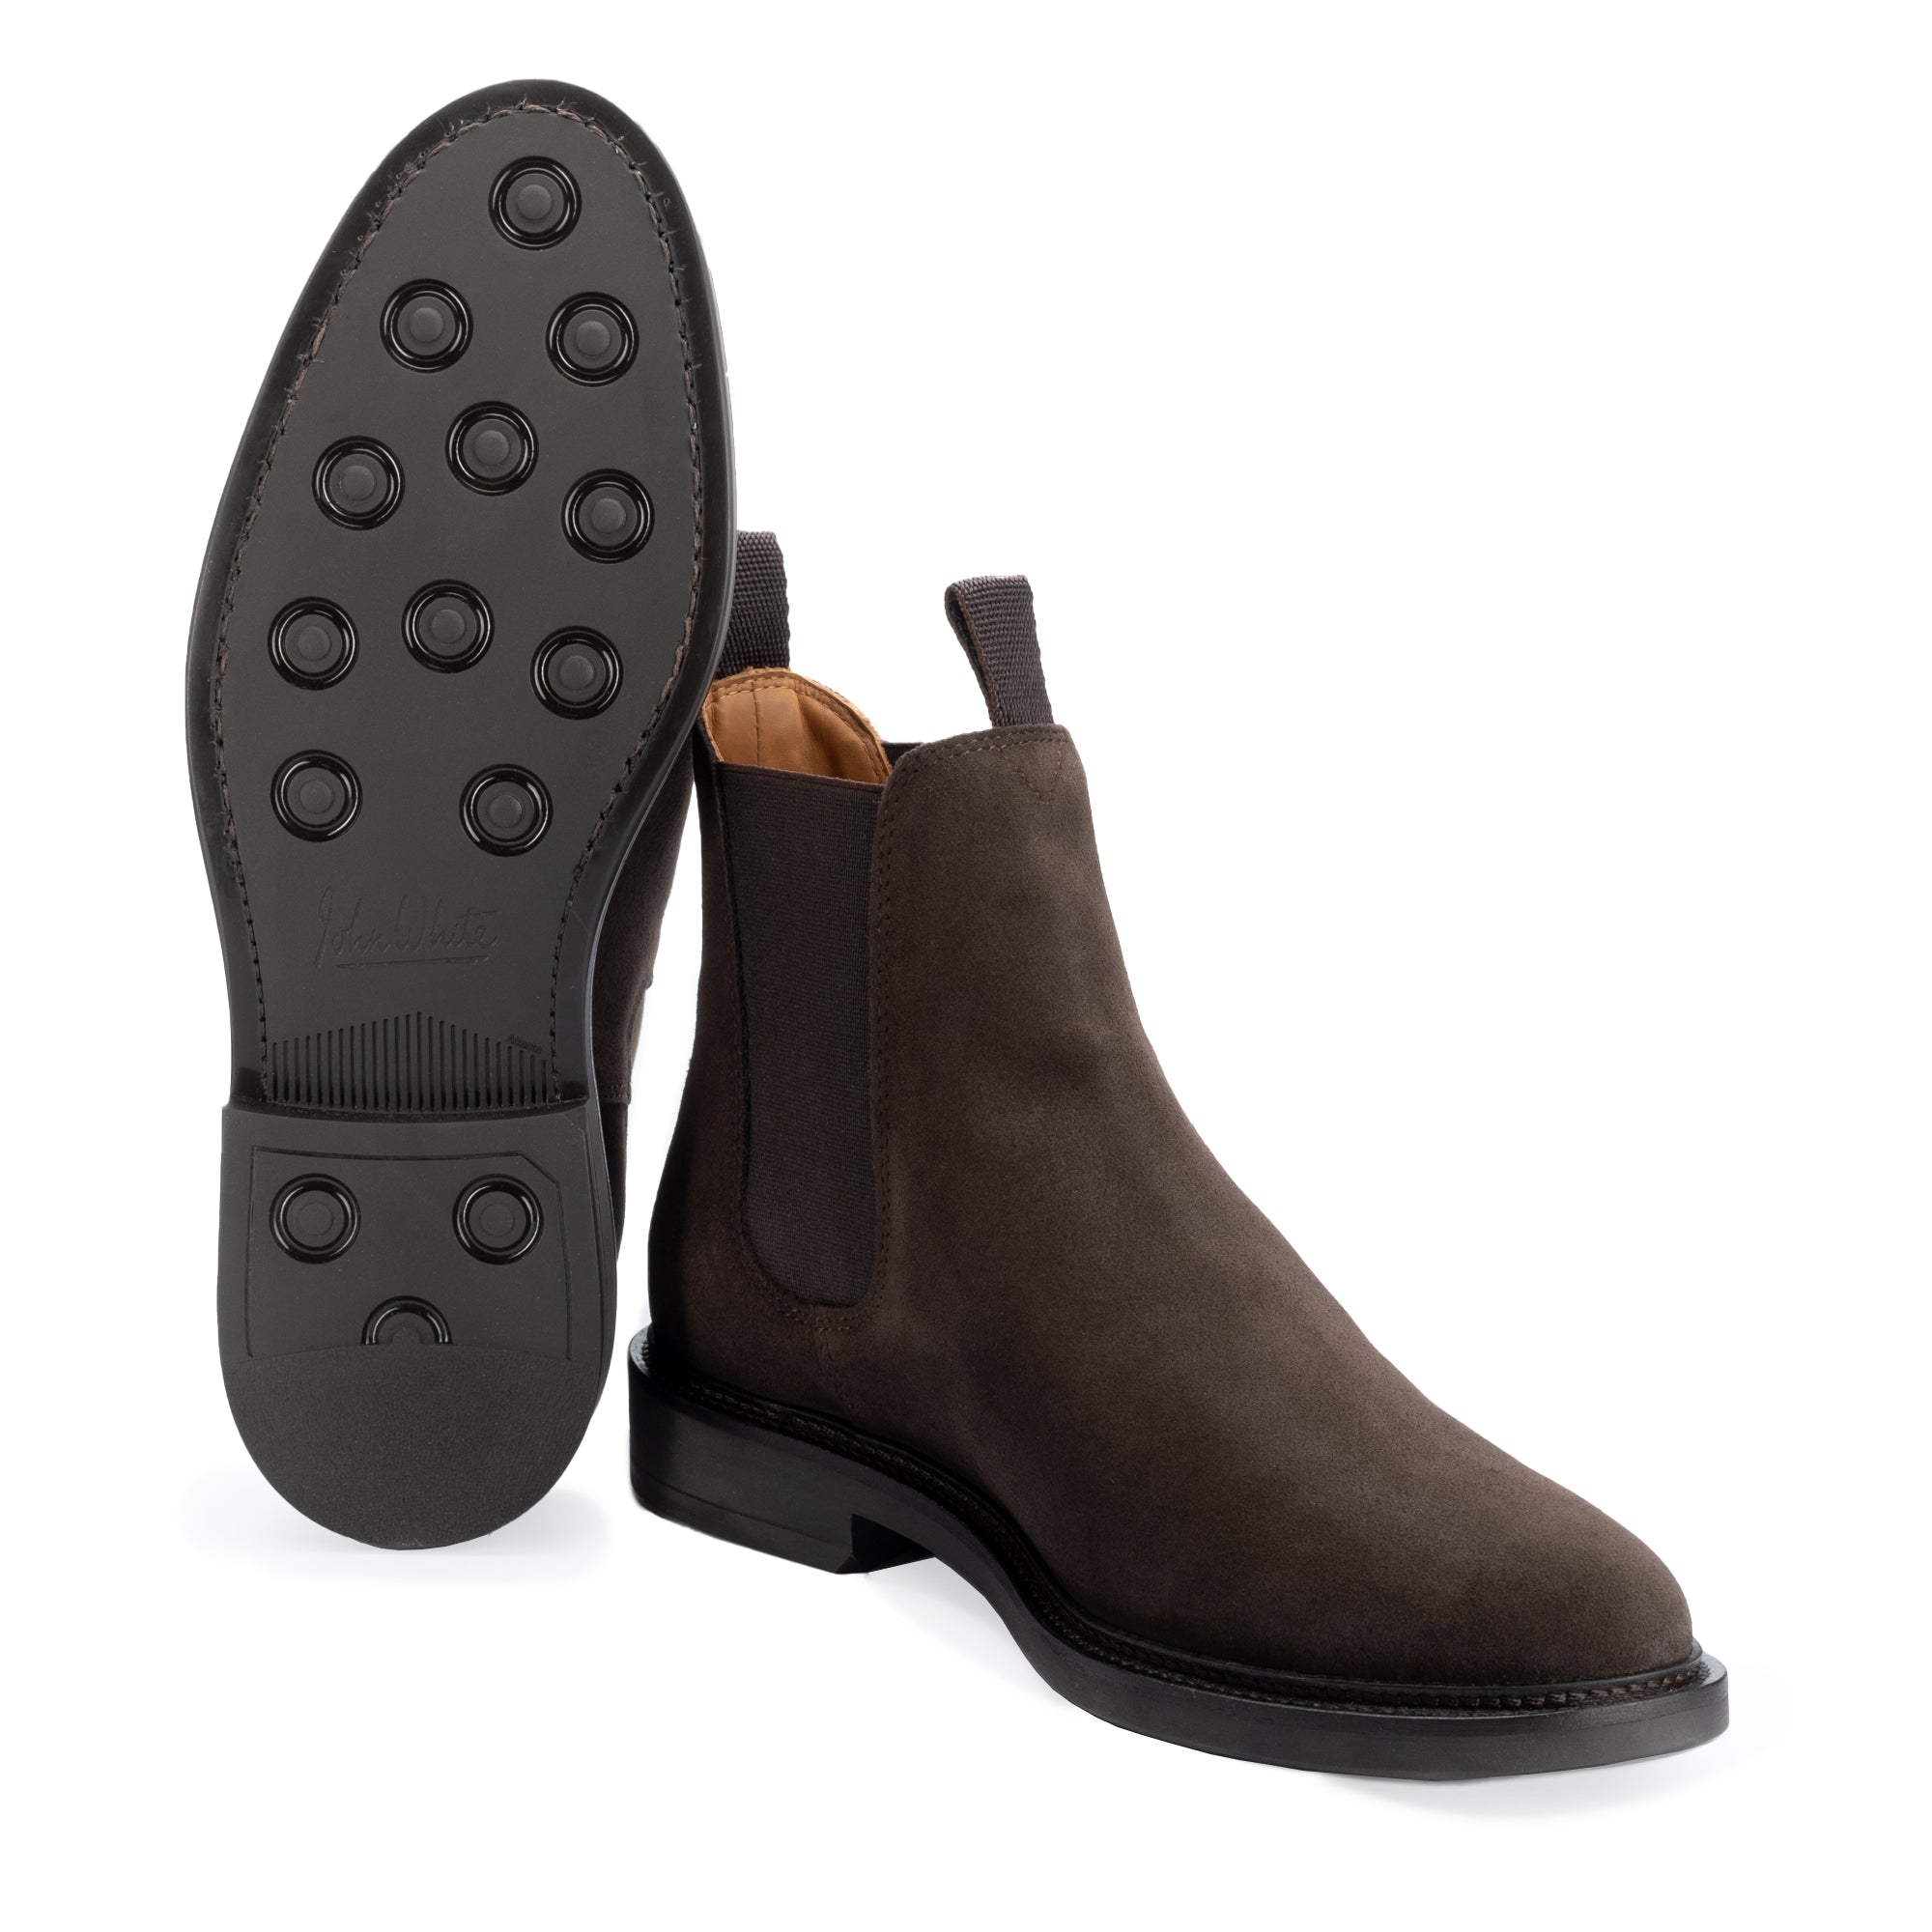
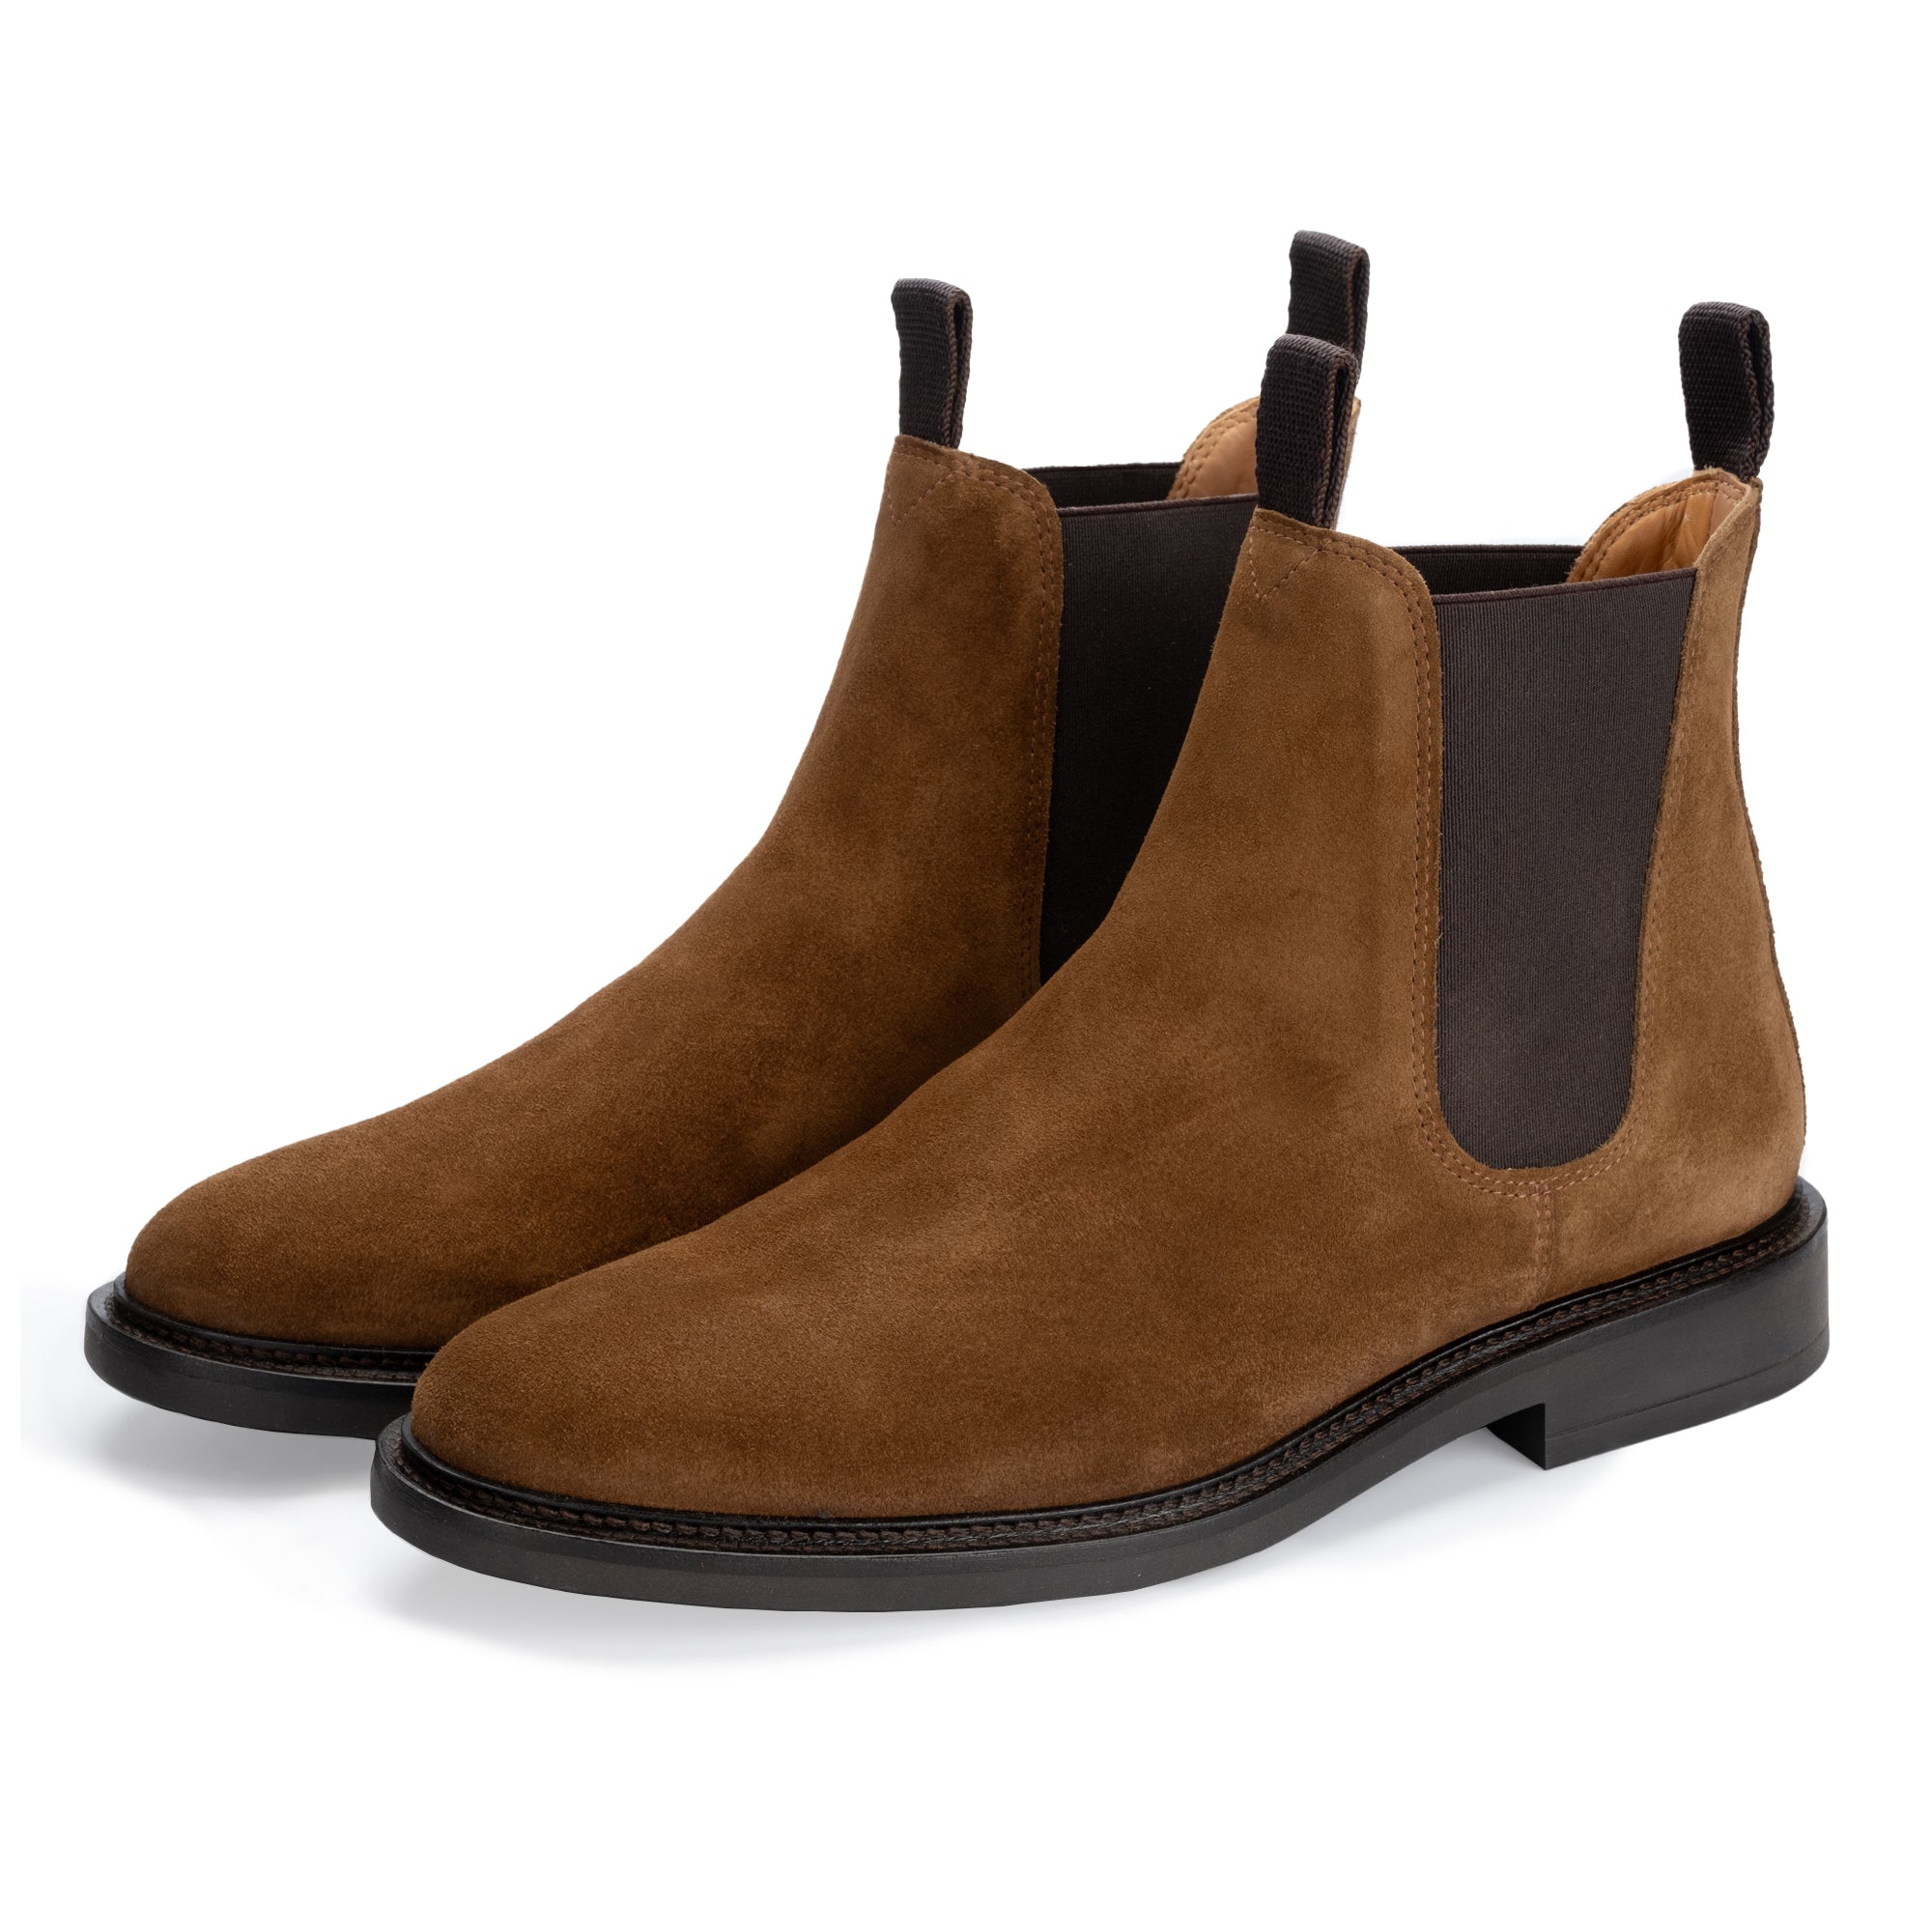
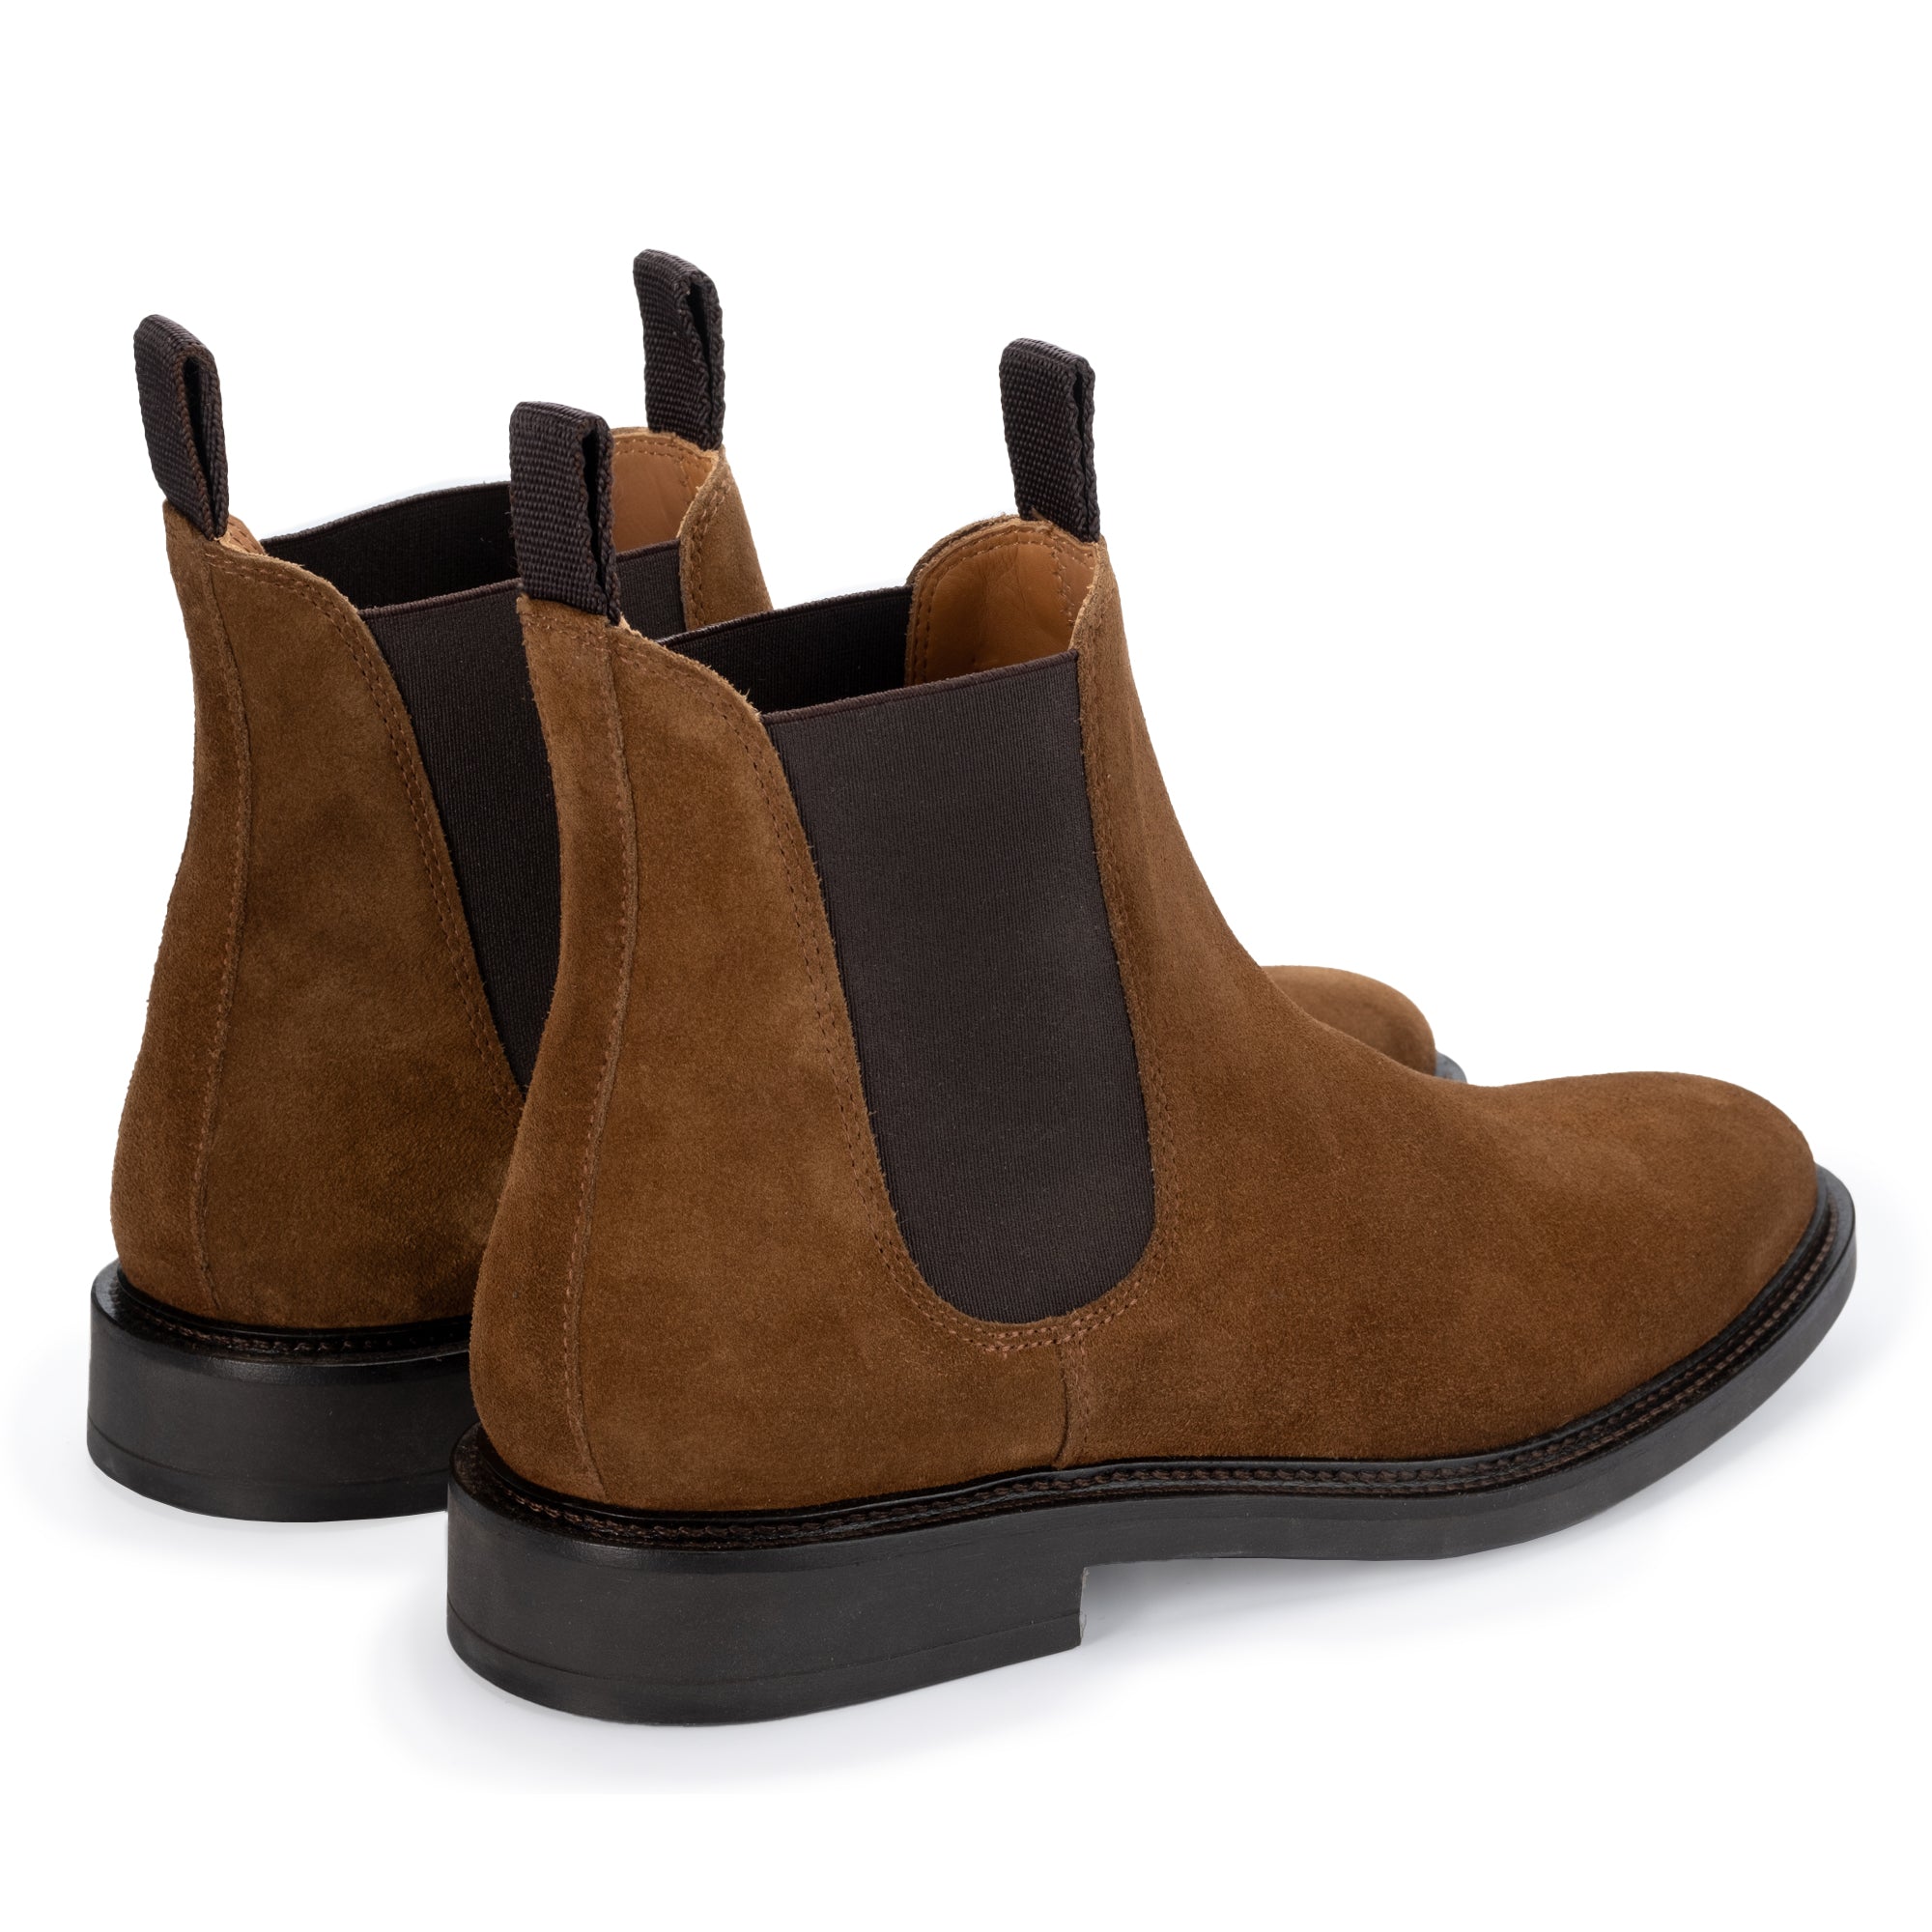
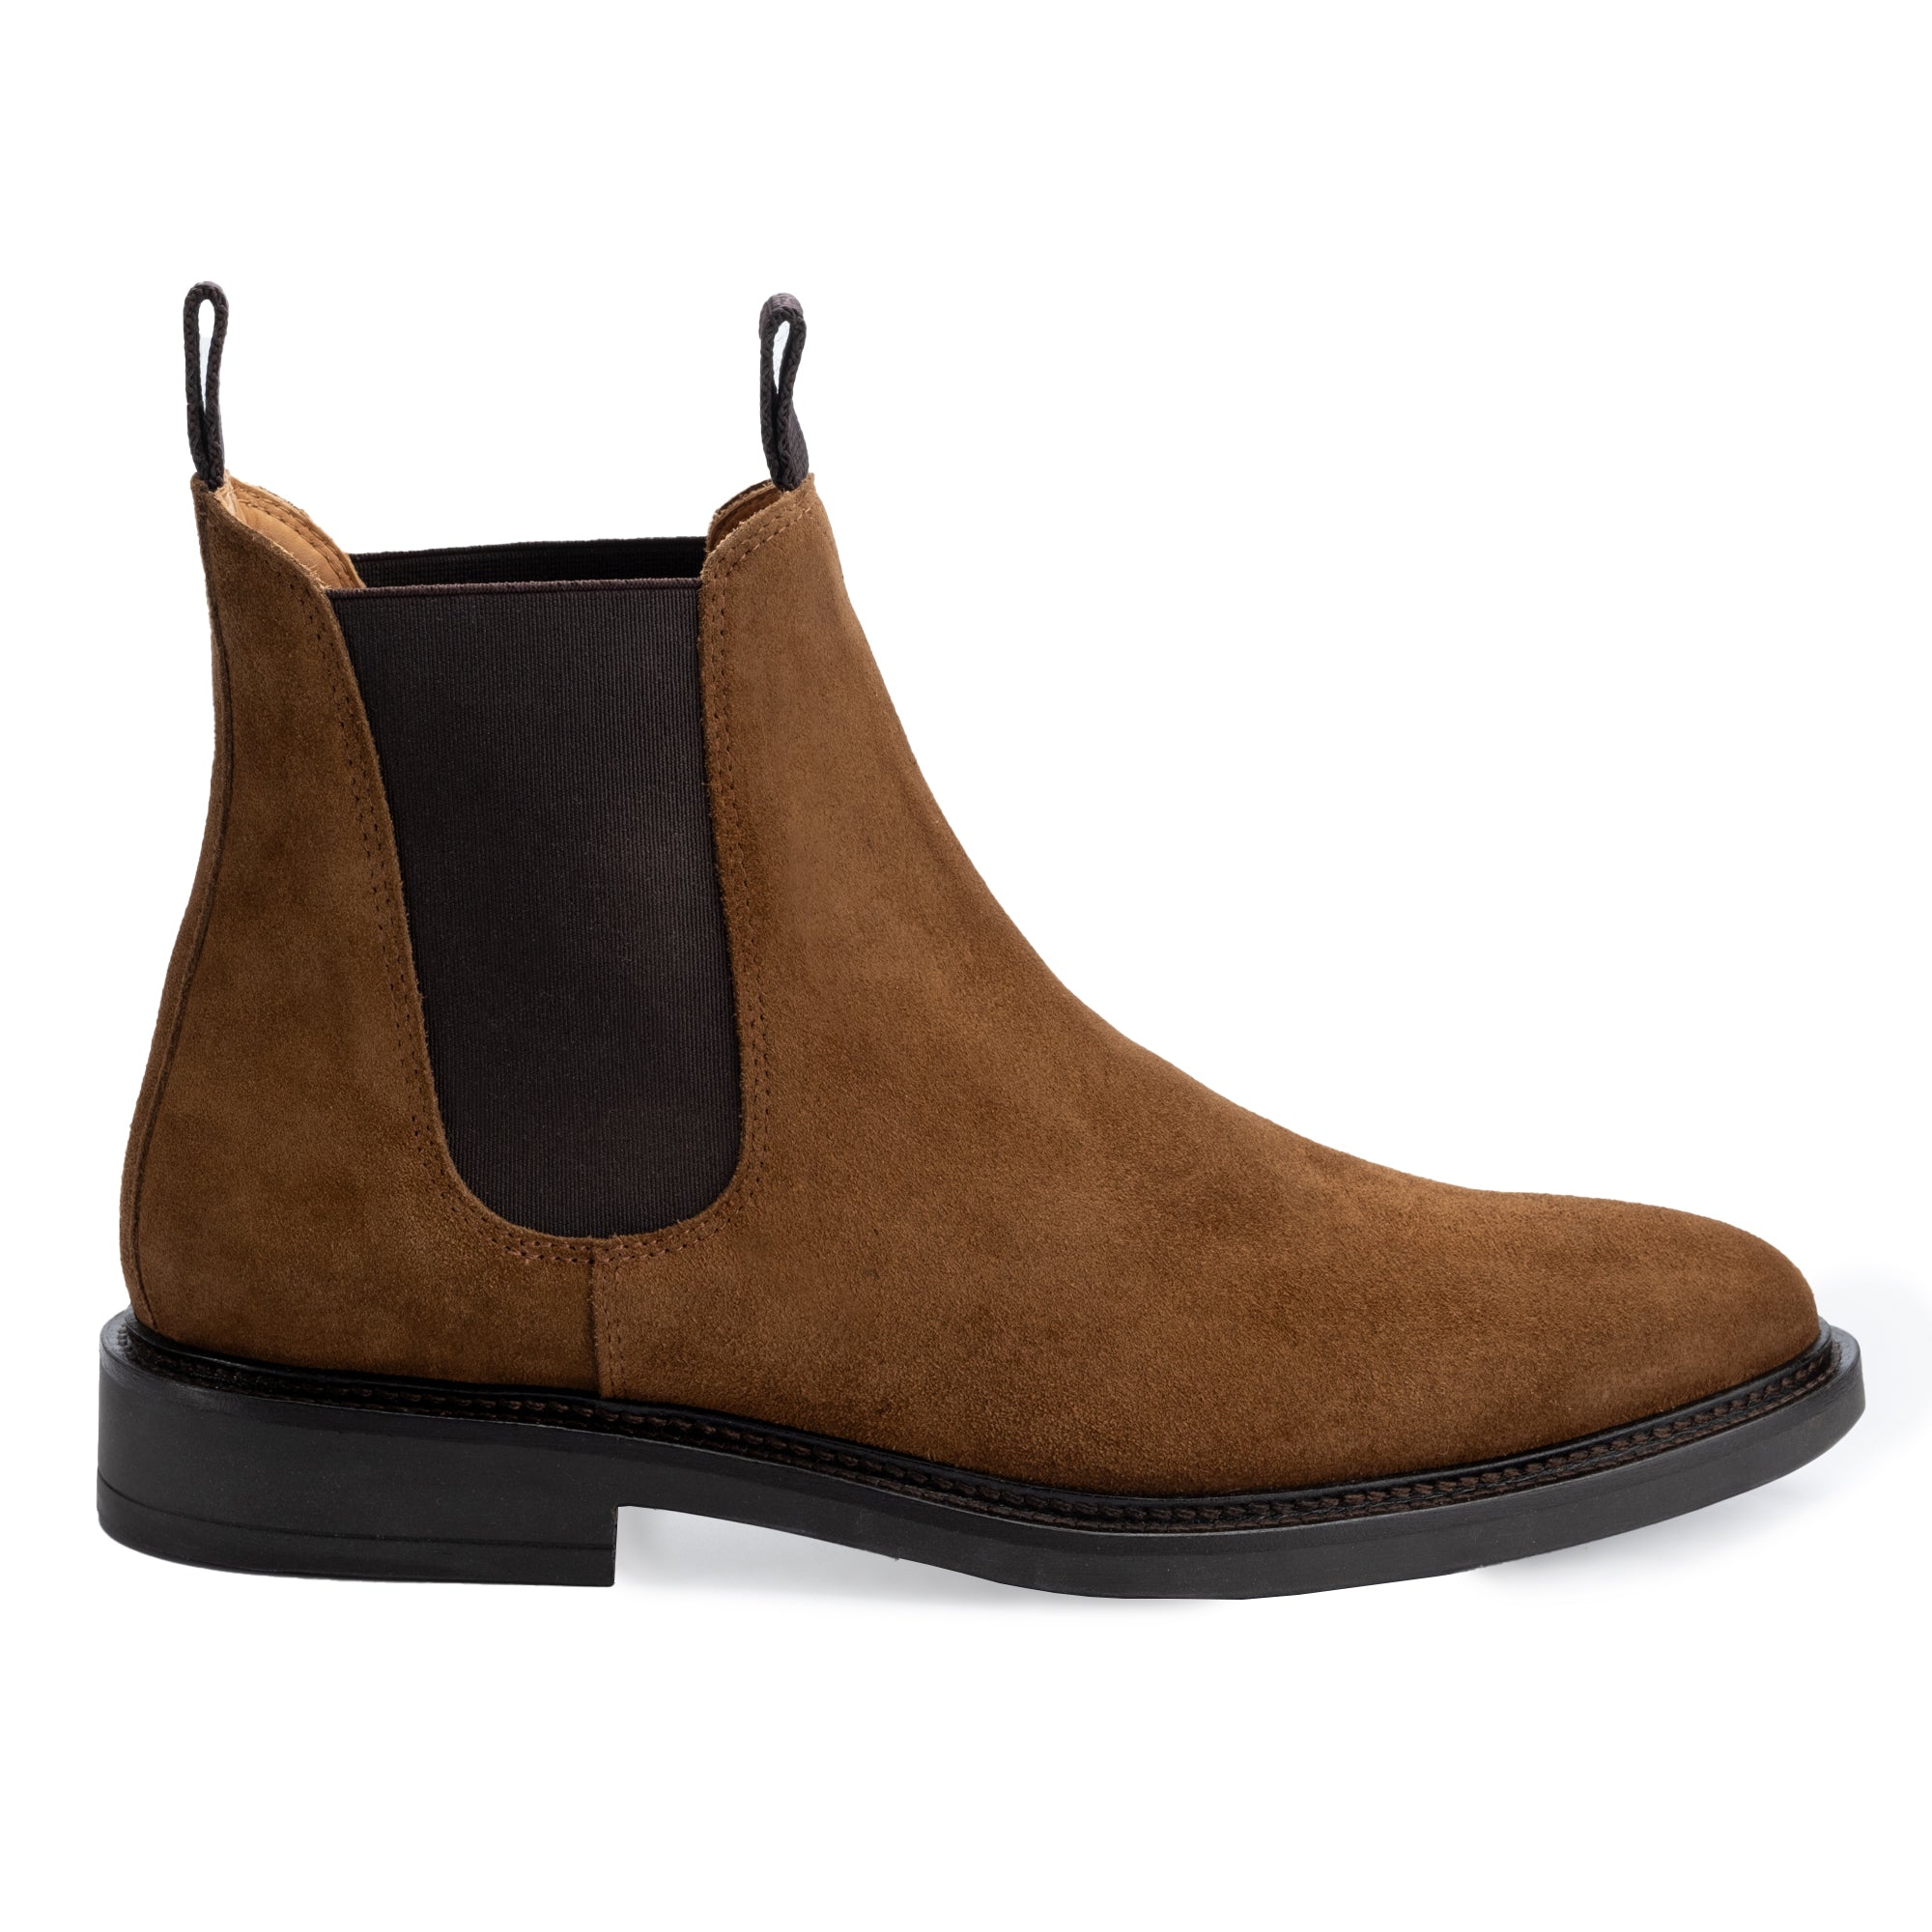
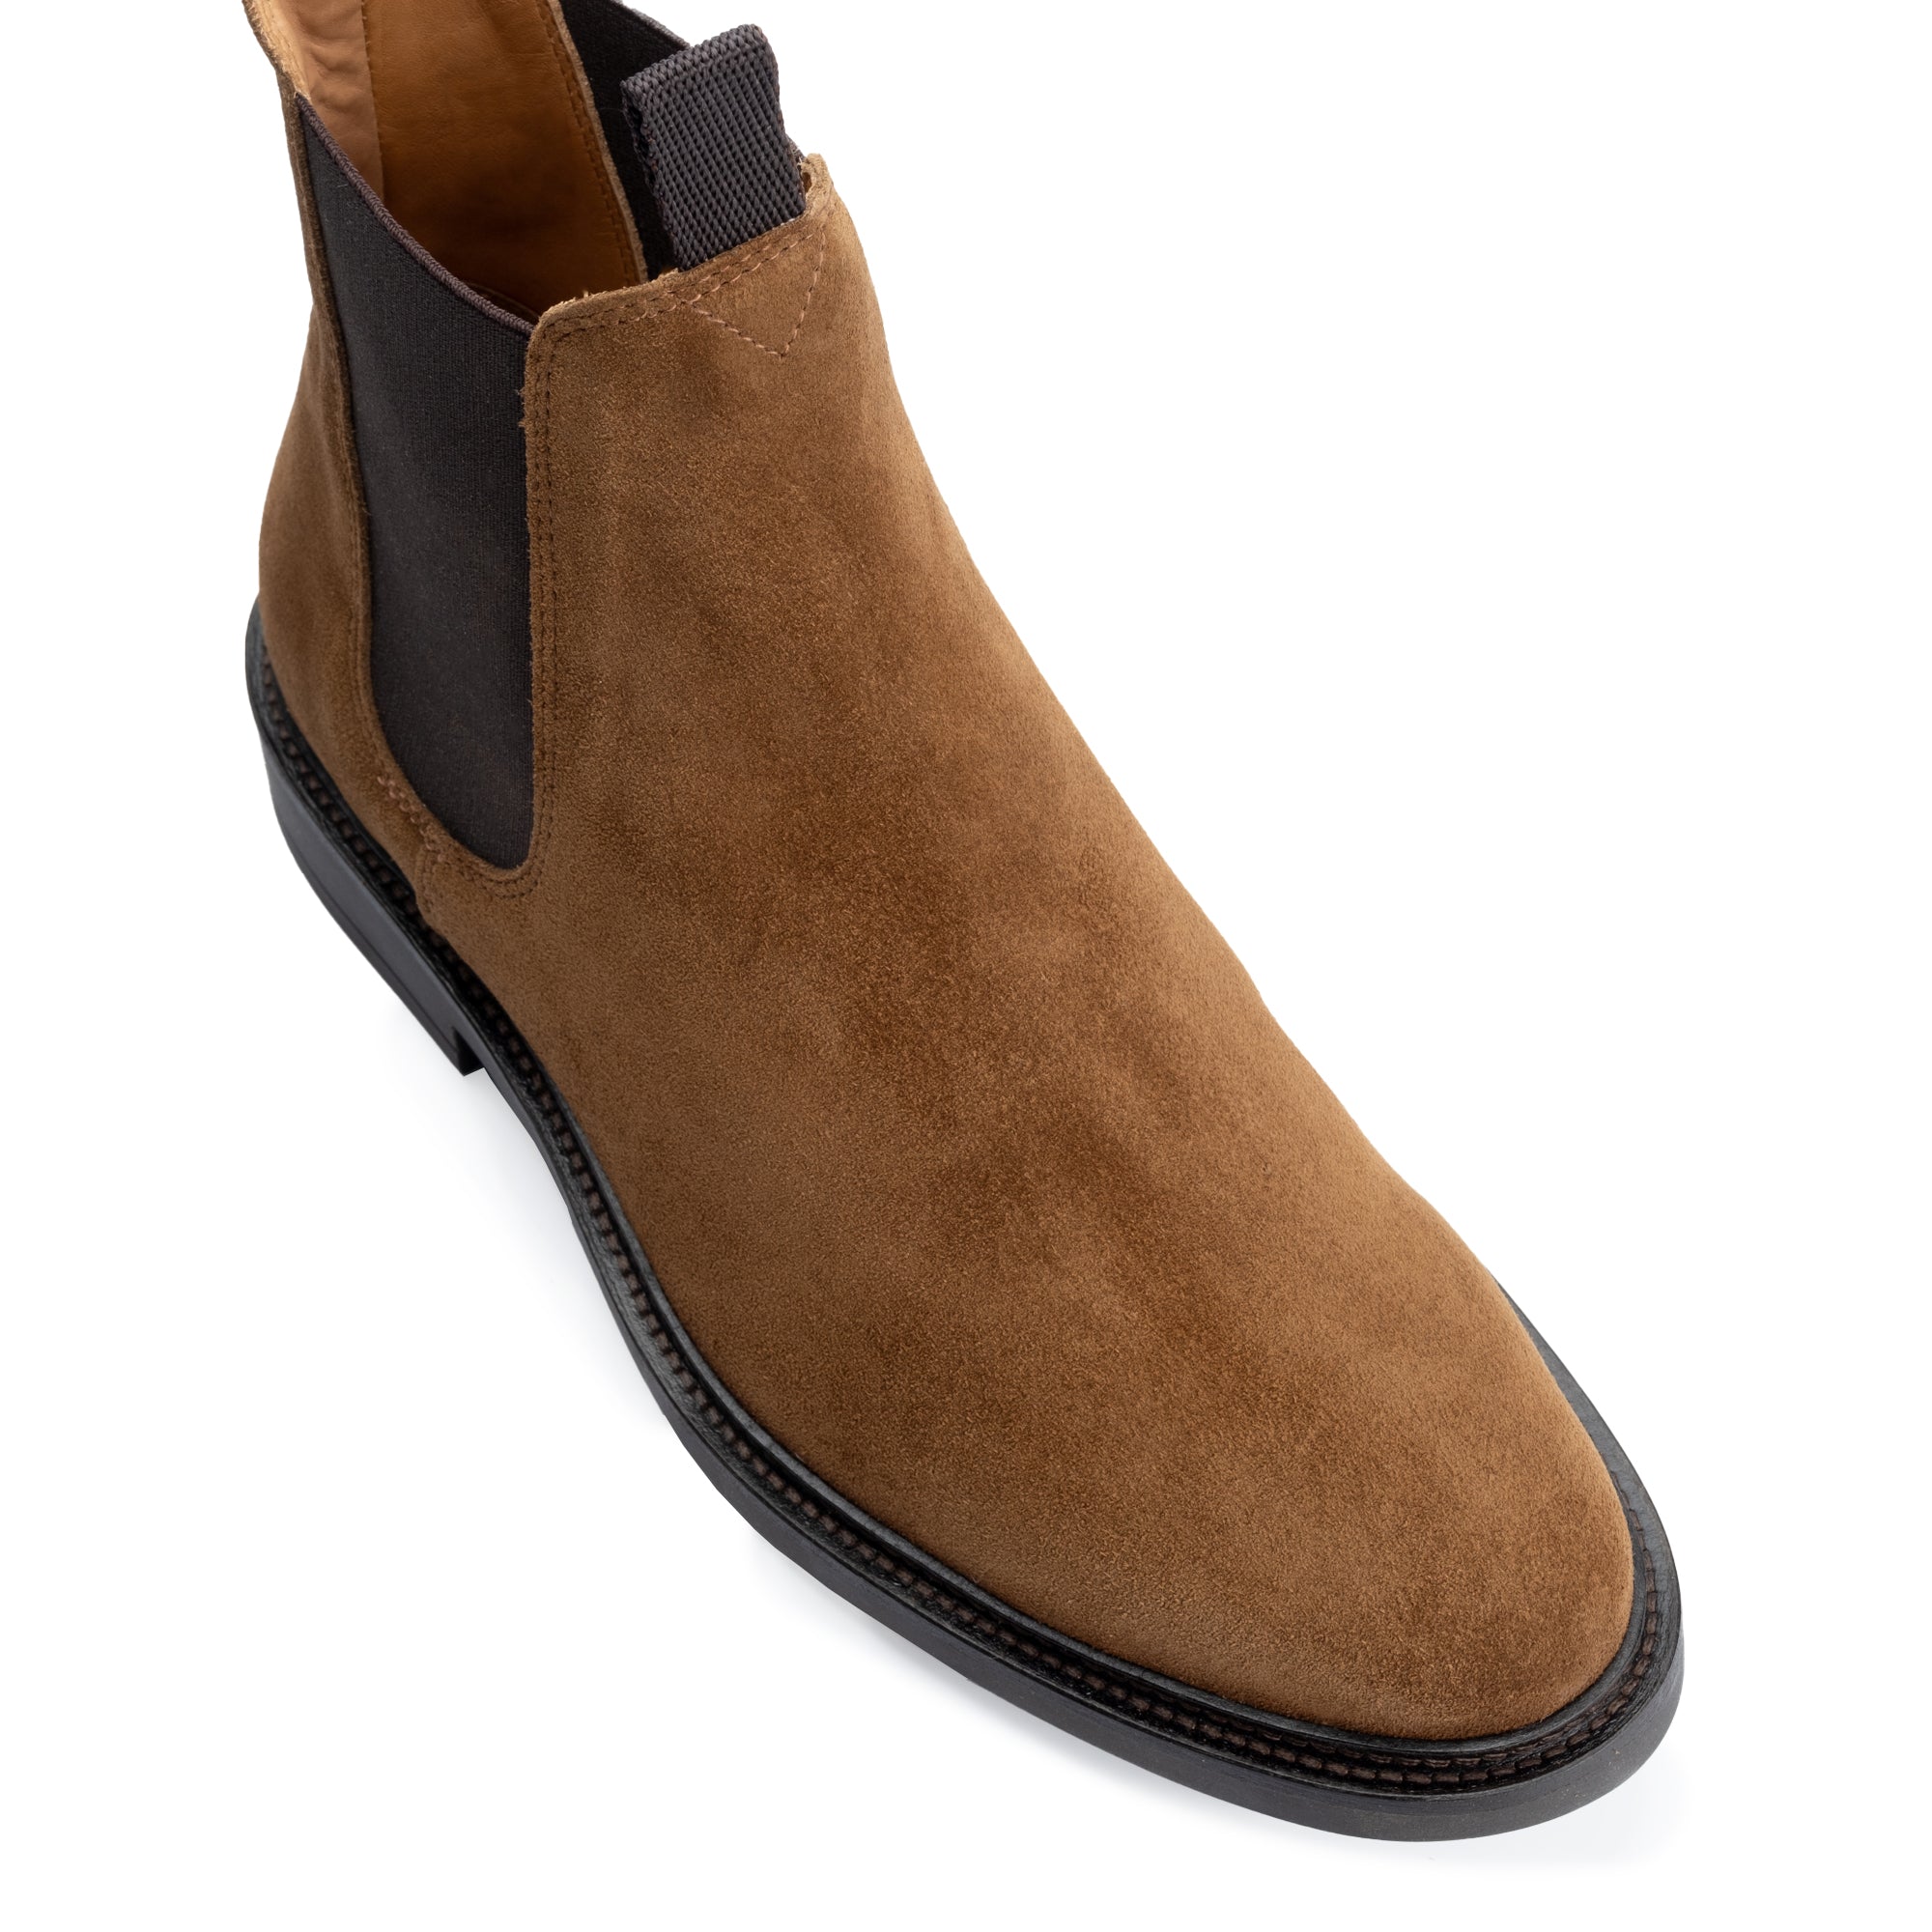
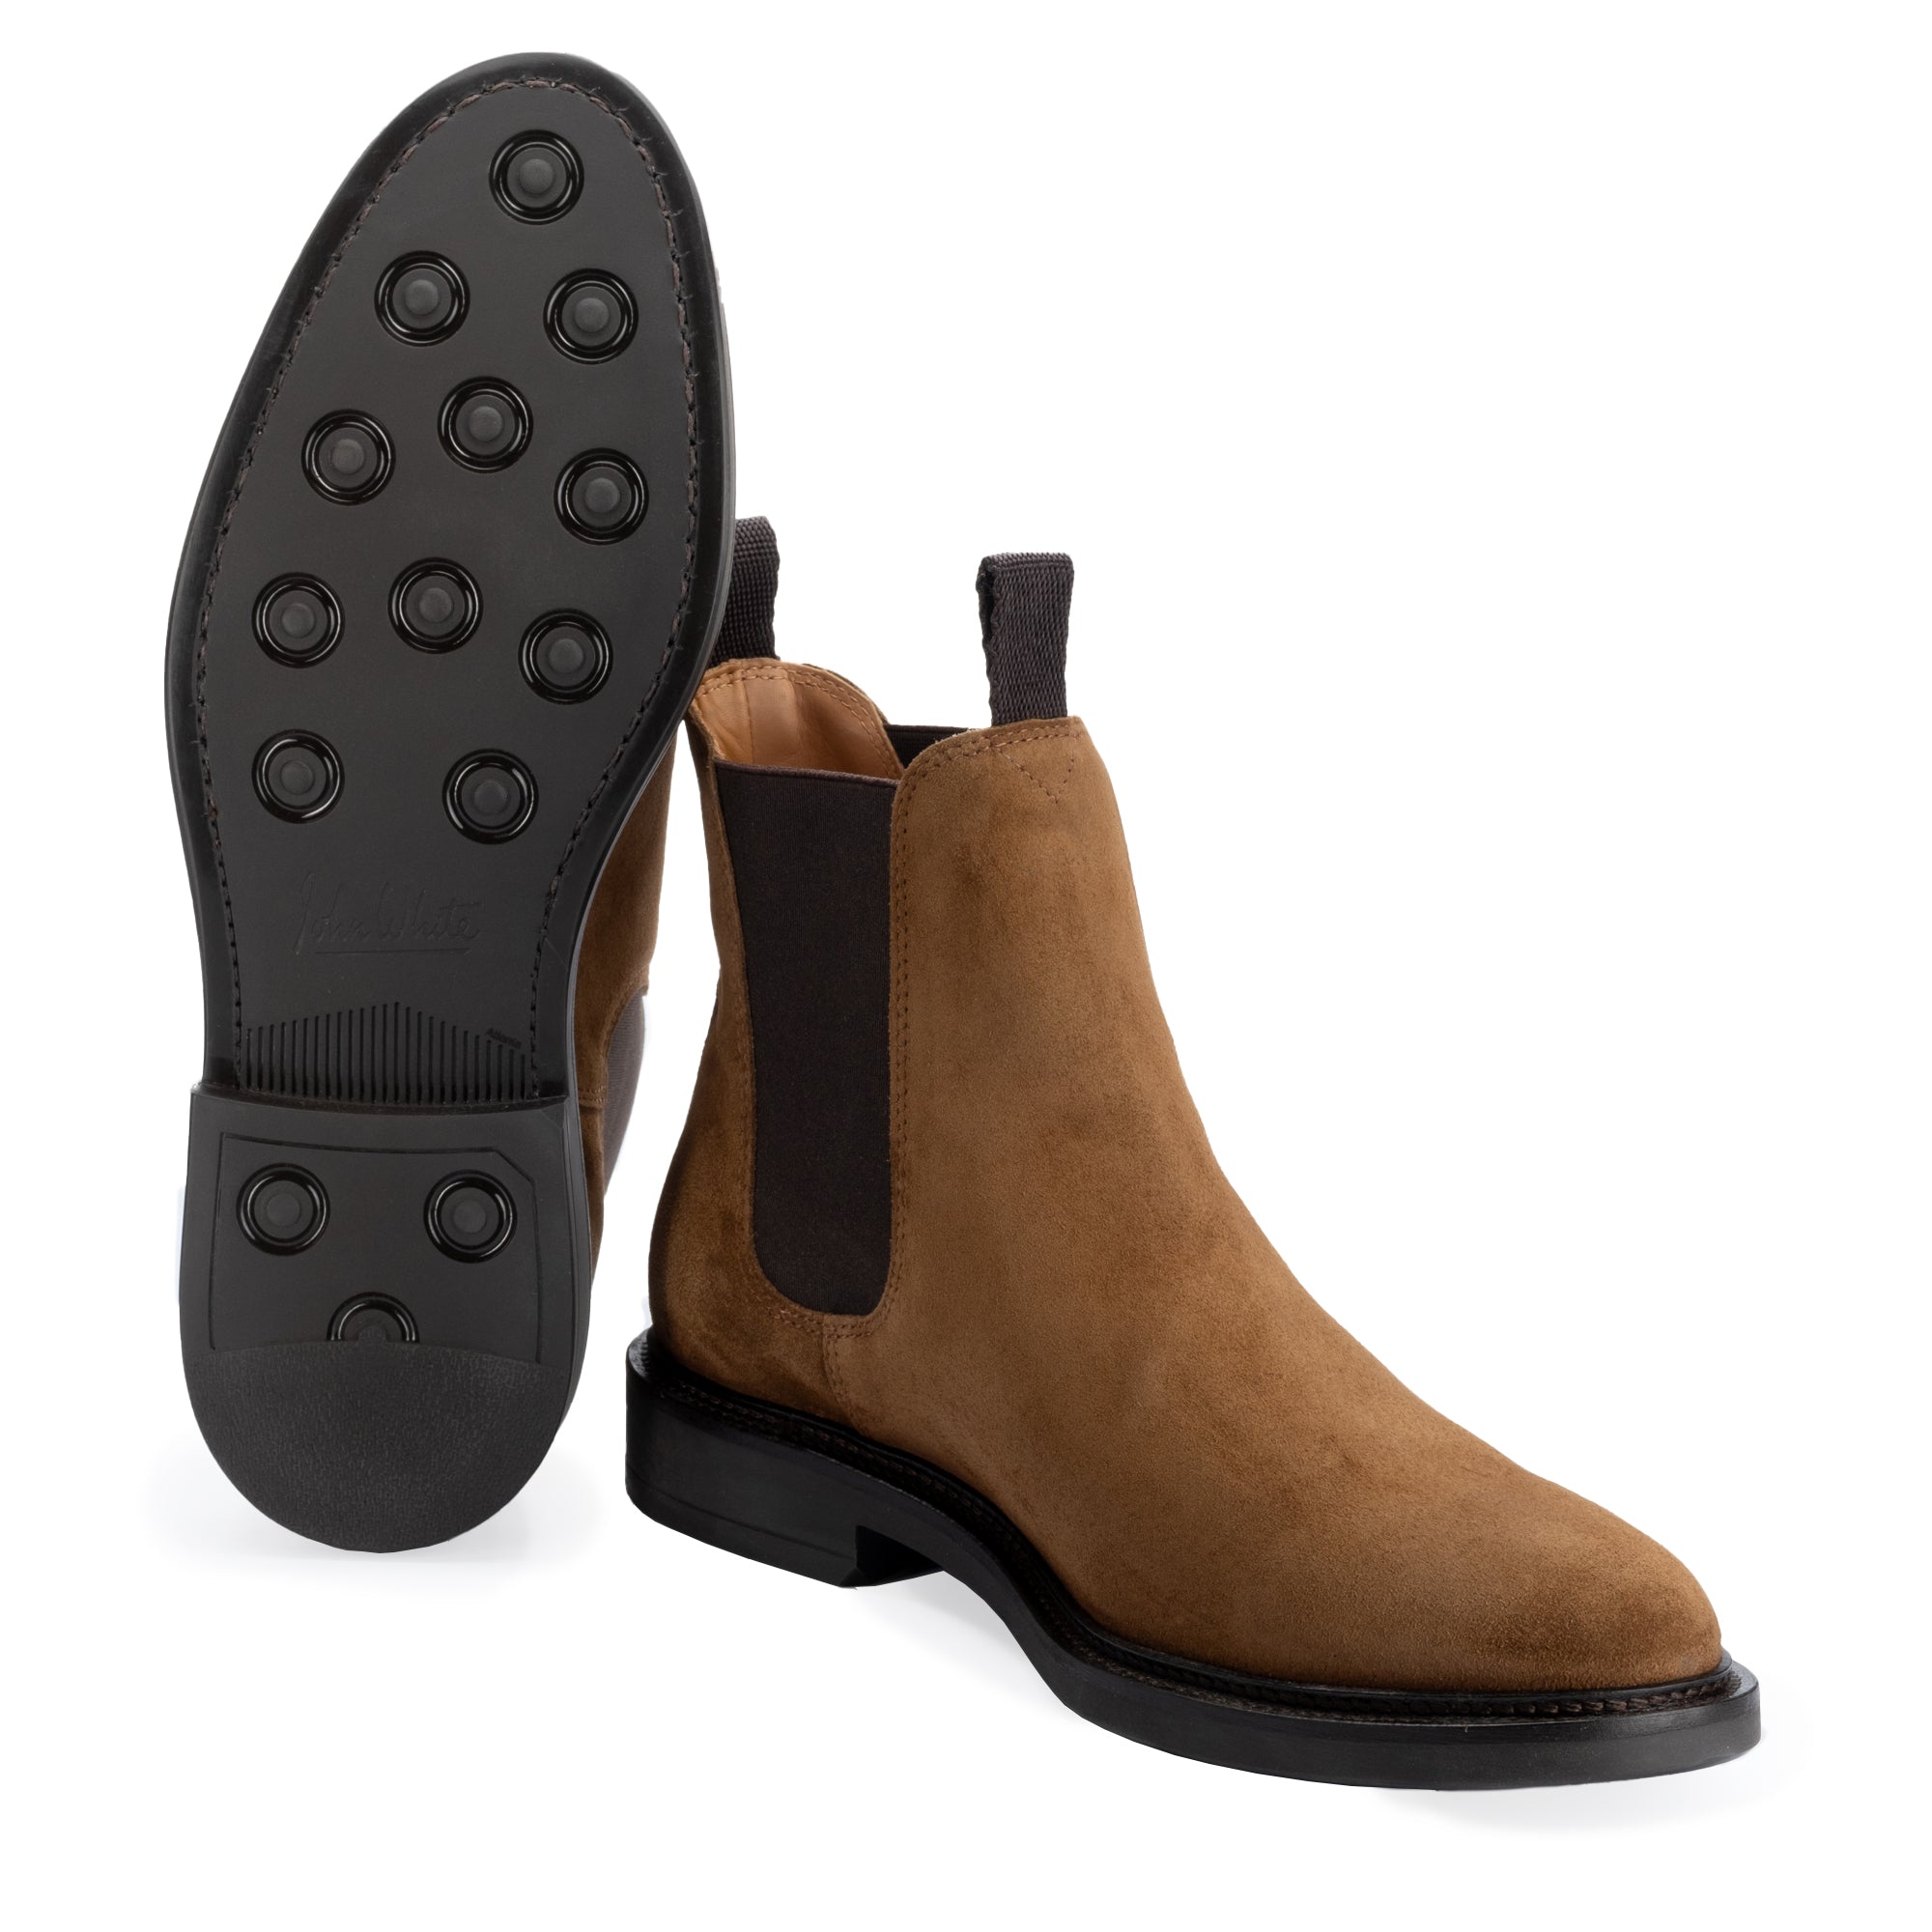
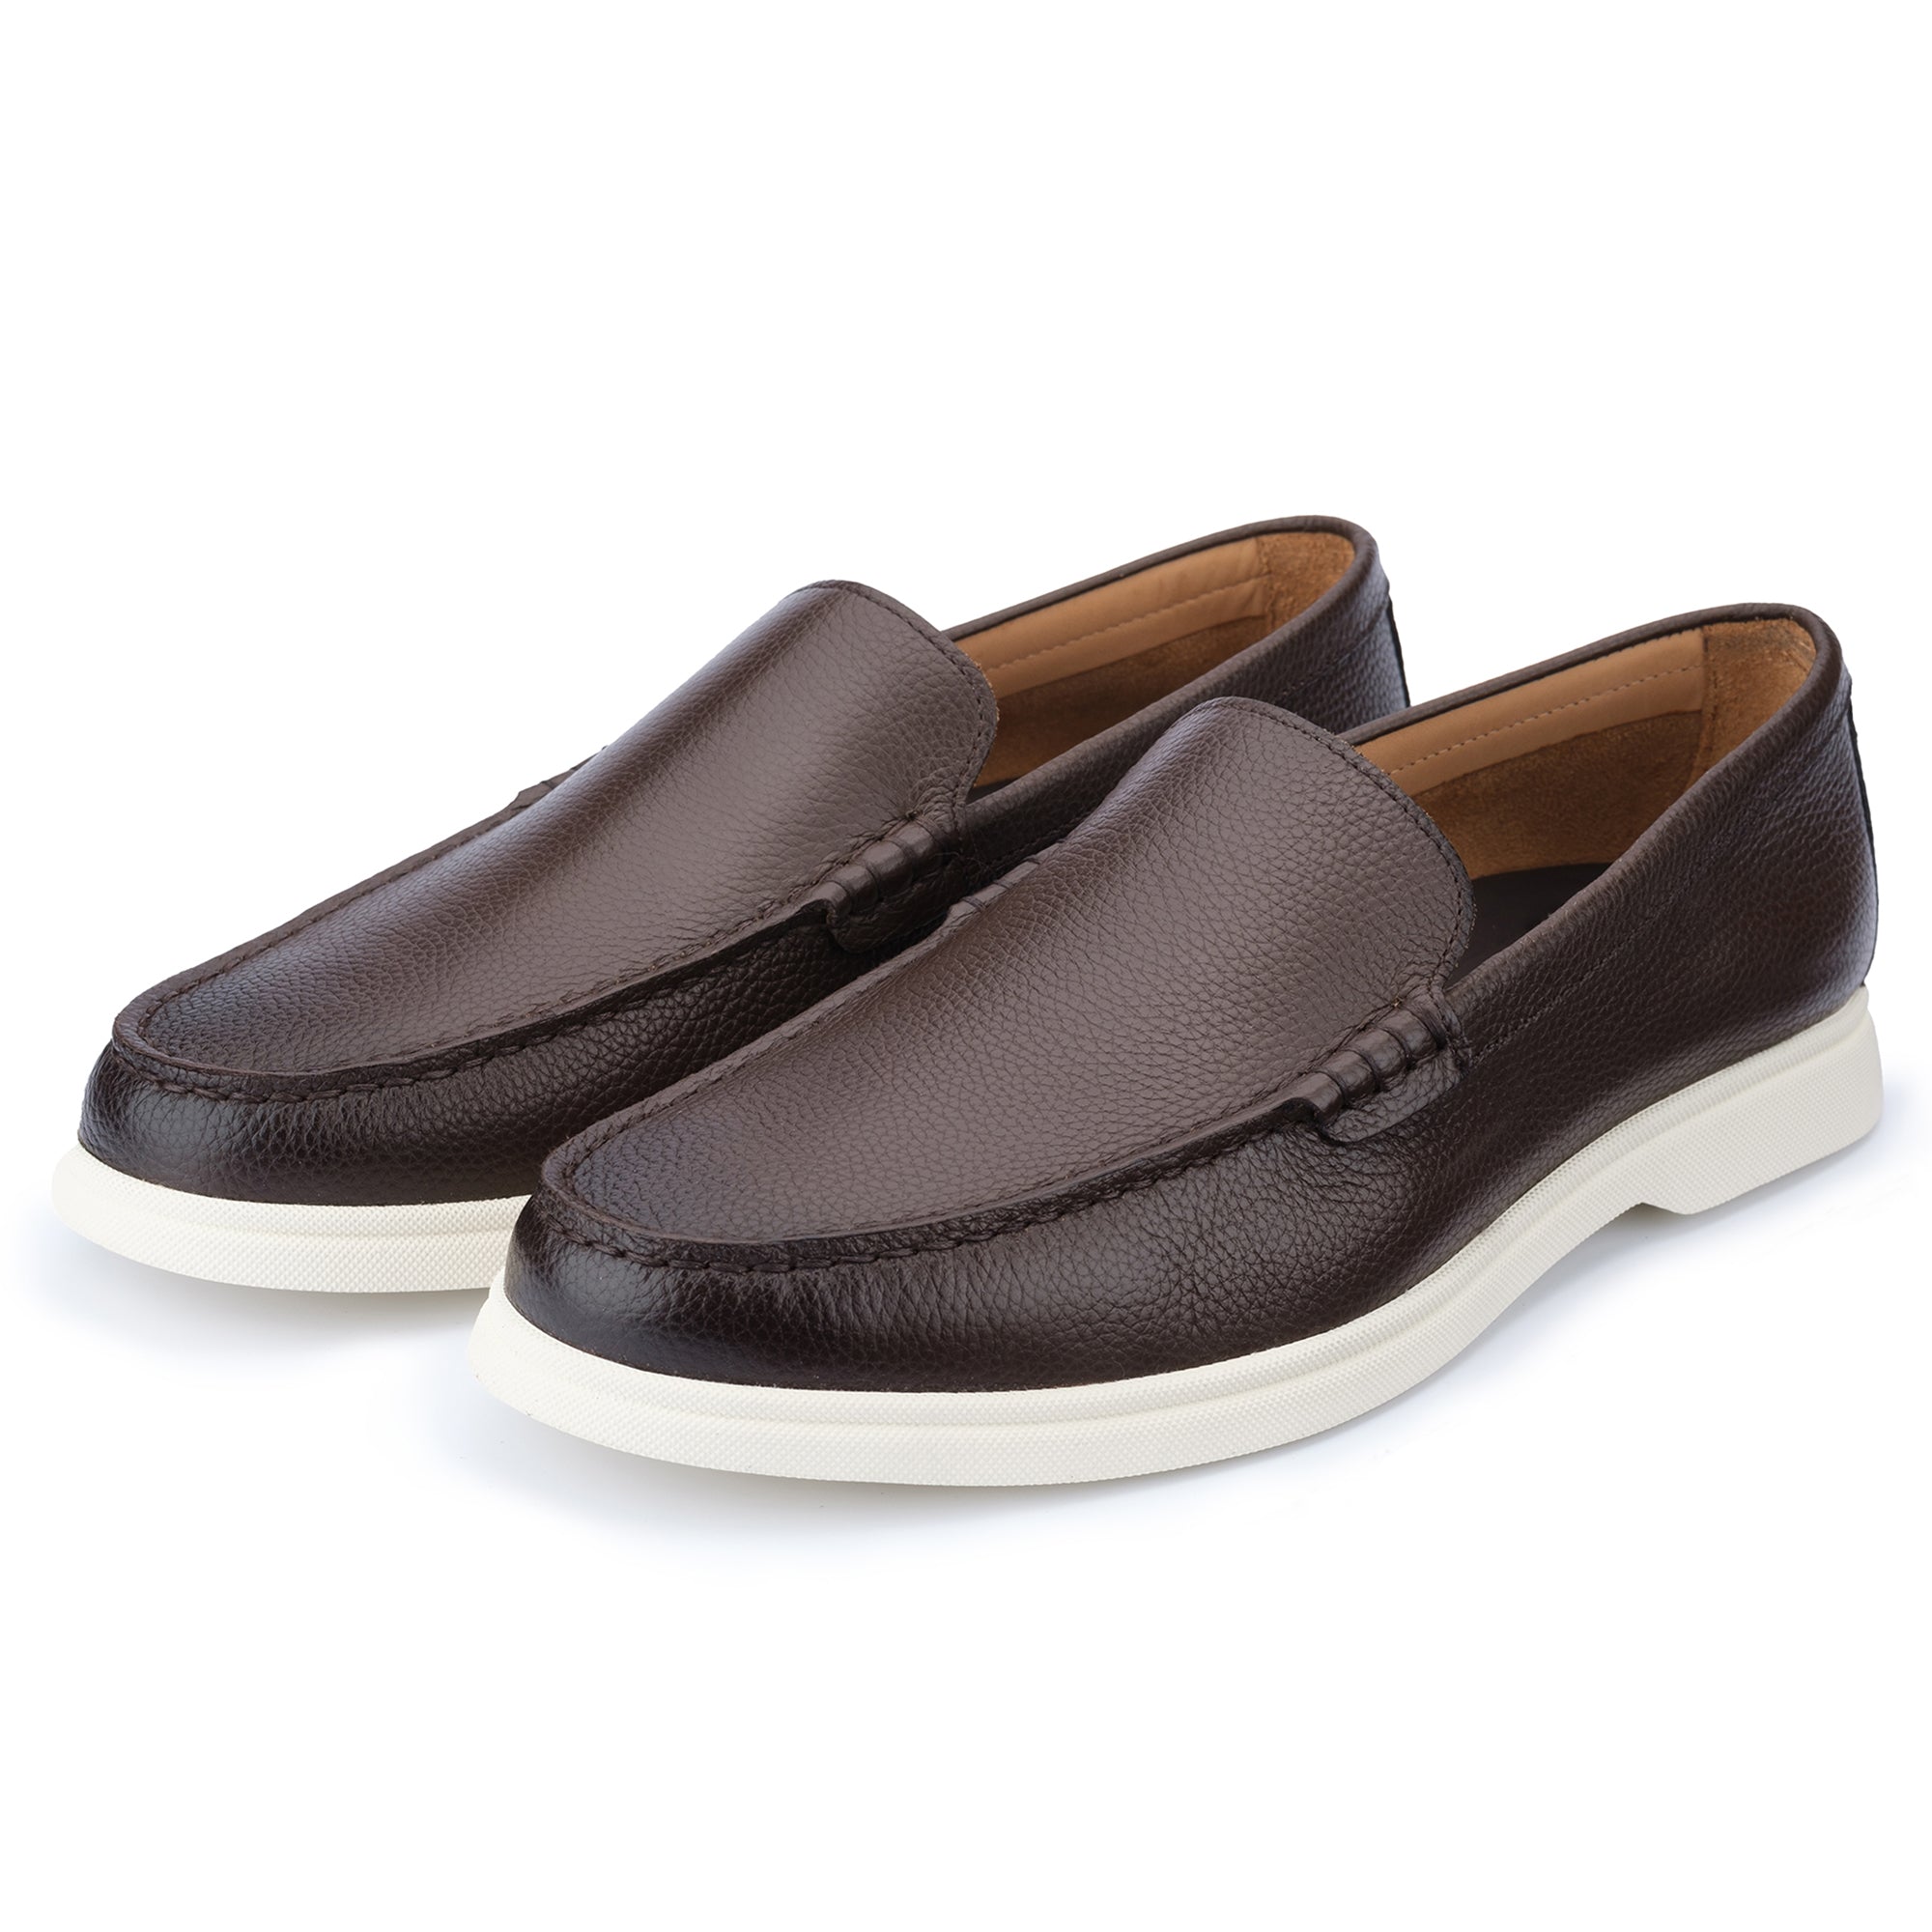
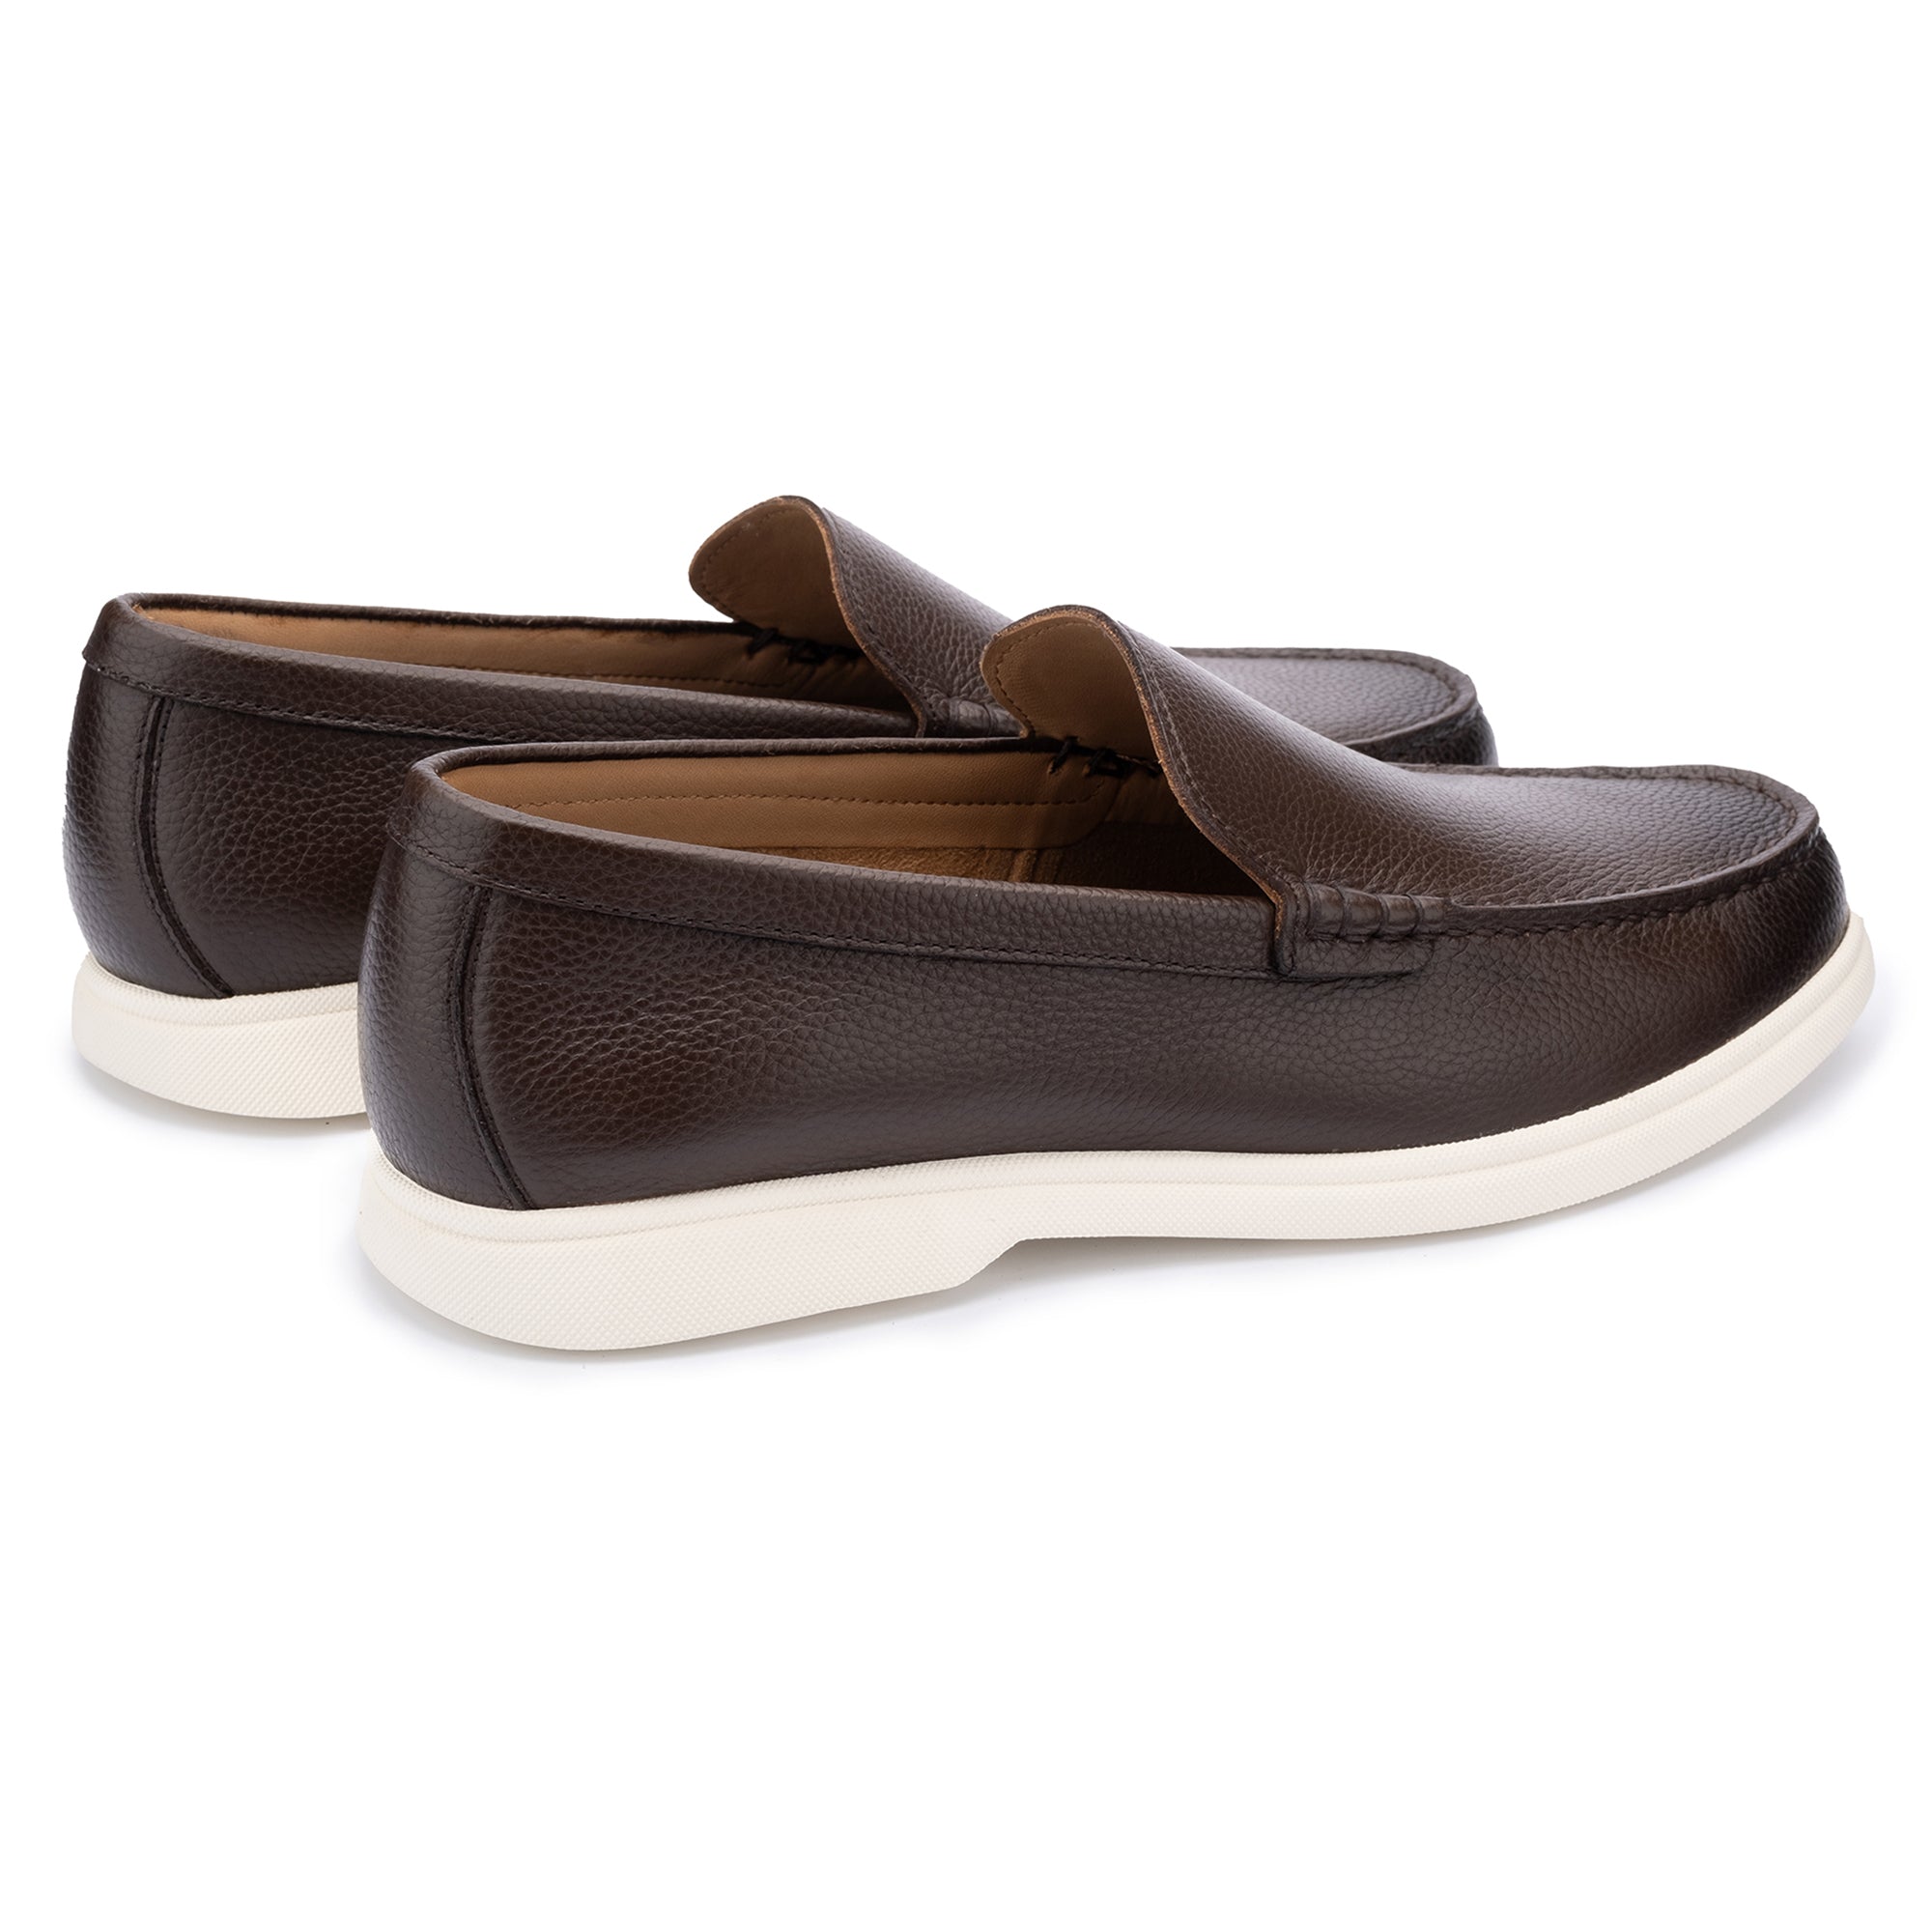
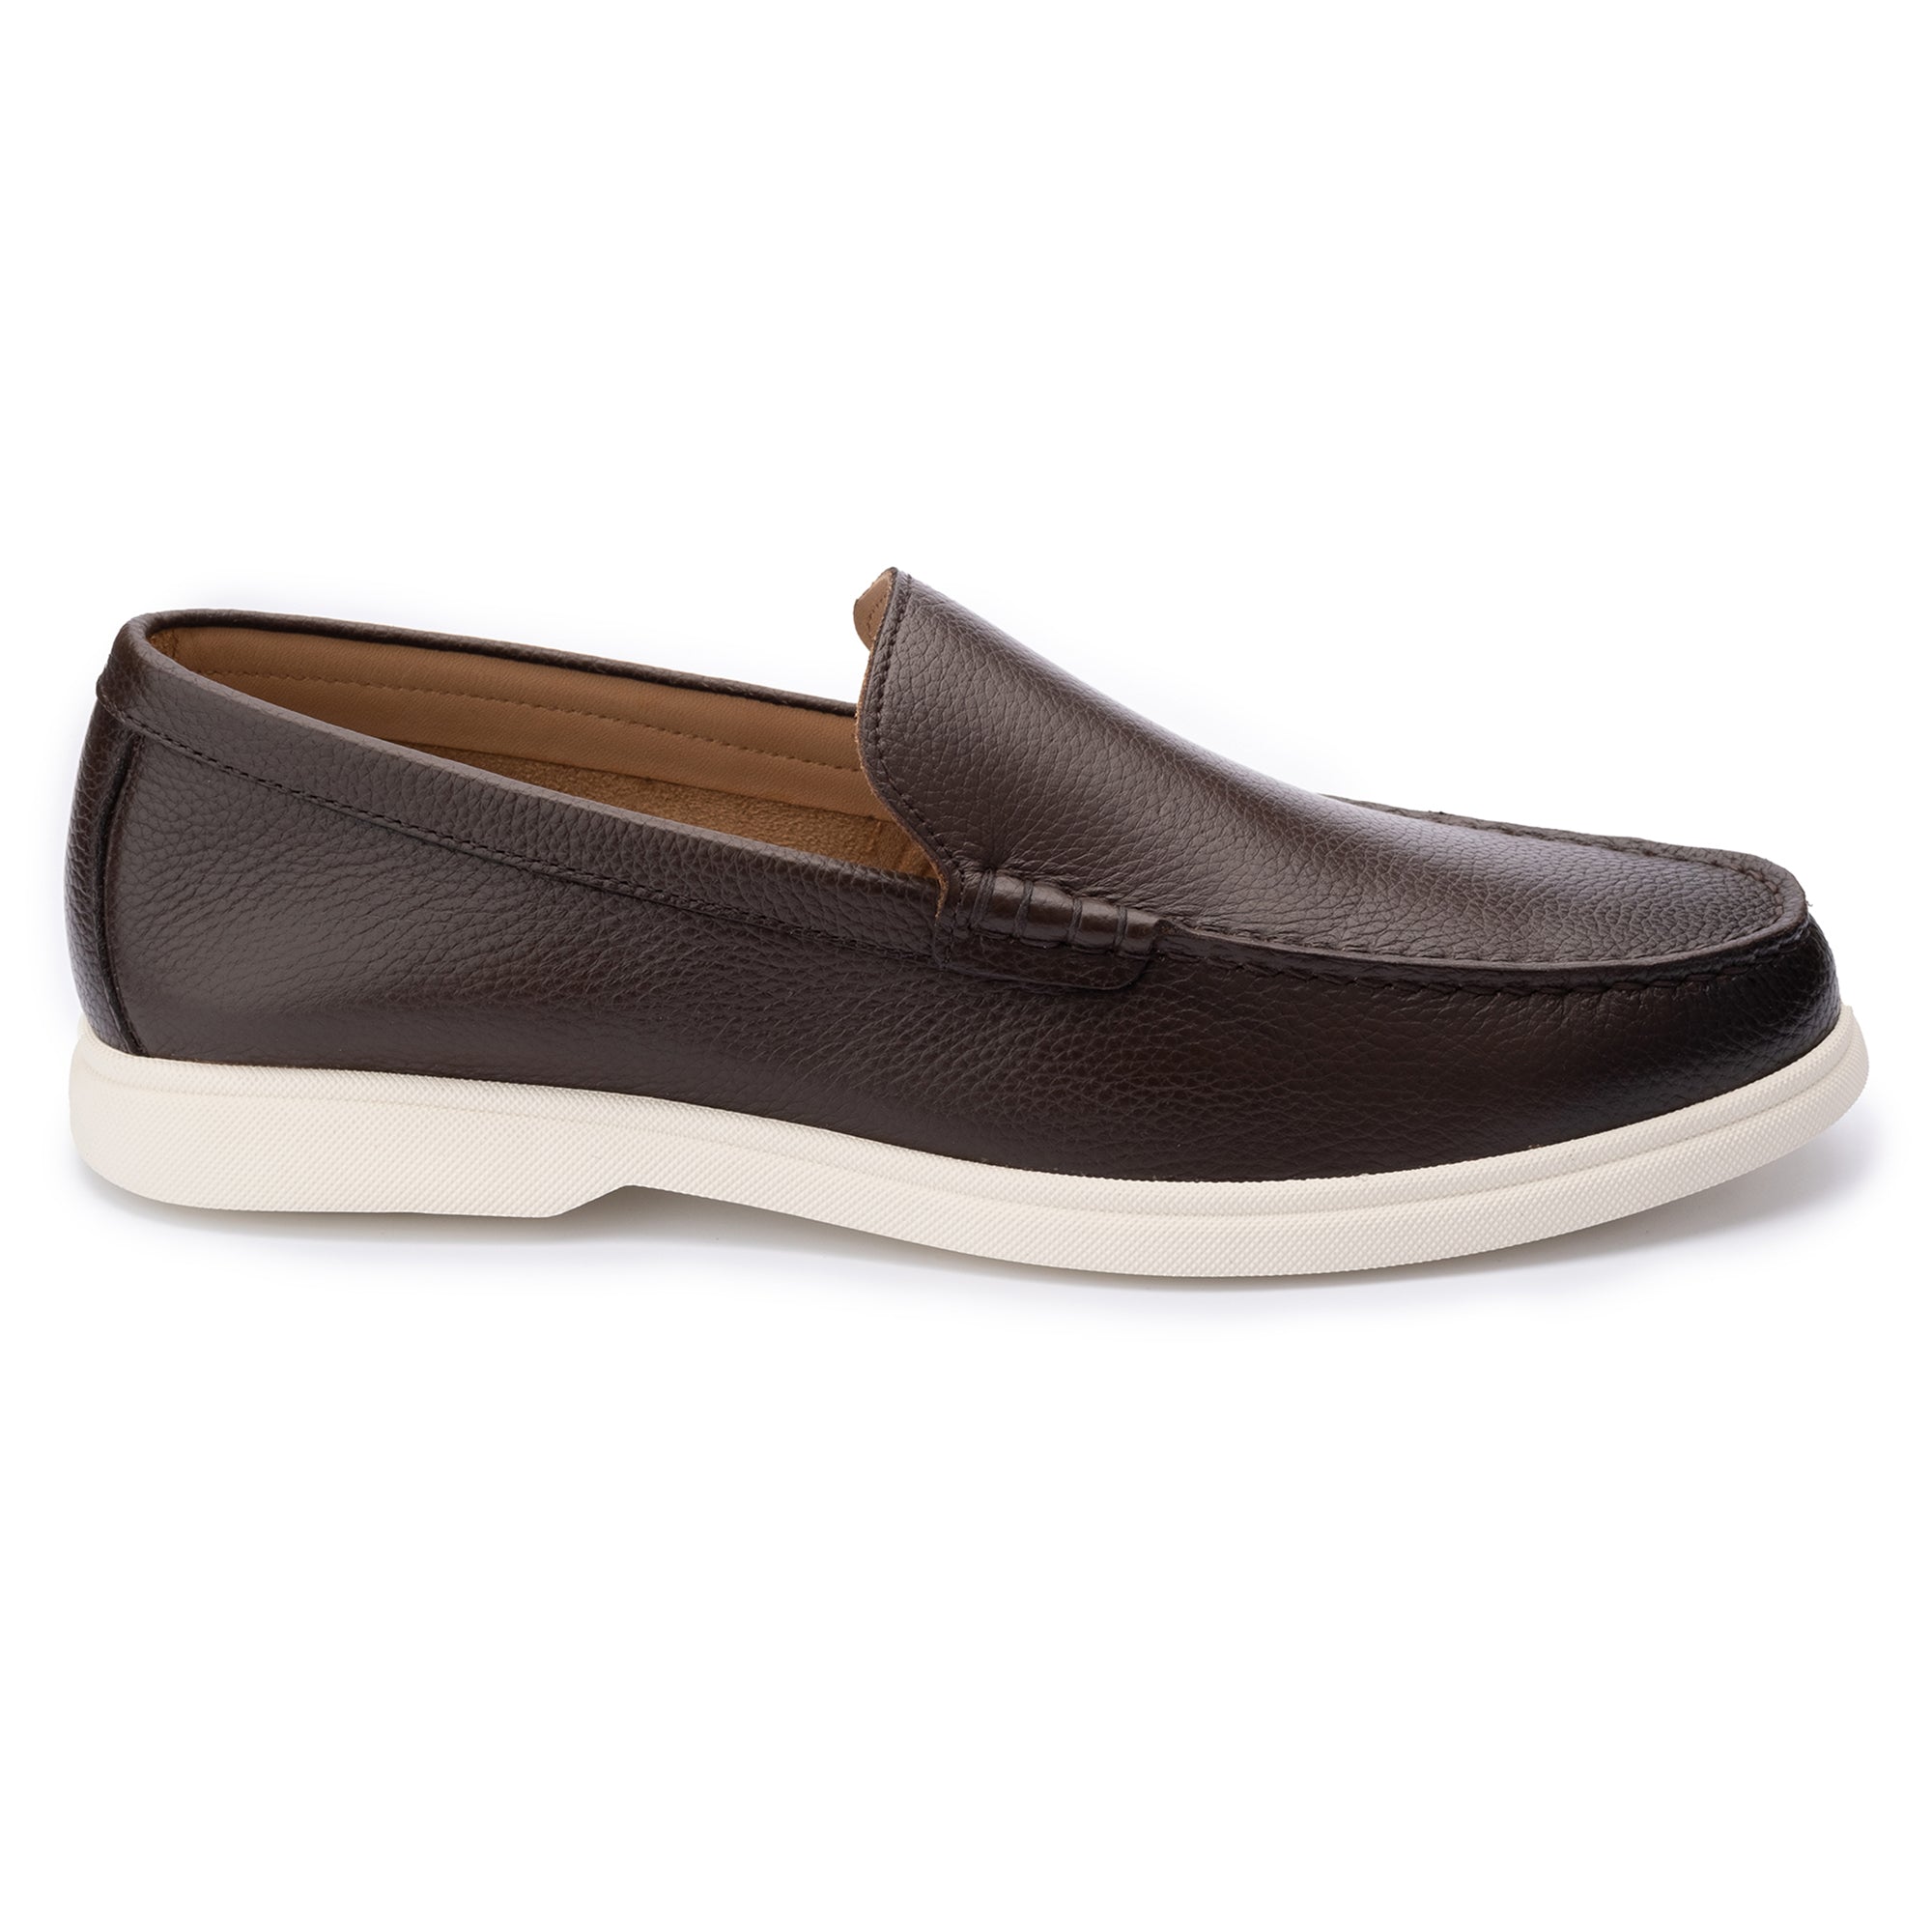
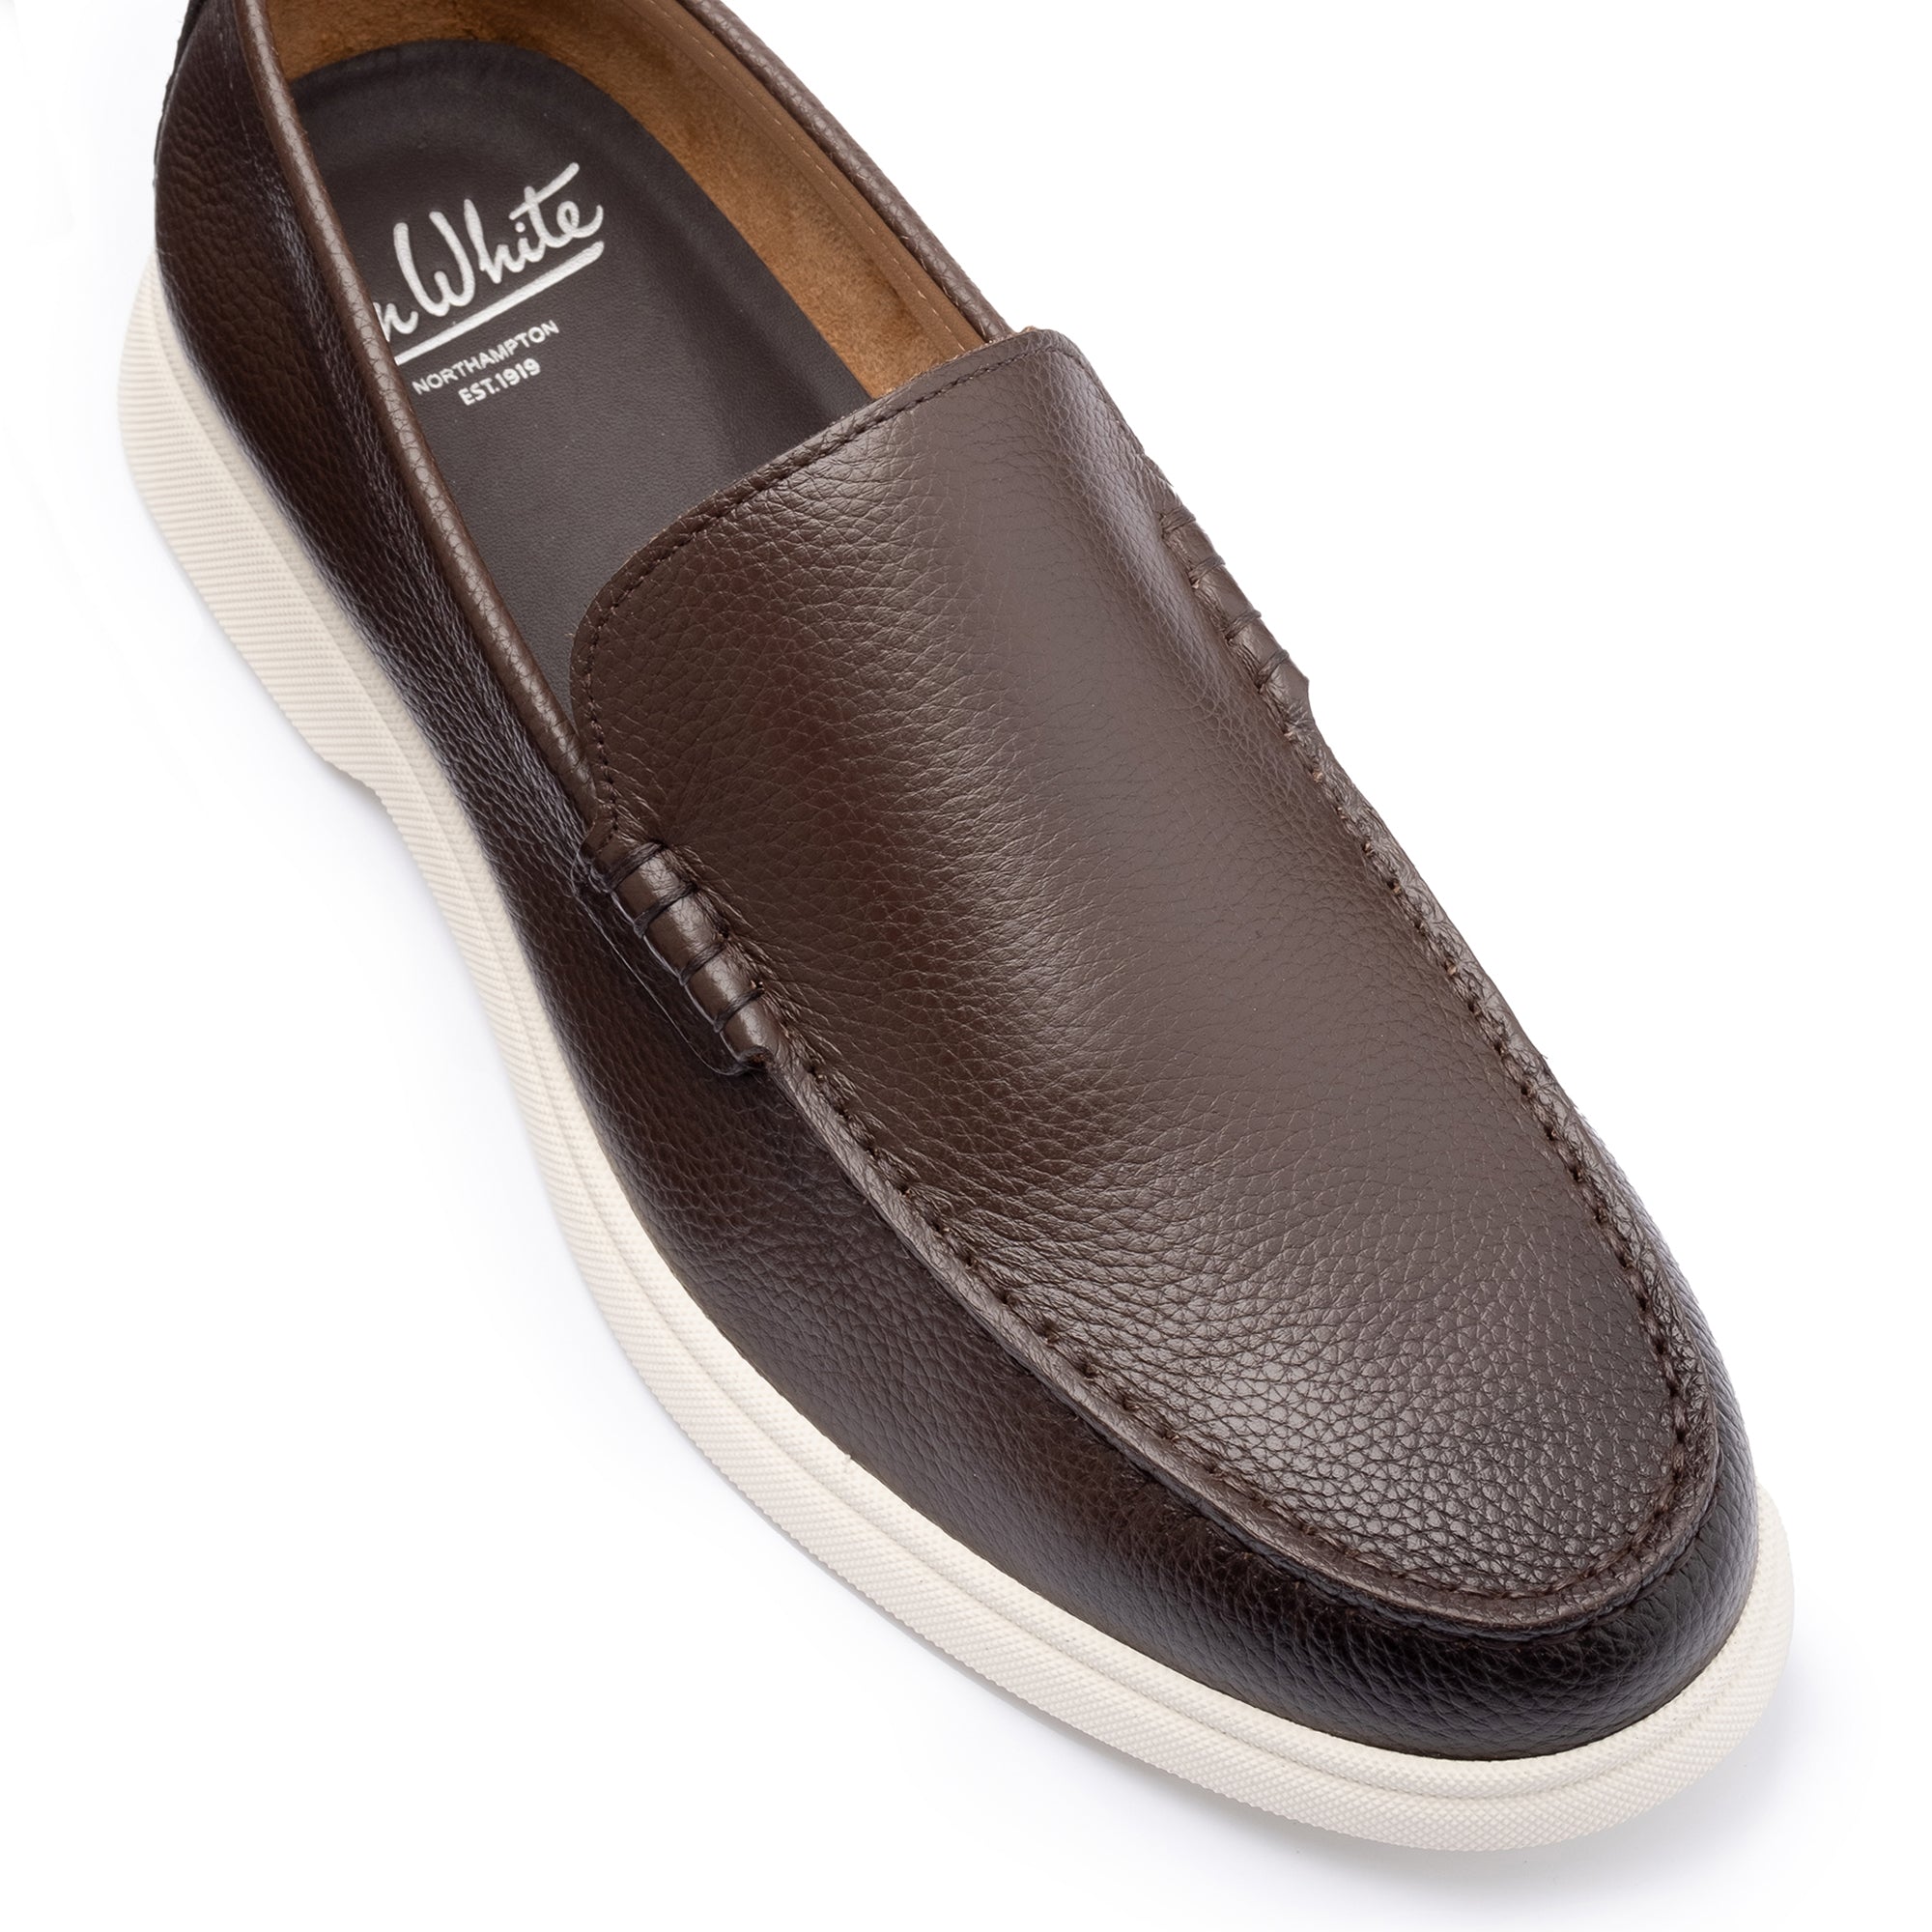
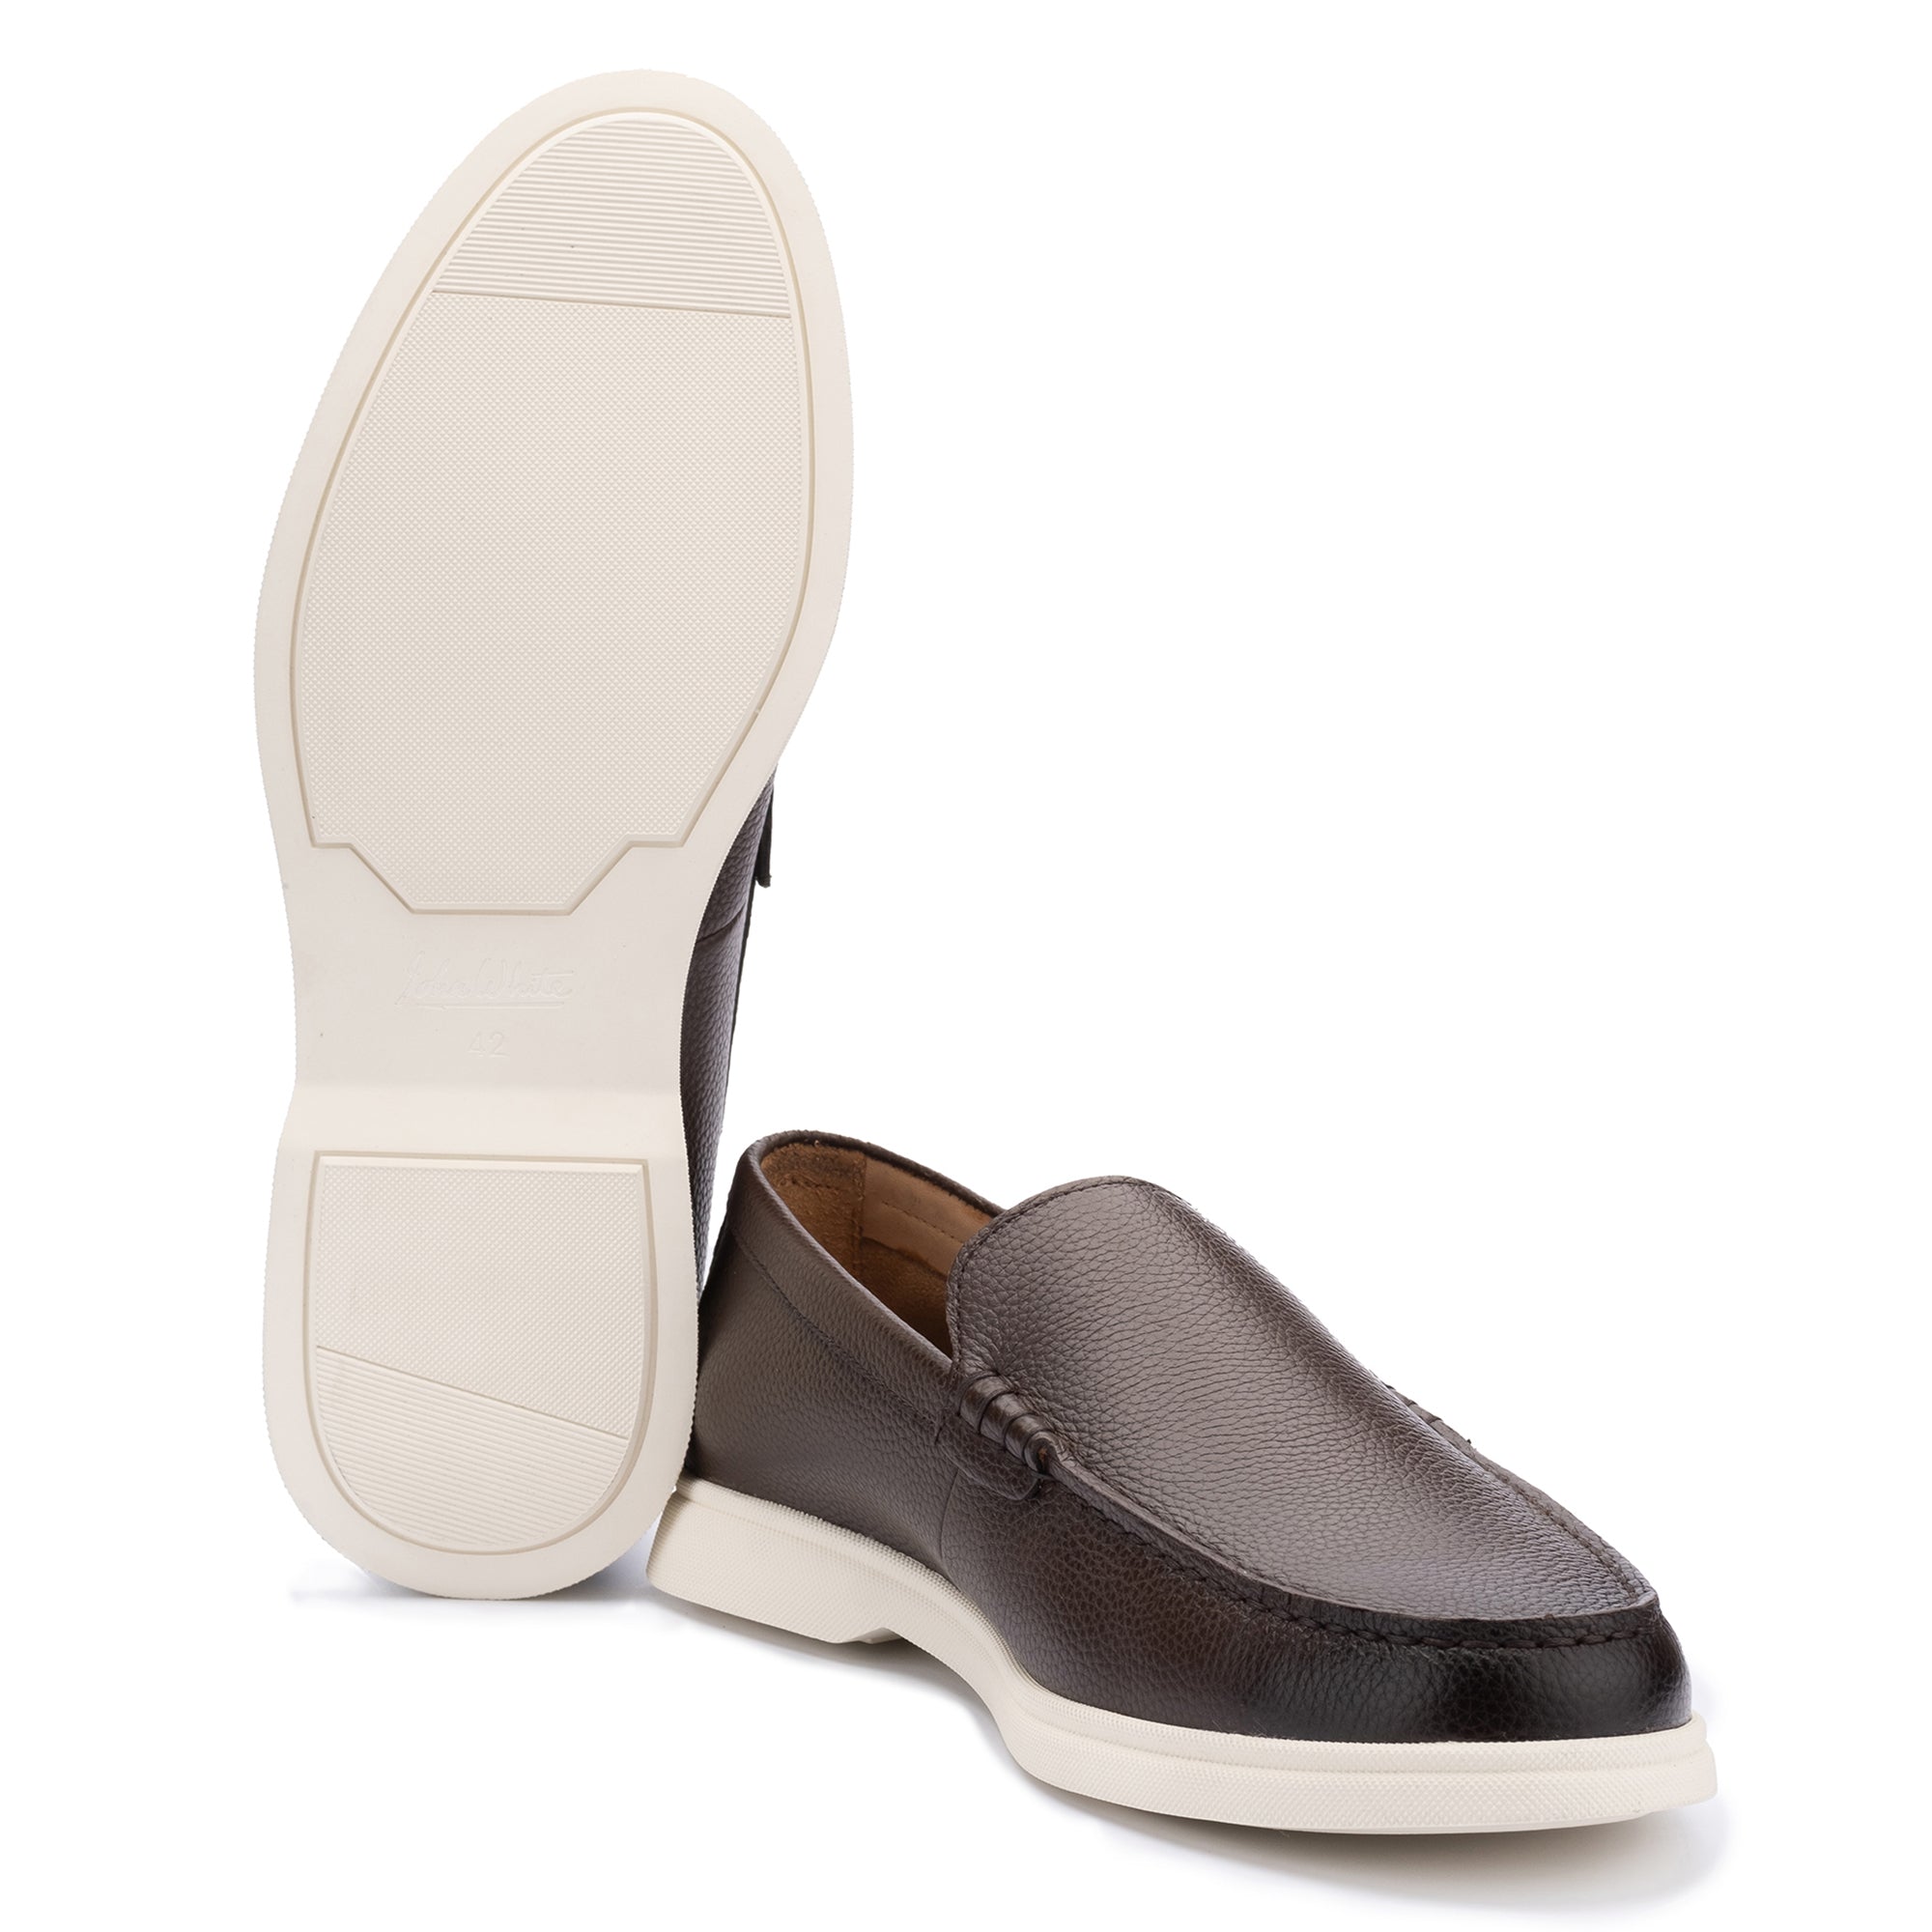
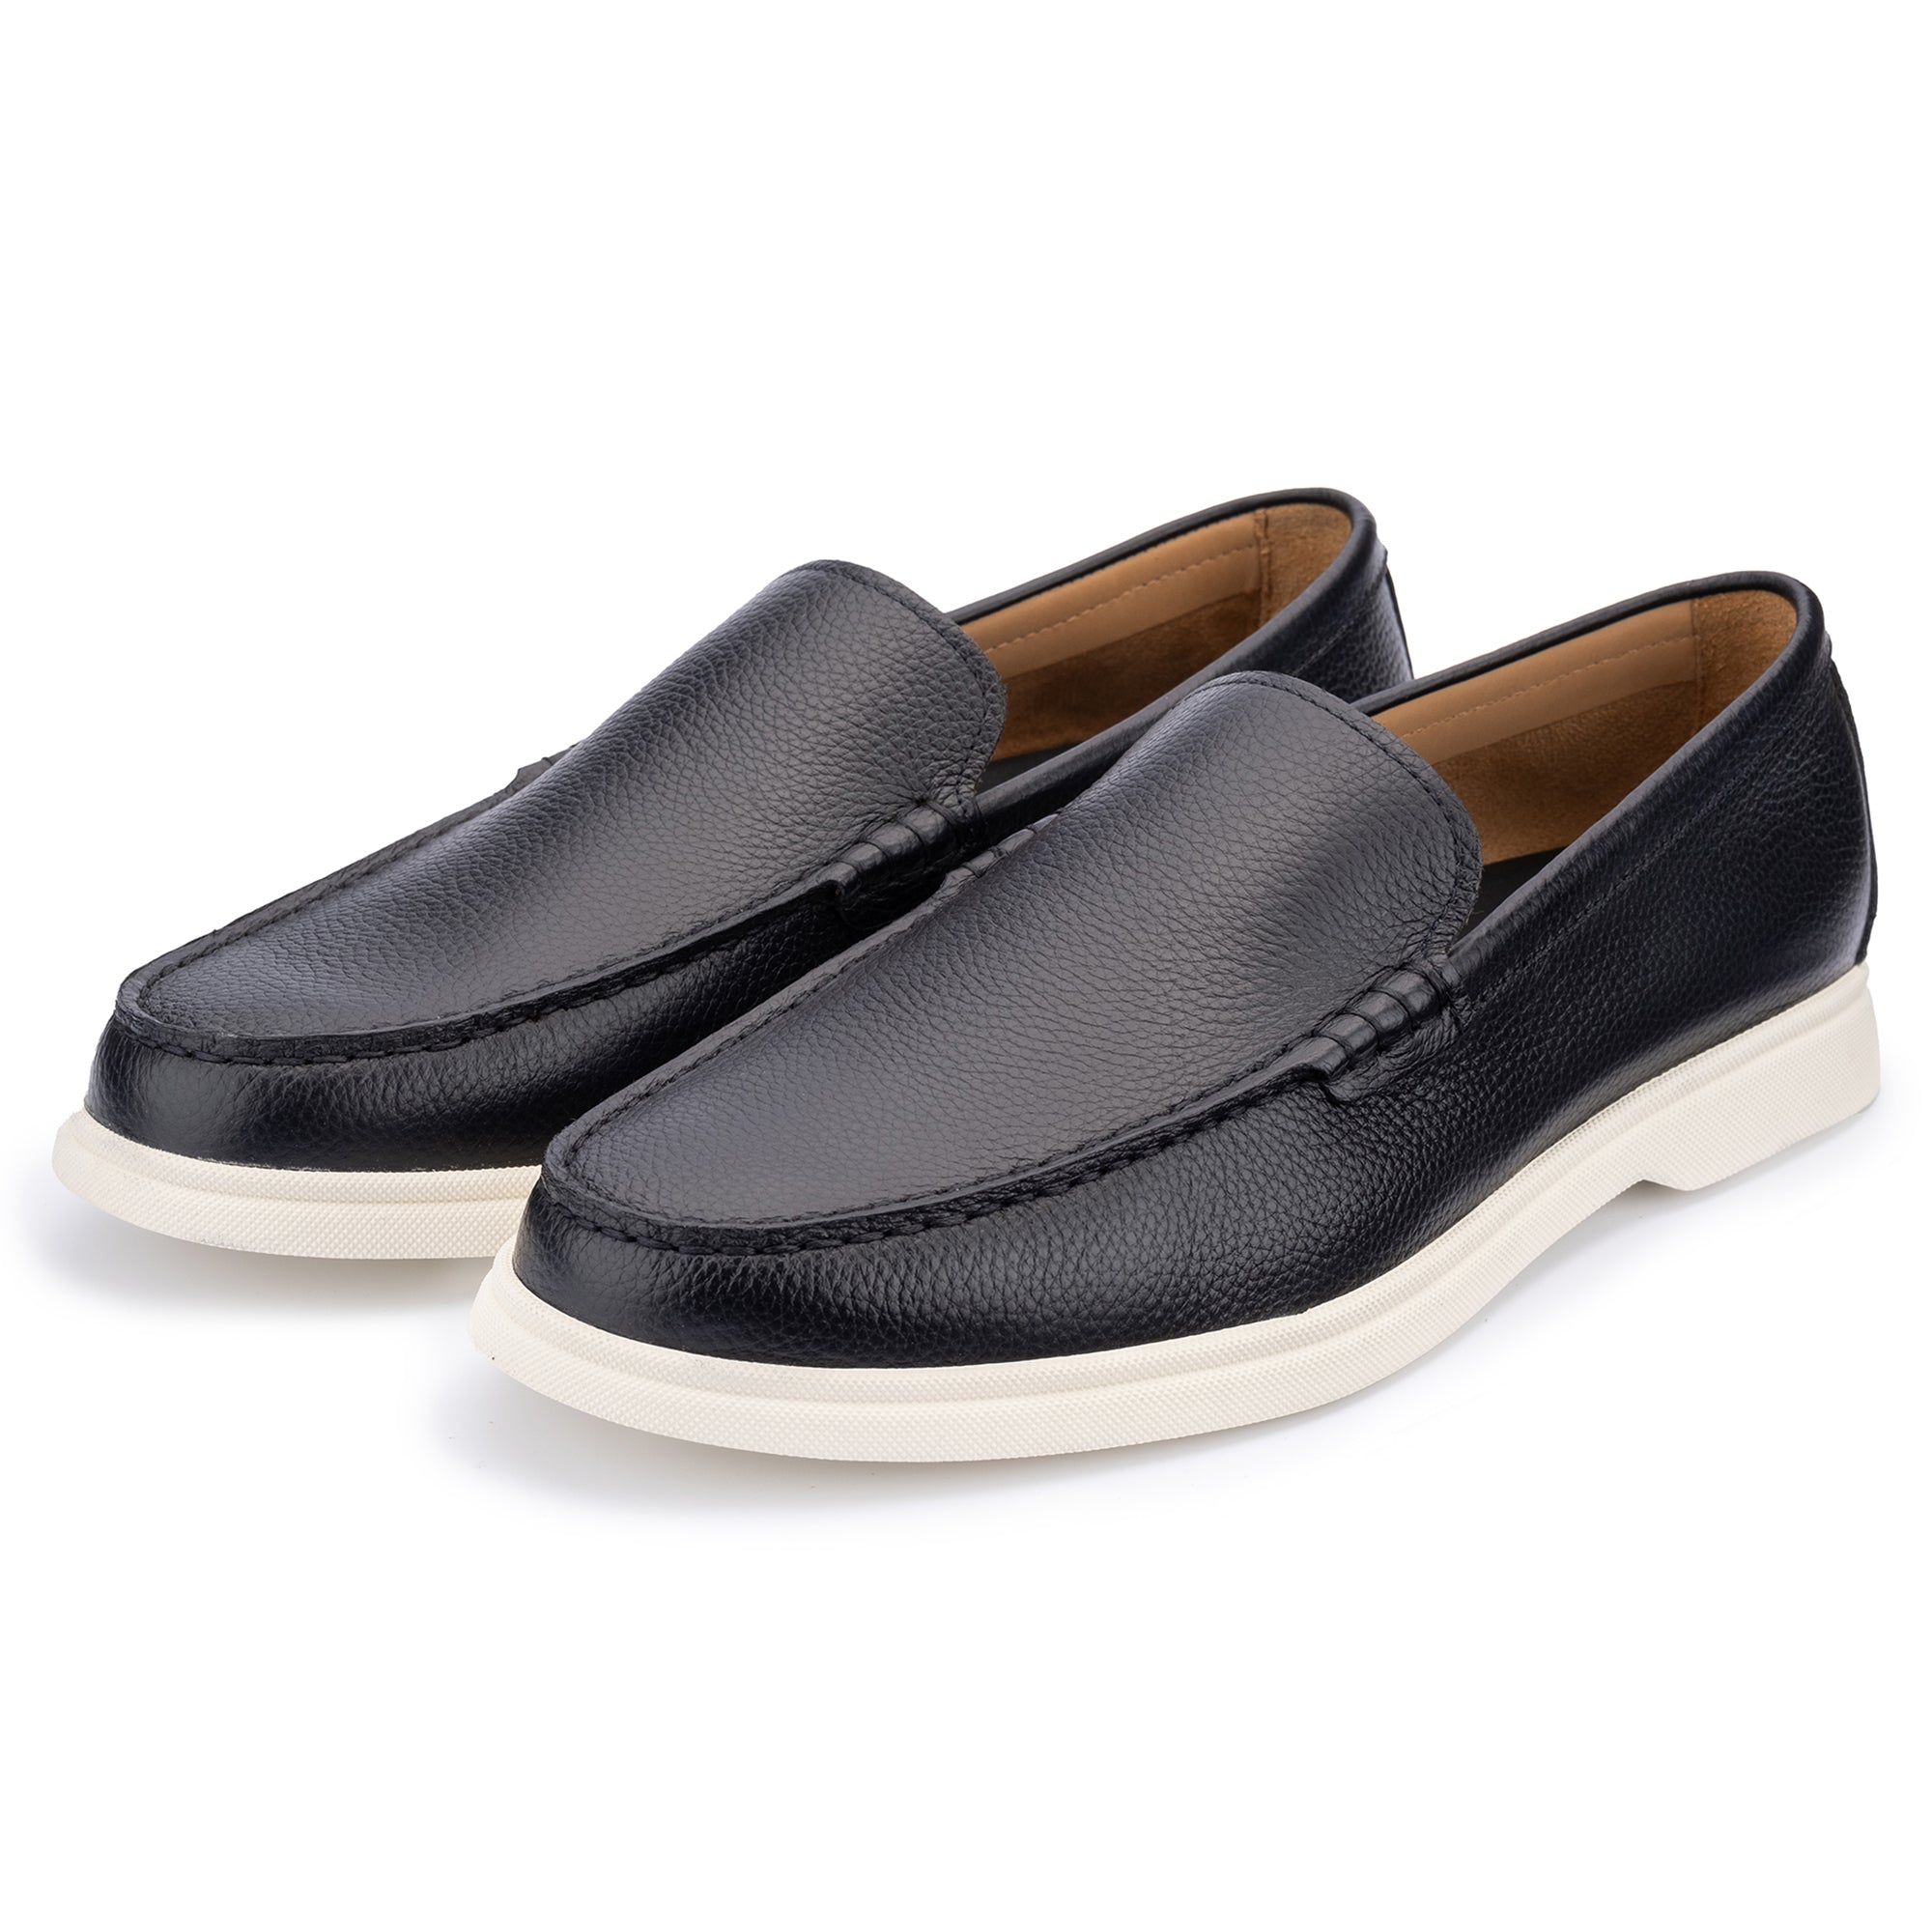
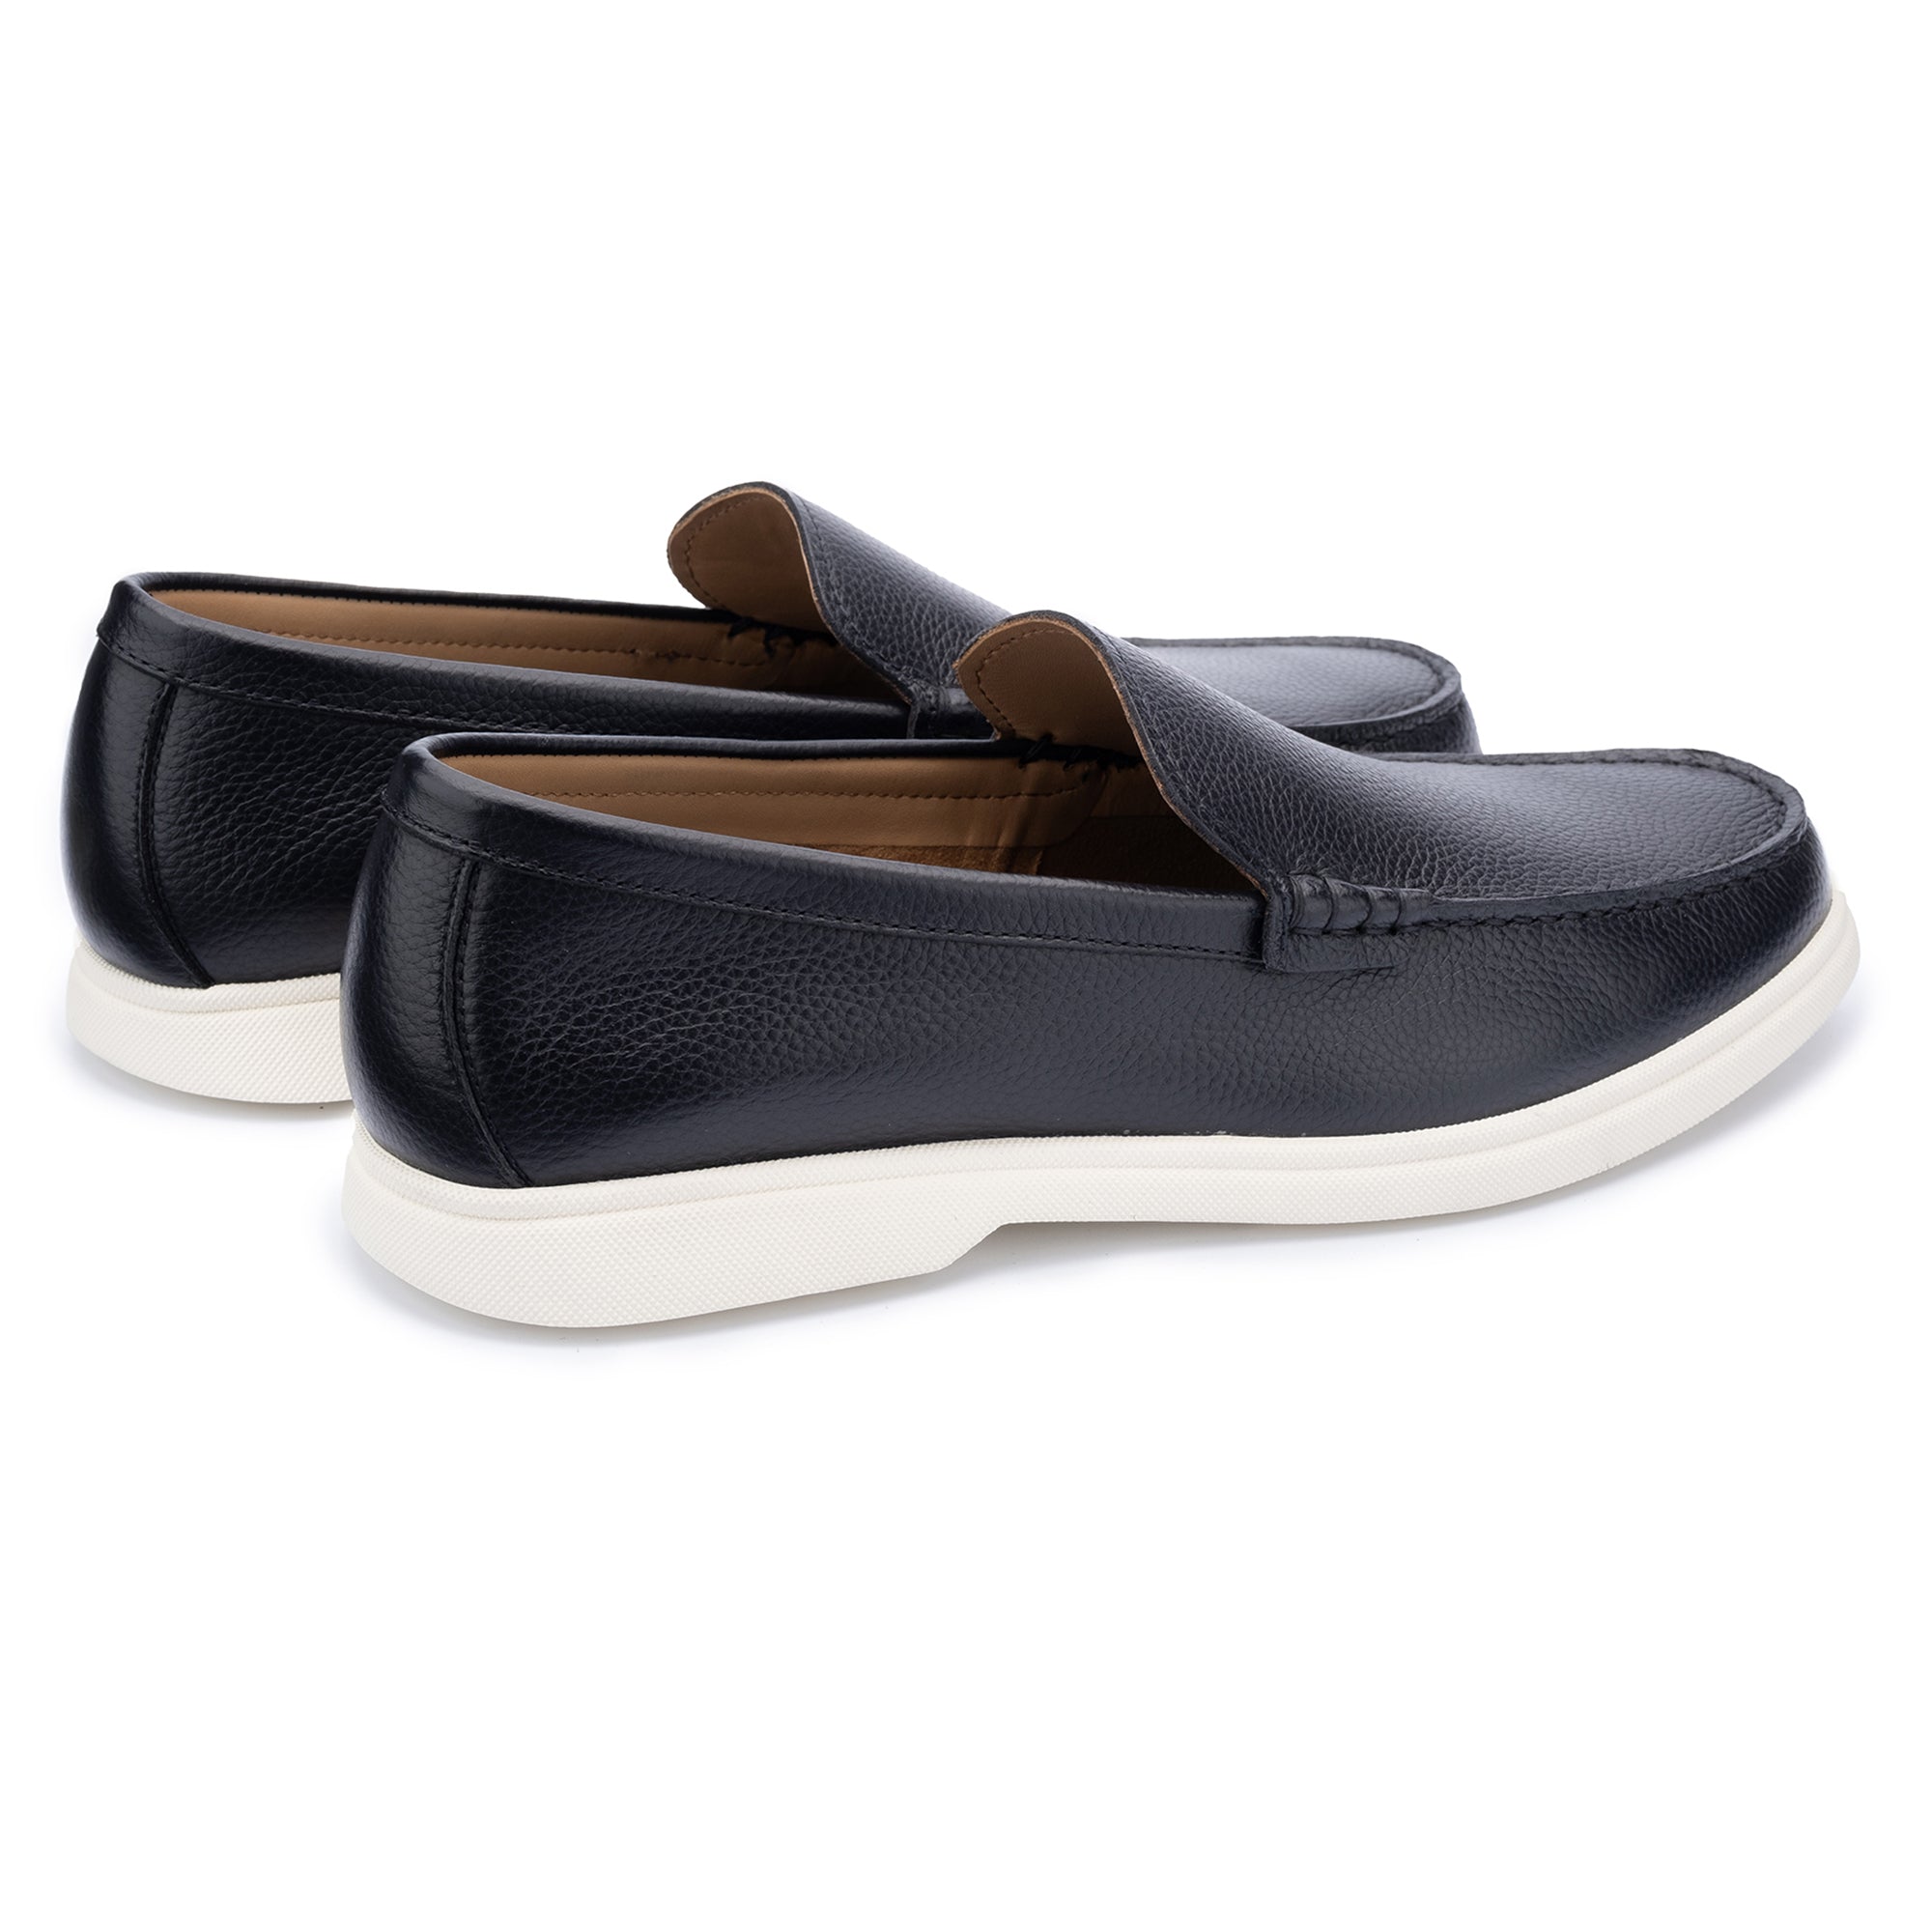
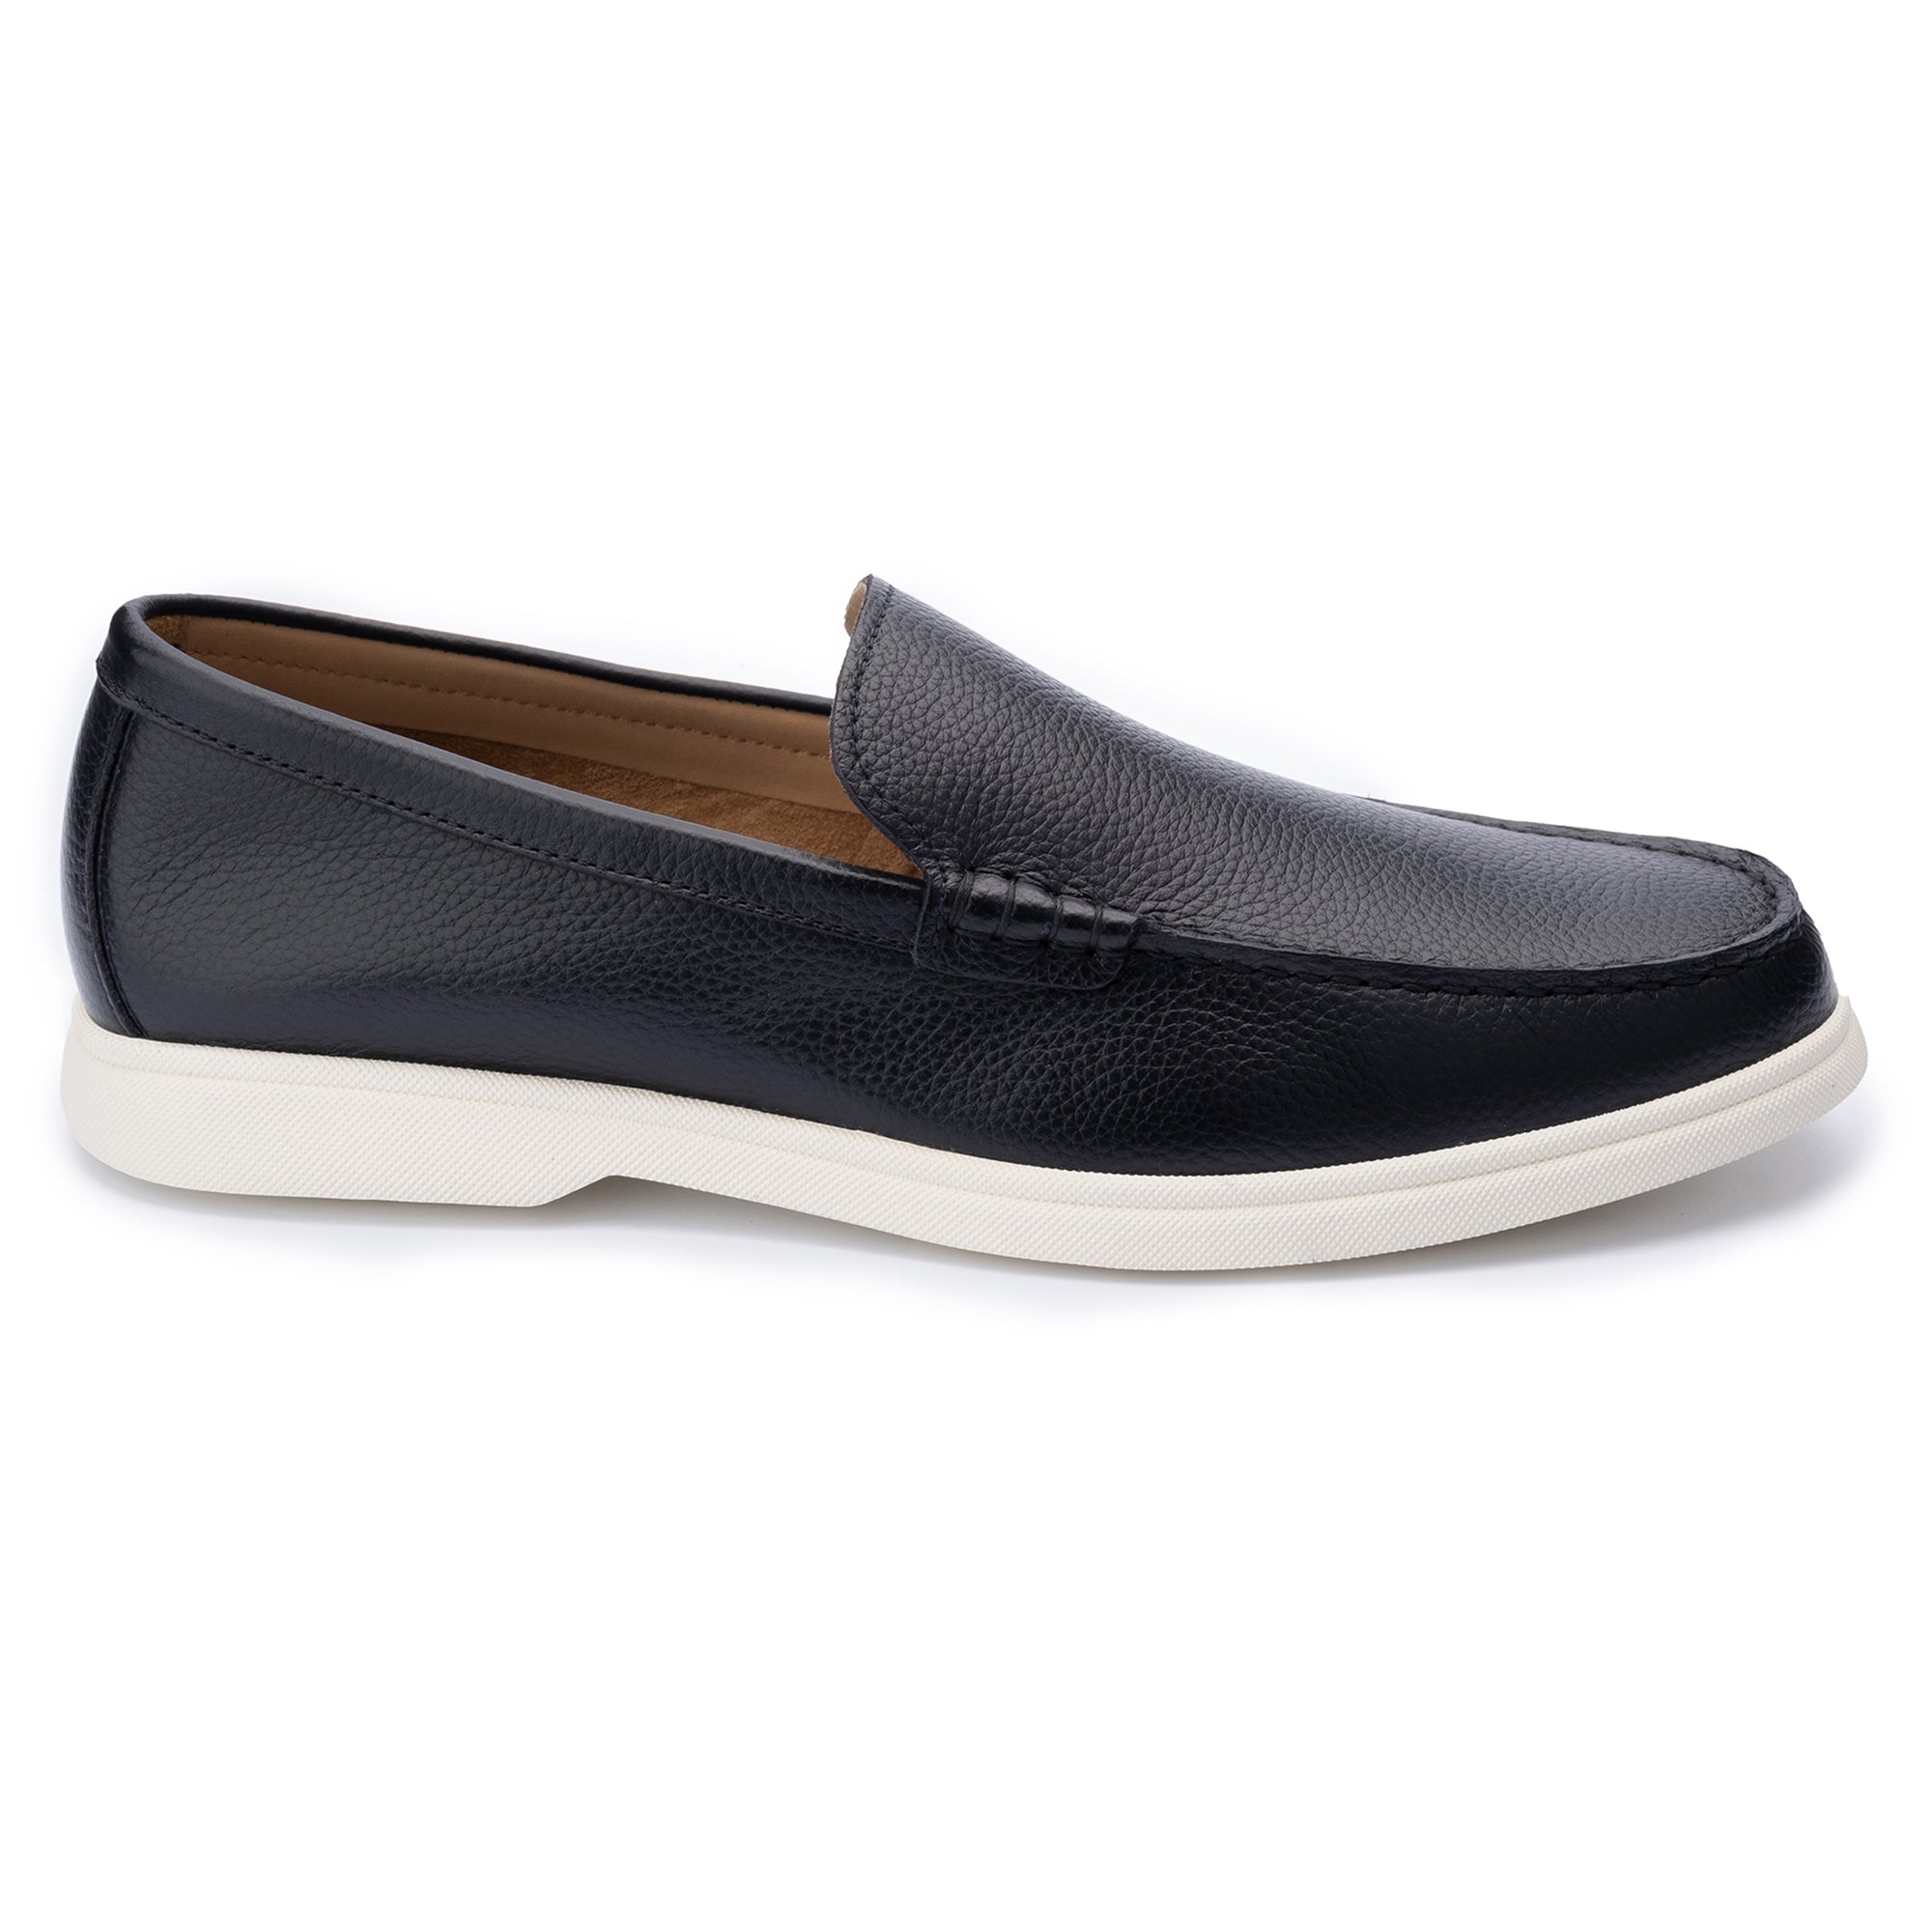
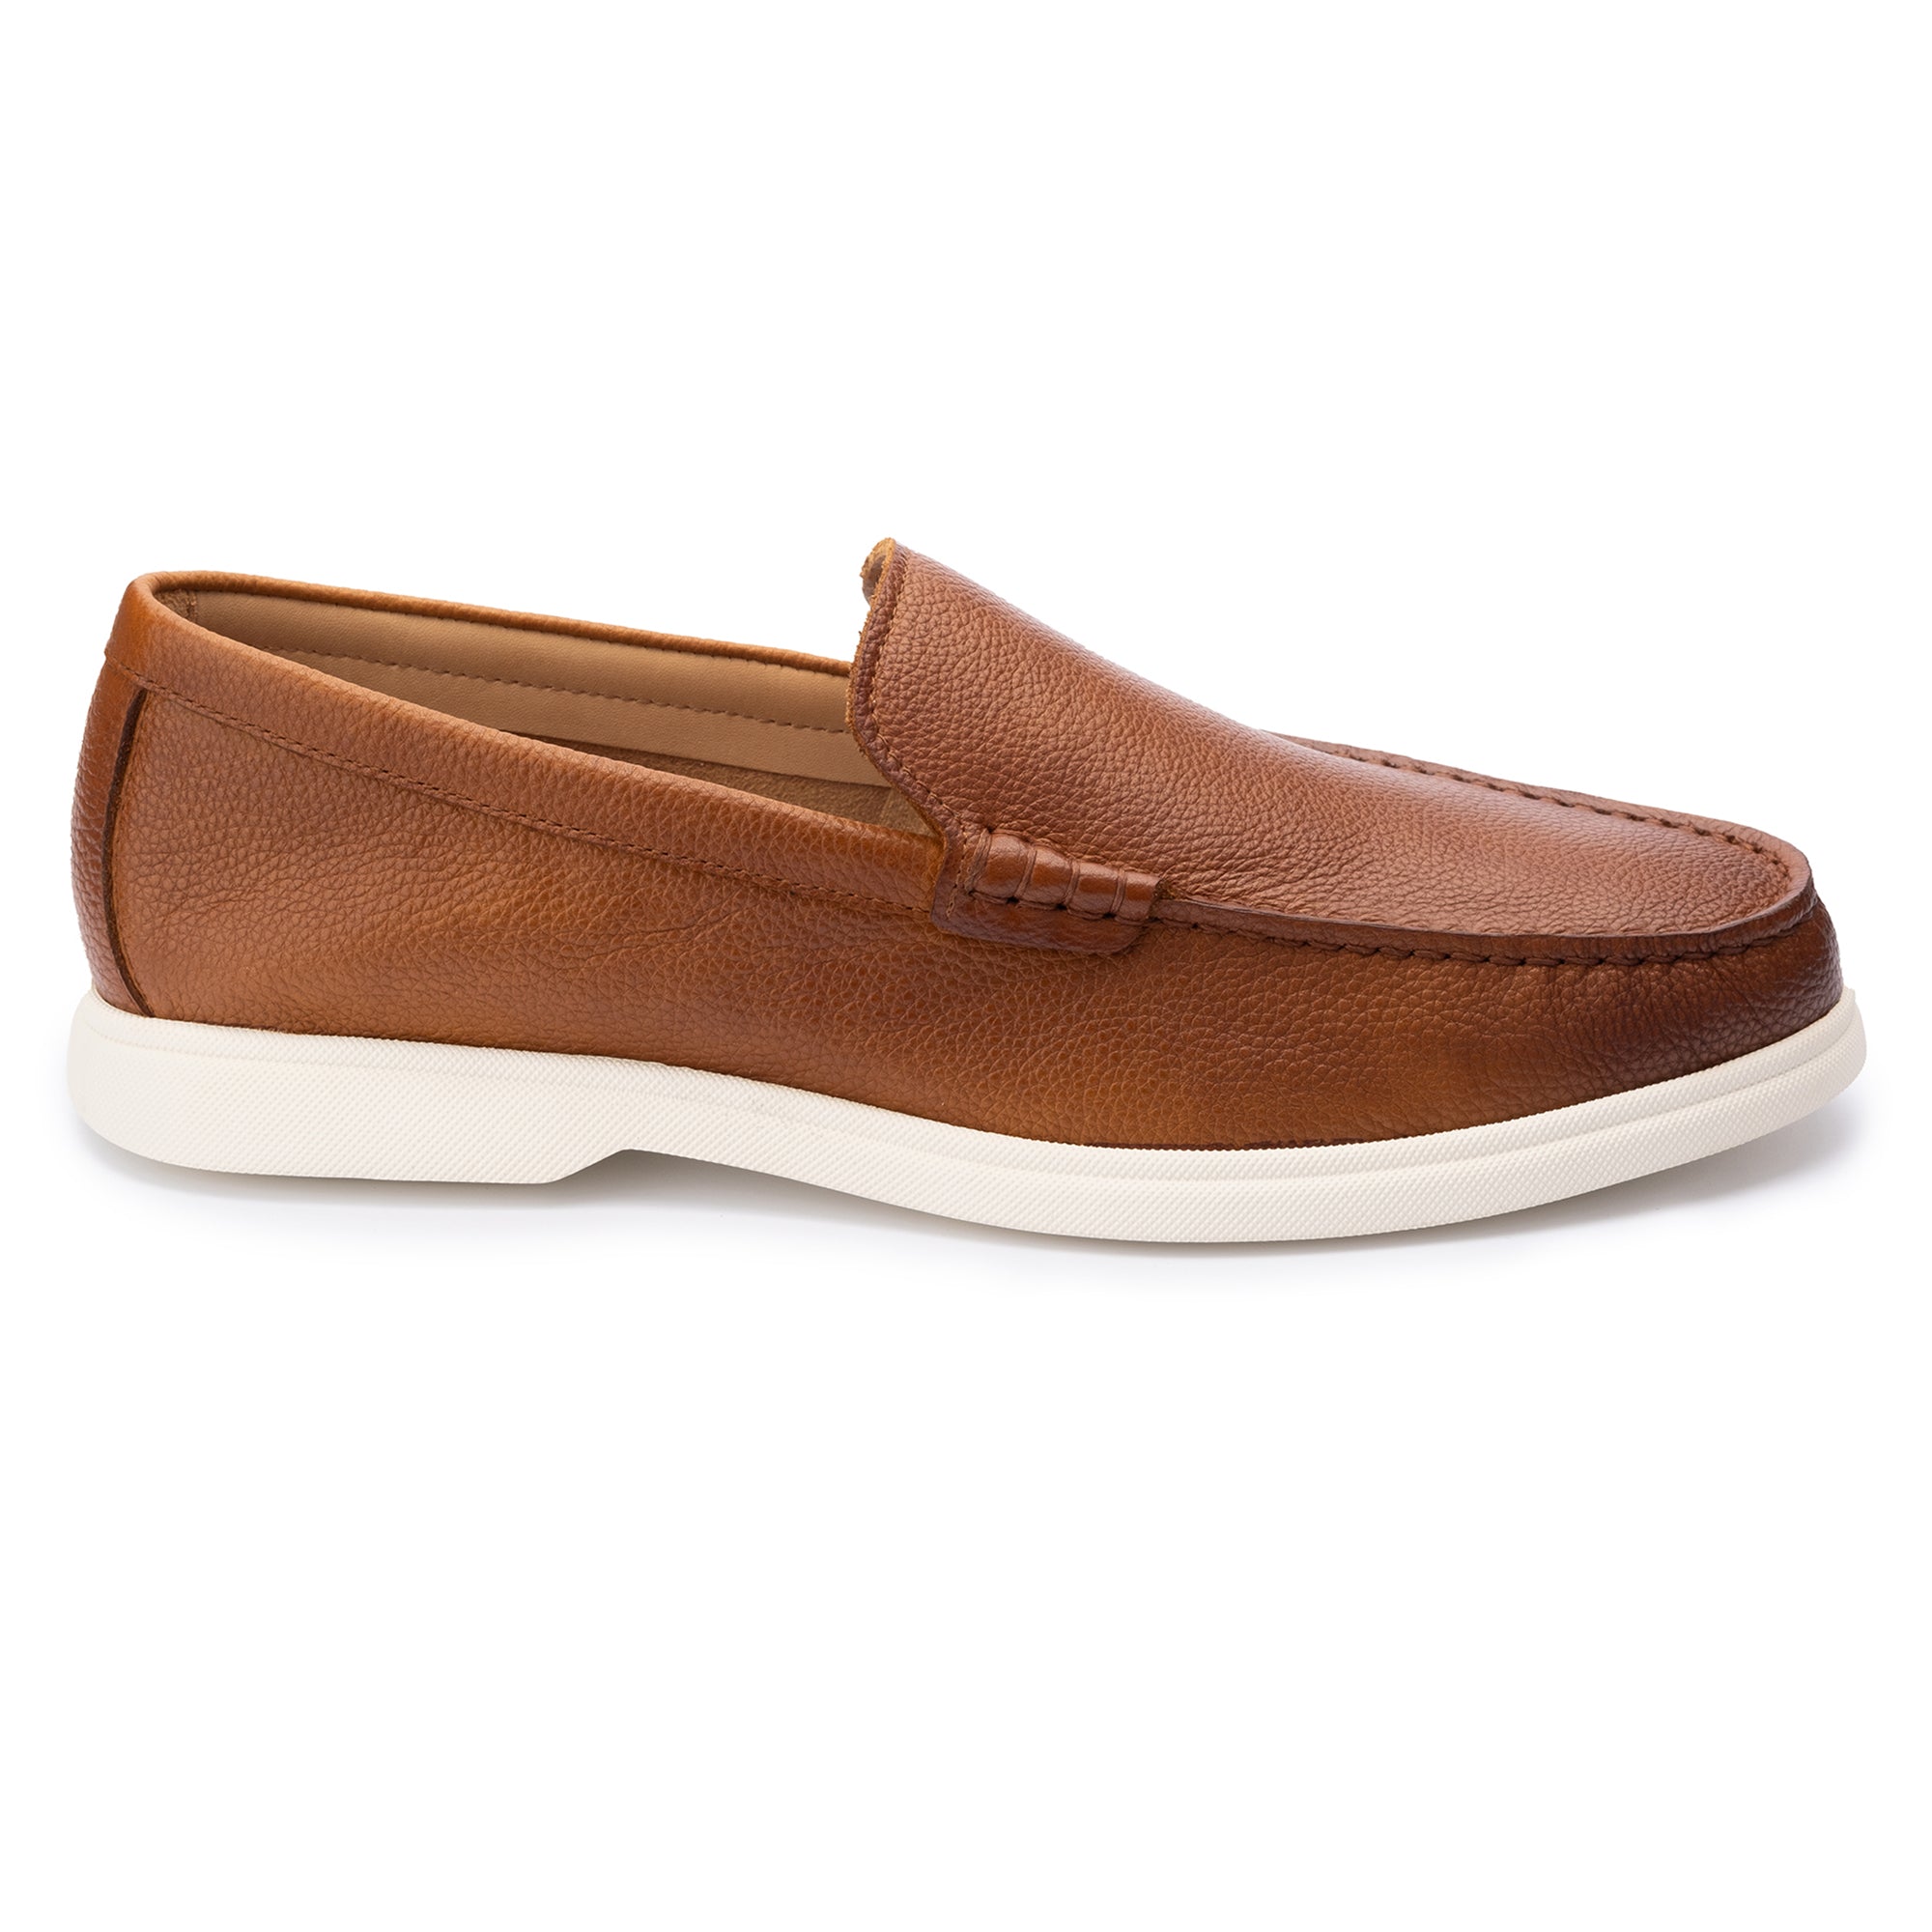
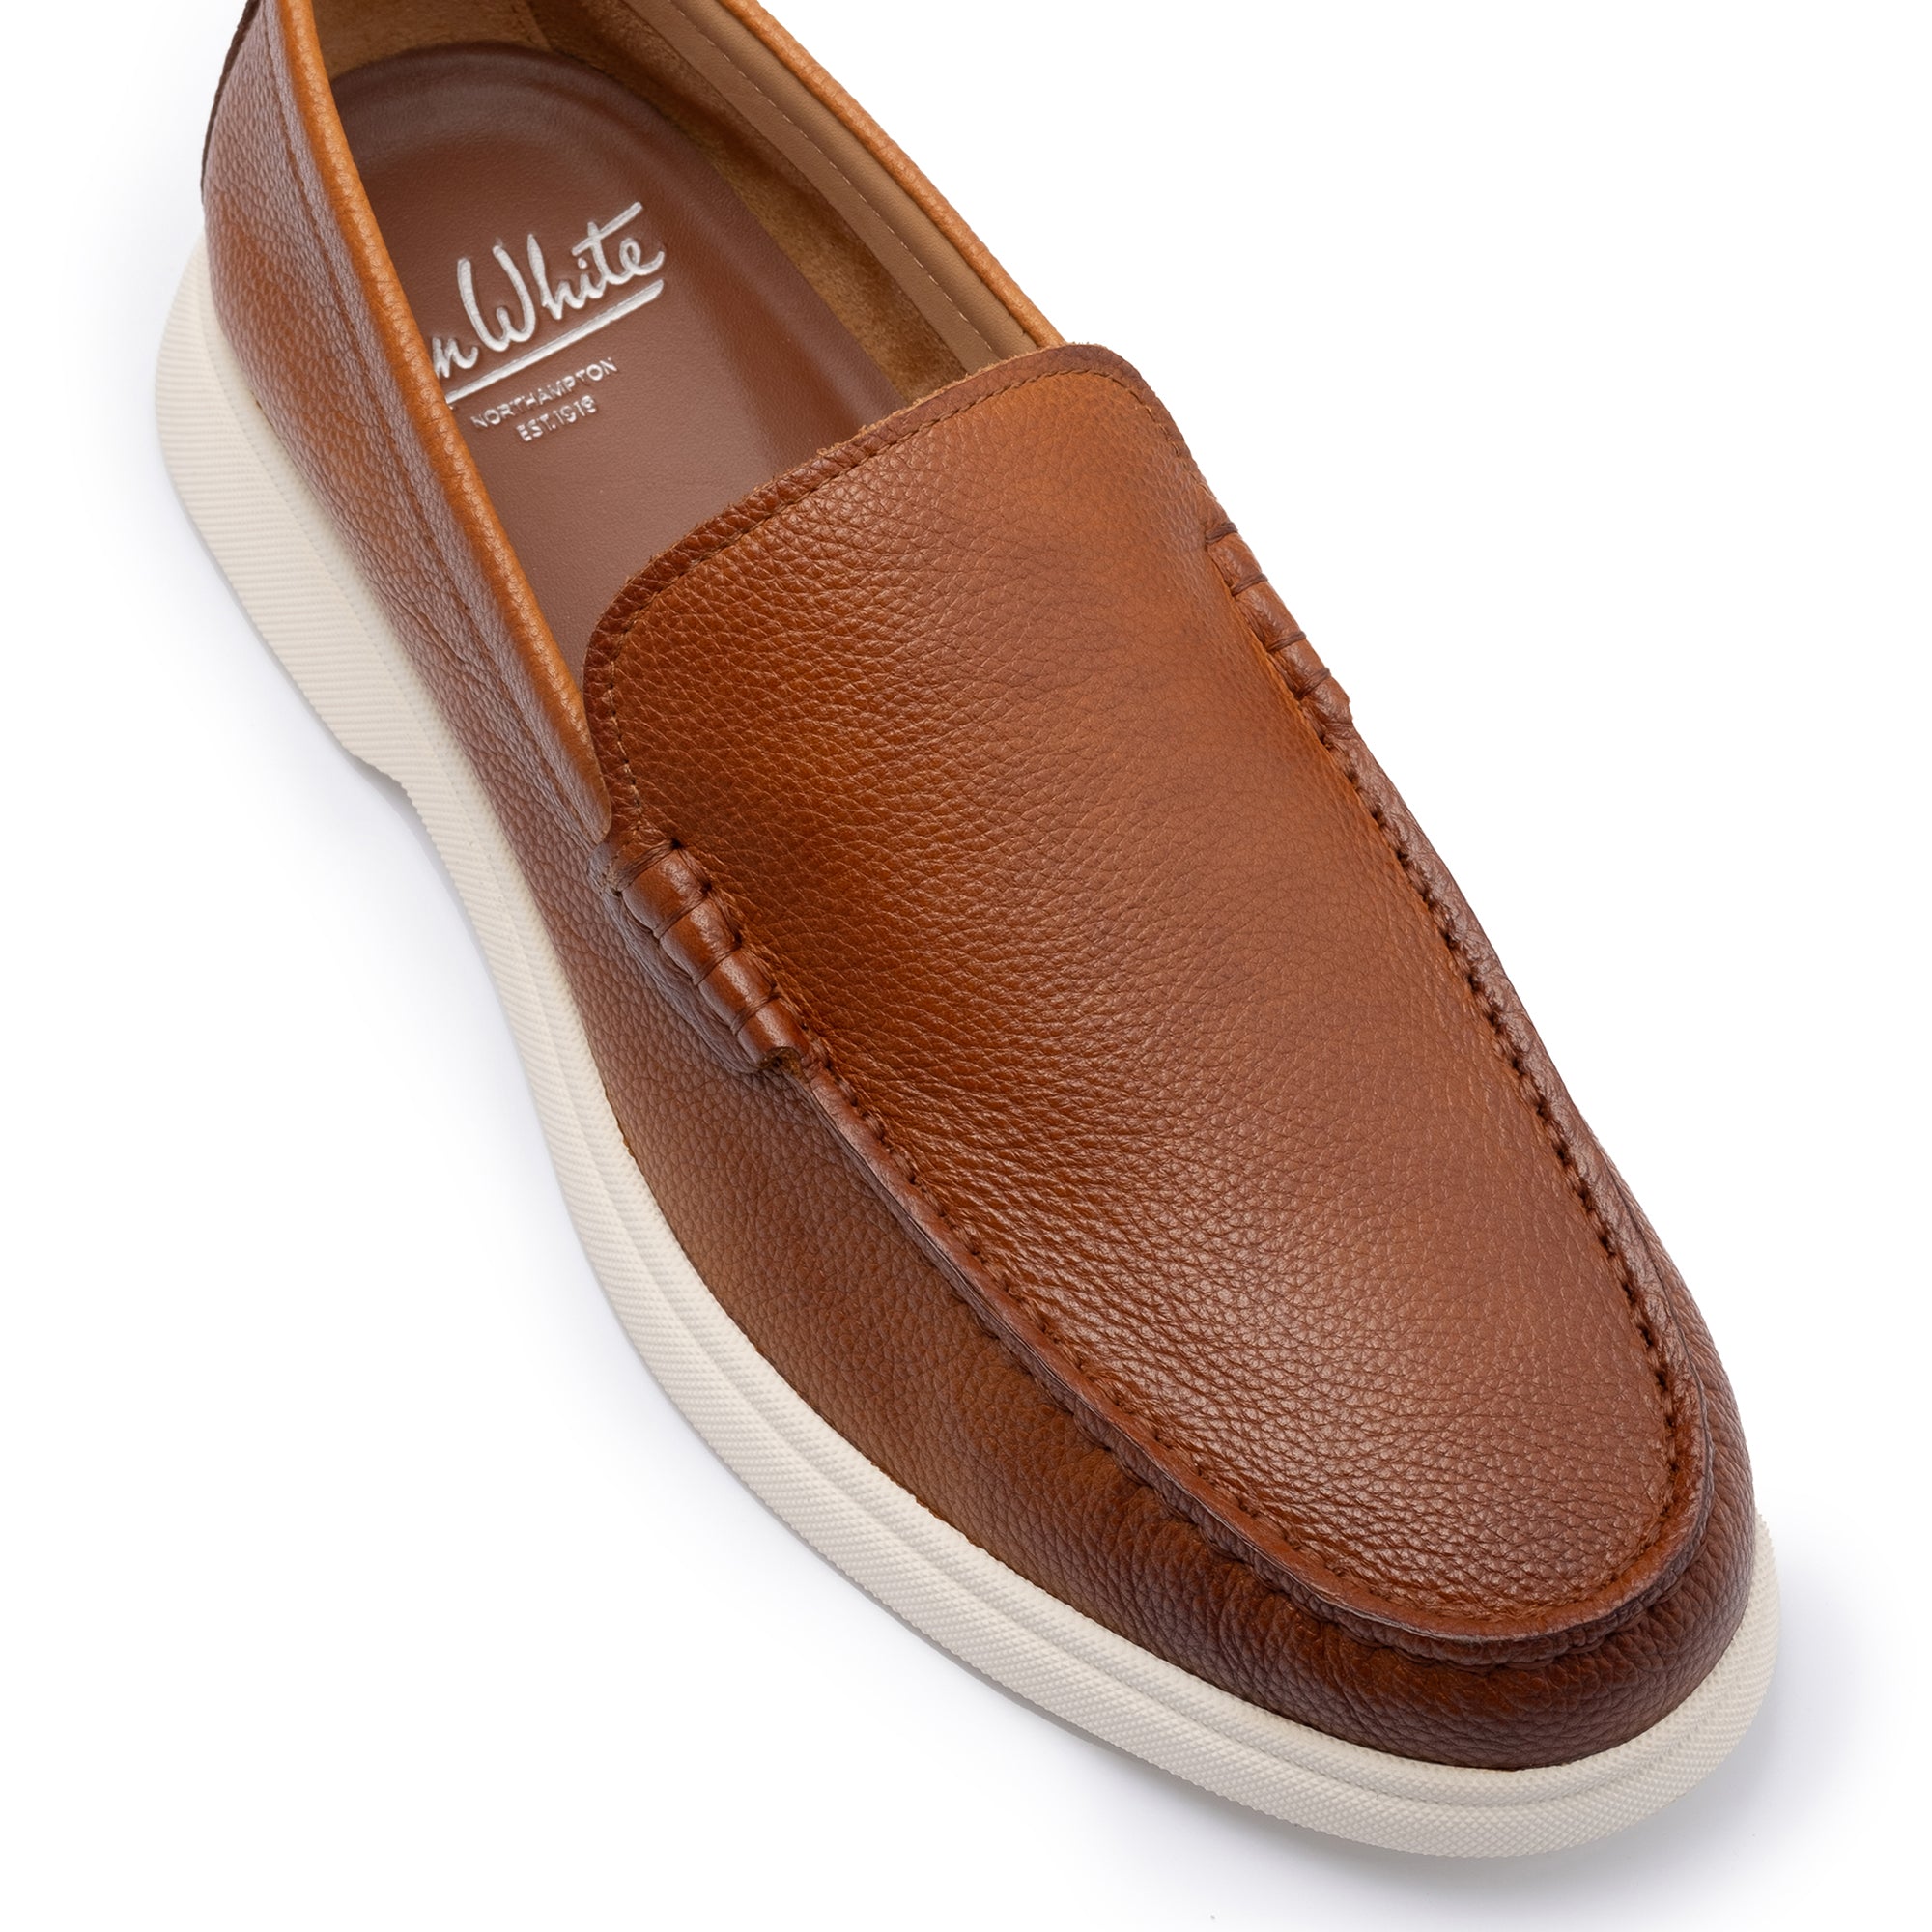
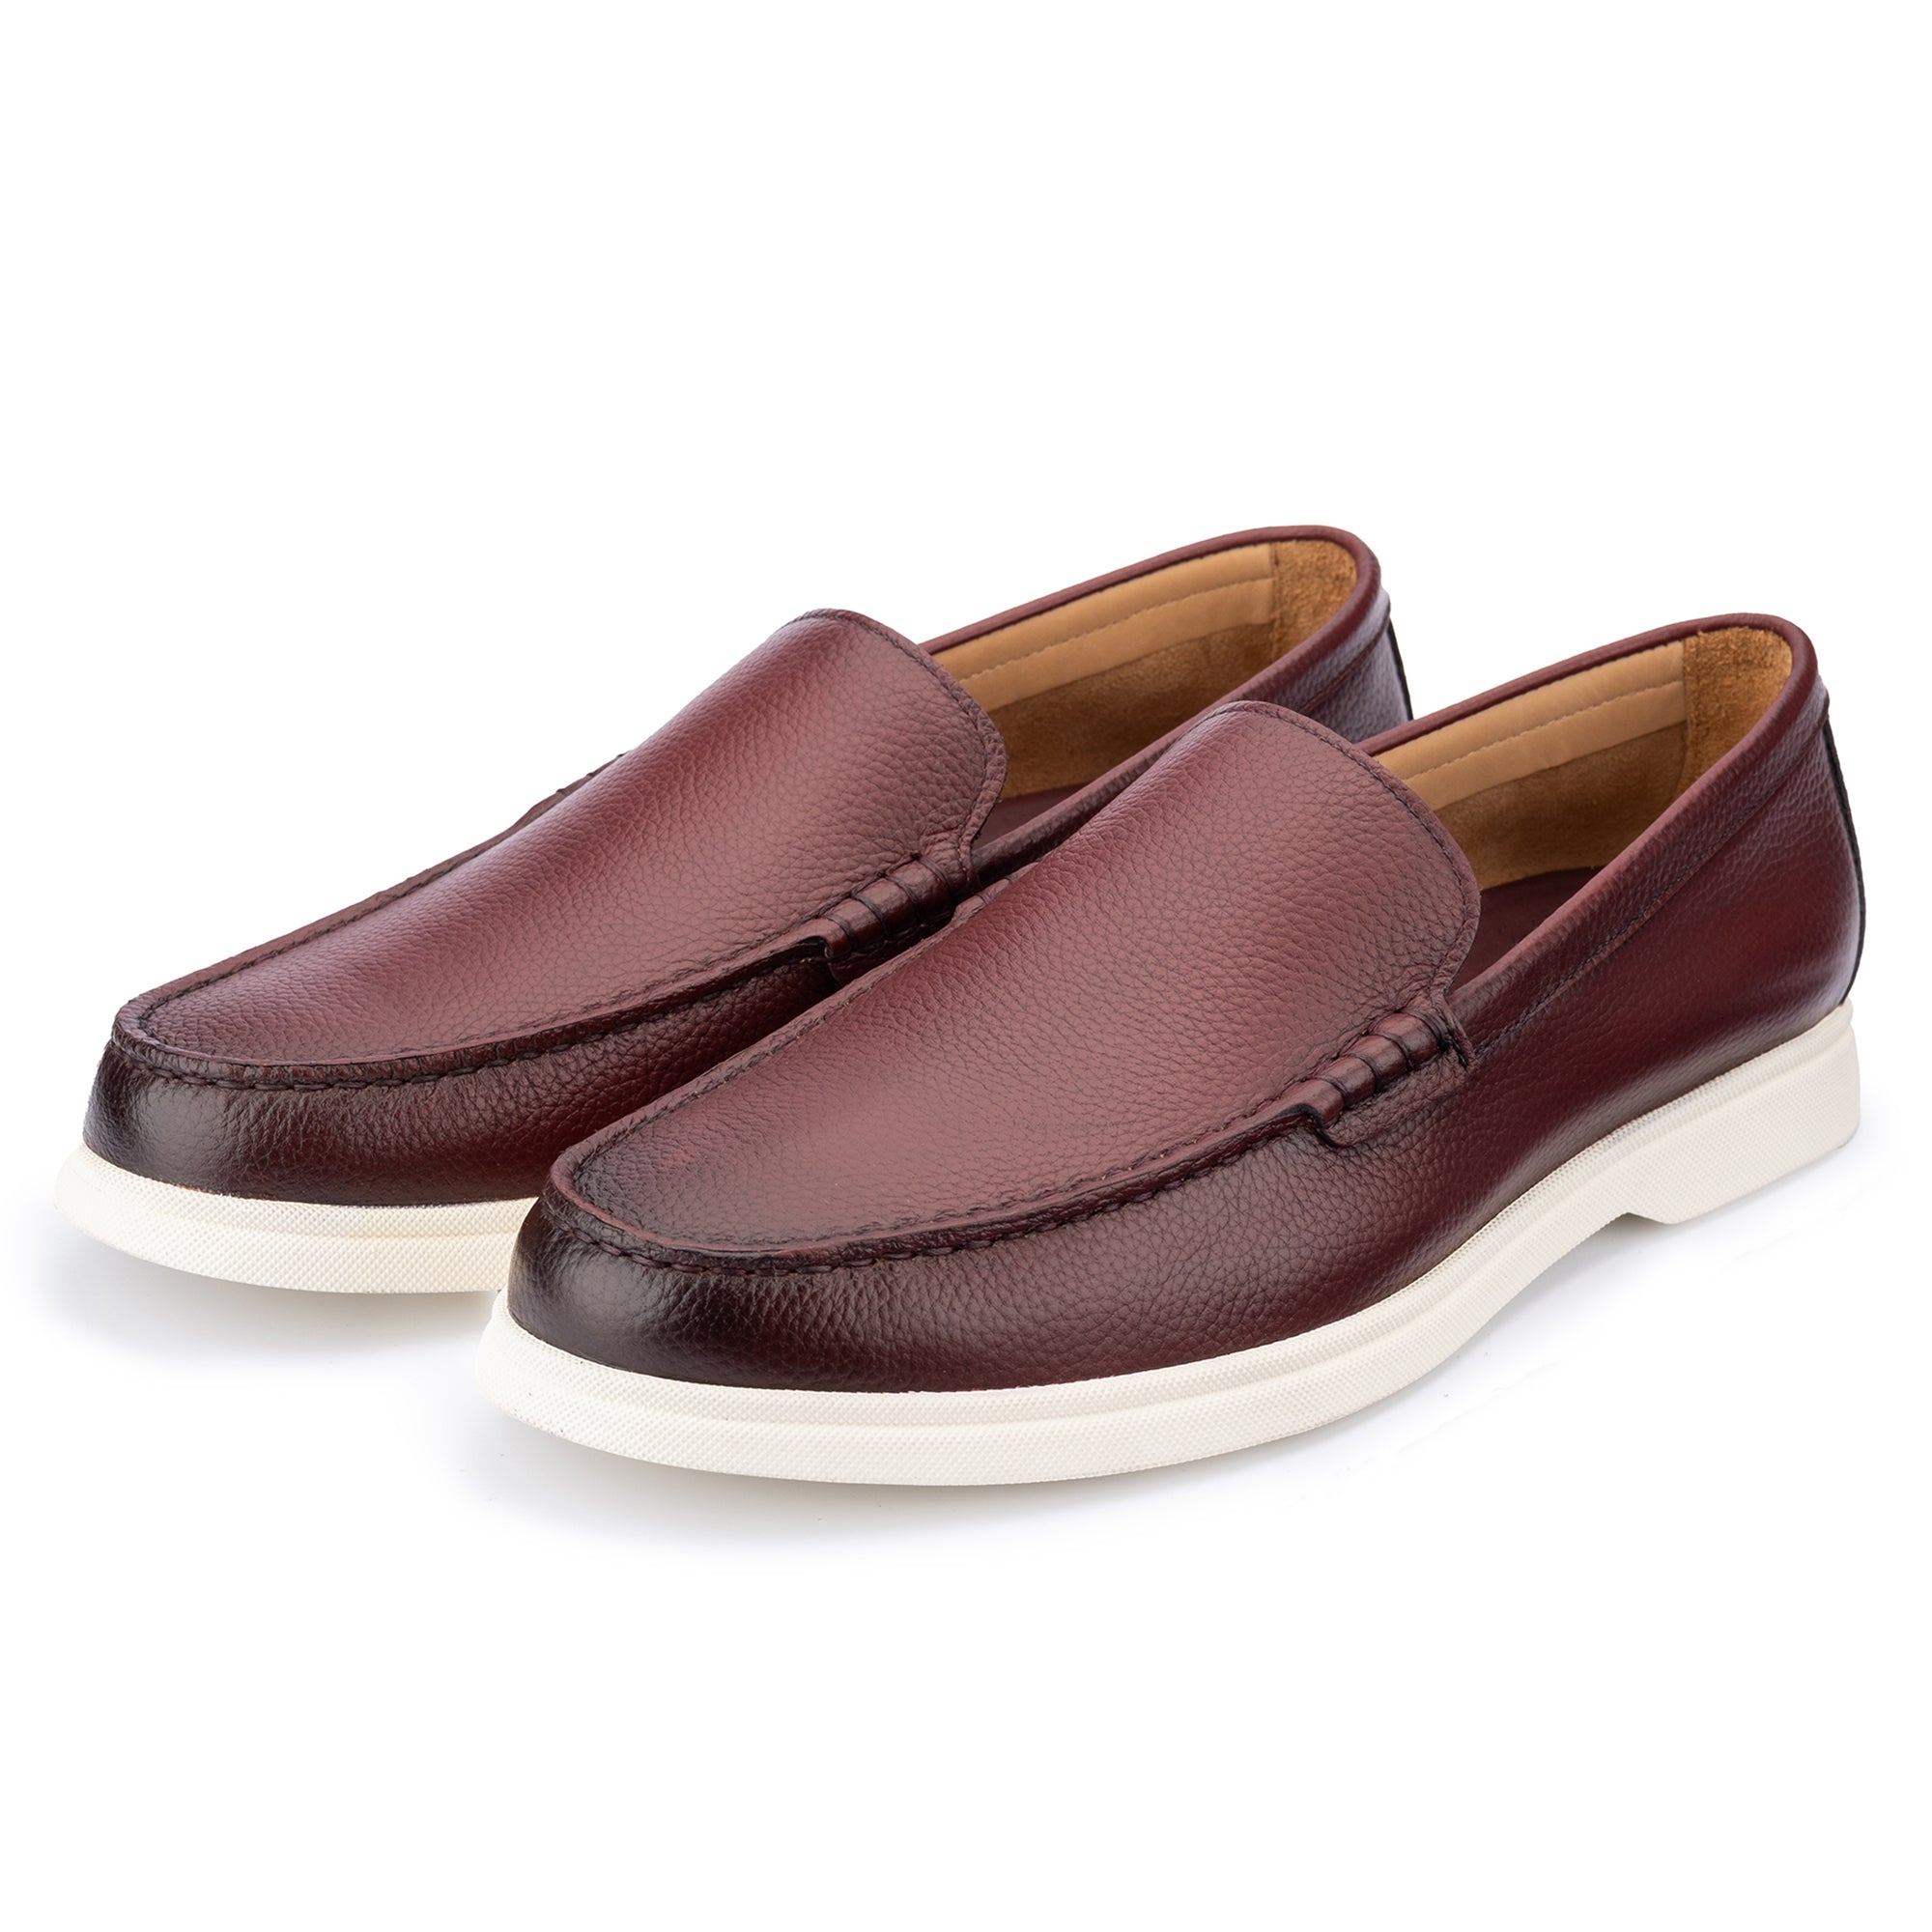
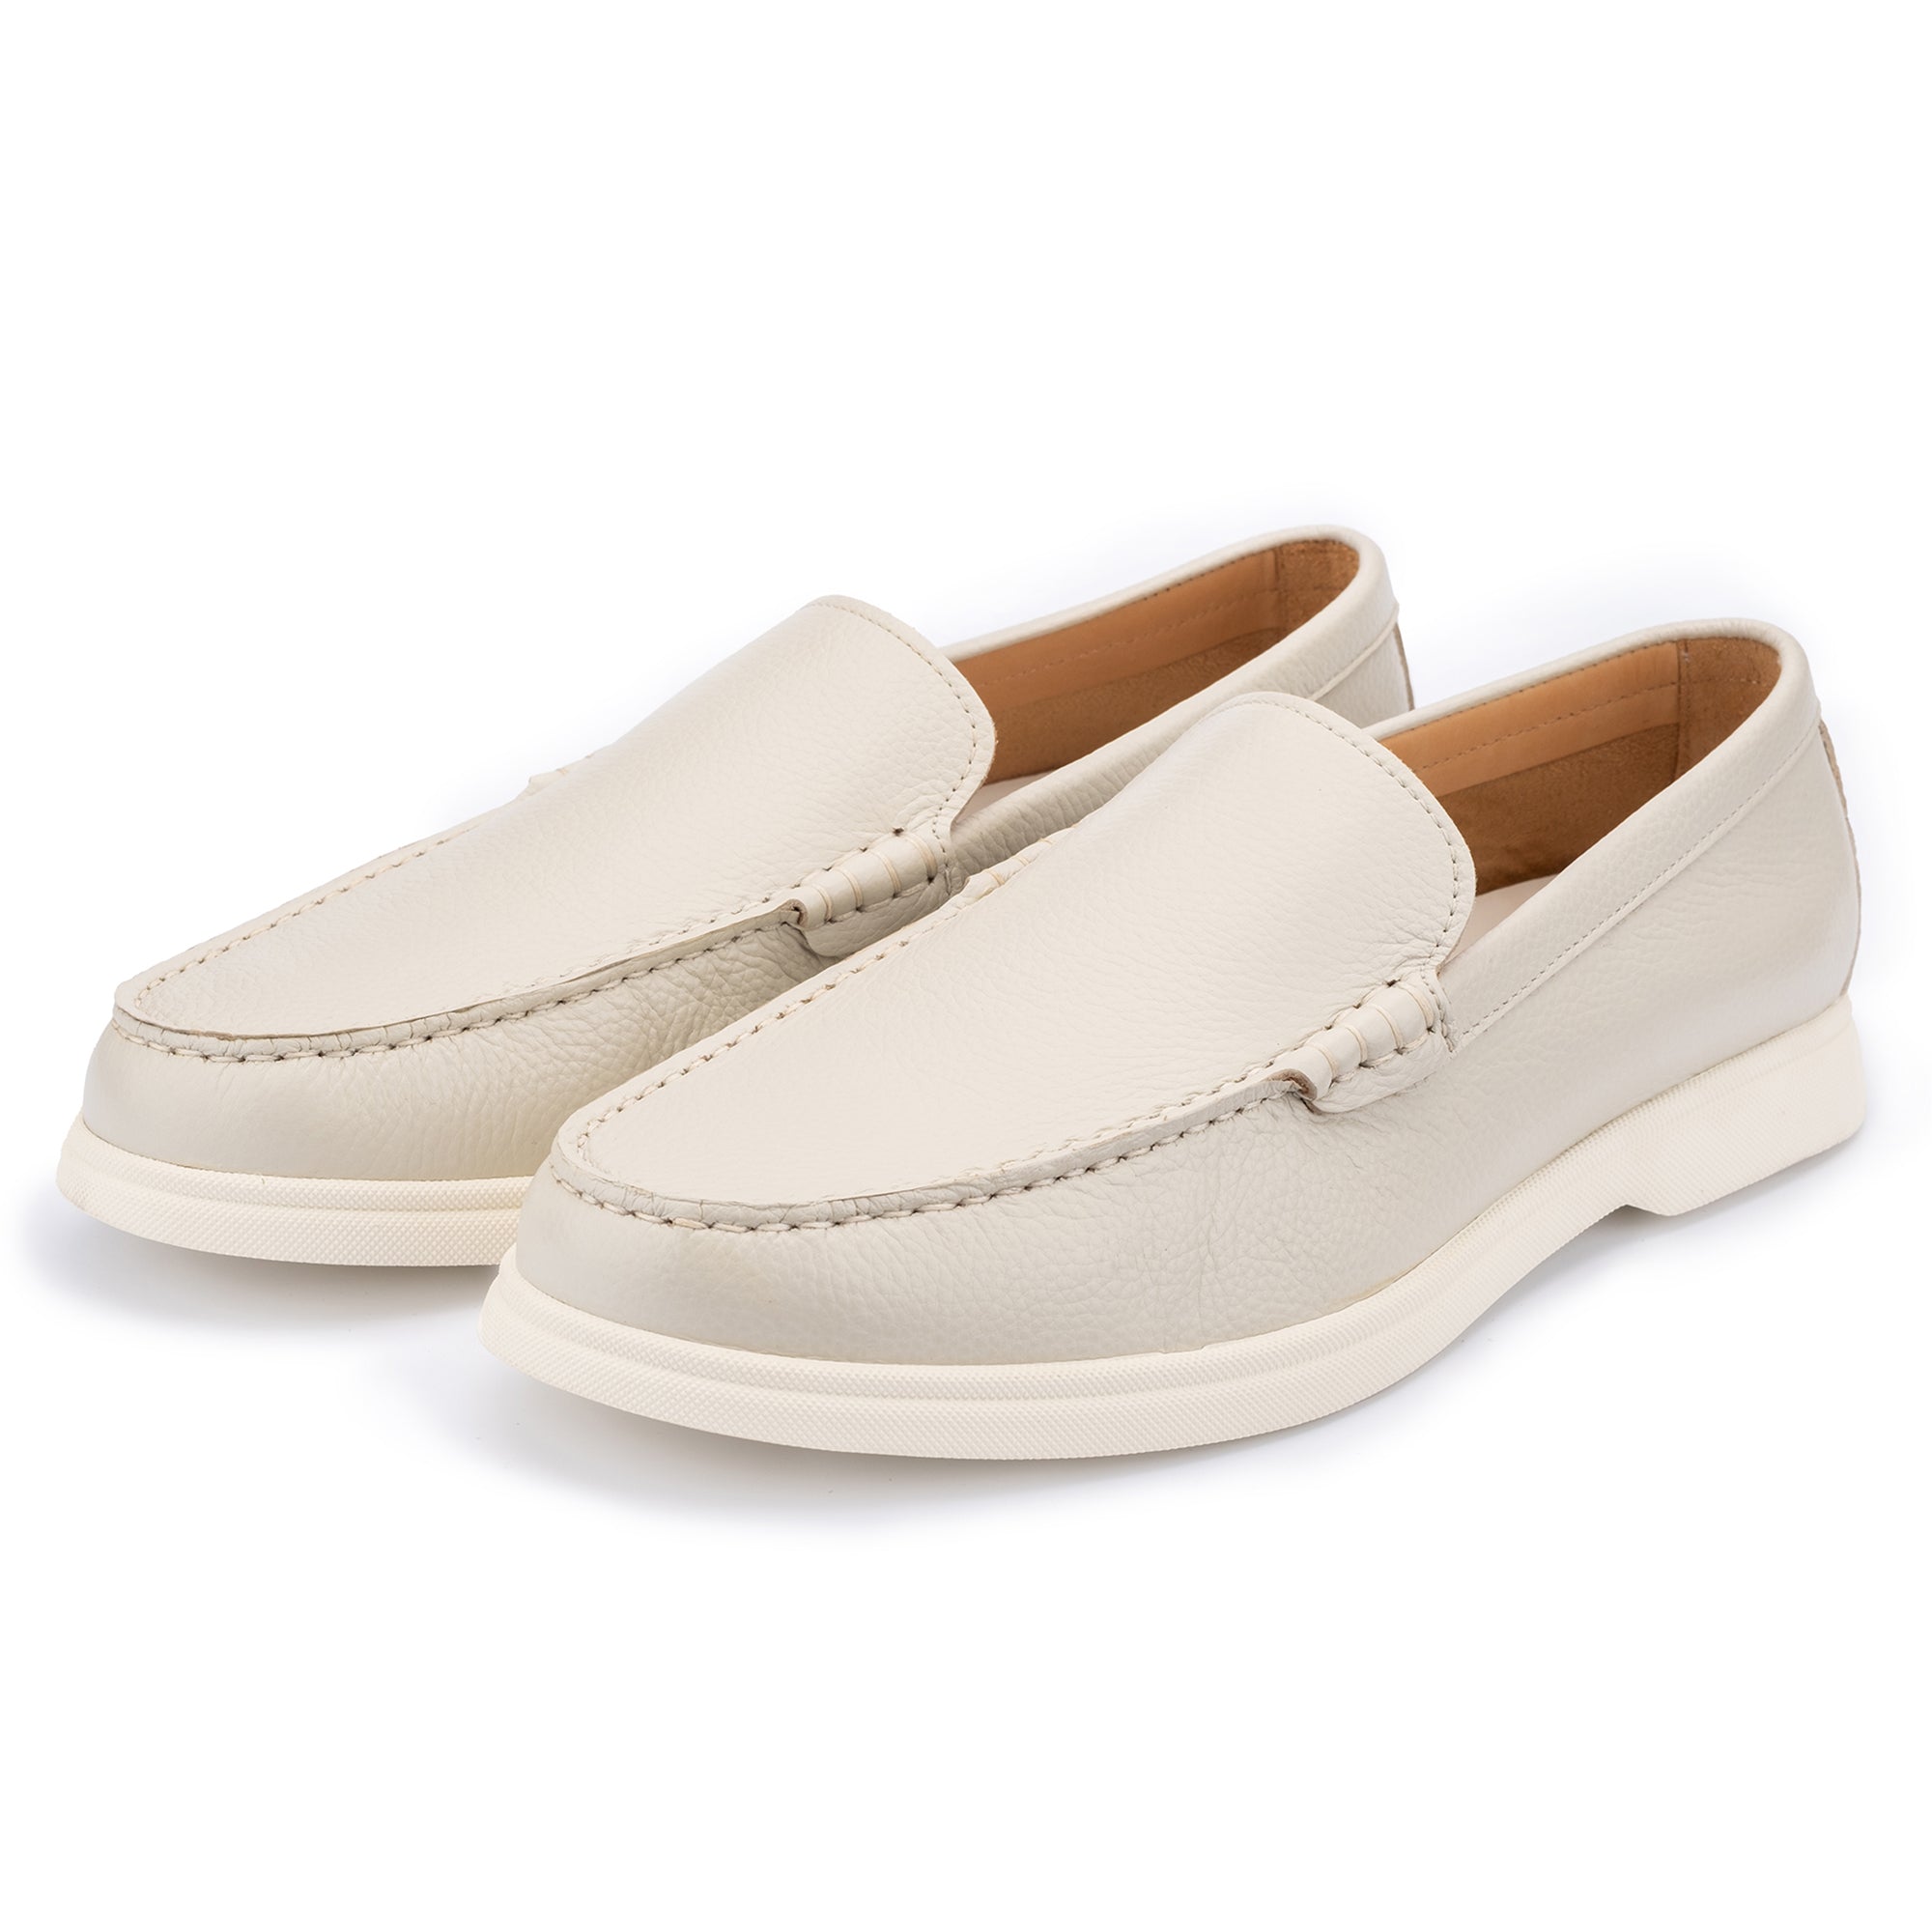
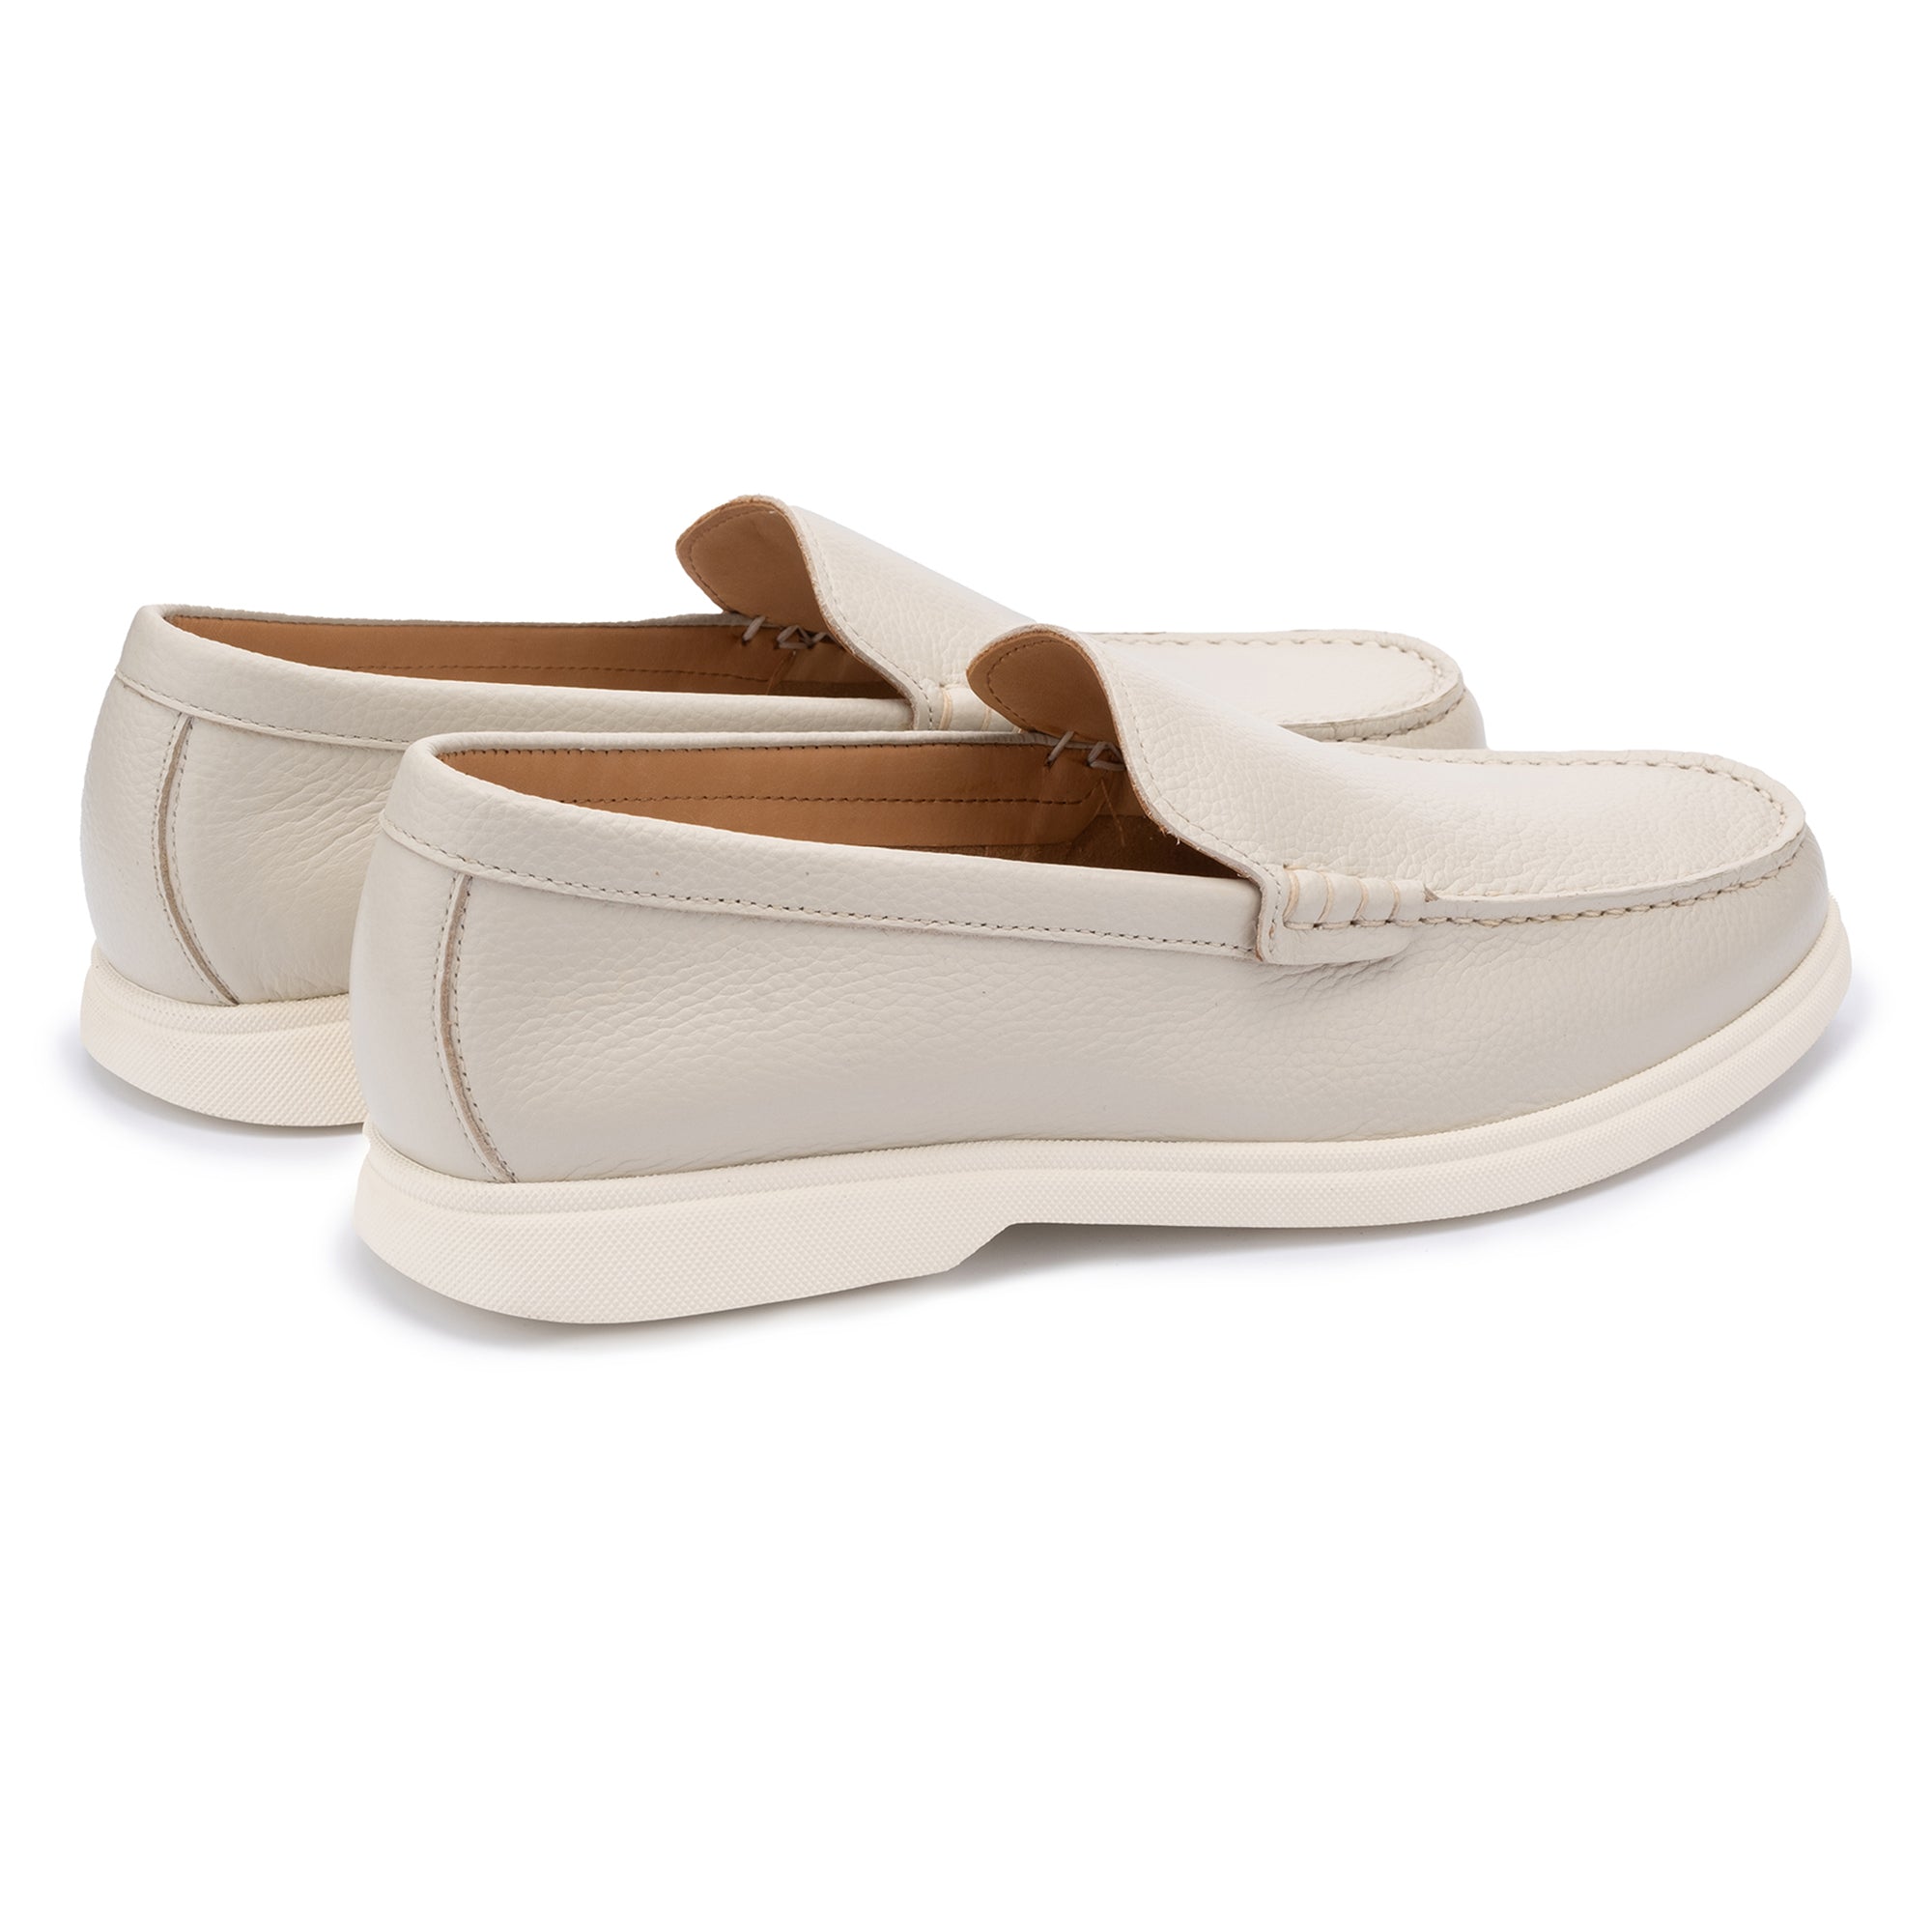
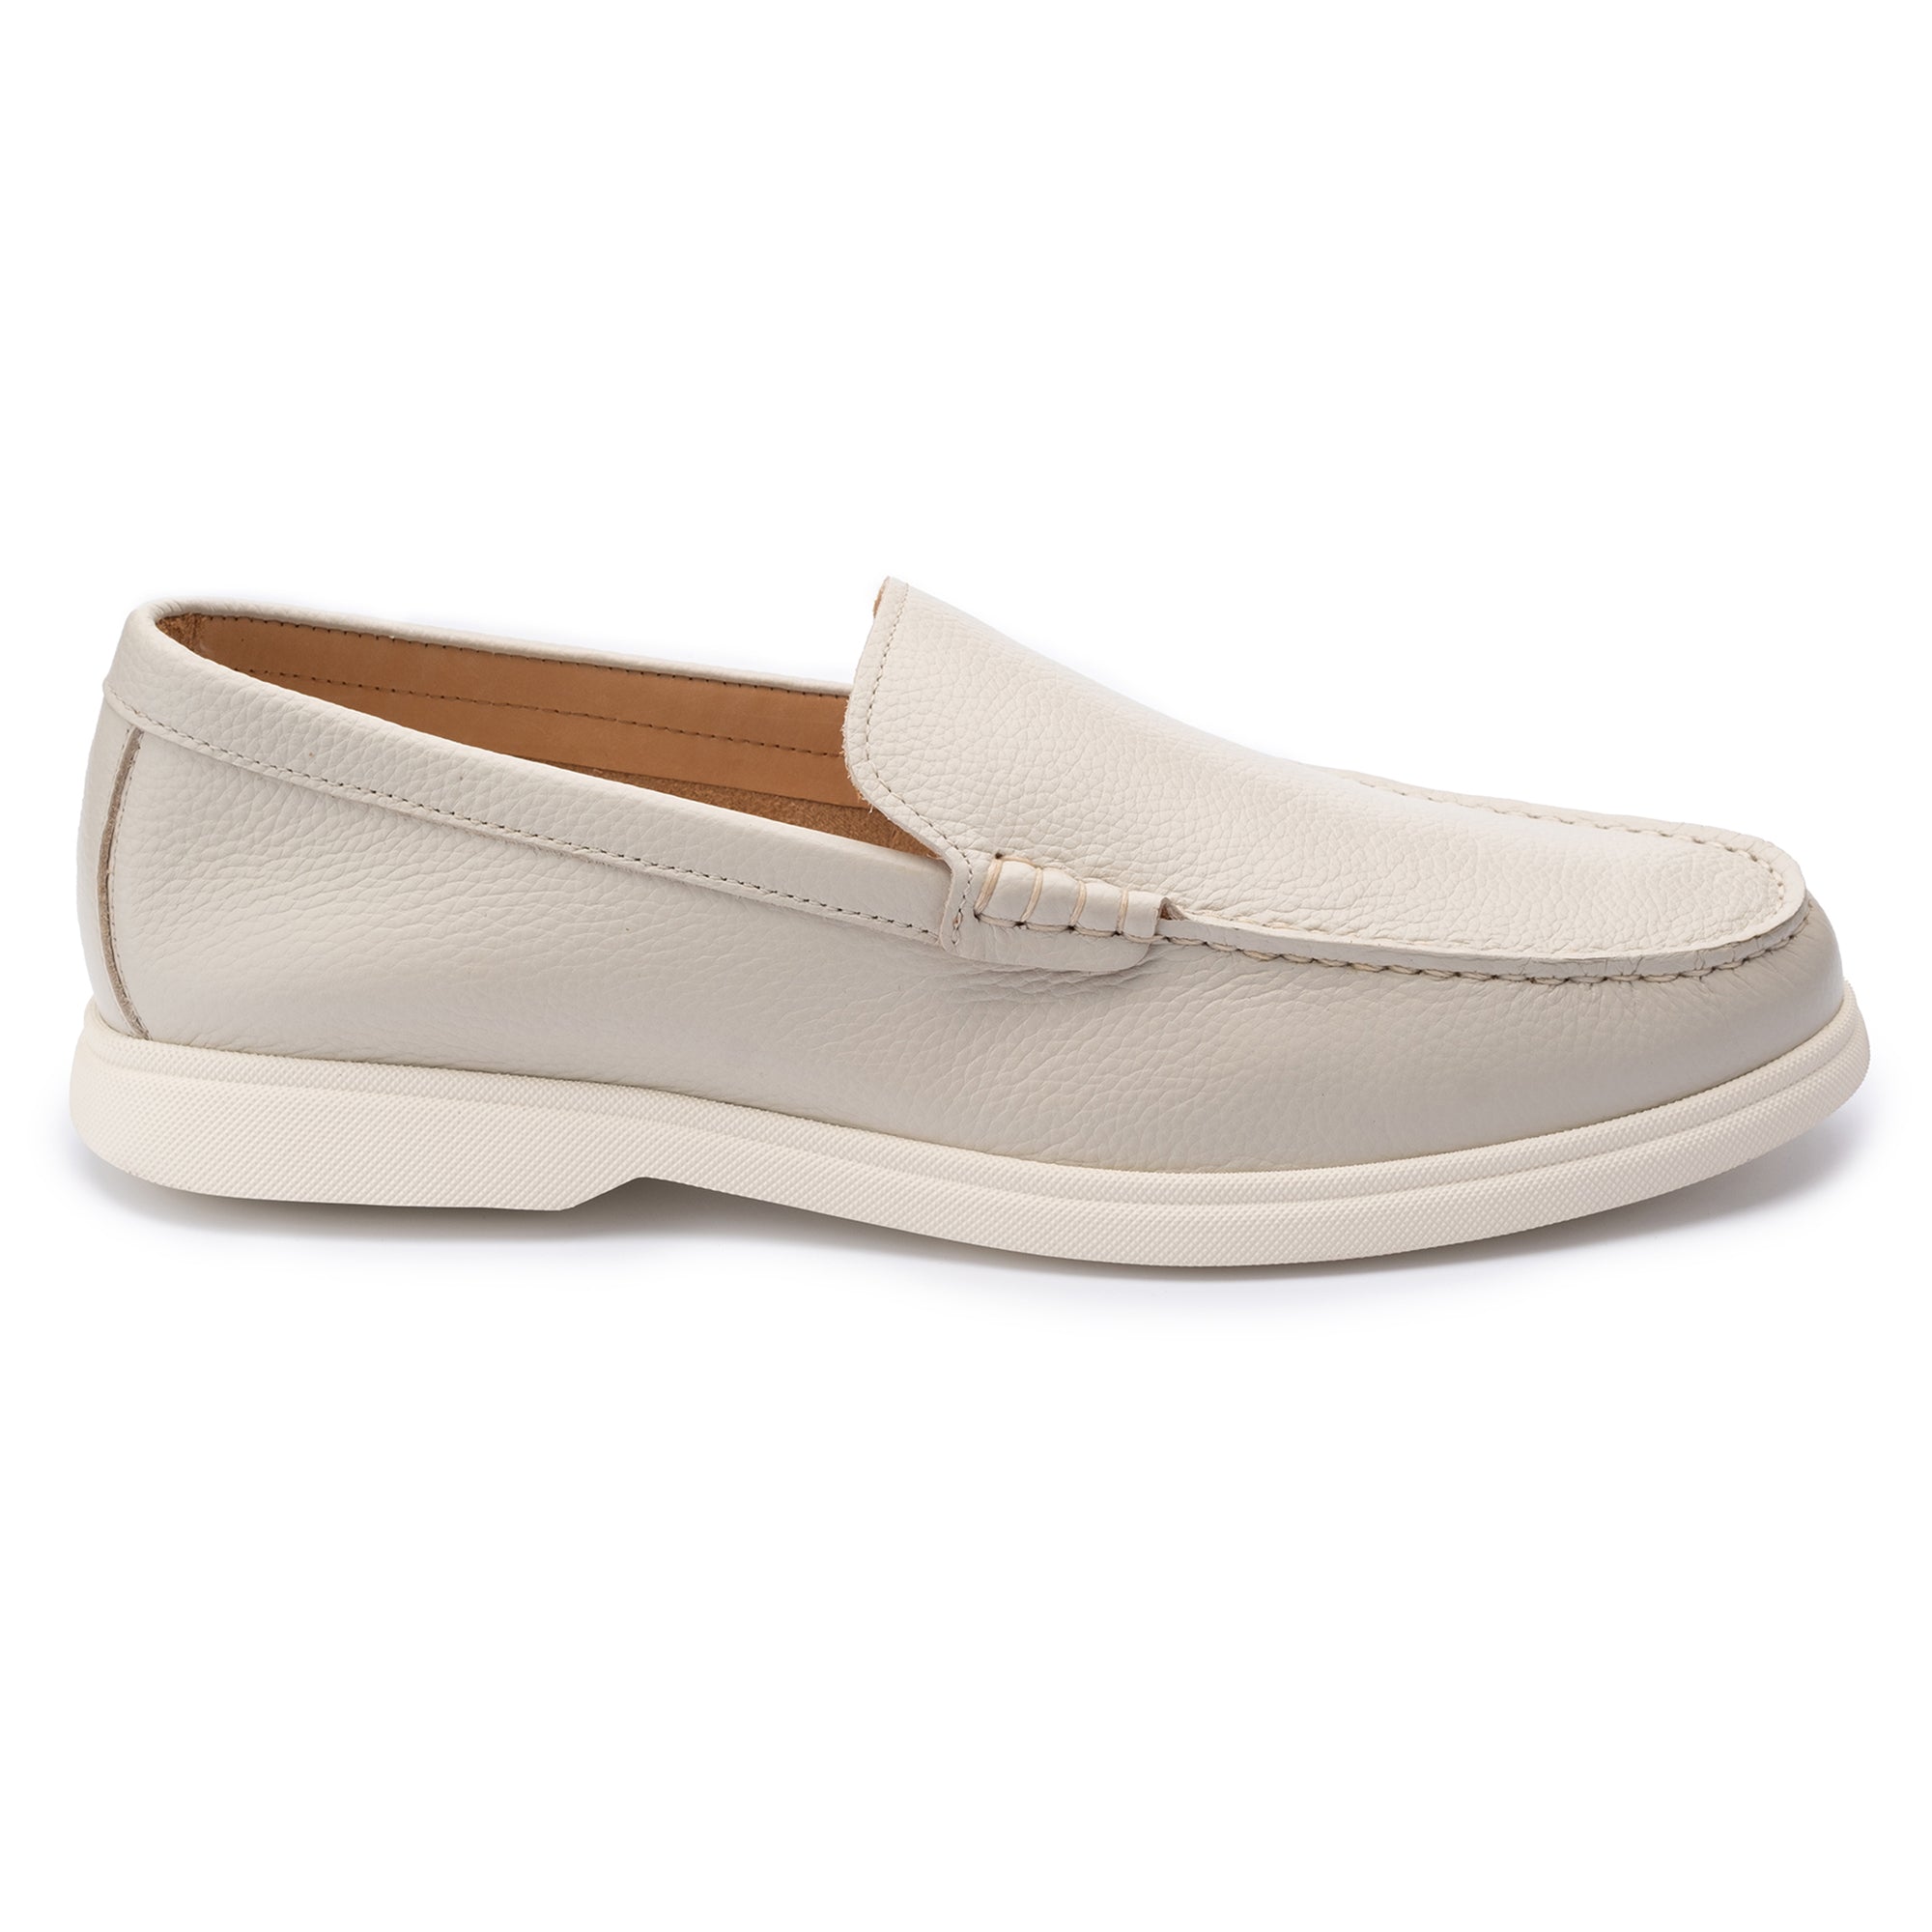
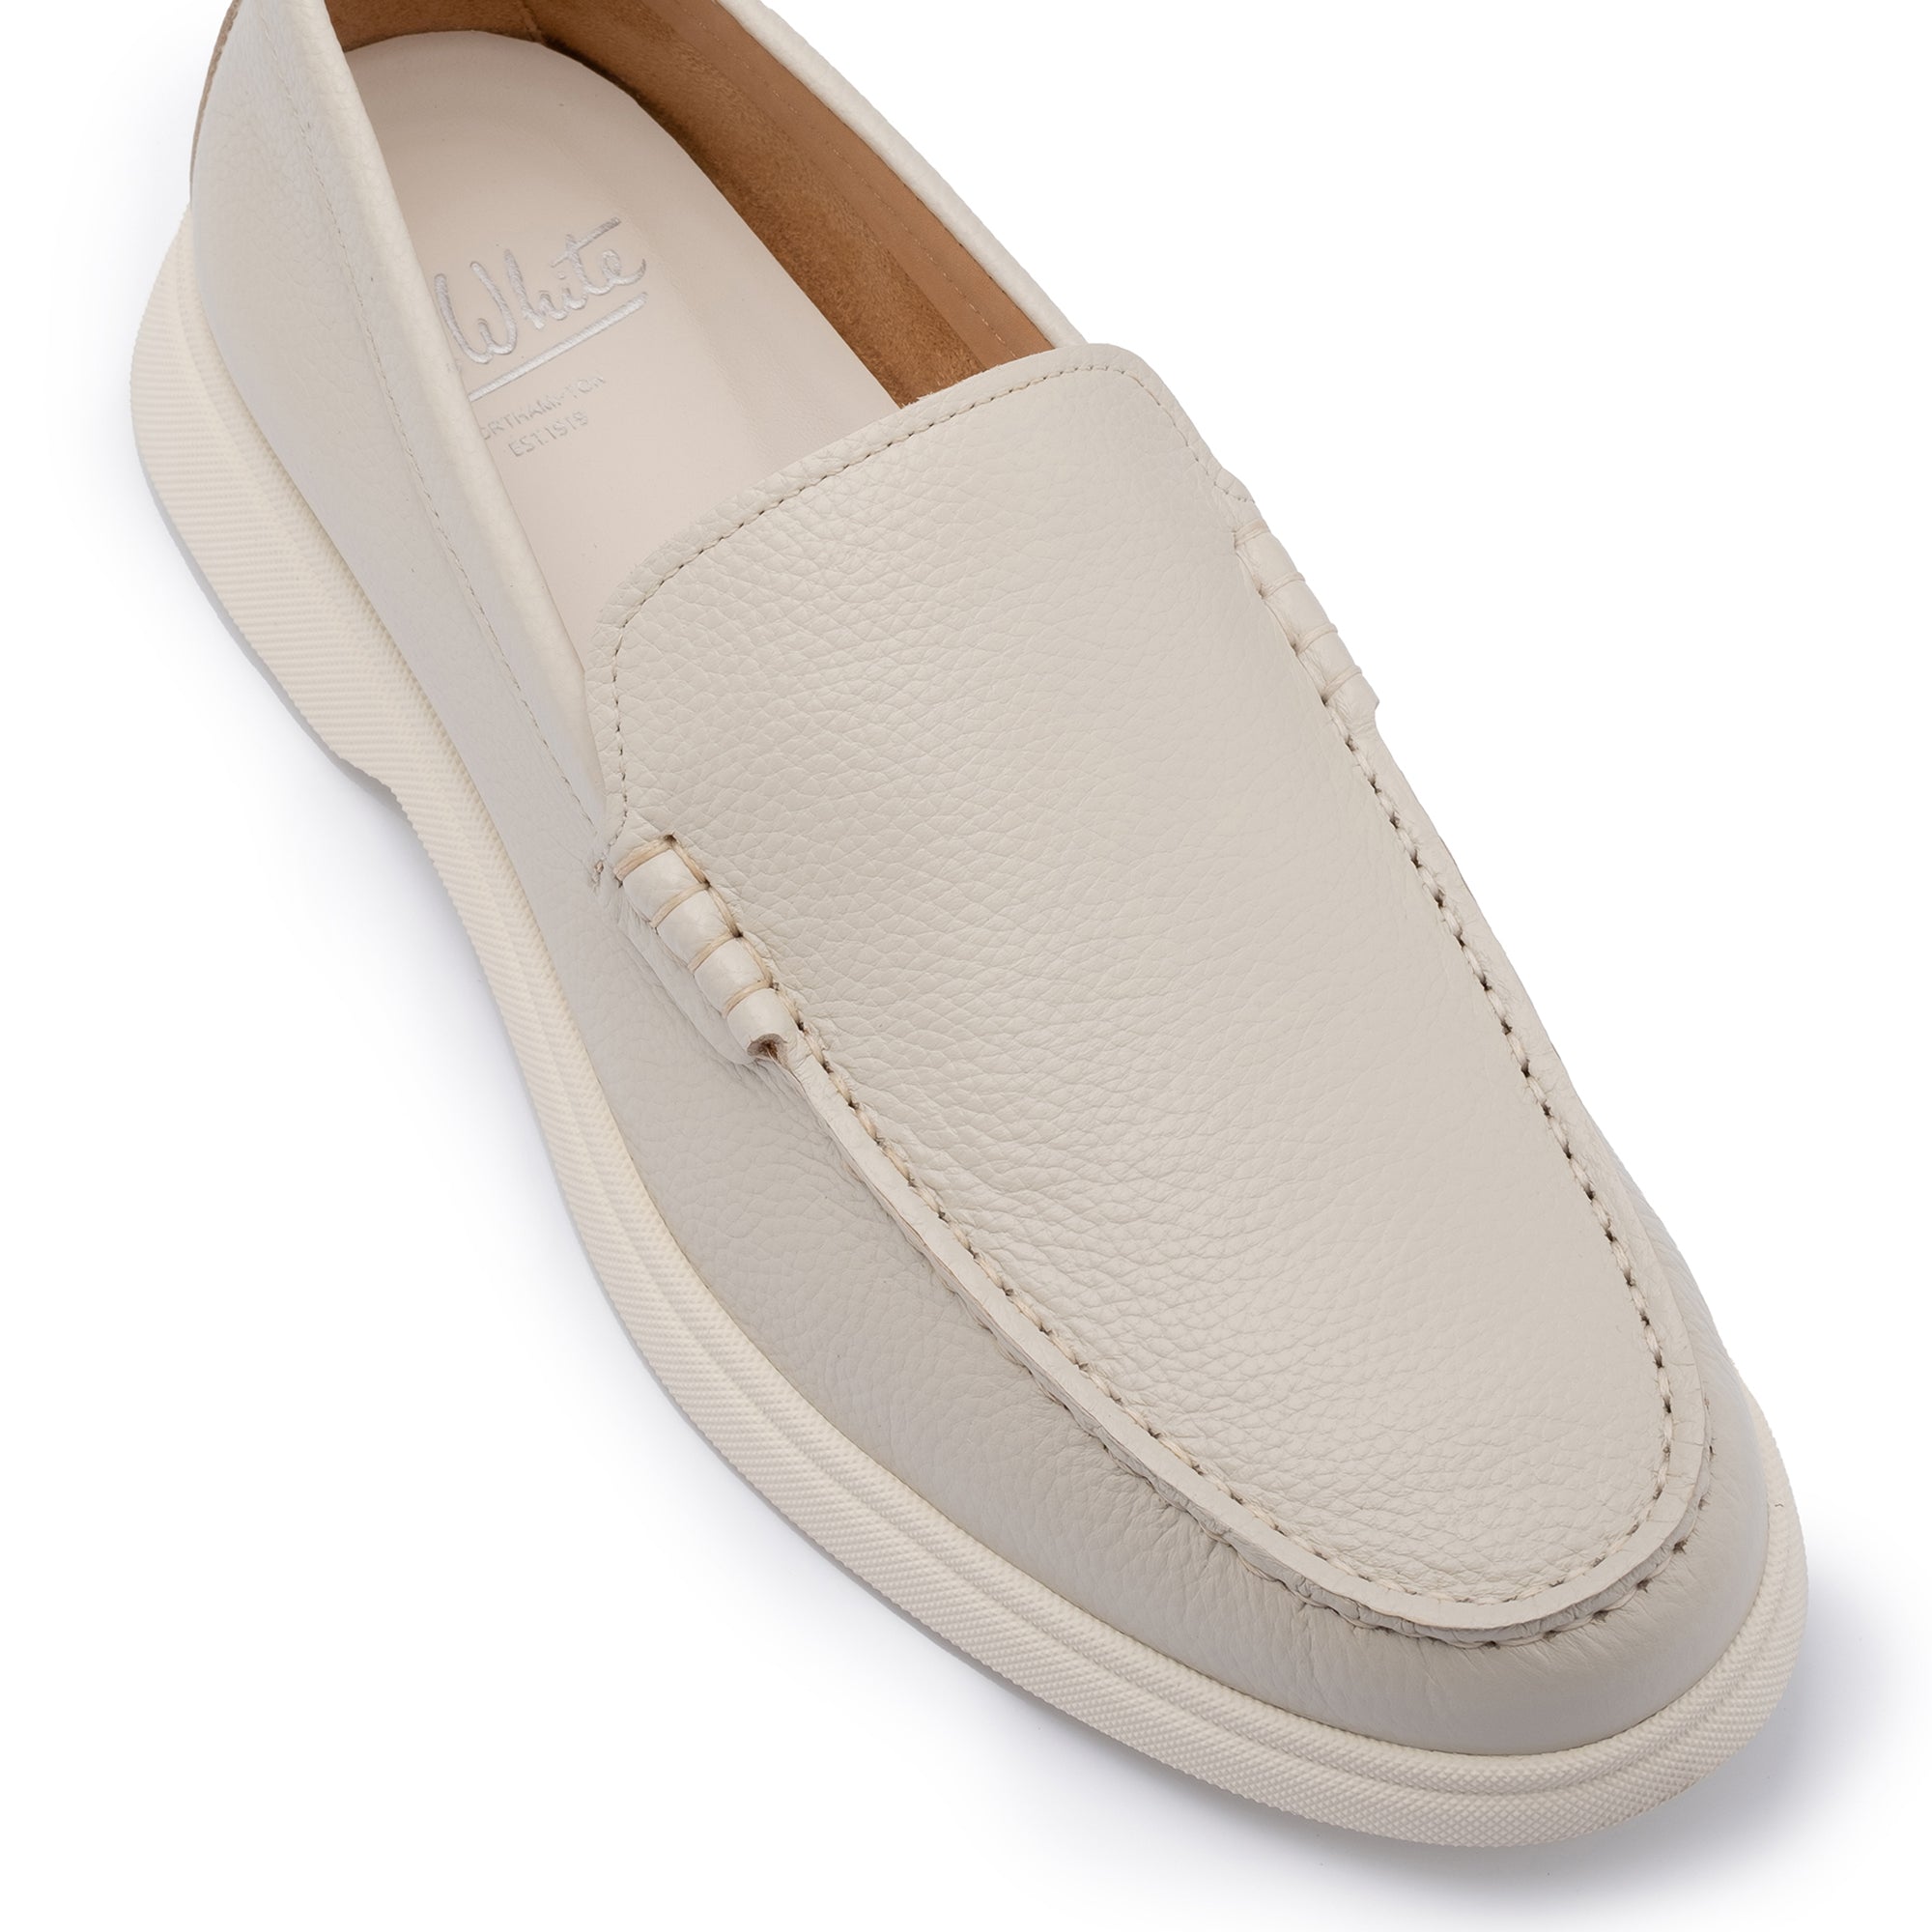
This guide covers everything you need to keep suede in good order: the tools, the daily habits, how to address the most common stains, and how to restore a nap that has lost its texture. Whether you own a pair of Hill Chelsea Suede Boots, the Swale Chukka Suede Boot, or the Ethan Plain Calf Suede Loafer, the principles are the same.
Understanding Suede Before You Touch It
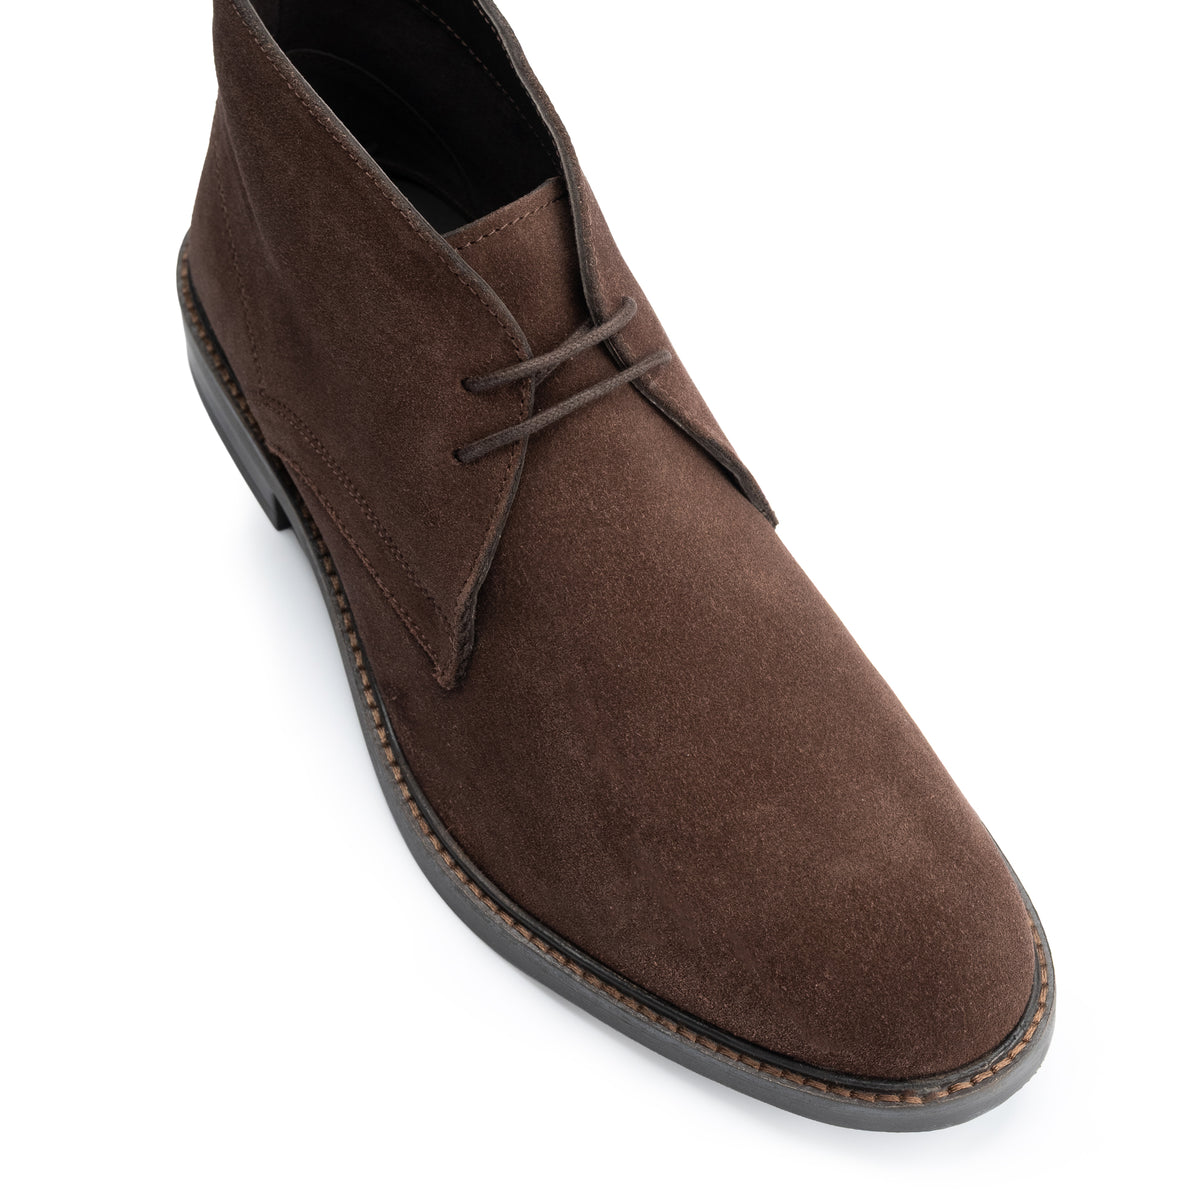
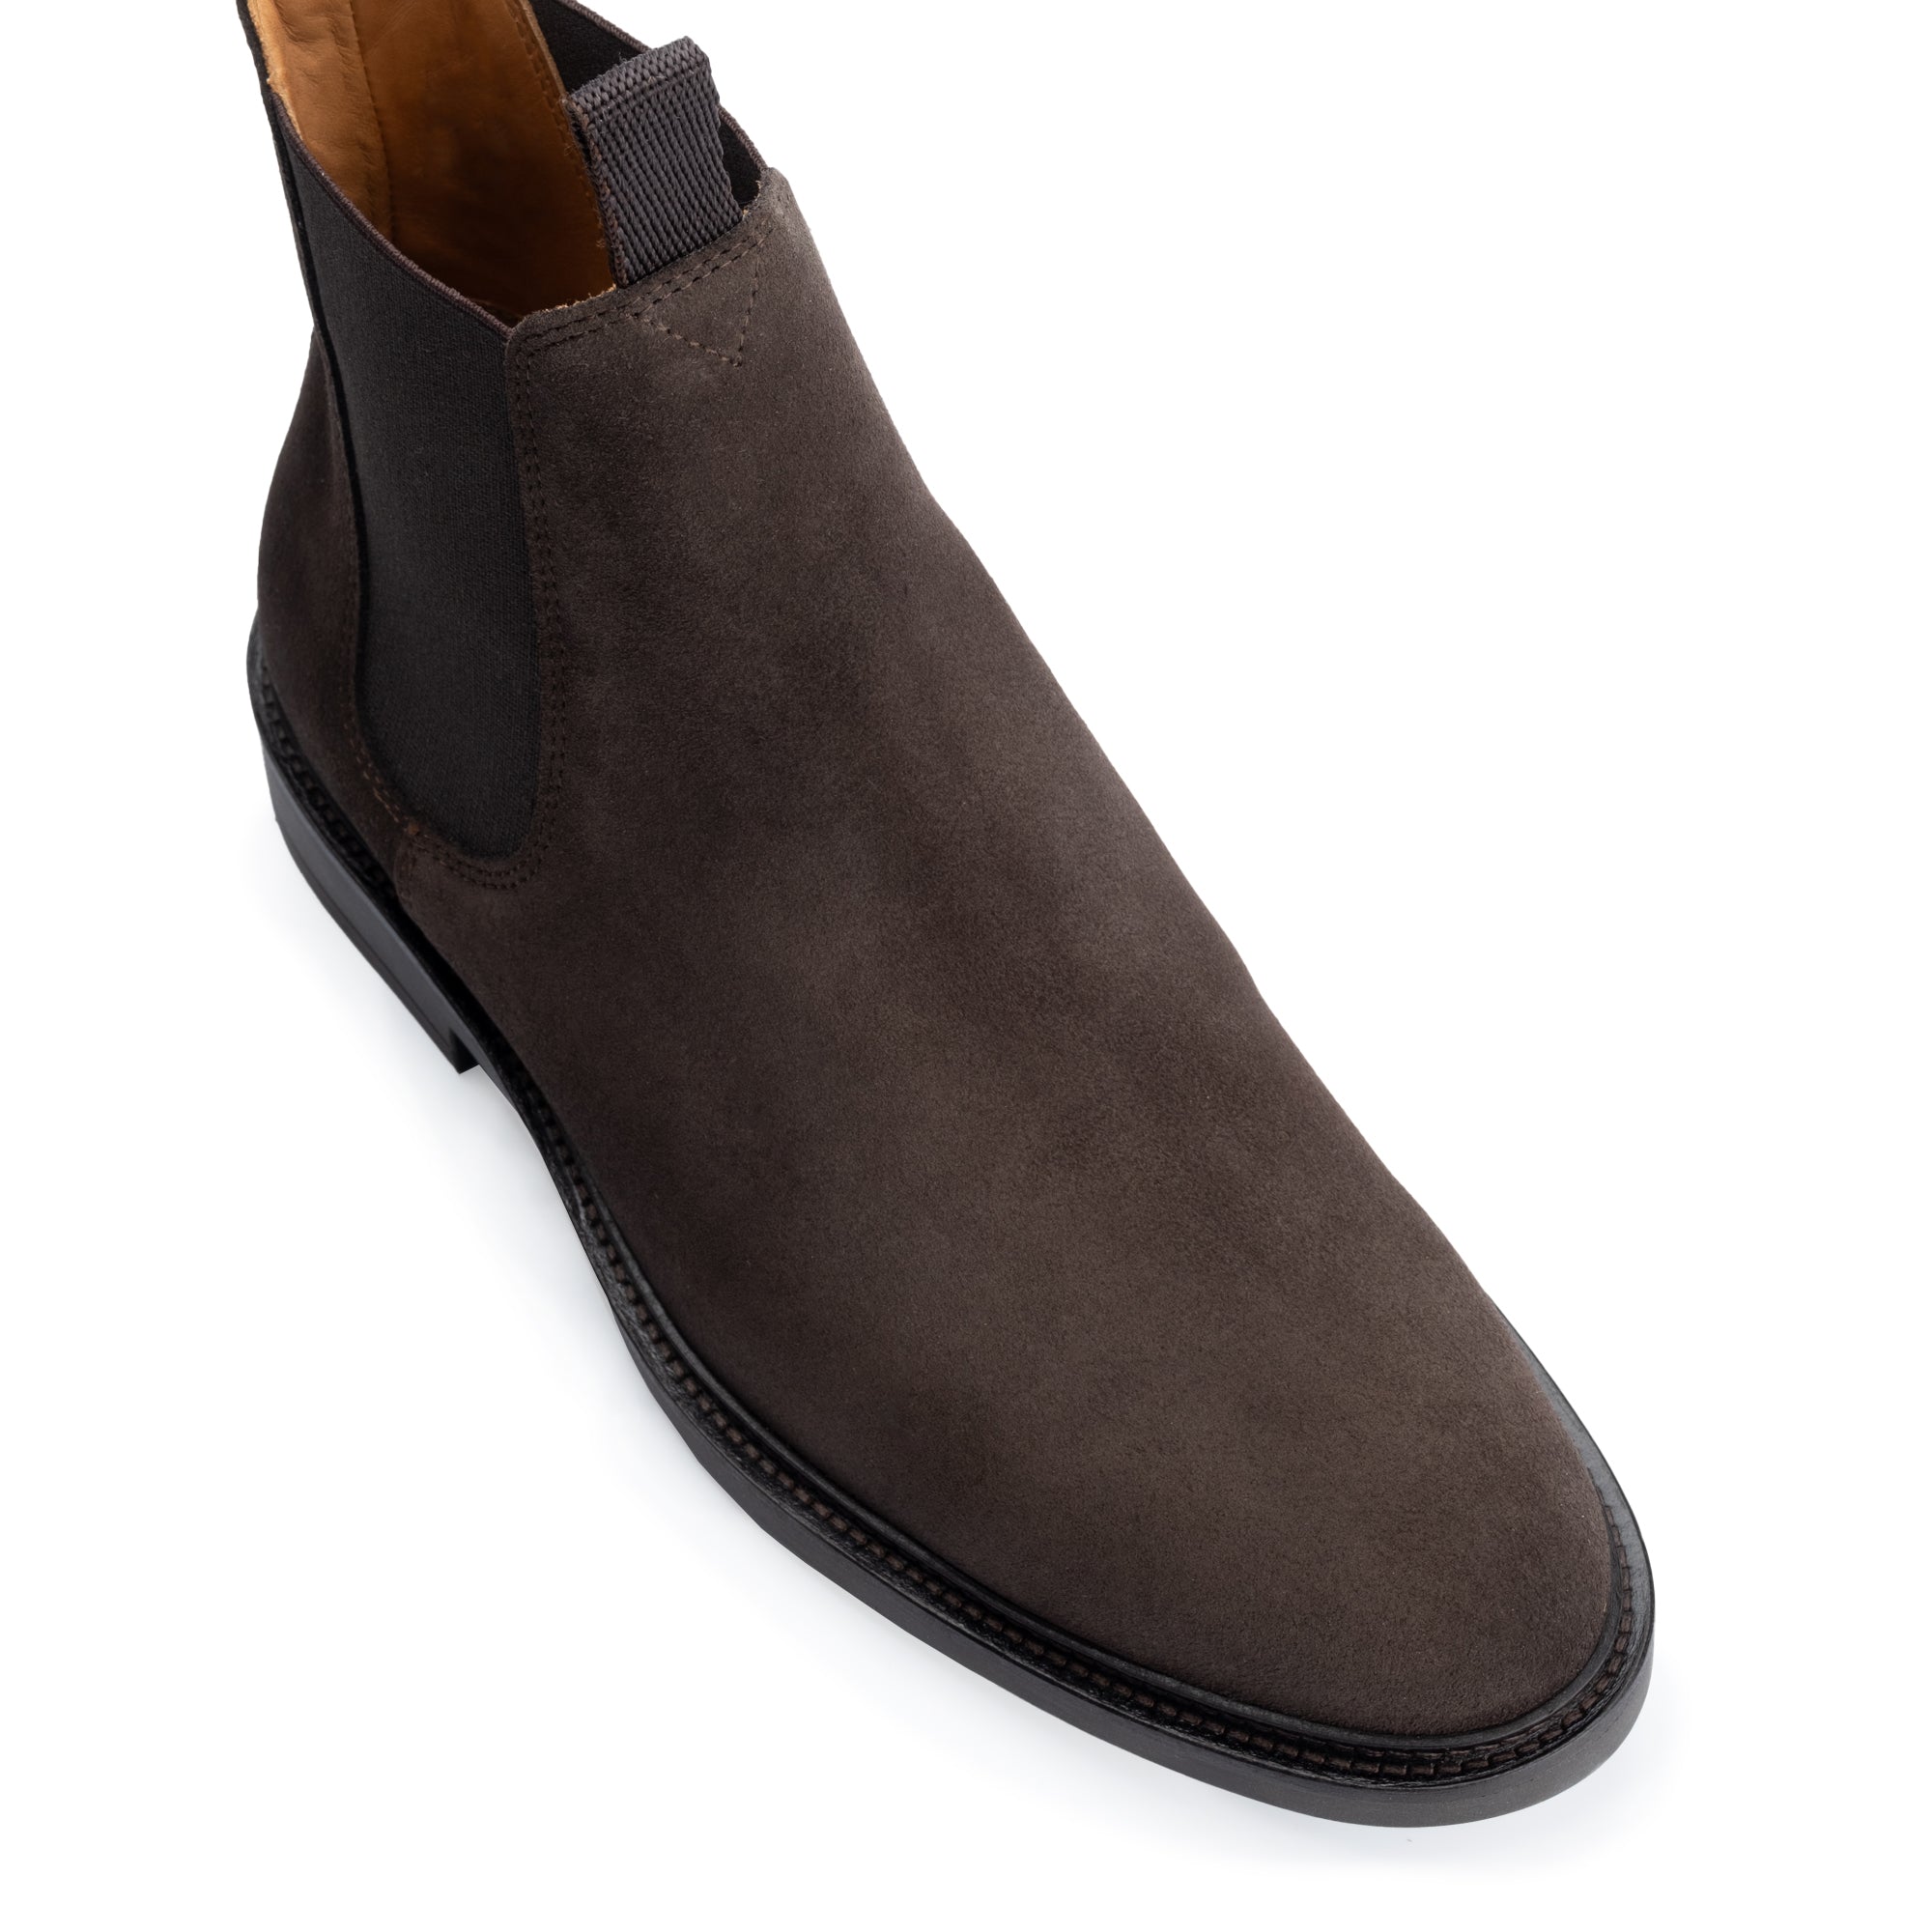
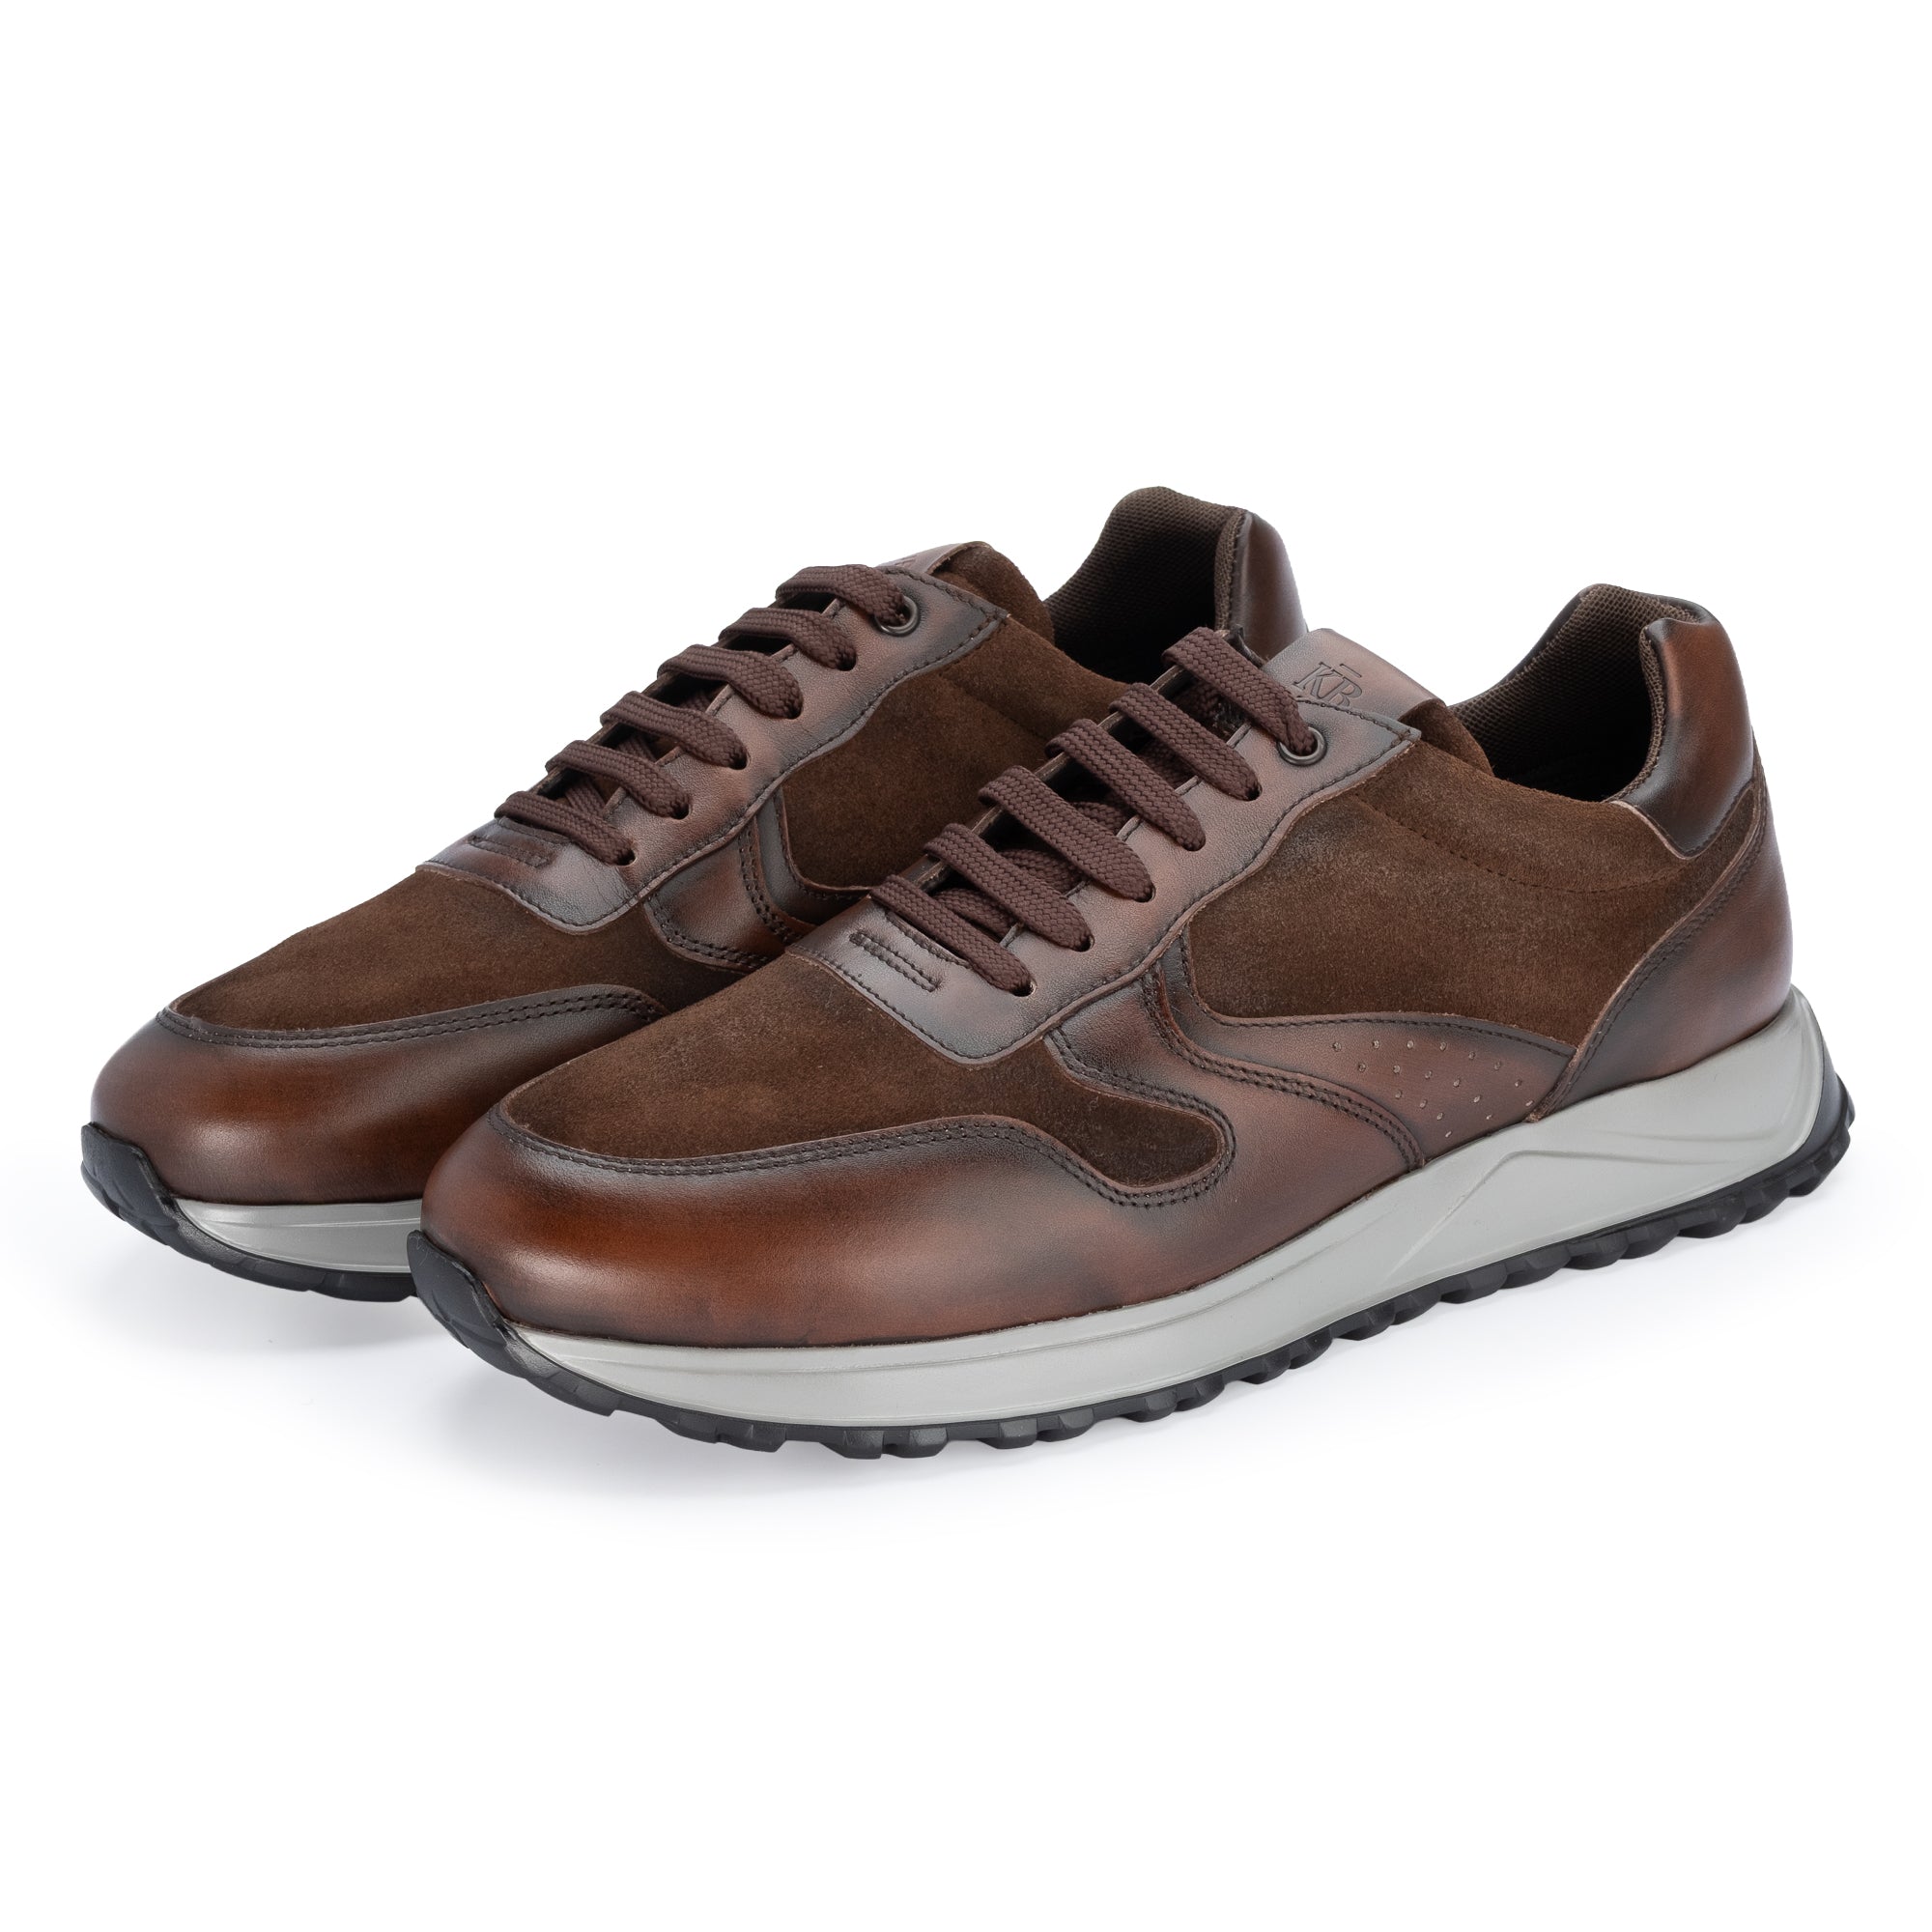
Suede is the inner, fibrous side of an animal hide — typically calf, lamb, or pig — buffed to produce an even, velvety nap. That nap is made up of thousands of short fibres. When they stand upright and uniform, the surface looks rich and consistent. When they are flattened by wear, compressed by water, or matted by debris, the surface turns dull and uneven.
Unlike smooth full-grain leather, suede has no protective outer layer. It is absorbent by nature — which makes it susceptible to water, oils, and salt — but that same openness makes it easier to refresh with the right tools. A suede eraser can lift dried mud that would permanently mark polished calf leather. The trade-off is one of maintenance frequency.
The Tools You Actually Need
Suede care does not require an elaborate kit. You need three things and, if you are serious, a fourth.
1. A Suede Brush
A proper suede brush has two sides: stiff brass or nylon bristles on one face, and softer crepe rubber on the other. The brass bristles are for lifting dried dirt and refreshing the nap. The crepe side is for more delicate restoration work and for removing lighter surface debris without disturbing the fibres.
Buy a dedicated suede brush. A standard shoe brush — however fine the bristles — will flatten rather than lift the nap.
2. A Suede Eraser
This is a rubber block that looks much like a school pencil eraser. Rub it gently over a dried stain and it lifts the soiling by creating friction without wetting the suede. It is far more effective on dried marks than water, which risks creating tide marks and matting the fibres. The eraser is your first response to almost any stain, once the cause has fully dried.
3. A Suede Protector Spray
Applied before the first wear and refreshed every four to six weeks of regular use, a fluorocarbon-based protector spray coats each fibre with a water- and oil-resistant barrier. It does not make suede waterproof — nothing does permanently — but it creates enough resistance to give you time to address spills before they penetrate. Apply it in a well-ventilated area, hold the can 30cm from the shoe, and allow it to dry fully before wearing.
4. A Suede Conditioning Cloth or Nubuck Bar (Optional)
For shoes that see regular use, a nubuck conditioner applied once or twice a season helps keep the fibres supple. This is less critical for casual or occasional wear, but worthwhile for styles worn two or three times a week.
The Daily Brush Routine
The most important habit in suede care costs thirty seconds after each wear. Remove your shoes, allow them to cool and dry naturally (never near direct heat), and then brush the entire surface with the brass-bristle side of your suede brush, working in one direction with the grain of the nap.
This does two things. It lifts any dust, surface dirt, or compressed fibres before they become embedded. And it keeps the nap even, so the surface retains its uniform texture rather than developing the patchy, worn appearance that comes from fibres lying in different directions.
Slip cedar shoe trees in before you brush if you own them — they restore the shoe's shape and absorb moisture simultaneously, which means the nap dries in better condition.
Dealing with Specific Stains
Water Marks
The instinctive response to a water stain is to dab at it immediately. Resist this. Dabbing spreads the moisture and creates a larger tide mark. Instead, allow the shoe to dry completely at room temperature — overnight, if necessary — and then address the mark with a suede brush and, if required, a suede eraser. If the mark persists, dampen the entire panel of the shoe lightly and evenly with clean water, then stuff firmly with tissue paper and allow it to dry slowly. This approach evens out the moisture across the surface so no single area dries darker than another.
Mud
Allow mud to dry completely before touching it. Attempting to remove wet mud by rubbing will press it deeper into the fibres. Once fully dry, knock the shoes together gently to break up the crust, then use the brass bristle side of the brush to work the remaining dried mud free. Finish with the eraser on any residual marks.
Oil and Grease
Oil is the most difficult stain to remove from suede because it penetrates the fibres quickly and bonds to them. Act fast: blot (do not rub) with a dry cloth to absorb as much as possible. Then apply a small amount of cornflour or talcum powder to the affected area and leave it overnight to draw out the remaining oil. Brush away the powder in the morning and assess. Repeat if necessary. A suede degreaser product — available from specialist shoe care retailers — is worth having on hand if you wear suede regularly in urban environments where kitchen or restaurant environments are a risk.
Salt Stains
In the British winter, road salt is a persistent hazard for any leather shoe, and suede is particularly vulnerable. Salt draws moisture from the fibres and leaves a white tide mark as it dries. Mix one part white vinegar with one part cold water, dampen a clean cloth with the solution, and apply it carefully to the affected area. Allow to dry fully, then brush. The mild acidity in the vinegar dissolves the alkaline salt deposits without damaging the suede itself.
Reviving Flattened Nap
Over time, sections of a suede shoe — typically the toe cap, the heel counter, and any area subject to repeated contact — will flatten and lose their texture. This is normal wear, not damage, and it is reversible.
Hold the shoe over the steam from a kettle for ten to fifteen seconds — not so close that moisture condenses on the surface, but close enough that the steam penetrates the fibres. The heat and humidity relax the fibres back into their natural upright position. Immediately work the area with a suede brush in short, vigorous strokes. Repeat as needed. Once restored, allow the shoe to dry completely before wearing.
This steam technique is particularly effective on the Hill Chelsea Suede Boot and Byrne Chelsea Suede Boot, where the elasticated side panels can compress the suede over time.
Storage and Seasonal Care
Suede shoes should not be stored in polythene bags or sealed containers, which trap moisture and encourage mould. A breathable cotton bag or the original box with the lid slightly open is ideal. Store with cedar shoe trees in place to maintain shape and absorb any residual moisture.
Before putting suede shoes away at the end of a season, clean them thoroughly with the brush and eraser, re-apply protector spray, and allow them to dry fully. This prevents stains from setting further during storage and ensures the protector barrier is intact when you next wear them.
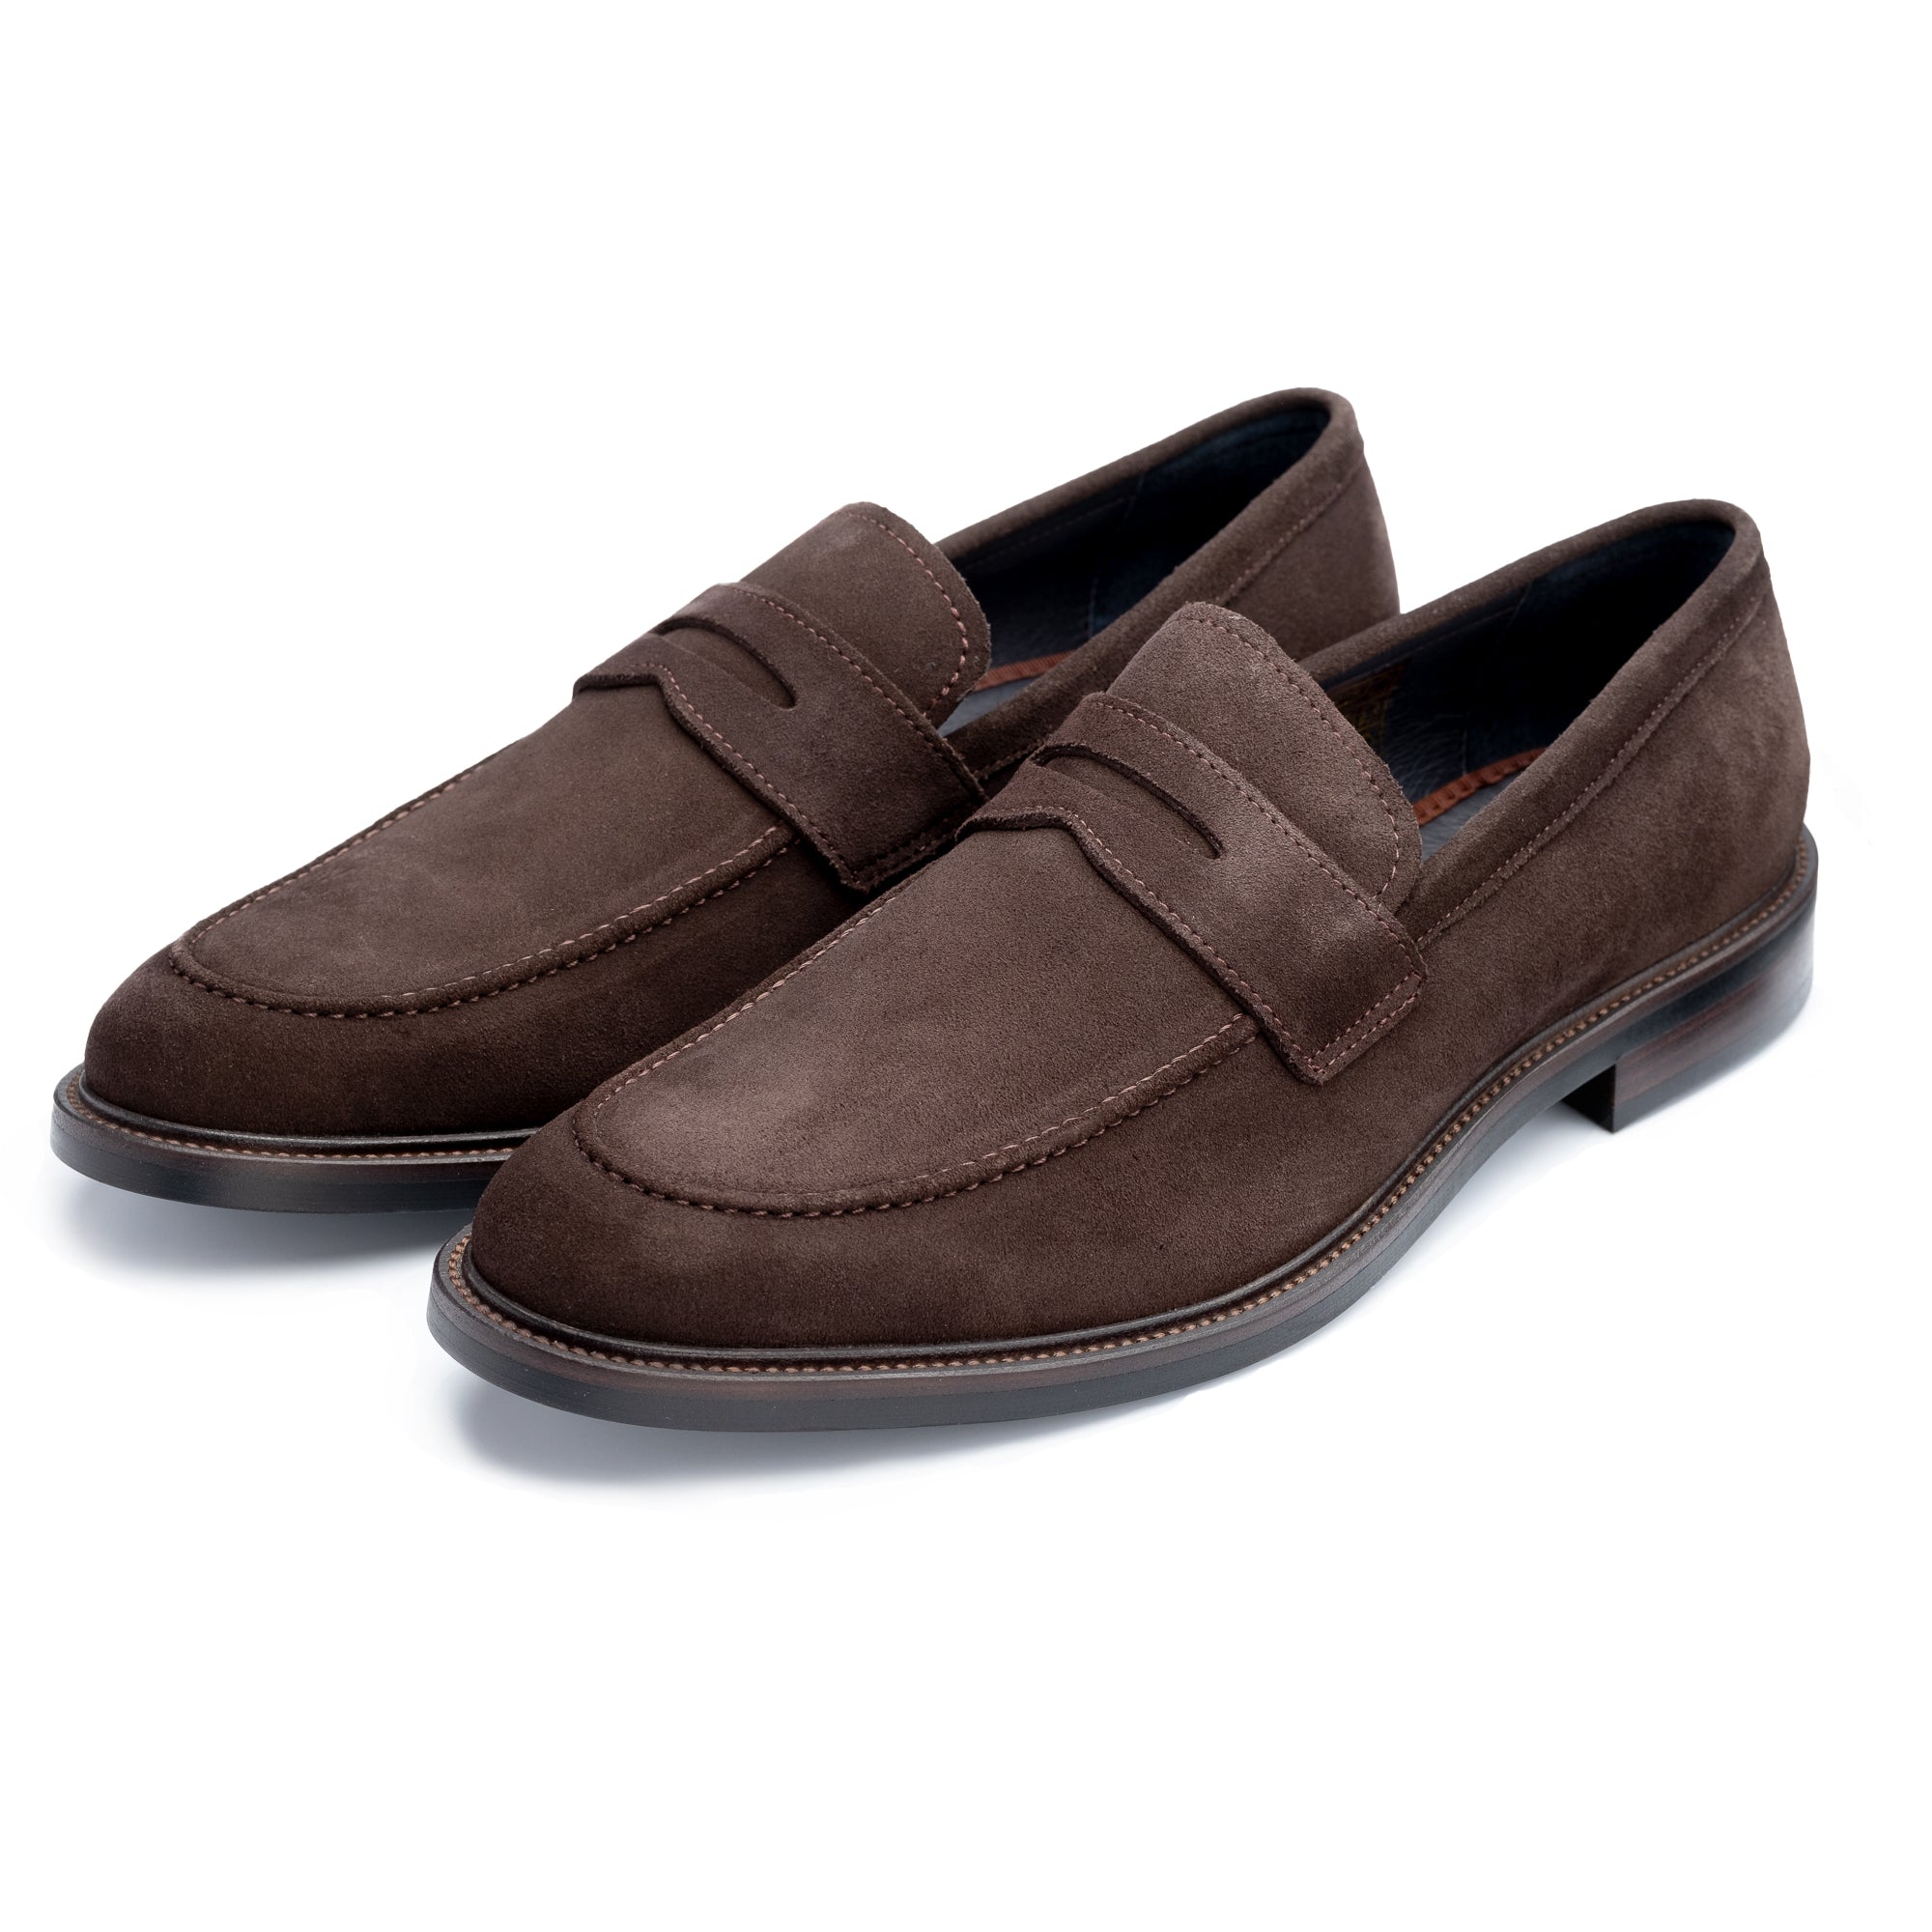
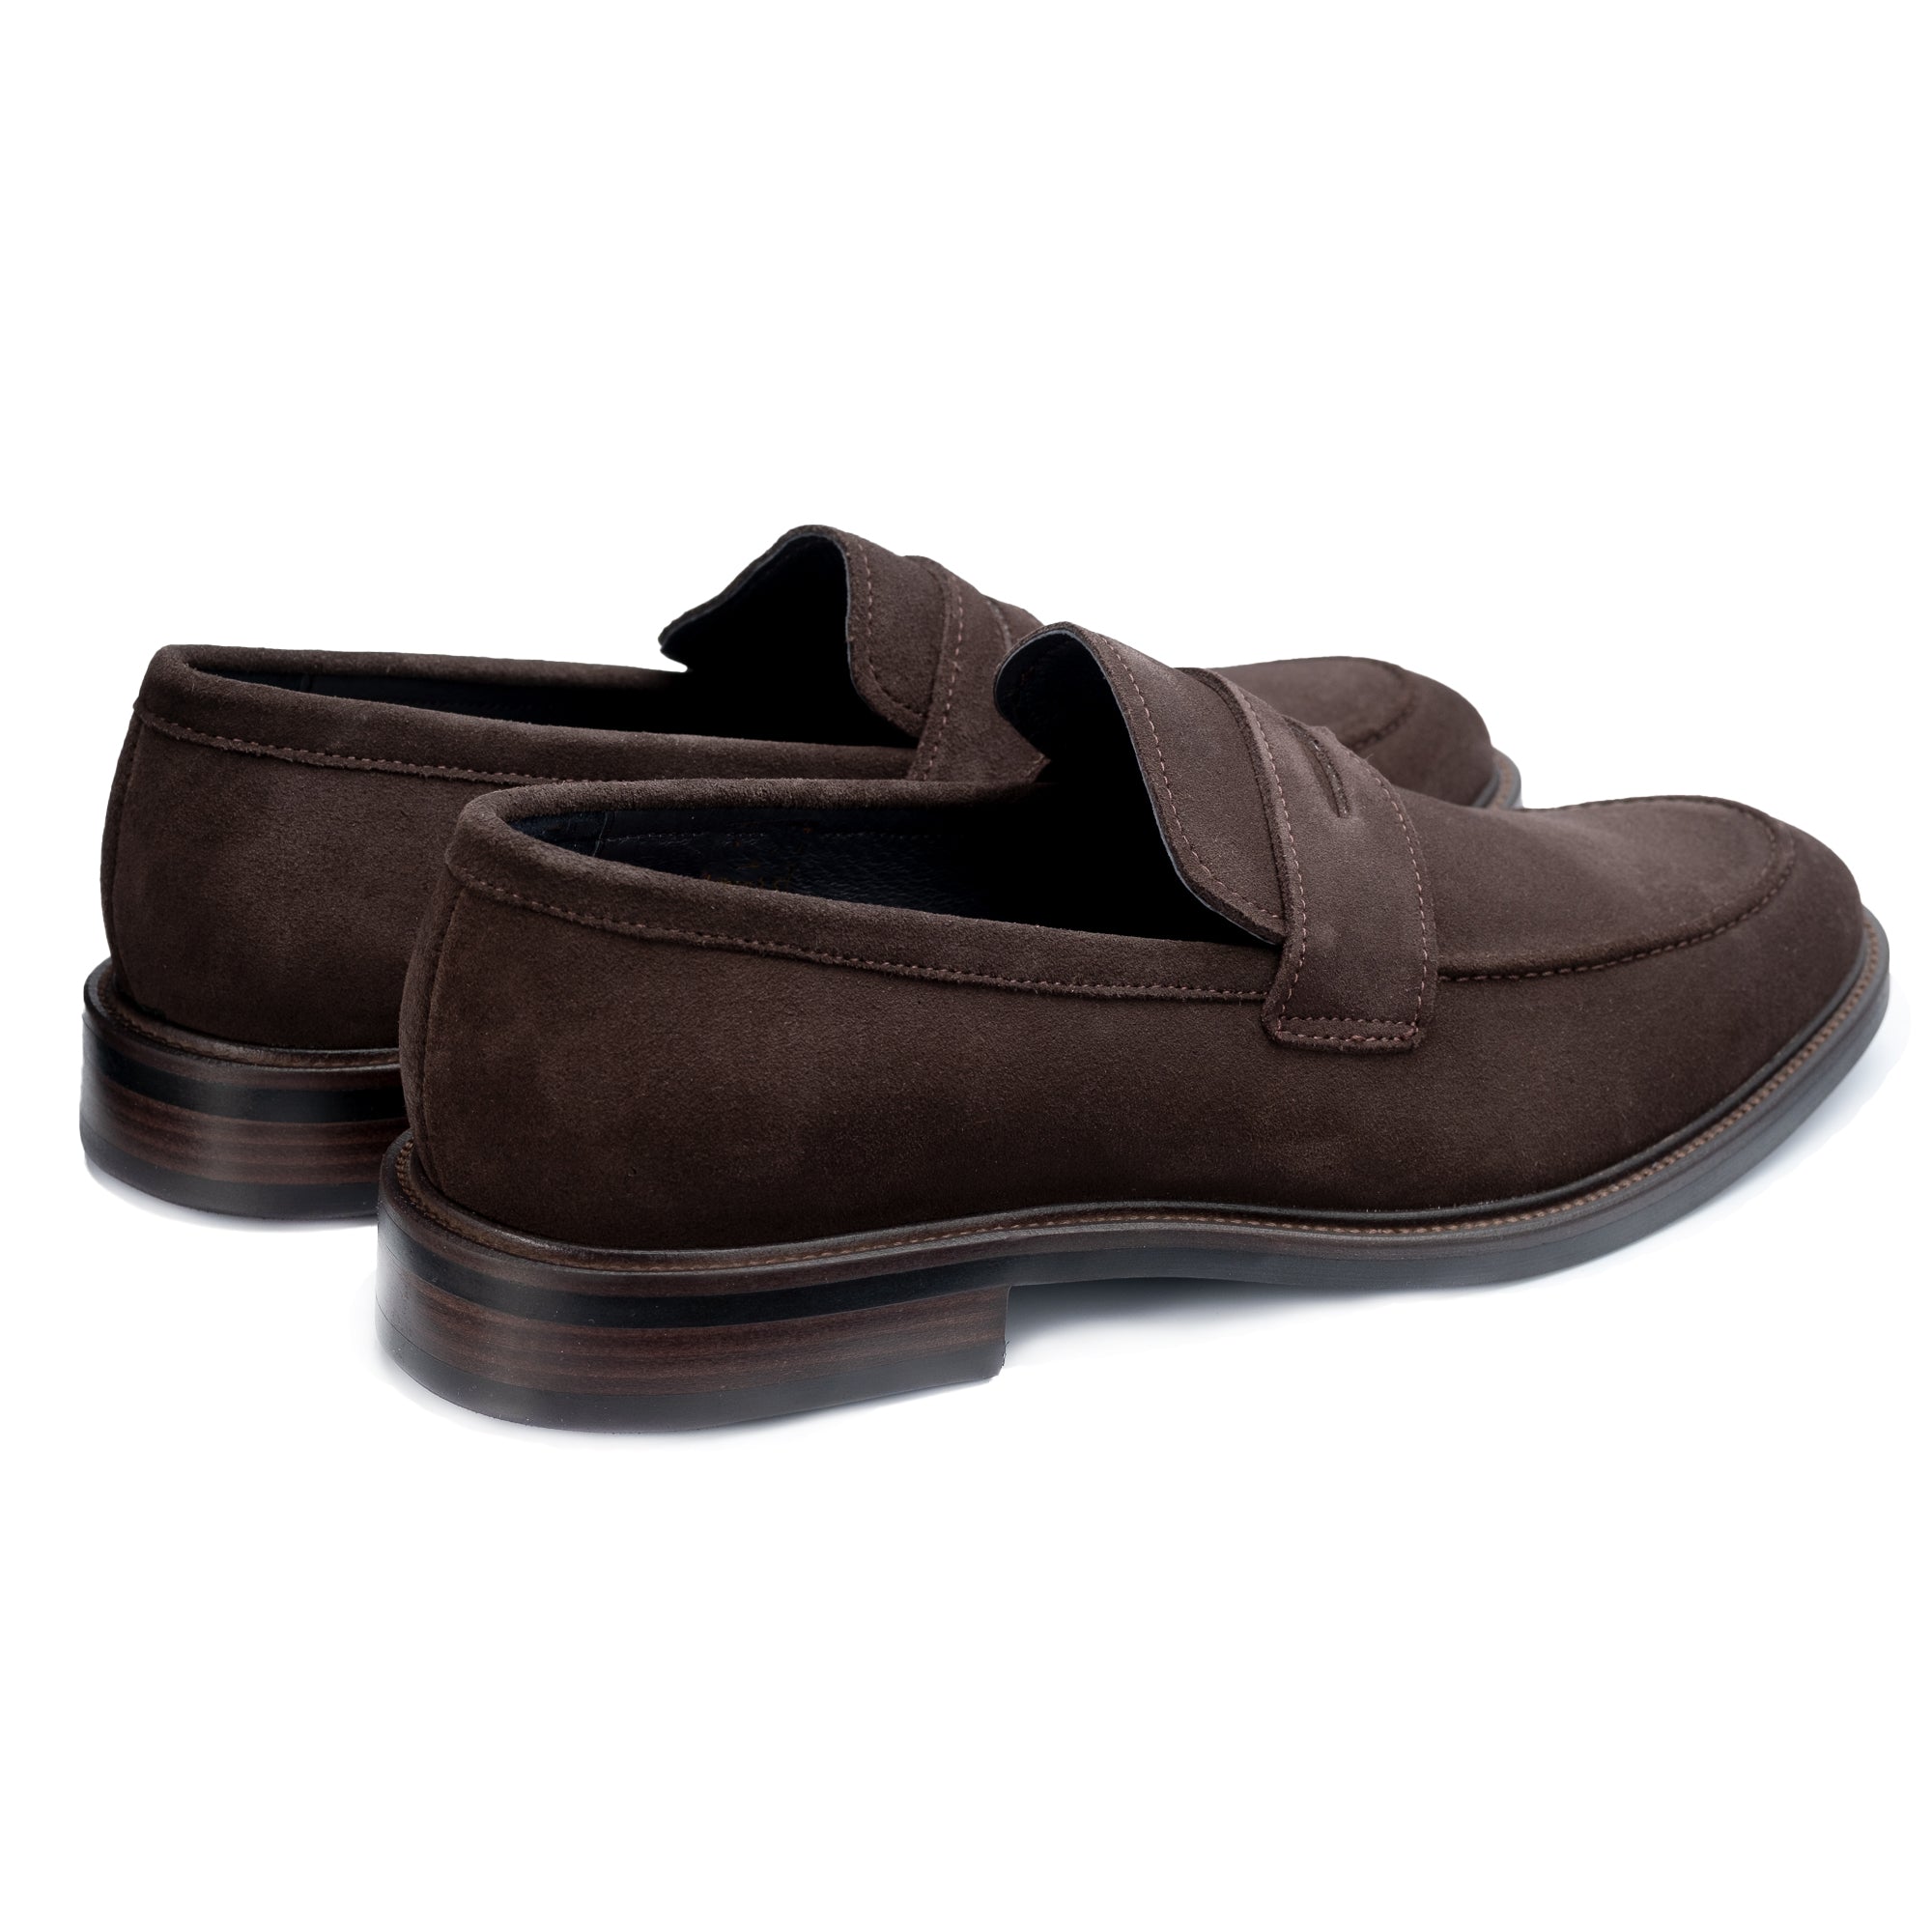
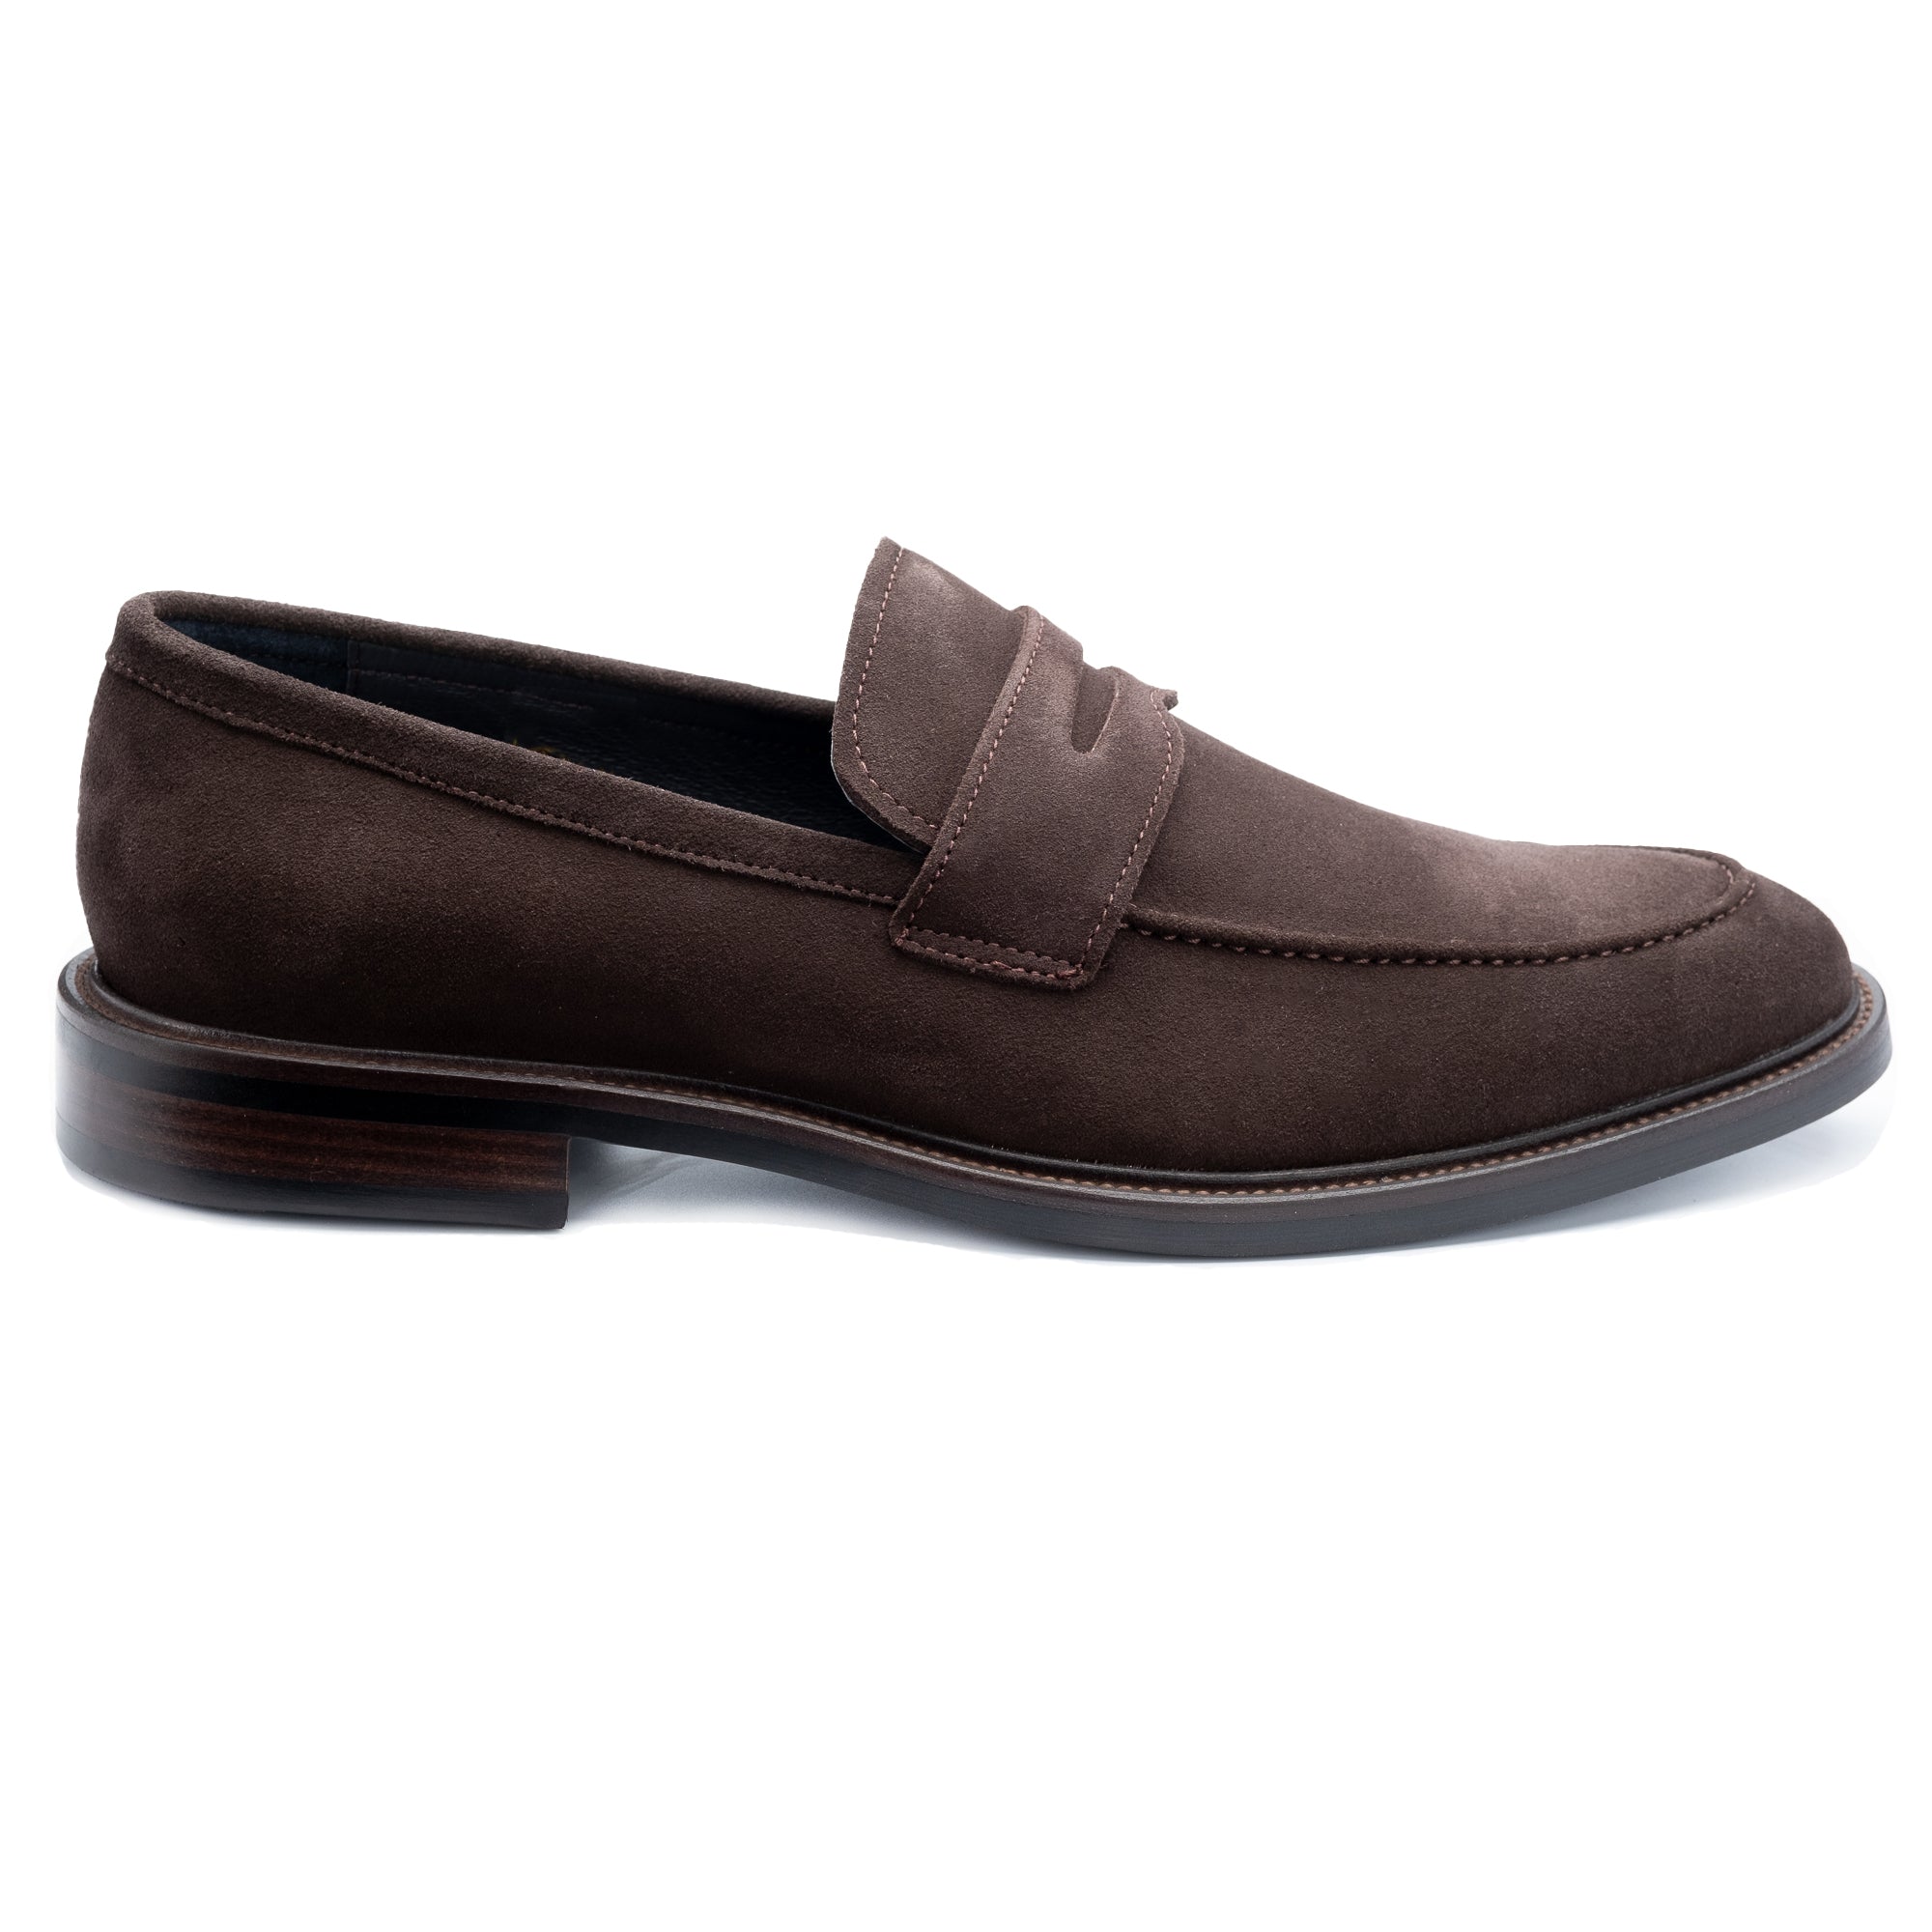
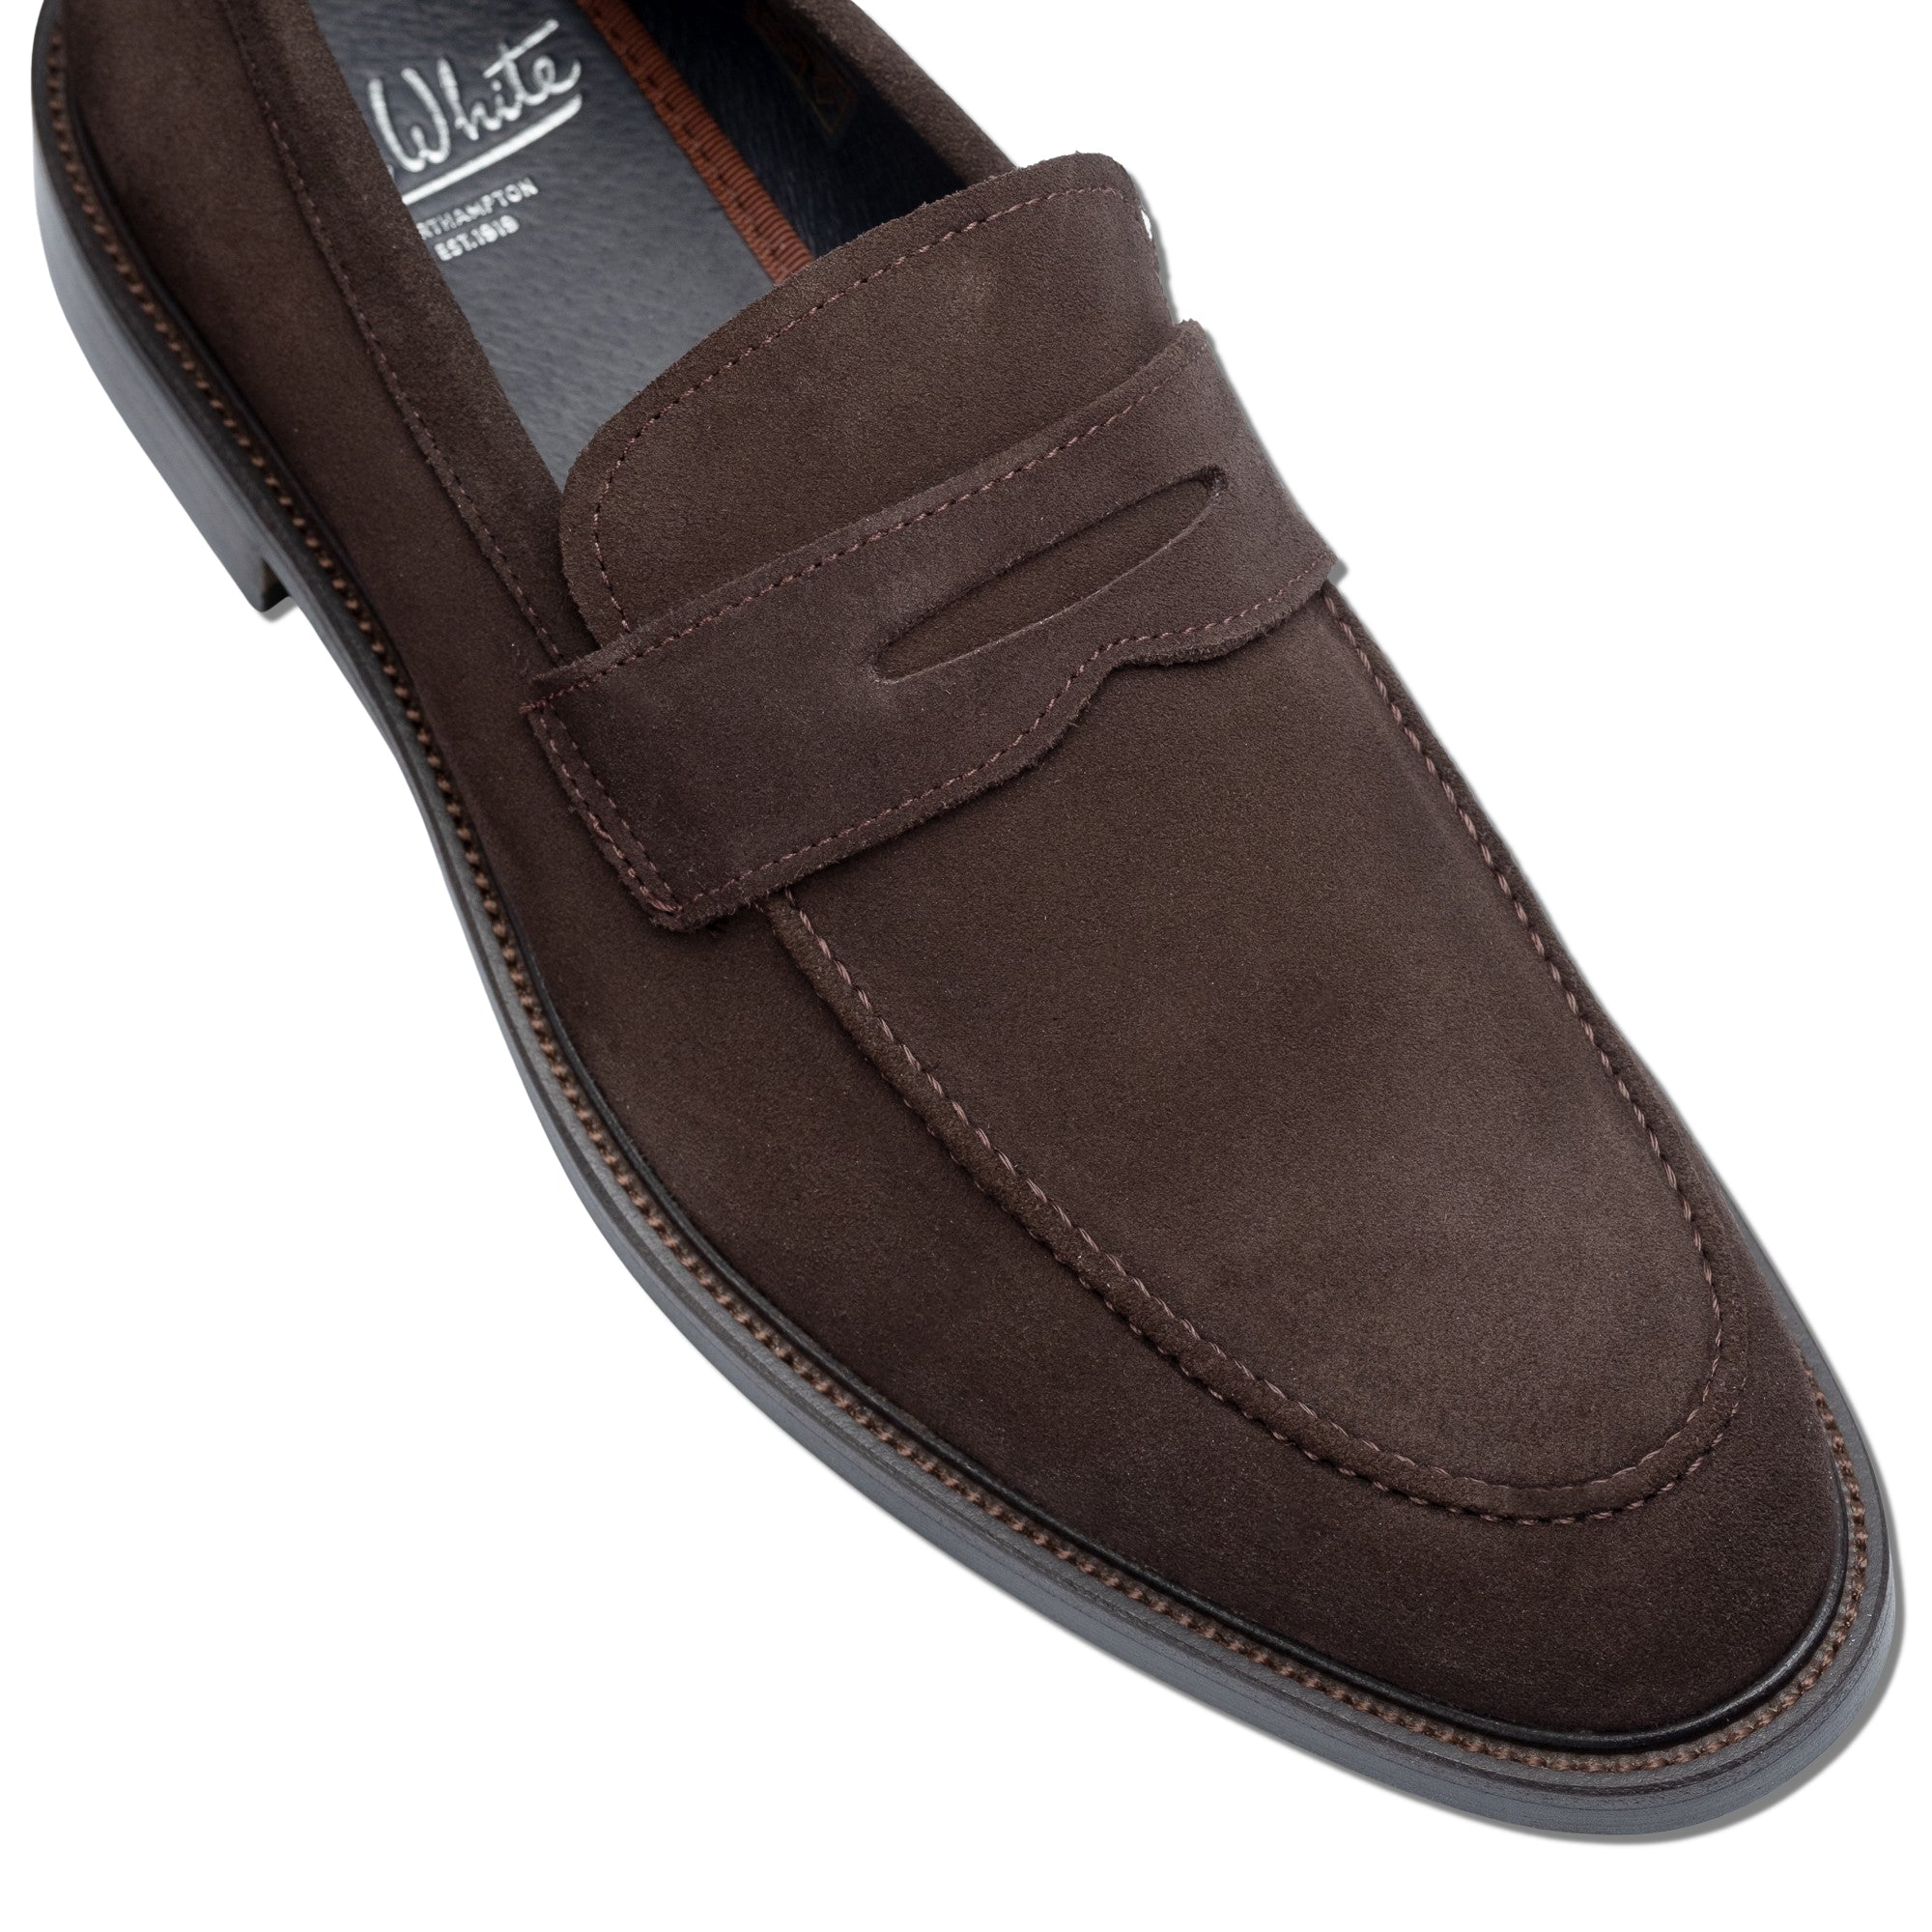
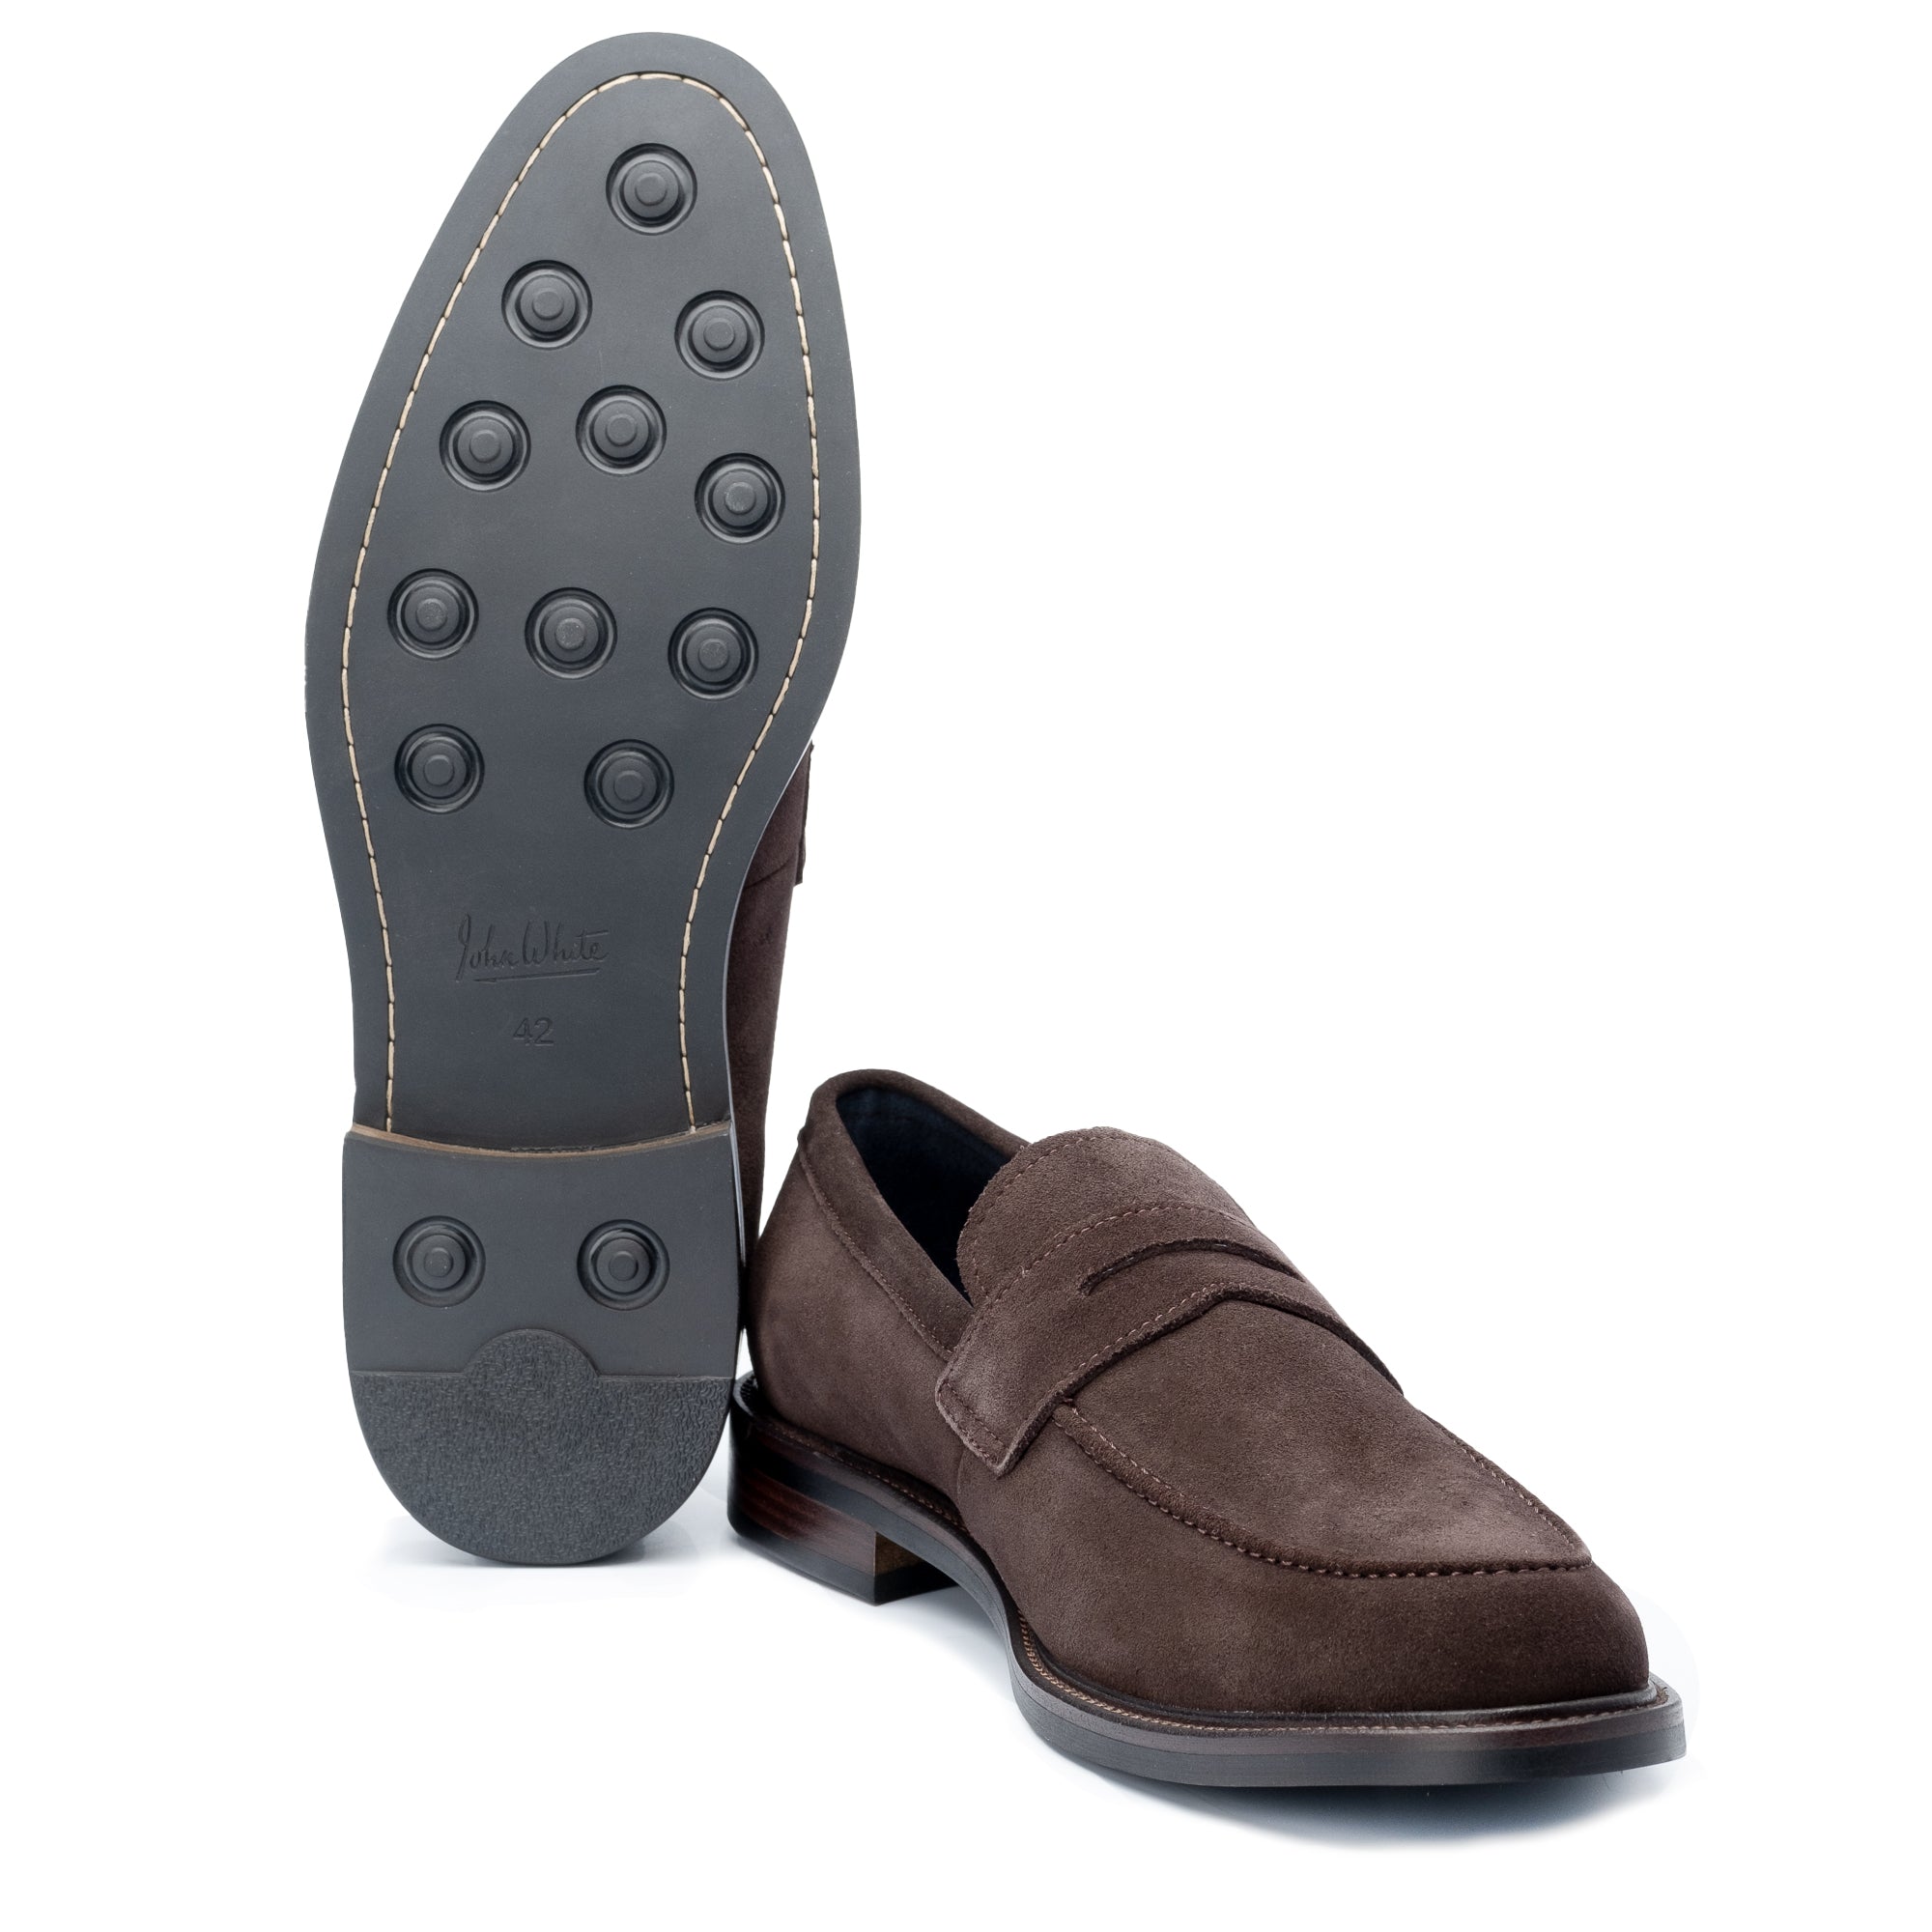
If any areas of the shoe have developed a sheen from repeated contact — common on the toe of a penny loafer like the Banff Penny Loafer in Brown Suede — address these with the steam technique before storing, rather than waiting until the following season when the compressed fibres will be considerably harder to revive.
A Note on Colour
Suede takes on a characteristic patina over time — lighter suedes (cognac, tan, sand) will deepen slightly with wear, while darker tones (navy, brown, dark burgundy) may lighten in areas of high contact. Neither is a problem; both are signs of an honest wear history. However, if you want to maintain even colouration, a suede renovator — available in standard shades — can be used sparingly on worn areas. Apply with a soft cloth, allow to dry, and brush out. Avoid overuse; the goal is evenness, not a heavy application of colour.
The Wessex Chukka in Cognac Suede and the Portus Suede Loafer in Brown Suede age particularly well when maintained properly — the natural tonal variation that develops with use gives them a character that the same styles in smooth leather take considerably longer to acquire.
What Not to Do
A few common mistakes are worth naming directly. Do not use smooth leather polish on suede — it will seal the fibres and destroy the texture permanently. Do not use a standard brush with packed bristles; it compresses rather than lifts the nap. Do not dry suede shoes near a radiator or in direct sunlight — rapid heat shrinks and stiffens the fibres, causing cracking at the seams and the collar. And do not overlook the sole edge: suede that meets a leather or rubber sole at the welt area is a point of stress, and keeping this area clean and dry prevents the suede from deteriorating where it matters most for structural integrity.
Suede asks for a little more consistency than smooth leather, but it asks for nothing complicated. A brush after each wear, a protector spray reapplied regularly, and the correct response to stains will keep a well-made suede shoe looking its best for many years. The Hill Chelsea Suede and the Swale Chukka Suede are among the most versatile styles in the JWS range — they deserve to be kept in good condition.